How to Diagnose a PSU (Without Any Tools)
Share
Being able to test your PSU without tools like a multimeter or other voltage reader really saved my butt and I wanted to pass on the knowledge.
And while you don’t need a multimeter for this guide, but they’re nice to have handy. Check out our best multimeter guide to learn more.
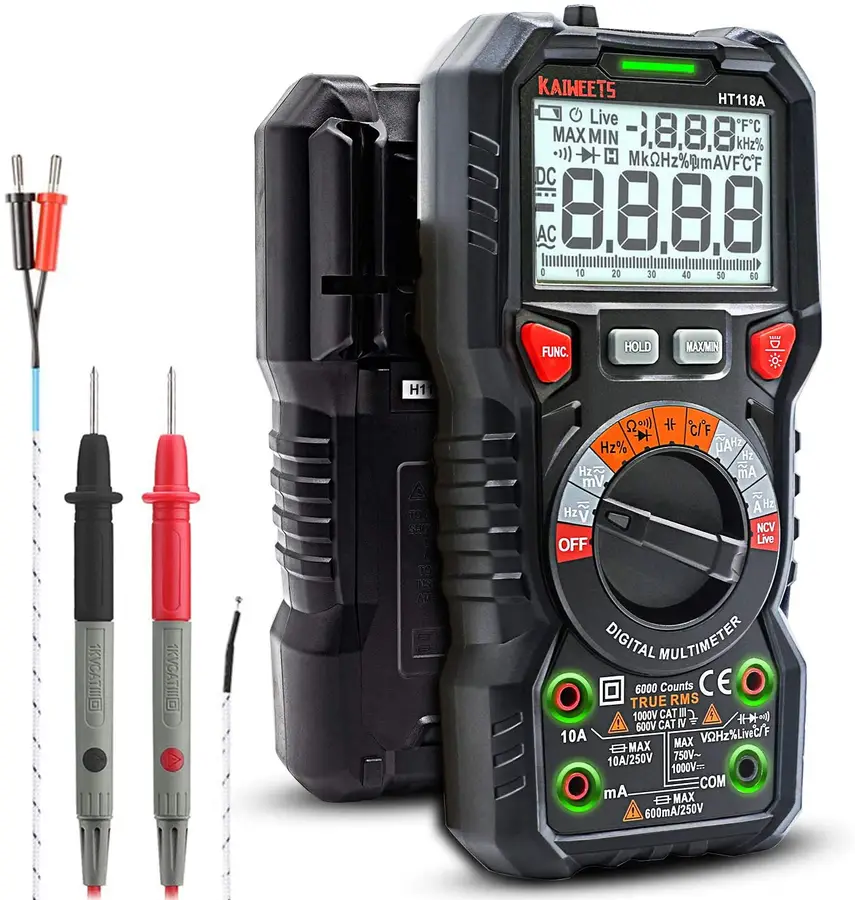
The Best Multimeters for Beginners and Pros (2022)
We present you with our guide to the best multimeter in five categories.
1 – Unplug the computer from the wall
2 – Take your computer’s case cover off
If you’re not used to this, don’t worry. Its not a big deal at all.
3 – Remove the main connector from the motherboard
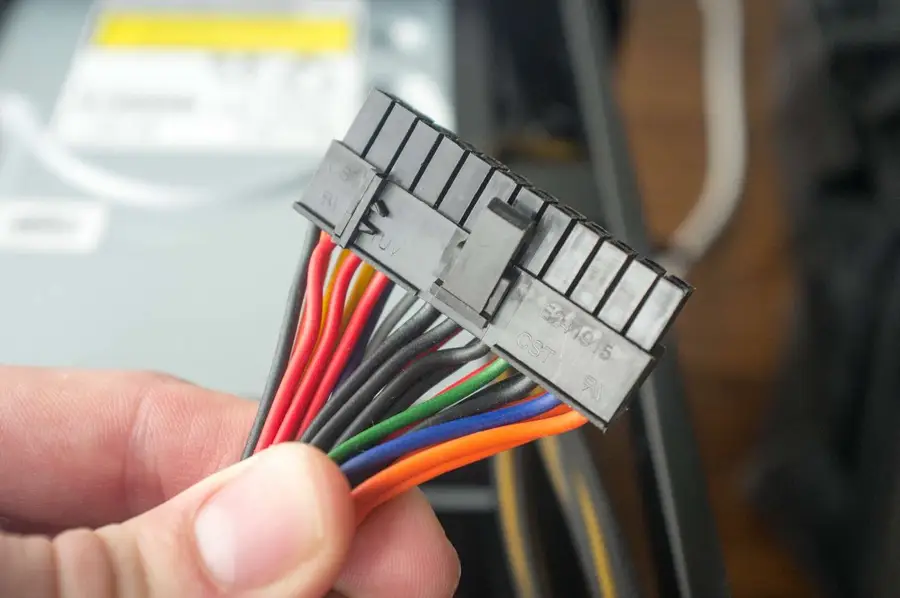
This is slightly scarier but only very slightly. There is usually a small clasp on one side that you have to hold open while removing this from your motherboard.
4 – Plug in a case fan or a hard drive
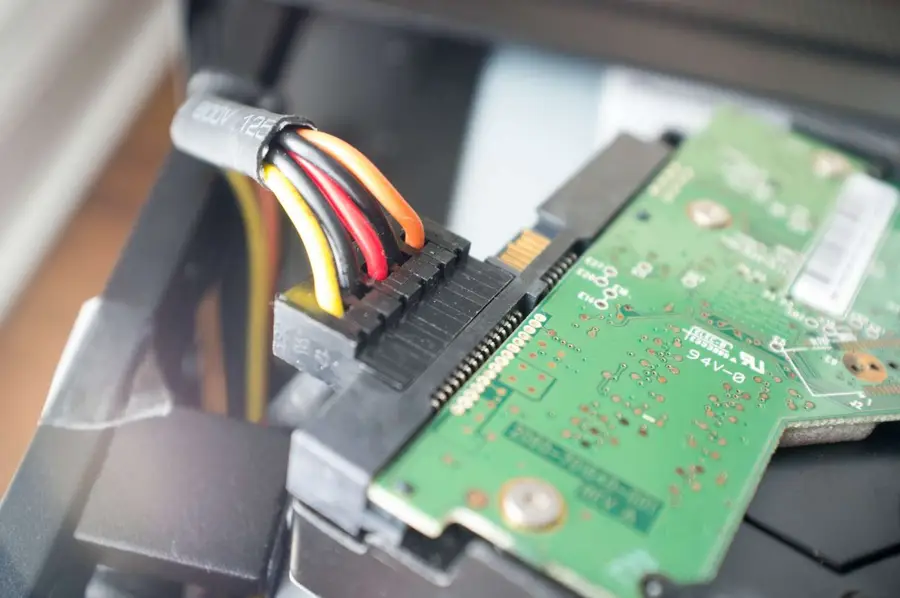
Some PSU’s require at least a small load for this test to work.
5 – Bend the paperclip into a U shape
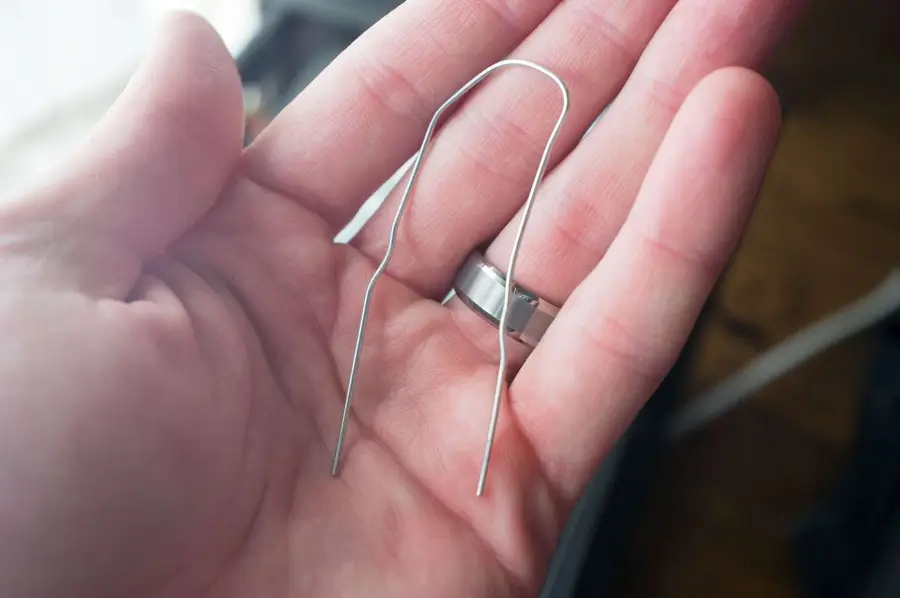
6 – Bridge the paperclip between the green wire and a ground (usually black) wire
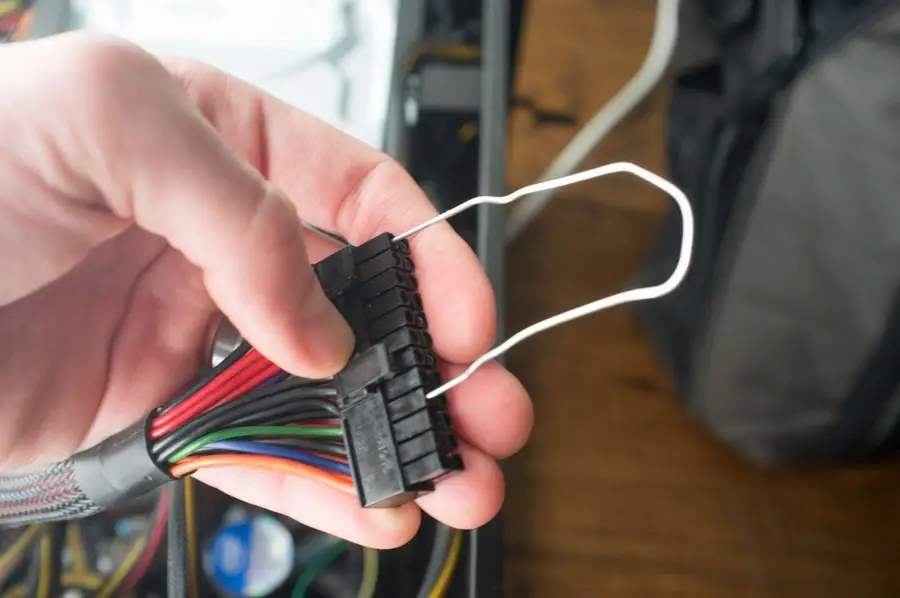
If your PSU is a corsair like mine, then any black wire is a ground wire. This is not dangerous at all, its just basically telling the PSU to power up as soon as its turned on.
| 🛈 Sorry about the thumb in the way!!! |
7 – ATX power cable pinout diagram

The attached ATX pinout diagram identifies the ground pins you can use. This is for the common 24-pin ATX power connector.
8 – Plug in and power on the PSU
If the PSU fan powers on and starts spinning, then your PSU is most likely good! In my case, my PSU didn’t budge so I know its busted and I’ll be ordering a replacement.


