How to Back Up a Raspberry Pi SD Card in Windows

Share
What you'll need
Interests


Backing up your Raspberry Pi is a crucial step for many projects. Maybe you’re about to update the OS or perhaps you’re experimenting with a cool new application. Whatever the reason, it’s never a bad idea to make a quick backup of your Raspberry Pi and its contents.
In this guide, I’m going over the easiest way to back up your Raspberry Pi for Windows users. This guide will require the use of a third-party imaging program.
Using a Mac? Use our MacOS Raspberry Pi backup guide instead!

How to Back Up and Restore Your Raspberry Pi SD Card on Mac
Easily backup, restore, or clone your SD card!
1 – Put the SD card in your computer
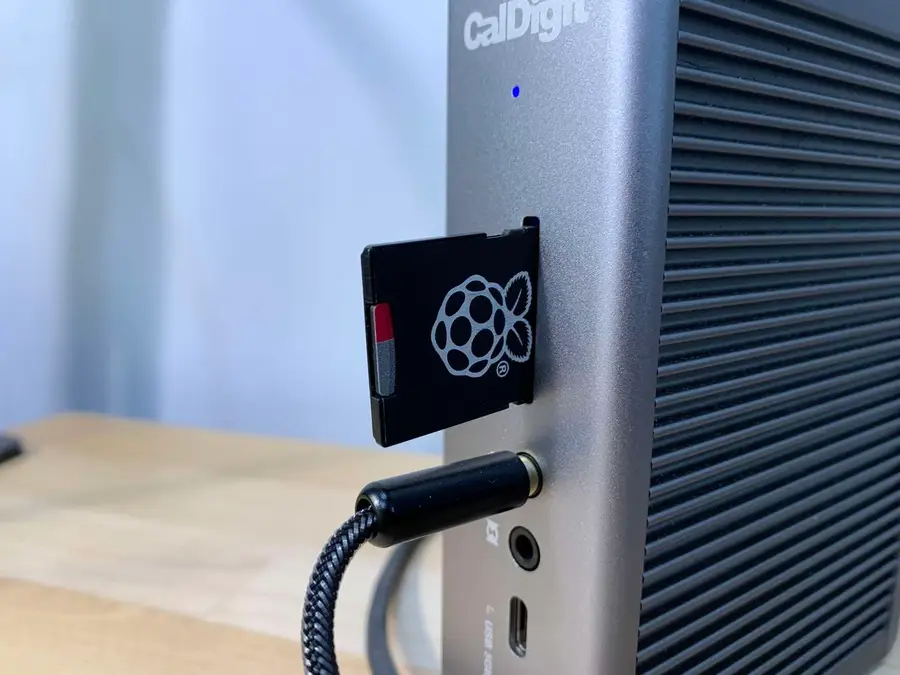
Safely shut down your Raspberry Pi and put the SD card into your computer using a MicroSD card adapter.

2 – Download a Windows imaging program
Performing a Windows Raspberry Pi back up is easy. To accomplish this, you’ll need a disk imaging program. In this guide, I’ll be using Win32 Disk Imager. It’s a free tool available for a wide variety of Windows applications.
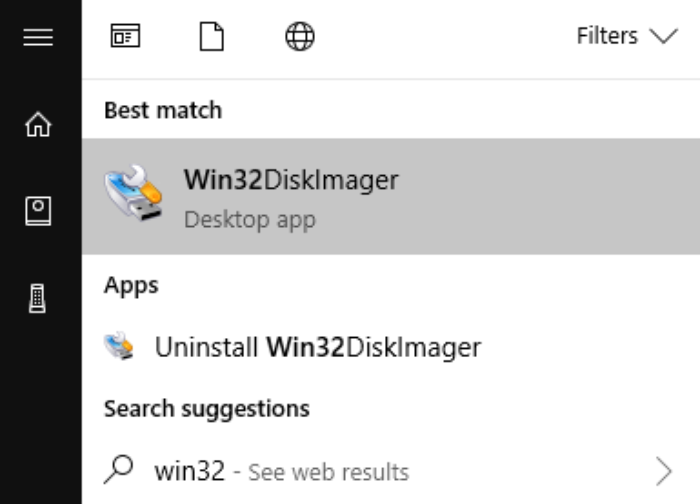
3 – Launch Win32 Disk Imager
To get started, launch Win32 Disk Imager. It can be helpful to launch the application with administrative privileges.
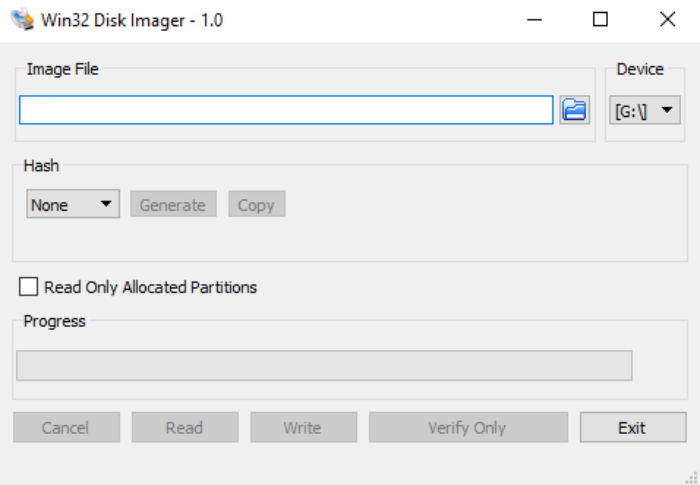
4 – Choose a location
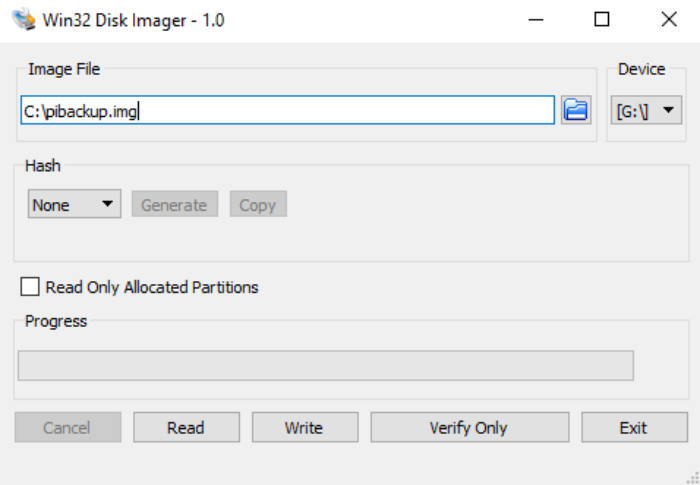
The Raspberry Pi backup will be stored in a single file. You’ll need to choose a location to store your backup. Be sure to name the backup file and include the .img extension.
Example: C:\pibackup.img
This will create a backup file named pibackup.img located in the top level of the C drive.
5 – Initiate the backup
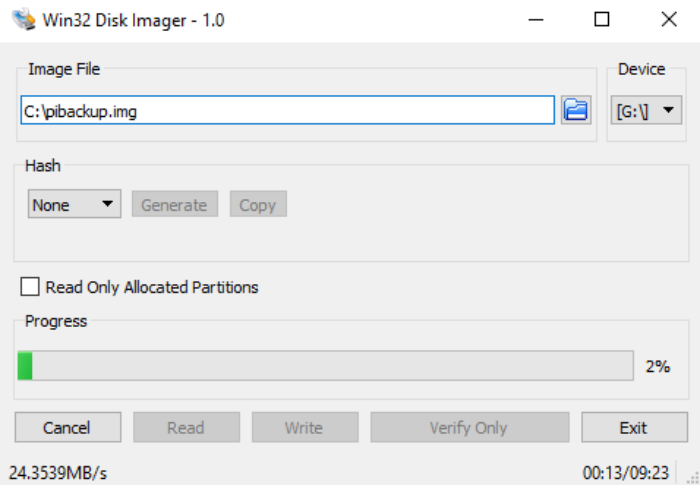
Select the Read option to initiate the backup process. The amount of time this step takes can vary. You’ll have the opportunity to track the progress with a loading bar.
6 – Verify the backup process is successful
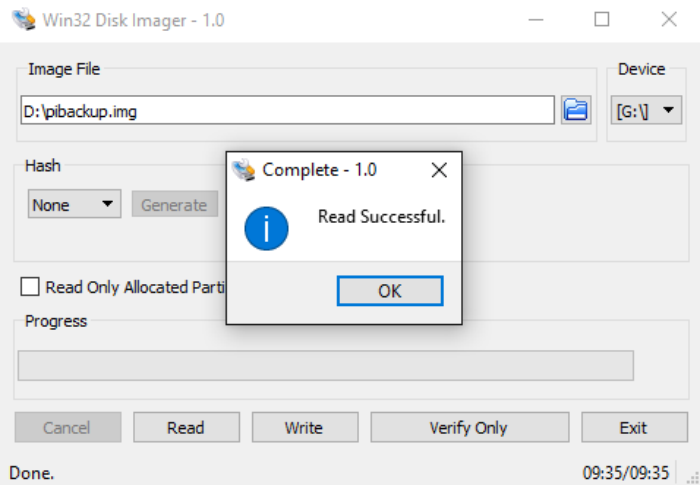
To confirm your success, Win32 Disk Imager will notify you via a pop-up alert. However, it’s best to double-check the location to ensure your backup file is actually there. It should have the .img extension following the name.
Congratulations! Your Raspberry Pi’s contents are now backed up safely.
7 – How to restore your backup file contents
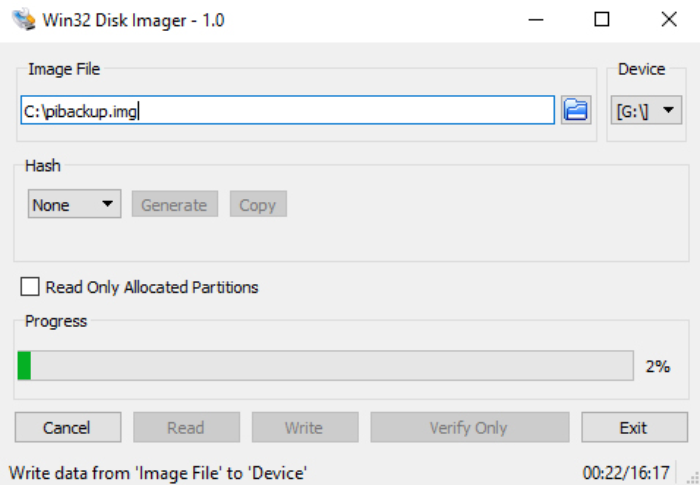
To restore your backup file to the Raspberry Pi, choose the backup image file, and set the device letter to your SD card. Click write to update the SD card with the image file you’ve selected.
Note: If your Raspberry Pi’s file system is expanded to use all available space, be sure to load your backup image onto an SD card of the same size or larger.


