How to Add an LED Strip to Your 3D Printer to Light up Your Prints

Share
What you'll need
Interests


This guide will teach you how to install LEDs on your 3D printer, illuminating your prints!
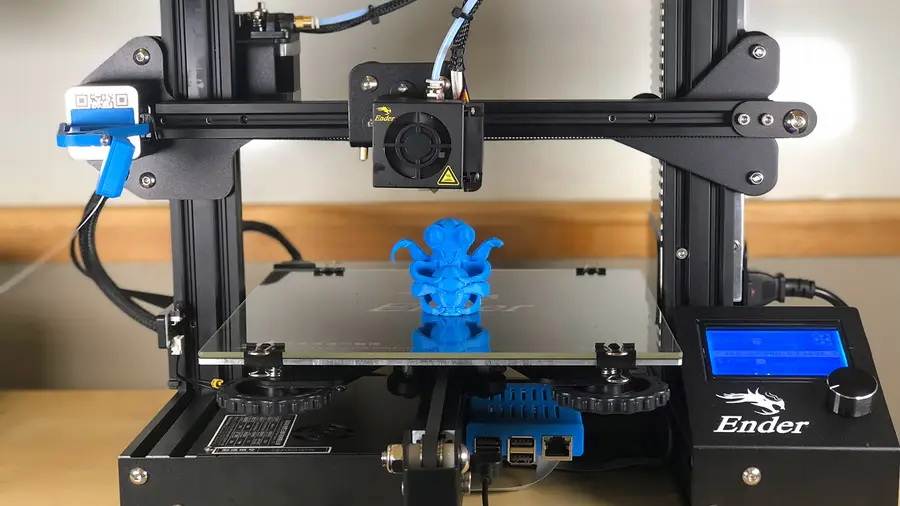
All 3D printers are different; I’ll cover instructions for all printers in this guide and will be performing this lighting upgrade on the Creality Ender 3.
Creality Ender 3 Review: The Best 3D Printer Under $200
Behold the Anet A8 slayer.
Let’s get started!
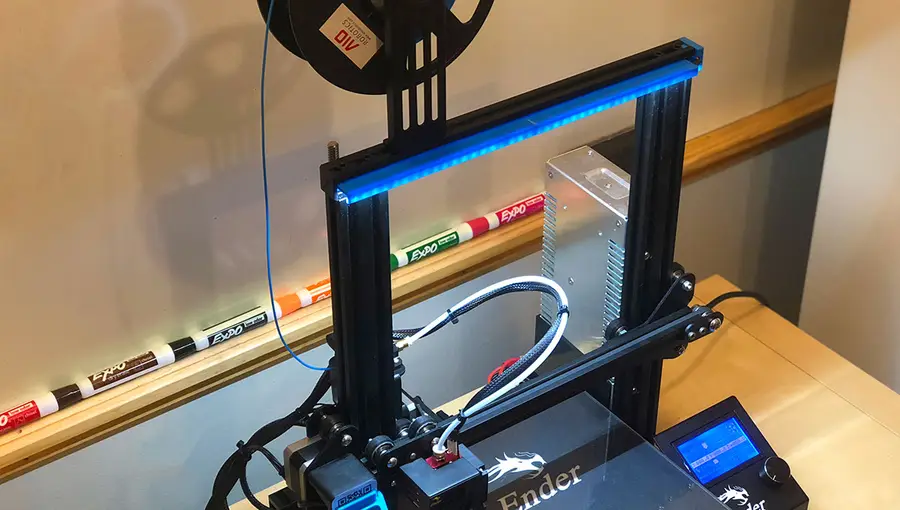
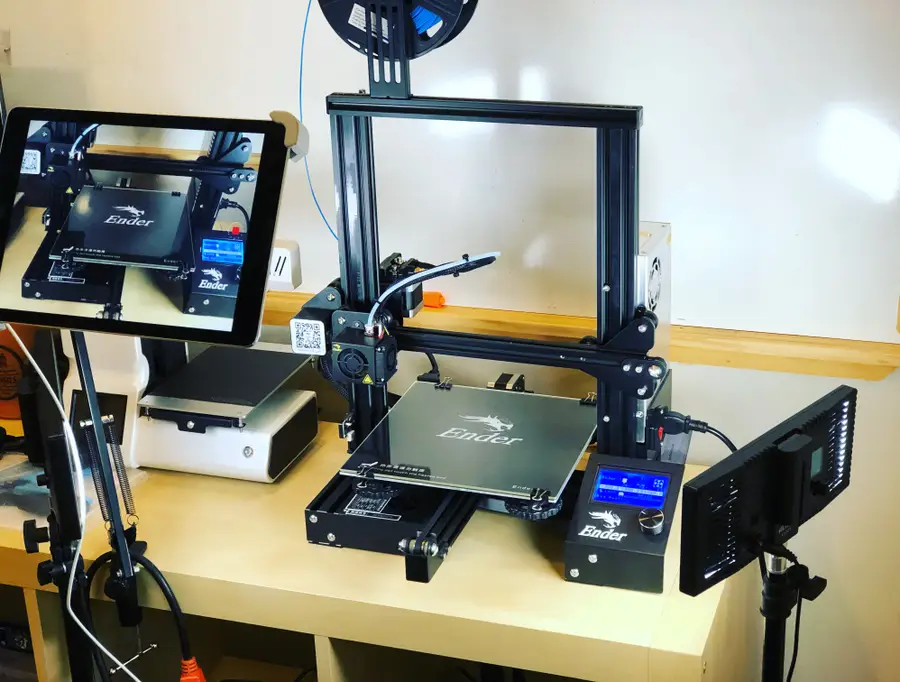
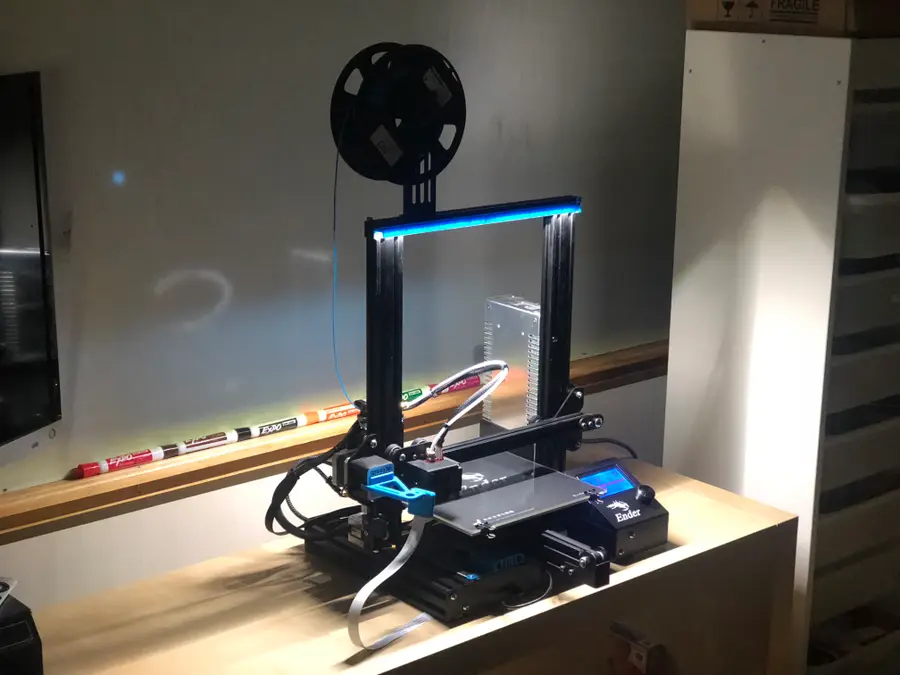
1 – The final product
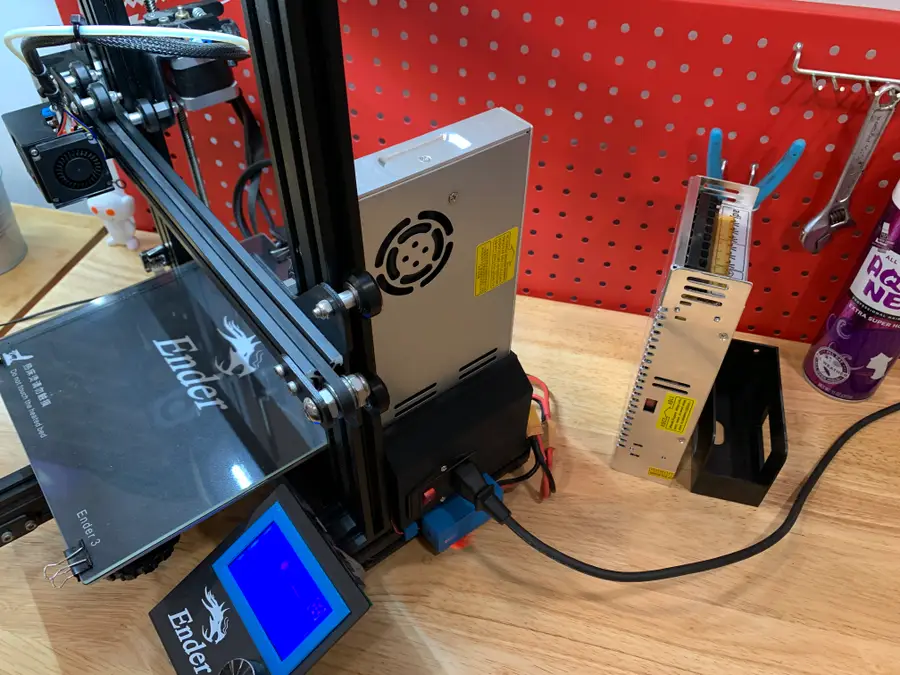
First, the finished project! The LED strip is powered directly from my printer using this $5 voltage (“buck”) converter. When I turn the printer on, the lights come on too!
Note: you may want a multimeter for this project. If you don’t have one, then check out our best picks for multimeters.
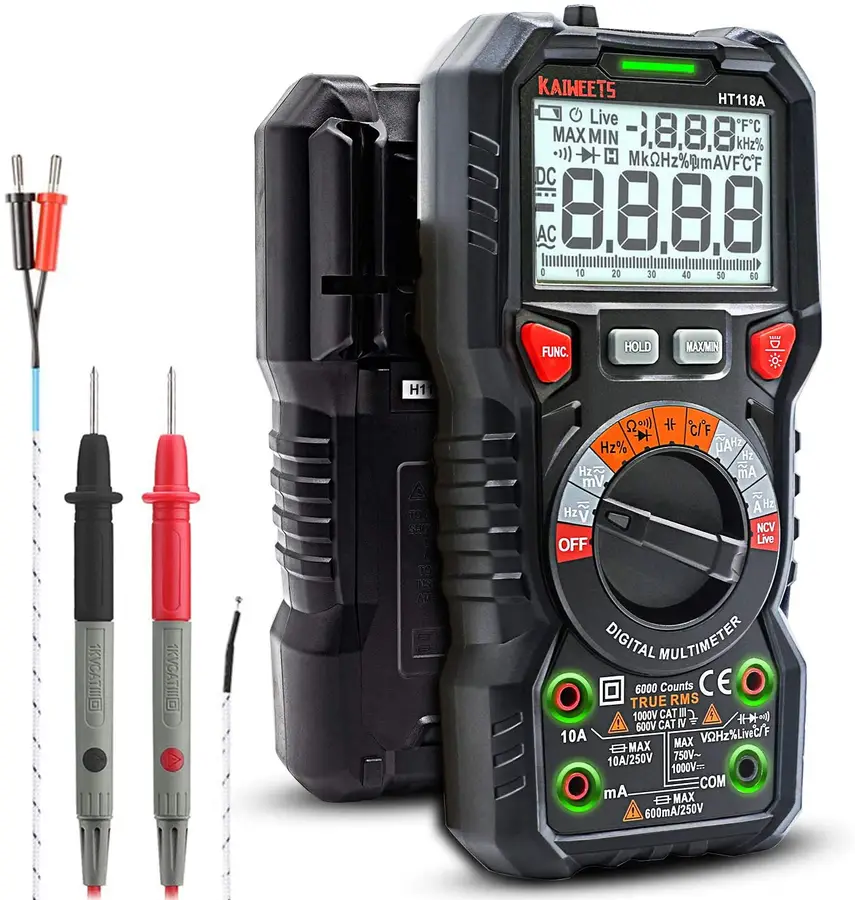
The Best Multimeters for Beginners and Pros (2022)
We present you with our guide to the best multimeter in five categories.
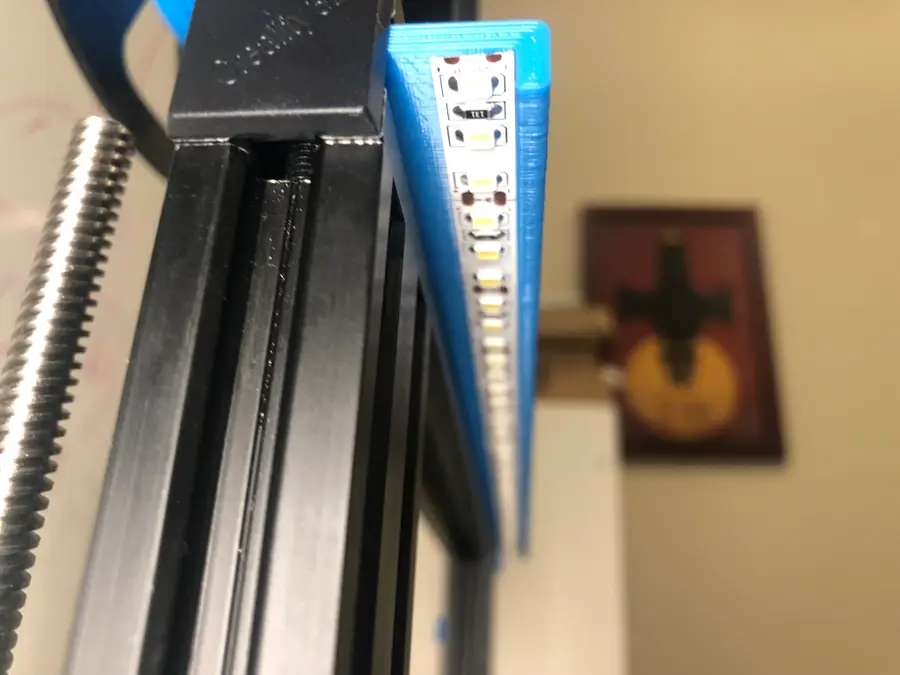
2 – Print your LED strip holder
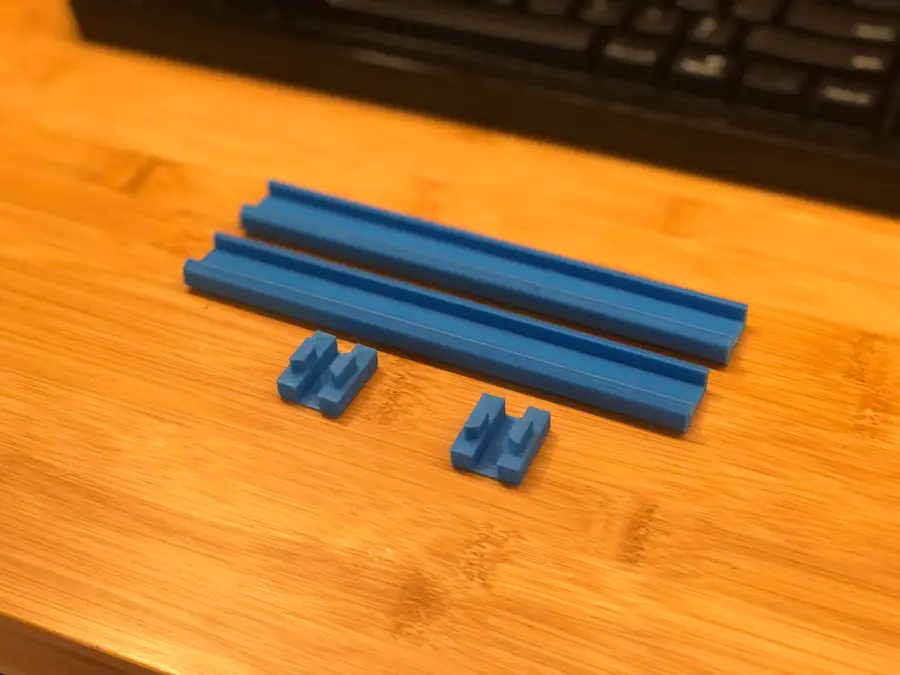
This will vary from printer to printer; simply search for your 3D printer and some “LED” search term on Thingiverse and you’ll find a variety of models to print for your printer.
For my Ender 3 LED strip upgrade, I chose to print this model. It slides directly into the aluminum channel at the top of my printer and fits a 5050-style LED strip (more on that later).
| 🛈 My printer only has space for a single strip — depending on your printer design, you may be able to add multiple strips on the sides as well! This guide works the same either way. |
3 – Choose your LED strip
There are a few factors to consider when choosing an LED strip:
Voltage
LED strips come in a few different voltages, with the most common being 5V and 12V. I’m going to use a 12V strip as the LED output will be brighter despite using only a short strip of LEDs.
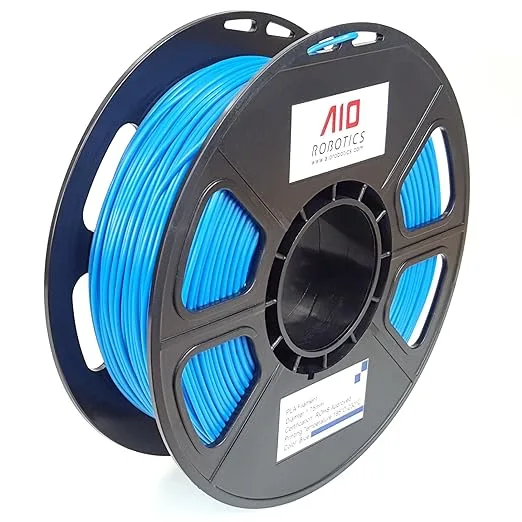
This is the LED strip I used for this guide. I chose it because it stays cool and has LEDs packed closely together, resulting in brighter LED output.
Type and brightness
You might notice there are different types of LED strips (SMD 3528, SMD 5050, etc.) The difference here is the physical size of the LEDs on the strip.
If you’re interested, this is how the SMG measurement translates to LED size:
| Type | LED size |
|---|---|
| SMG 3528 | 3.5×2.8mm |
| SMG 5050 | 5.0×5.0mm |
LED density
Another big factor is LED density — the number of LEDs per meter is a common measure.
Heat
Make sure your LED strip doesn’t get hot enough to melt the strip holder, which you’re probably printing in PLA — some super high output LED strips can do this. No need to go overboard.
LED color/temperature
Color temperature refers to how “warm”, or “yellow” the light is. You probably want a colder, whiter light for your 3D printer.
I went with a cool color temperature of 6000-6500K.
4 – Powering your LED strip
There are a few ways to power your LED strip:
Power it directly from your printer (recommended)
You can power your LED strip directly from your printer’s power supply unit (PSU). This way, the strip will automatically turn on and off with your printer. You can also add a switch to turn it off manually. This method works with either 12V or 5V LEDs.
This is the method I’ll cover in this guide.
Plug it into the wall
If you’re using a 5V LED strip with a USB cable attached, you can simply plug it into a phone charger in the wall. However, you’ll need to connect it each time you want to print. Also, your brightness will be more limited at 5V.
Power it from a Raspberry Pi
If you’re running OctoPrint on your 3D printer using a Raspberry Pi, you can connect a 5V LED strip directly to your Pi’s USB port. However, you’ll need to make sure your strips don’t pull too much current or your Pi won’t function properly.
5 – Power your LED strip from your 3D printer
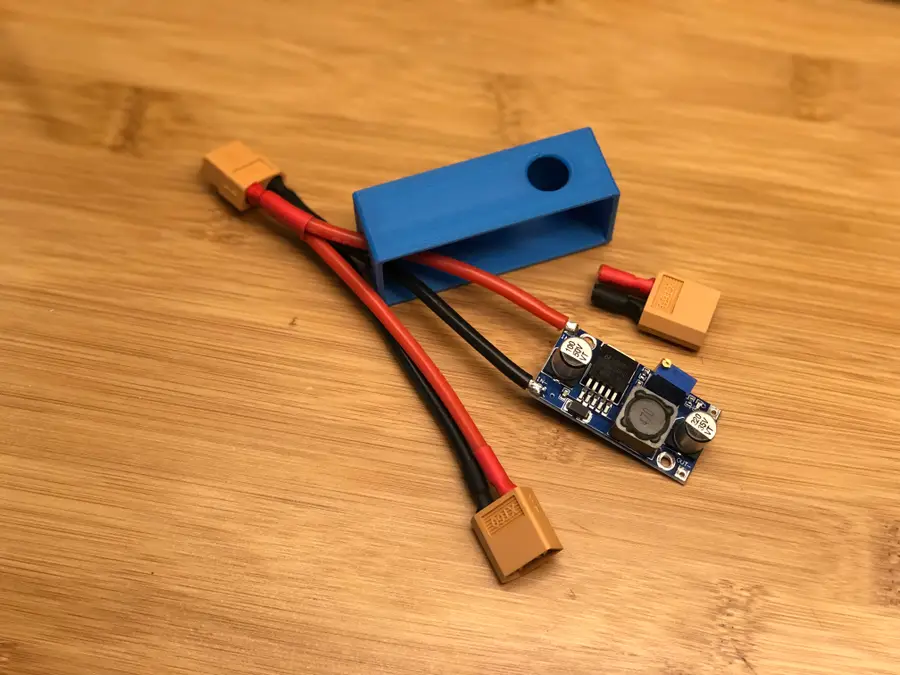
To do this, we’ll use a simple LM2596 voltage regulator or “buck converter”. In a nutshell, this little $5 board will reduce the voltage output by our printer to the voltage required by the LED strip.
The Ender 3 outputs 24V, so I’m going to “step-down” this voltage to 12V.
If your printer already outputs 12V, you don’t need to add a buck converter. Some Googling will tell you what outputs your PSU has.
I wrote a separate guide on powering a Raspberry Pi from a 3D printer. That guide lists the steps in great detail for soldering and connecting the LM2596 to your printer and reducing it to the required output.
How to Power a Raspberry Pi from a 3D Printer Using Your Printer’s Power Supply Unit (PSU)
Who needs more power bricks?
Use that guide to create your power source and then return here to continue. Of course, don’t solder a Micro USB cable to the OUTPUT as listed in that guide; we’re going to solder the LED strip there instead!
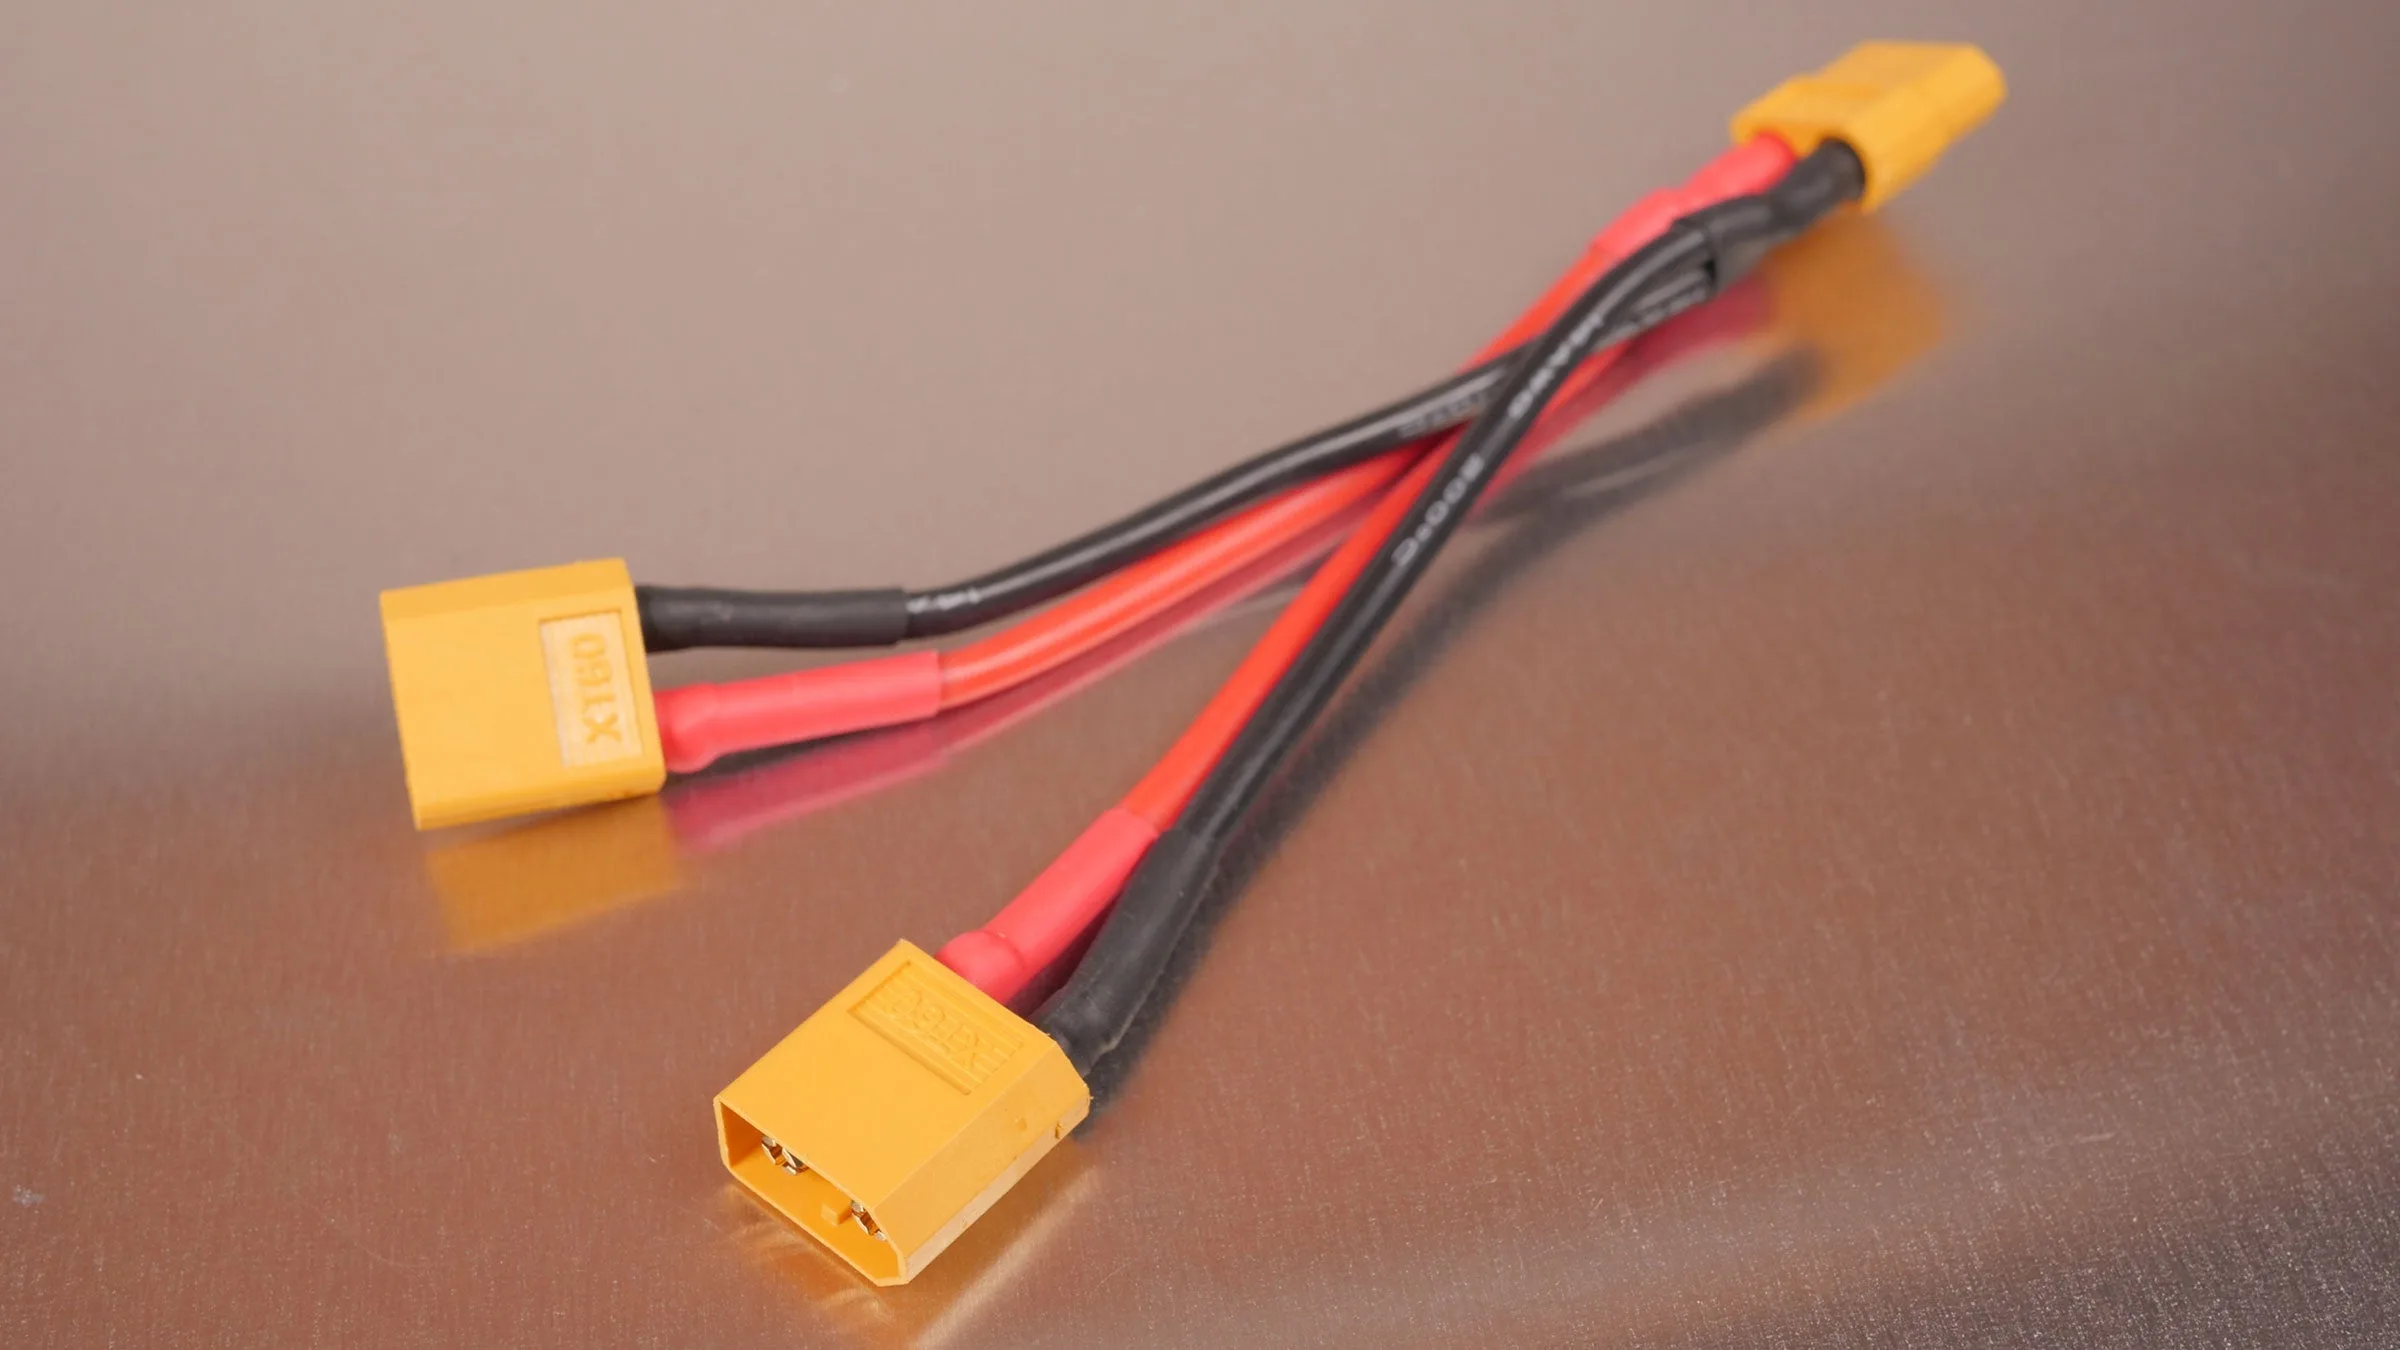
For my Ender 3, I connected the buck converter to my printer’s power supply using this XT60 cable. This method is nice since it makes the buck converter easily removable in case I want to remove or change out the power strip.
| 🛈 When powering your LED strip from your printer, it’s important that your printer has a built-in fuse (most printers have this, and if yours doesn’t, you should absolutely install one — LED strip or not). |
6 – Soldering your LED strip
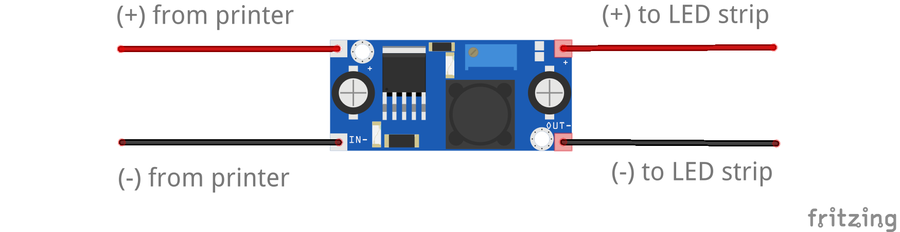
Now that you have a power source ready, we’ll connect it to to the LED strip. The attached diagram shows the soldered connections you should make.
Need a soldering iron? Check out our picks for best soldering irons.

The Best Soldering Irons: Read This Before You Invest (2022)
We’ve put together a guide to help you find the best soldering iron for your next project.
7 – Cut your wires to length
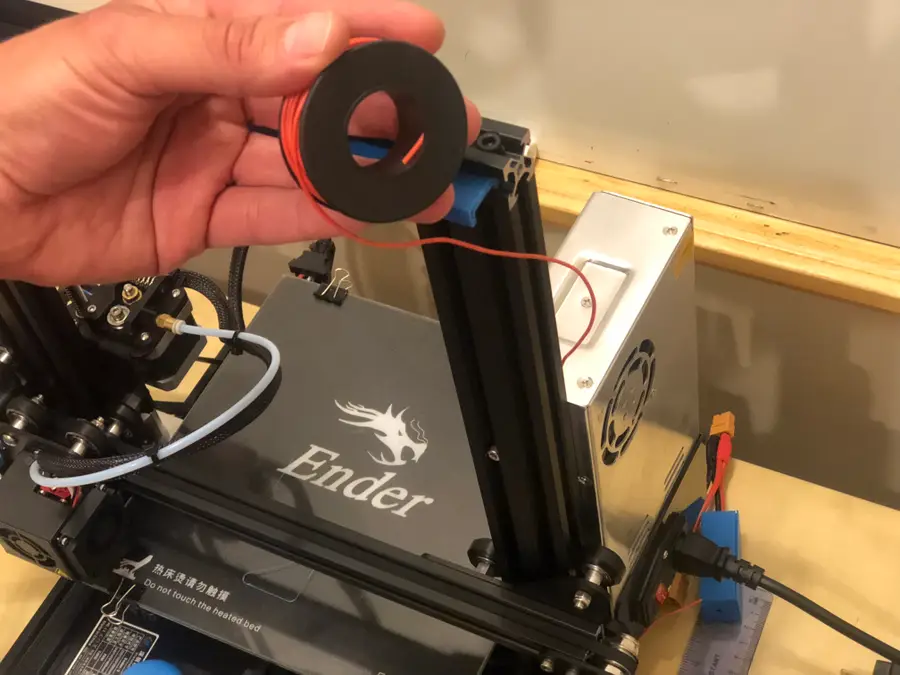
You’ll need a wire long enough to reach from the PSU to the LED strip. Be sure not to run the wires anywhere near moving parts. You don’t want a print ripping your wires out! And then shorting them and also fire perhaps. Fire bad.
I like to manually run my wire along the printer to determine its precise length before cutting and soldering it. For my Ender 3, I was able to run the wire in the extruded aluminum channel behind the power supply. Super neat!
| 🛈 Leave a bit of extra wire — it’s better to have a small service loop on the back than to have wires that are too short. |
8 – Solder the LED strip to the power source
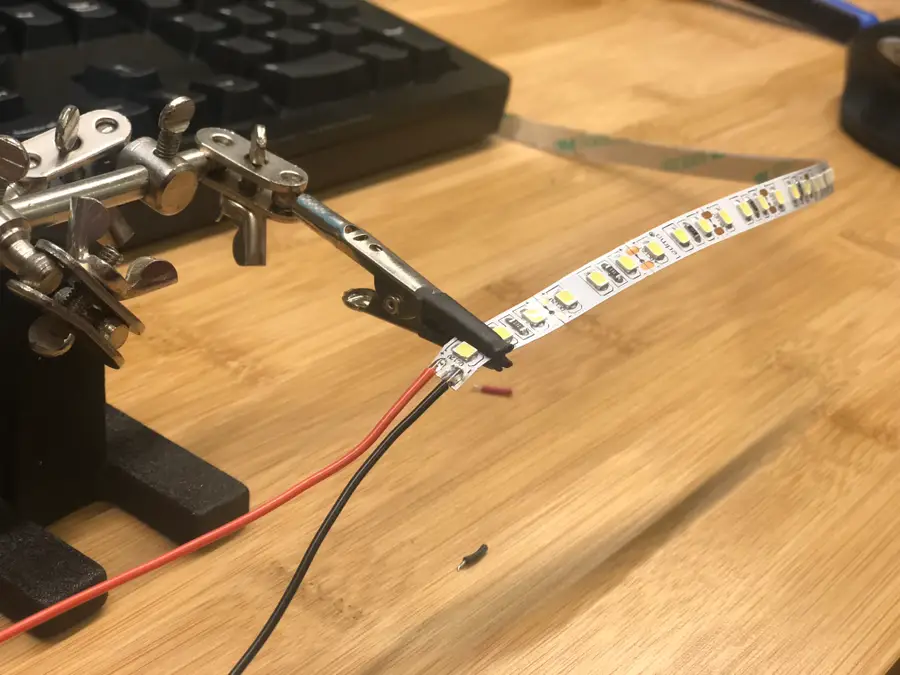
Next, we’re going to solder the red positive (+) and black negative (-) wires to our power source. If you’re powering the strip directly from your printer, simply solder these to the OUTPUT terminals of the LM2596 step-down converter.
To add a DC power switch, solder it inline with the black negative (-) wire. Make sure the switch is rated for your voltage (12V etc.) Toggling the switch on and off will break the circuit, turning the strip off.
9 – All soldered!
notbad.jpg
10 – Mount the strip to your printer
Mount the LED holder to your printer. Then, cut your LED strip to length and use the LED strip’s self-adhesive tape to connect the strip to its holder.
11 – Secure your wires
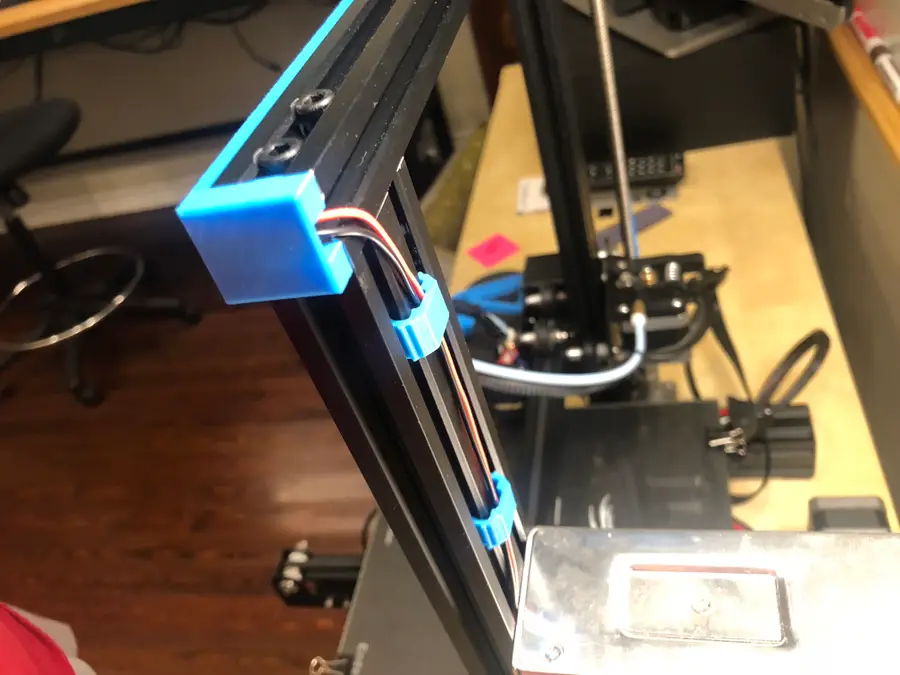
This is important. You’ll want to secure your strip’s wires carefully so that they don’t get snagged by your printer moving. You can download and print all kinds of cable clips and mounts from Thingiverse, so get creative with it!
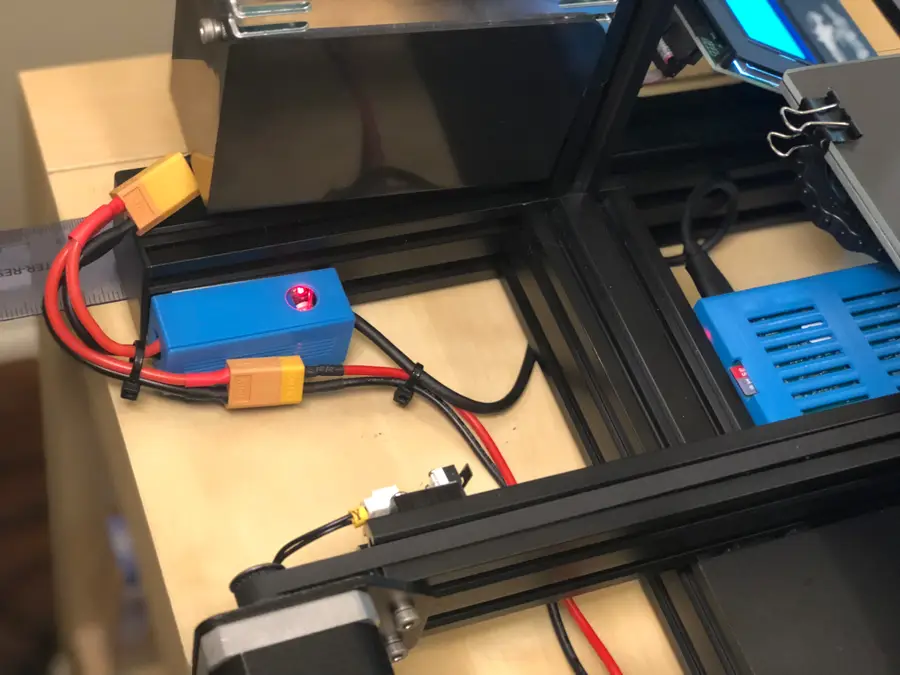
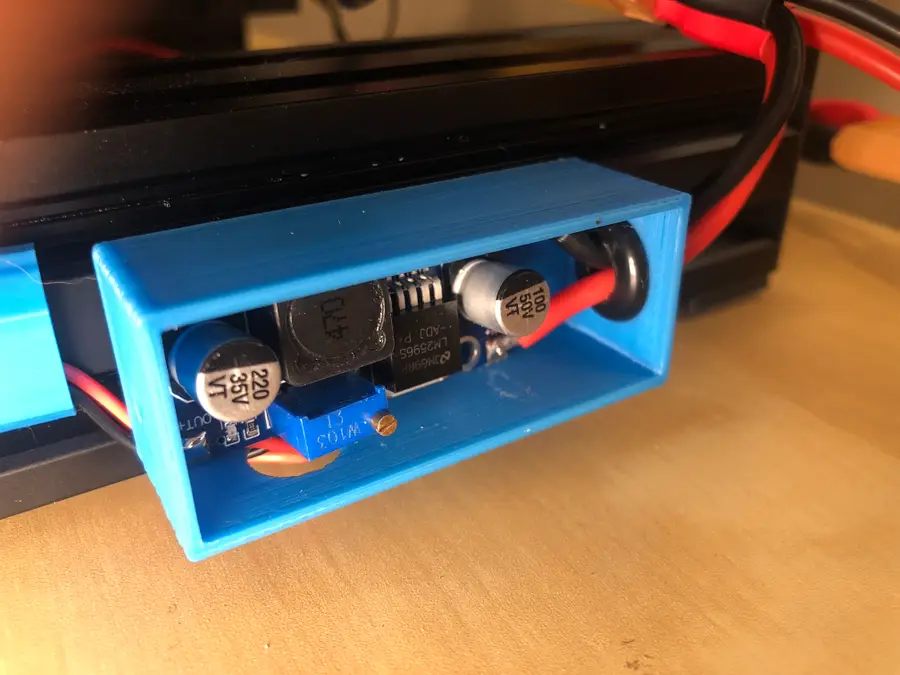
12 – Mount the buck converter enclosure
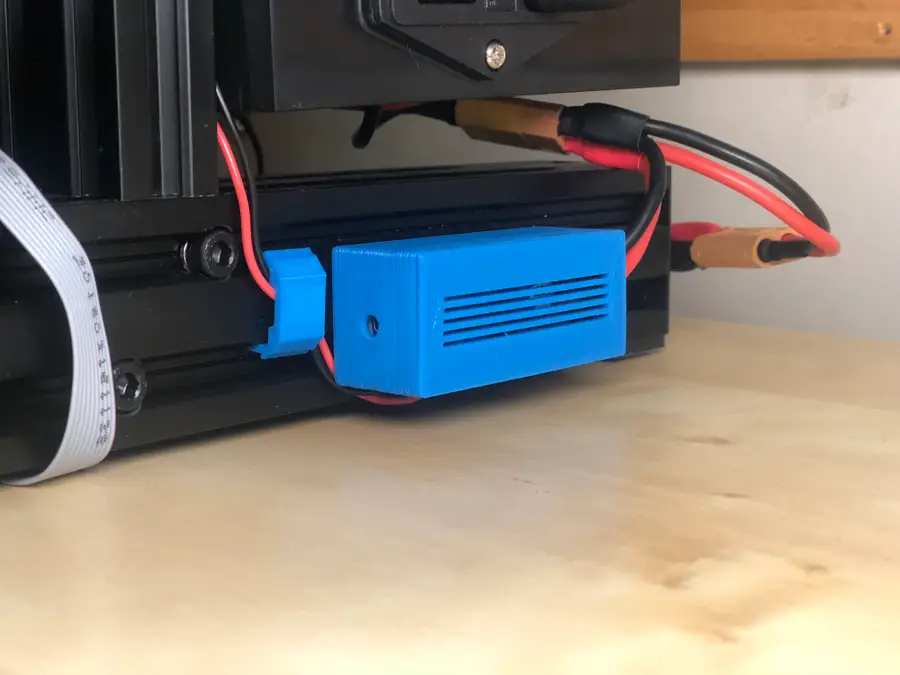
If you’re powering your strip using a step-down converter per my Raspberry Pi 3D printer power guide, mount the step-down converter enclosure to a safe part of your printer using foam tape.
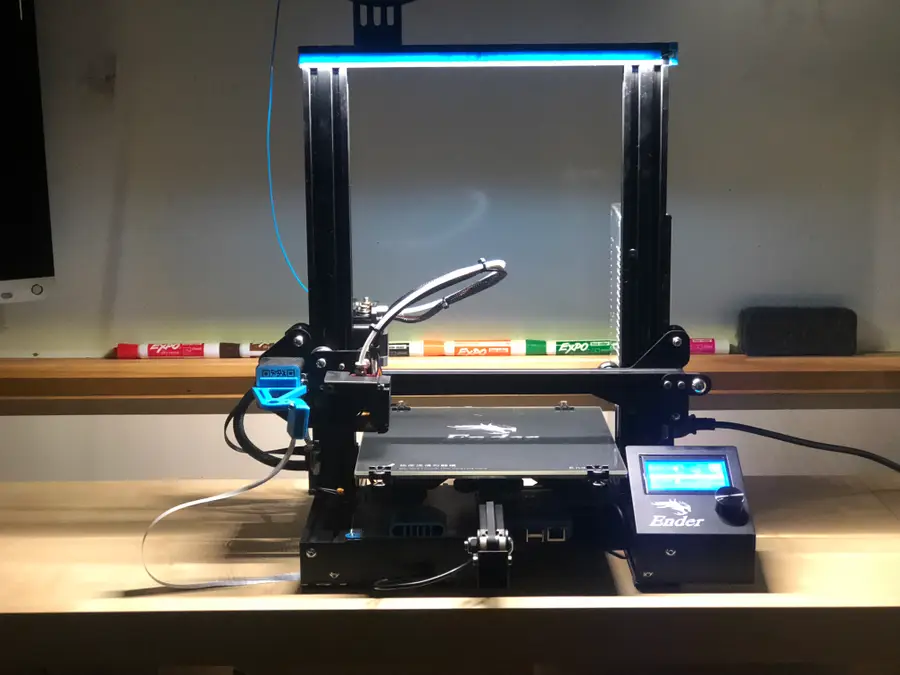
13 – All done!
Looks nice. I’ll add a switch later! 🙂
What’s next?
If you haven’t installed OctoPrint yet, give it a shot! It’s my top recommended 3D printer upgrade.
OctoPrint: Control Your 3D Printer Remotely with Raspberry Pi and OctoPi
Untether your printer!