How to Install a Backlight in a Game Boy

Share
You'll Need 14
What you'll need
Interests
Series
Posted in these interests:


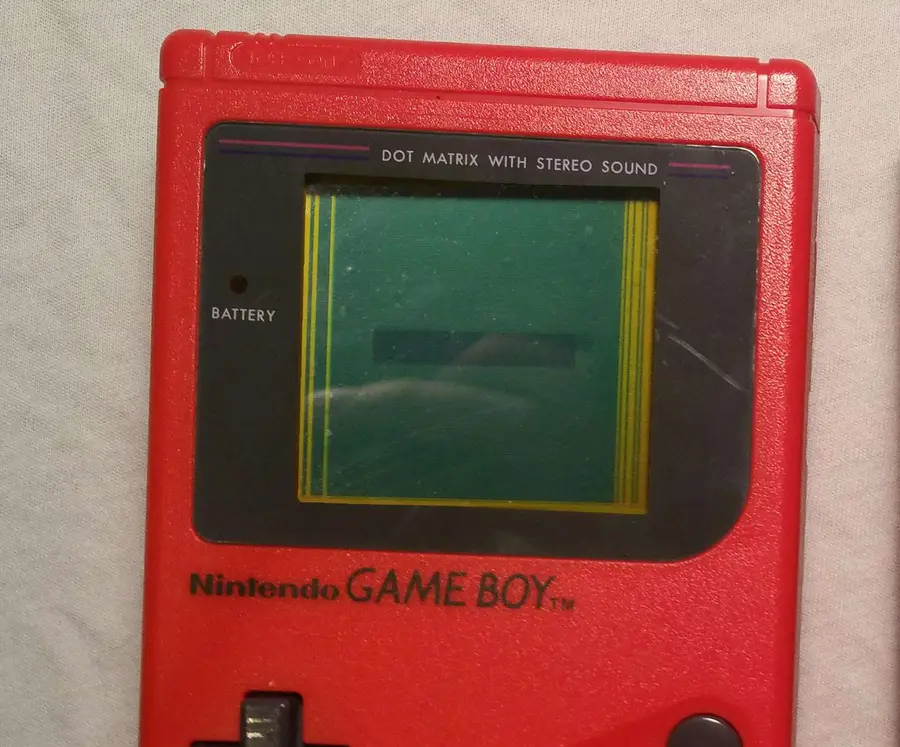
Are you struggling to see the pixels on your Game Boy?
Why bother with ambient light fixtures when you could install your very own backlight? That’s right! In 2018, we no longer need the burden of a carefully placed lamp to make or break our gaming experience.
With the power of a Game Boy backlight kit from Hand-Held Legend, you can take your Game Boy DMG experiences into the night!
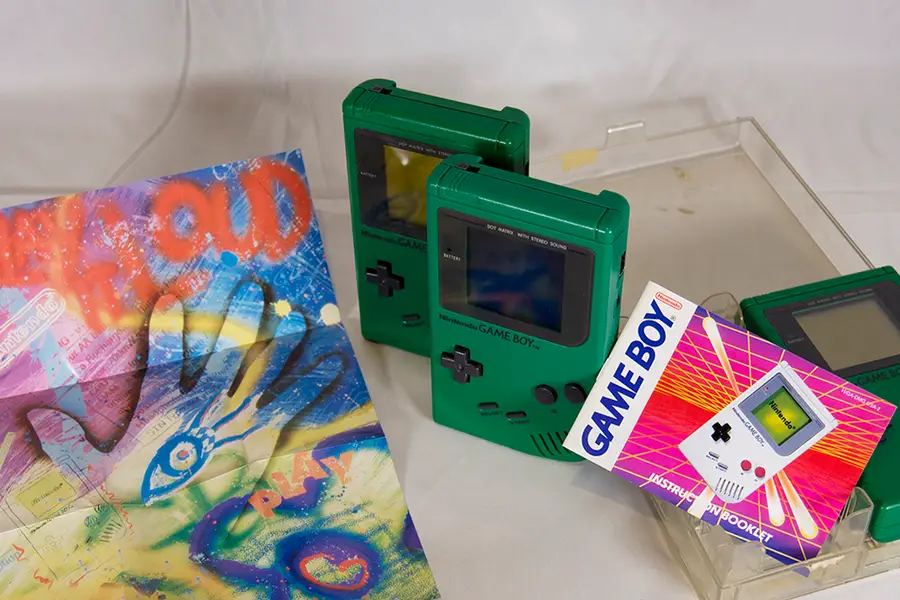
Today I’ll be installing a green backlight in my Gameboy. To get started, we will need a few things…
1 – Examine the Game Boy
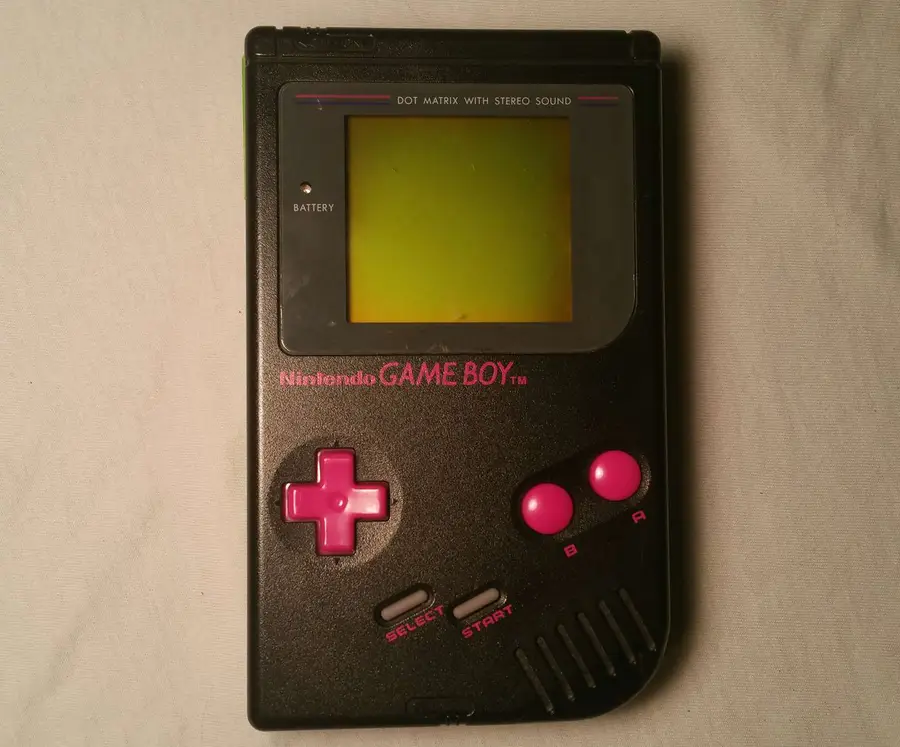
First we’ll need to turn the Game Boy off for a physical examination.
The Game Boy is held together with 6 screws—take note of any that may be missing. Most Game Boys use tri-wing screws to hold the outer shell. Occasionally you’ll find an older model held together with Phillips screws.
Be mindful of any potential battery acid that may affect the device—some battery acid damage can be repaired.
How to Clean the Original Game Boy Battery Contacts and Remove Corrosion
Game Boy won’t turn on? No problem.
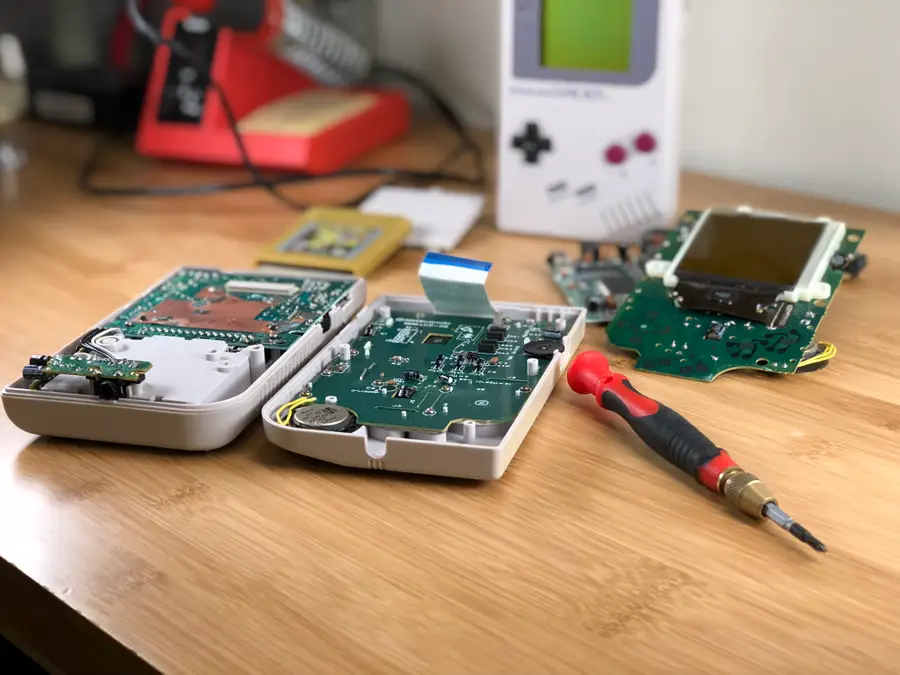
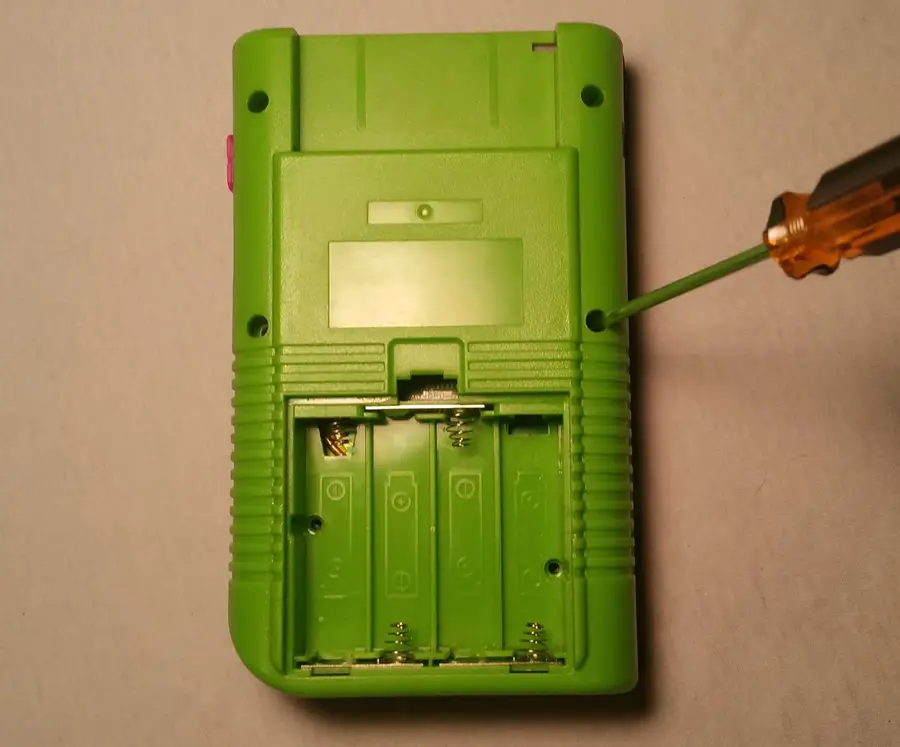
2 – Open the Game Boy
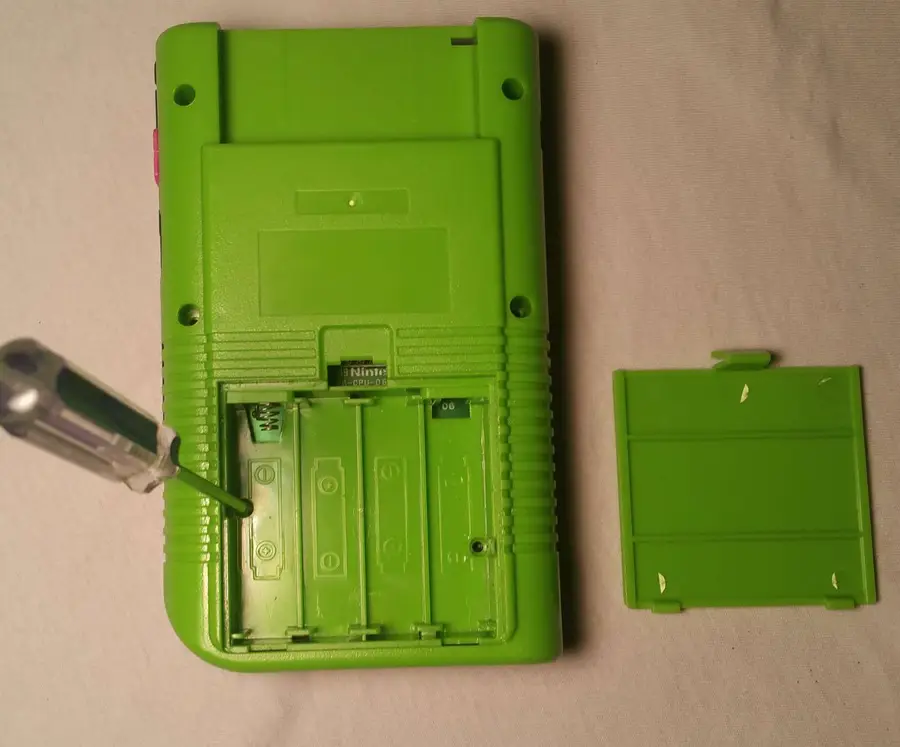
Identify the best screwdriver to use and remove the screws from the back of the Game Boy. The battery cover and batteries will need to be removed to expose the final 2 screws. You will need to account for 6 screws total.
Gently separate the halves. There will be a delicate ribbon cable connecting the two halves together. We need to unplug this cable from the back motherboard. This ribbon cable is very sensitive and bending the wires may render the screen irreparable. Be extra cautious when disconnecting this ribbon cable.
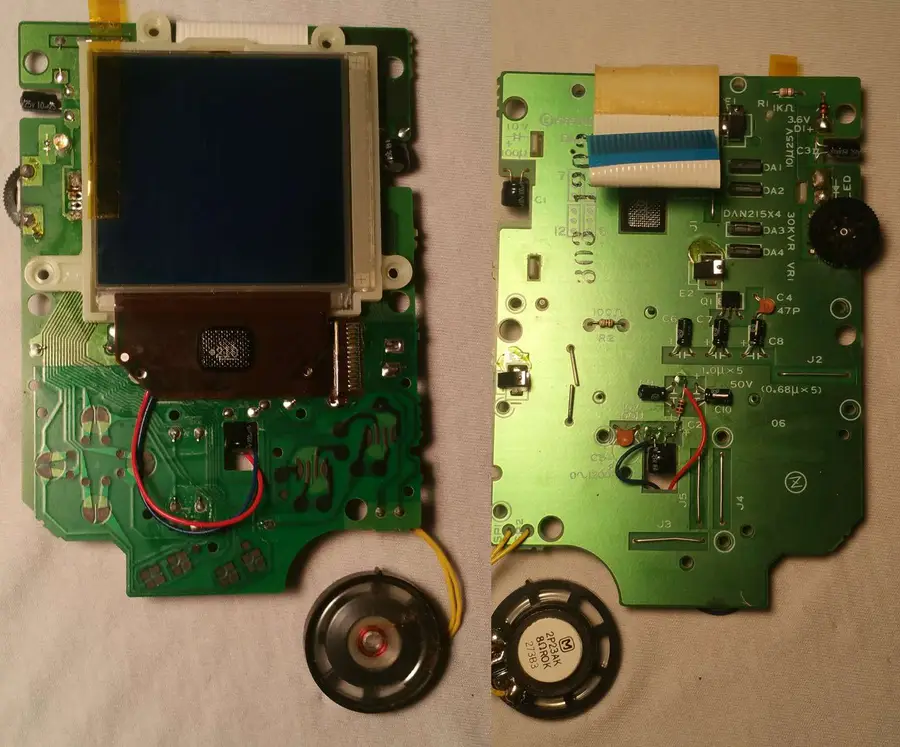
3 – Remove the front motherboard

The front motherboard needs to be removed with a Phillips number 1 screwdriver. You will need to account for 10 screws total.
Without using too much force, remove the motherboard from the front shell. There will be several components to account for.
- A Button
- B Button
- A/B Buttons Silicone Pad
- D-Pad Button
- D-Pad Button Silicone Pad
- Start/Select Buttons (One Piece)
4 – Unscrew the LCD
Using a Phillips screwdriver number 0, remove the two screws below the LCD screen.
5 – Carefully remove the polarizing film
This step is very critical and can damage the Game Boy screen permanently. Exercise extreme caution!
The Game Boy screen uses a polarizing film which needs to be removed. It will be replaced with a new polarizing film from the backlight kit.
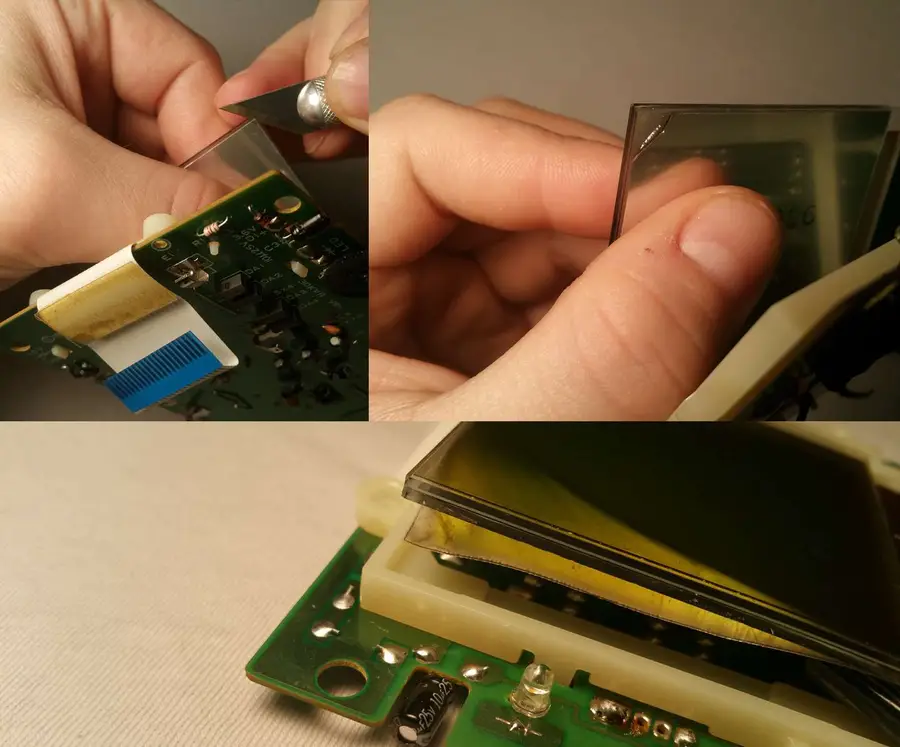
Lift the screen from the board. The polarizing film is under a reflective layer. Both need to be removed. Using an x-acto knife, start peeling the corner of the polarizing film. Be sure you have both layers peeling, not just the reflective layer.
Carefully work with the film to remove it from the screen. Be mindful of how you are holding the screen.
- DO NOT APPLY PRESSURE to the screen.
- DO NOT SQUEEZE the screen.
- DO NOT USE EXCESS FORCE to remove the polarizing film.
You may need to clean remaining glue using an alcohol soaked cotton swab.
6 – Prepare the new polarizing film
Open the new kit to retrieve the replacement polarizing film.
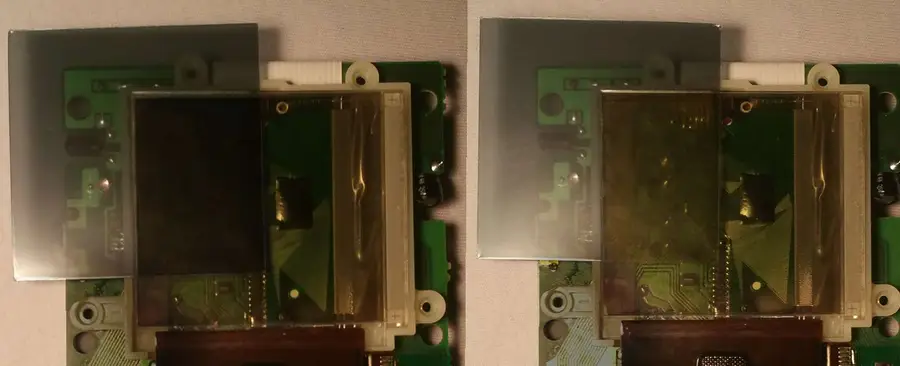
Place the new film behind the Game Boy screen. The polarizing film will appear darker or lighter when rotated 90°. We will need to choose the right orientation for our backlight mod.
- If the Game Boy will be using a bivert chip, the polarizing screen needs to be tilted 90° until it appears dark.
- If you will not be installing a bivert chip, the polarizing screen needs to be tilted 90° until it appears clear.
Be aware of the two protective stickers covering each side of the polarizing film. It’s best to leave these in place until the backlight is slid into place.
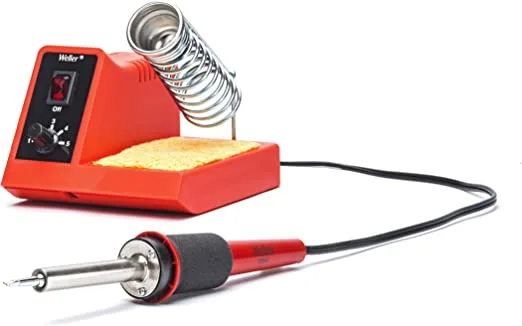
7 – Solder the wires to the backlight
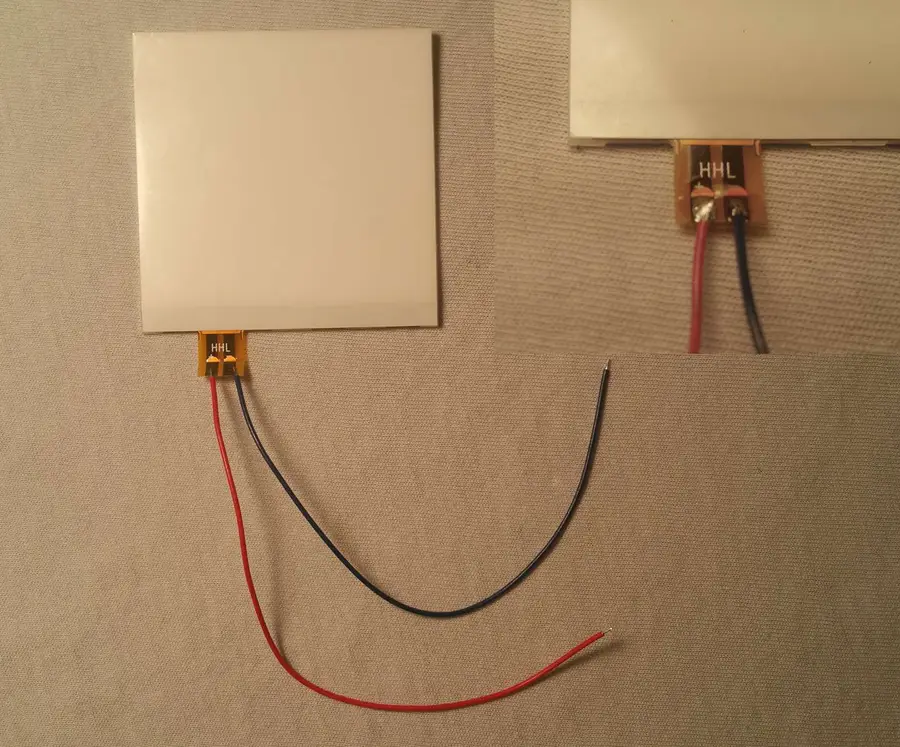
The backlight comes with two wires. They will need to be soldered to the backlight.
Using a soldering iron, carefully solder the wires to the backlight terminal. One wire will need to be soldered to the positive side, the other negative. In my example, I’ve soldered the red wire to the positive terminal. Keep track of which color you’re using for each terminal!
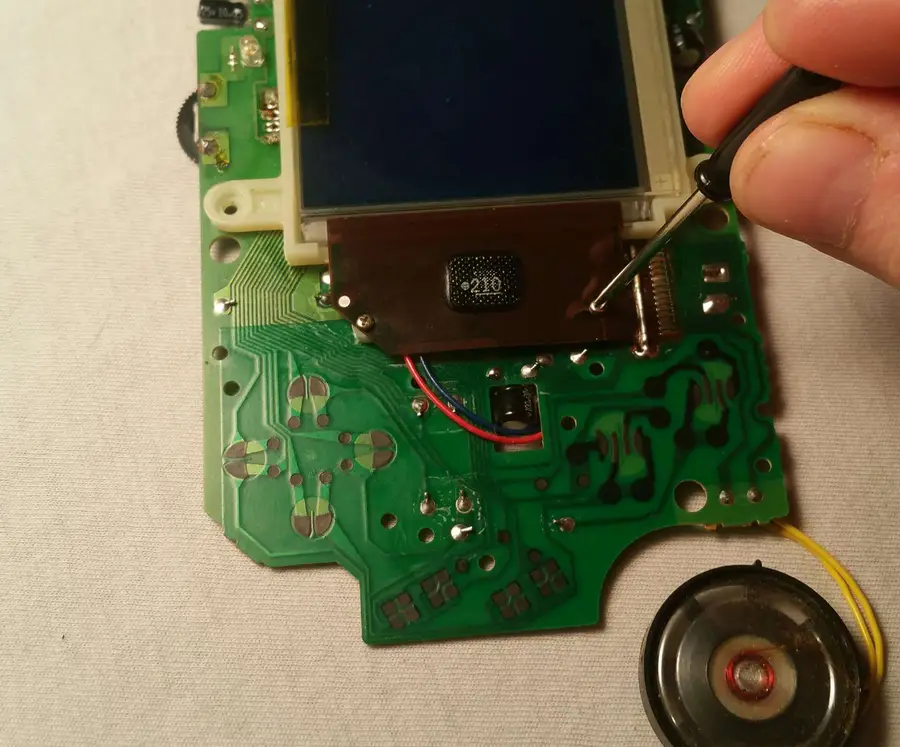
8 – Place the backlight
This is the best opportunity to clear the screen of potential debris. Using a microfiber cloth, clean every side of each new layer. This includes the LCD, the polarizing film, and backlight.
You may need to pry the screen up using an x-acto knife. Be careful not to chip the screen. There is a small groove above the display that should give a little bit of leverage.
Remove the two white foam rectangles from behind the screen and discard them. Place the new backlight behind the LCD screen. Now is the best time to remove the protective stickers from the polarizing film. Holding the sides of the polarizing film, carefully place it between the backlight and LCD. Be mindful of the orientation you need from step 7.
You may choose to use a piece of kapton tape to prevent the backlight from falling out during installation, as seen in the example.
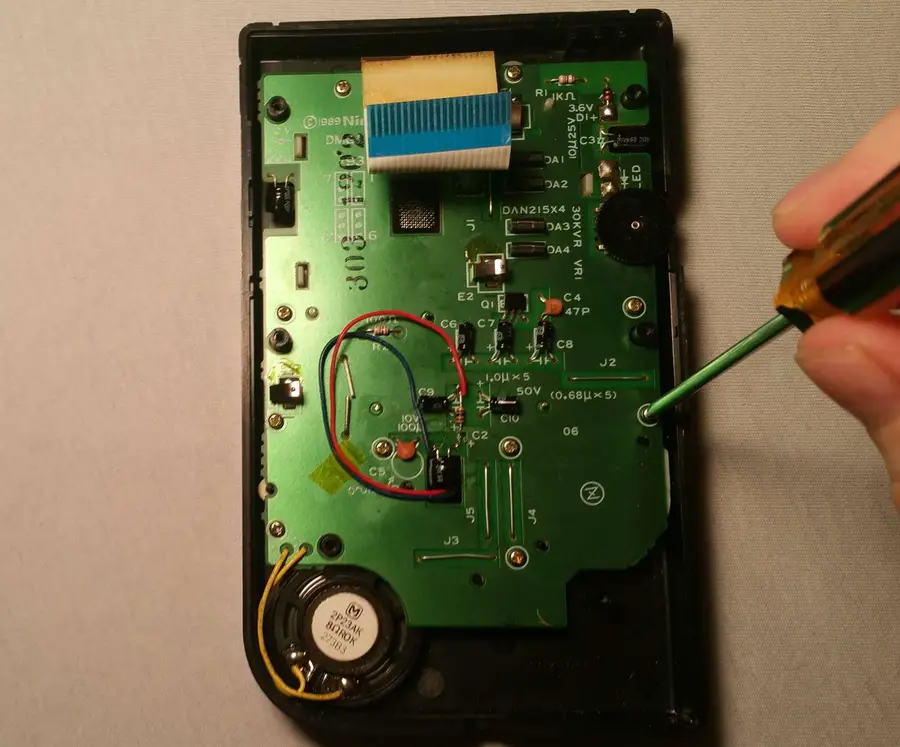
9 – Install the resistor (if applicable)
Older backlight kits require a resistor to properly regulate voltage in the Game Boy. Your kit may not have a resistor, in which case you can skip ahead to the next step.
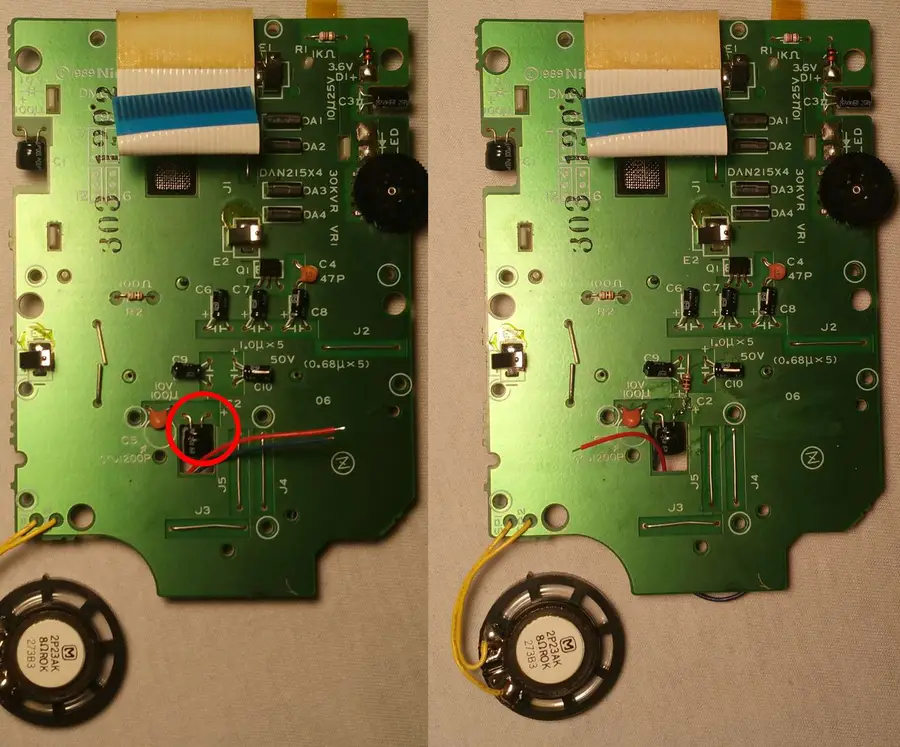
Holding the LCD in place, flip the motherboard over. The resistor will need to be trimmed and soldered to the positive leg of the capacitor circled above.
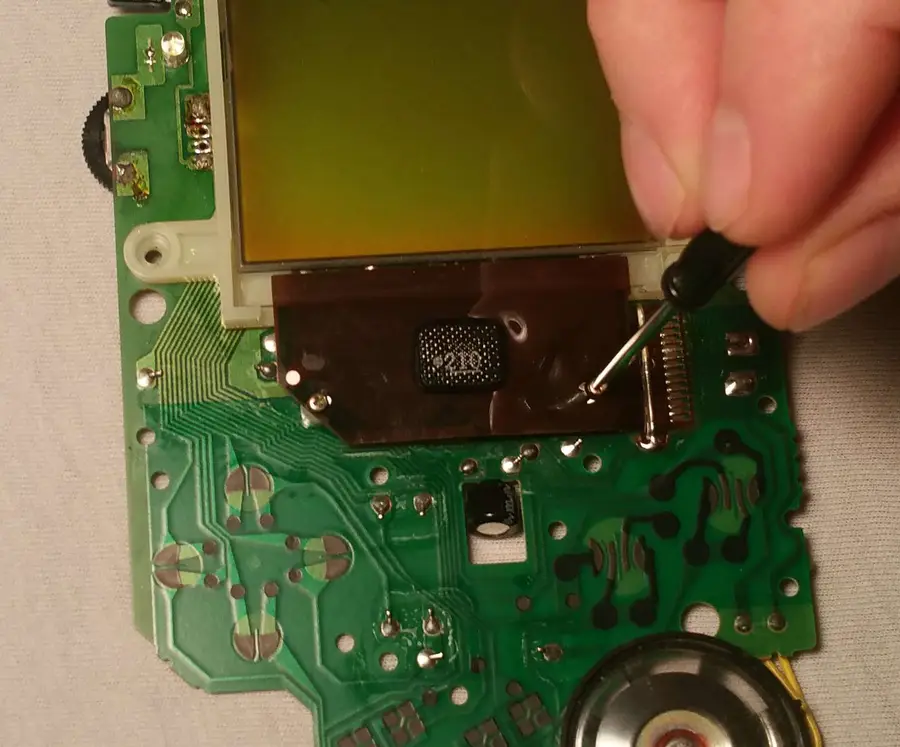
10 – Solder the backlight
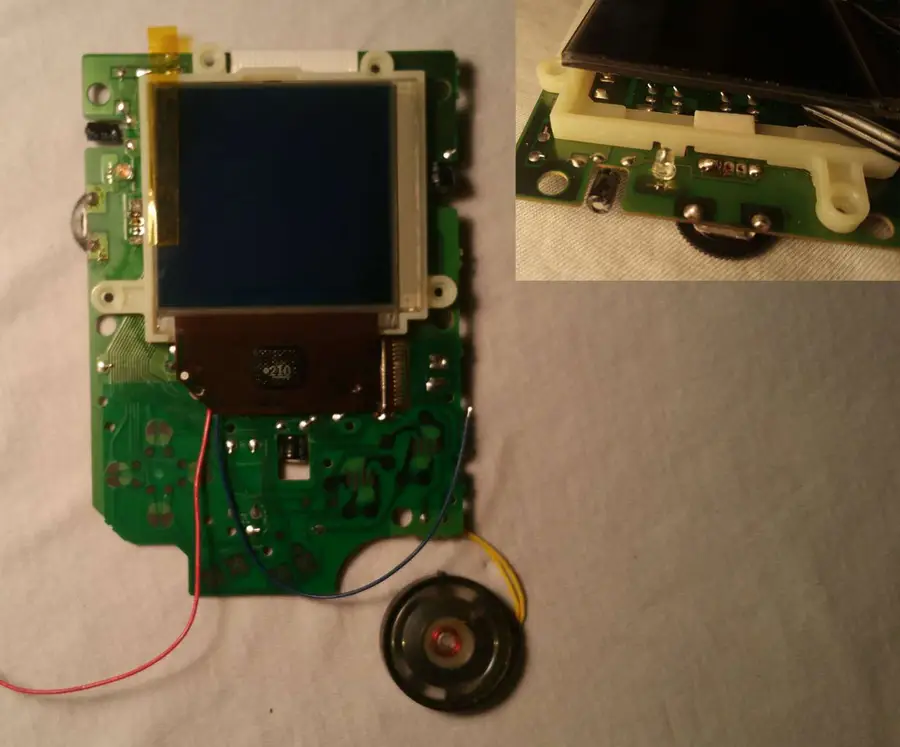
Feed the wires through the hole shown above. These wires can easily work themselves under the buttons if not properly managed.
- Once the wires are tucked away, solder the positive wire to the resistor.
- Solder the negative wire to the negative leg of the capacitor.
For a professional finish, apply flux before soldering and seal your new connections with liquid electrical tape.
11 – Screw the LCD into place
Using a Phillips screwdriver number 0, screw the tiny LCD screws into place.
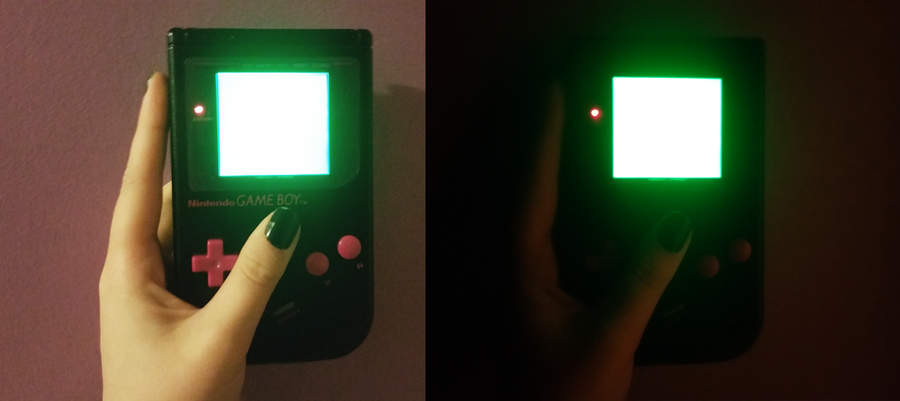
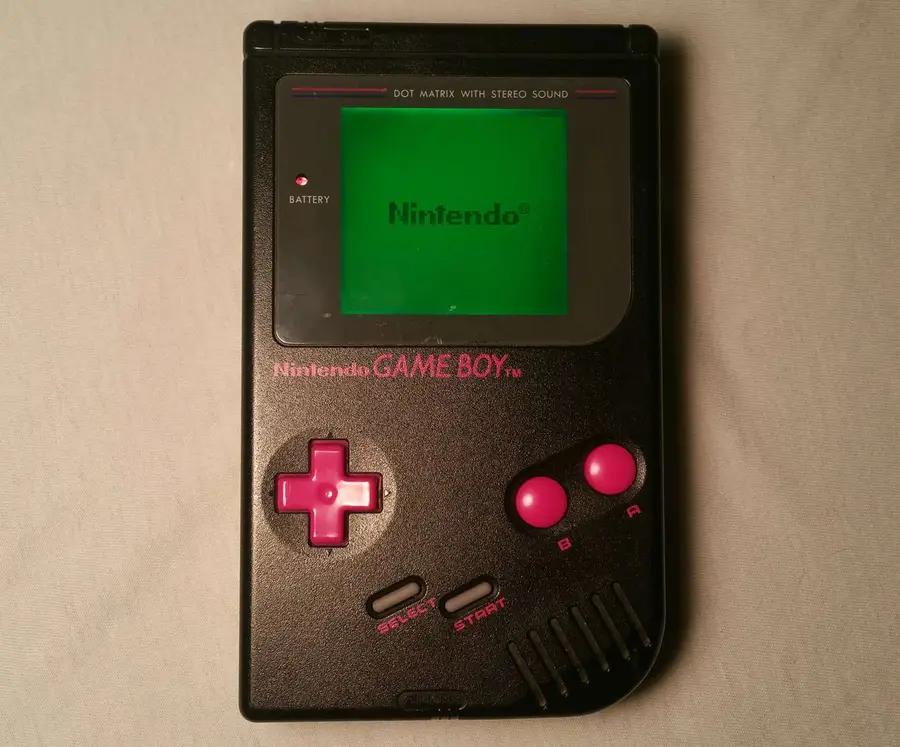
12 – Quick test
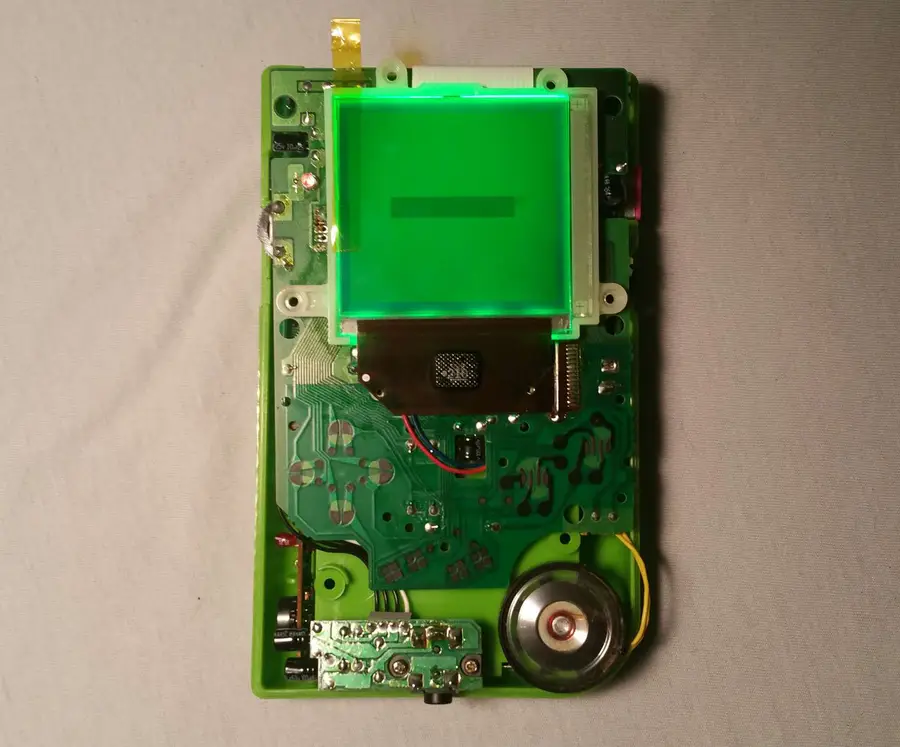
Before you sew up your 8-bit patient, it’s best to pop in a few batteries and test out the operation.
Reconnect the motherboards by carefully plugging the ribbon cable into place. Insert 4 AA batteries and power it up! If everything worked, you should see magnificent glow of an LED screen gleaming behind your pixels.
NOTE: If the backlight is not illuminated, double check the Game Boy is receiving power. If it is, turn off the Game Boy and remove the batteries. You will need to revisit your soldering connections to ensure the backlight is properly installed. Vertical lines may appear and are often repairable with a soldering iron.
How to fix vertical lines on an original Game Boy screen
You can’t play it like this!
13 – Install the front components
If you used a piece of kapton tape to hold the screen in place, now is the time to remove it. Place the buttons, silicone button pads, speaker, and motherboard into the front shell. Each component will be guided into place with a small notch.
You may need to feed the backlight wires through the hole further to make room for the buttons. Make sure the wires are not blocking any crucial screw holes.
Using a Phillips number 1 screwdriver, screw the front motherboard into place. There will be 10 screws used for this step.
14 – Seal the Game Boy together
Carefully place both halves together. Using an appropriate screwdriver, screw the shell together. There will be 6 screws used for this step.
15 – Final test run
It’s time to give it one more test to make sure everything works.
Congratulations! You should now have a working, backlit Game Boy on your hands.
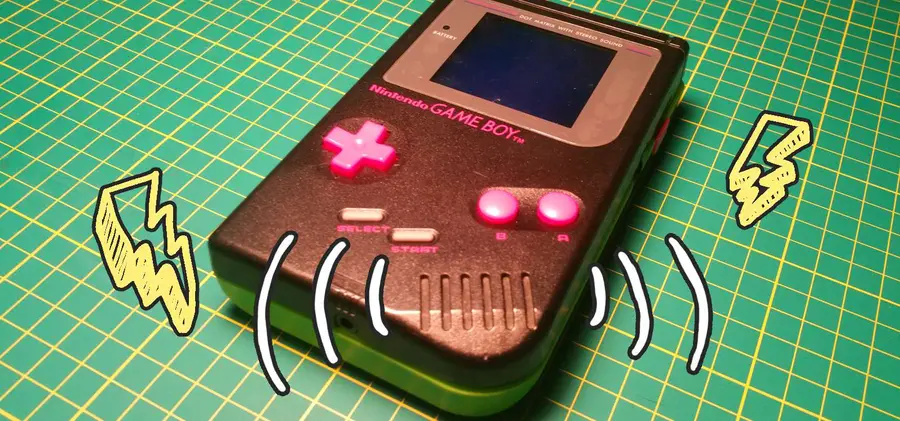
Next: The backlight mod can sometimes cause your speaker to generate a whining noise. If you have that issue, read my guide on fixing this speaker noise.

How to Fix Speaker Whining on a Backlit Game Boy
Was that a boop or a beep? I can’t tell—let’s just fix it!
16 – Next: Invert [bivert] your screen

The orientation of the polarizing film in your new backlight Game Boy can adversely affect its pixel quality; it’s common practice to install a bivert chip to essentially invert the screen twice, improving display quality drastically. 🙂 Check out my guide on this!
How install the bivert chip mod on an original Game Boy
Let’s invert those pixels!