How to fix vertical lines on an original Game Boy screen

Share
What you'll need
Interests
Series

Posted in these interests:


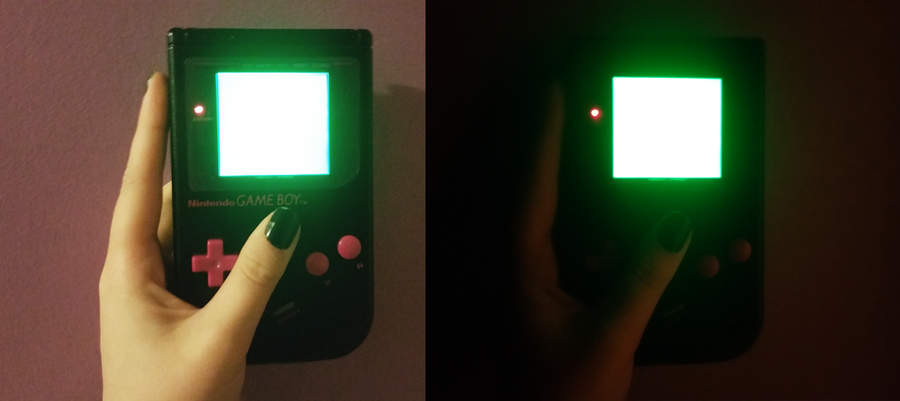
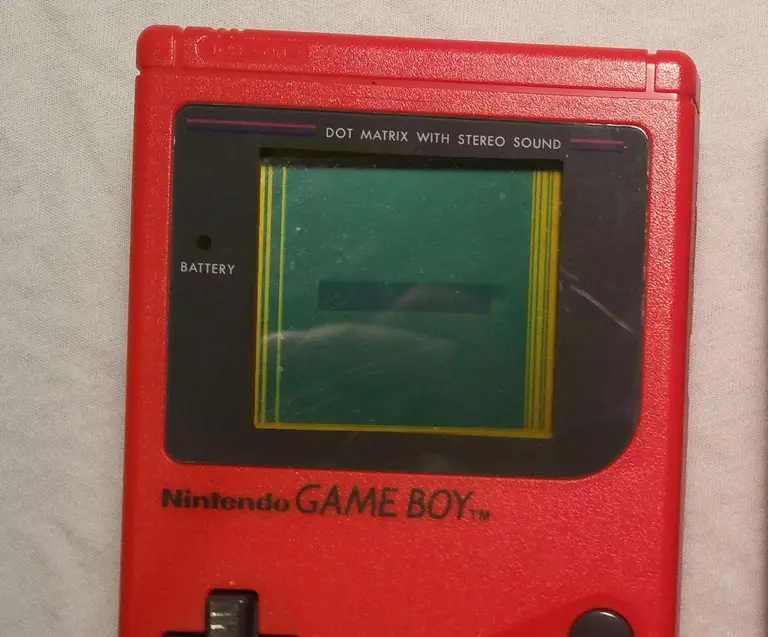
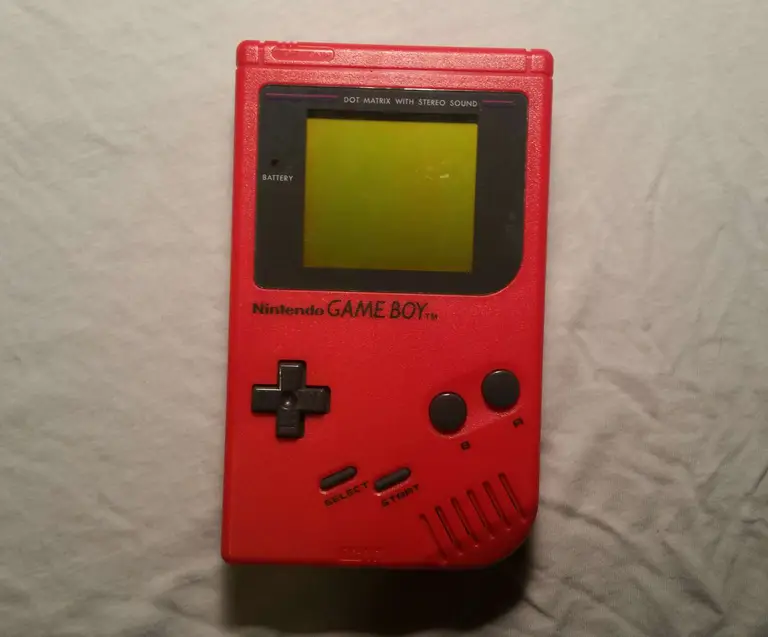
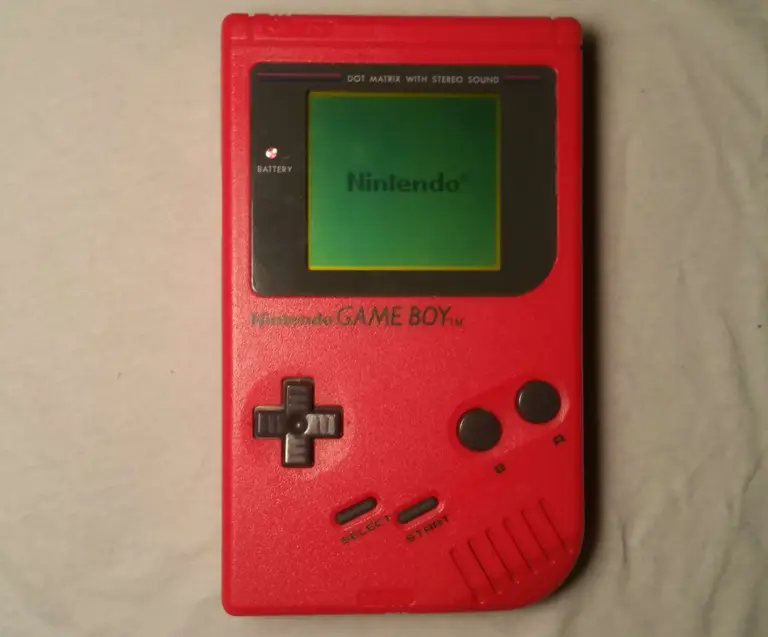
Finding your old Game Boy can produce a wave of nostalgia like no other. But nothing fades that feeling faster than finding vertical lines on the screen. Many retro consoles are prone to wear and tear and the Nintendo Game Boy from 1989 is no exception.
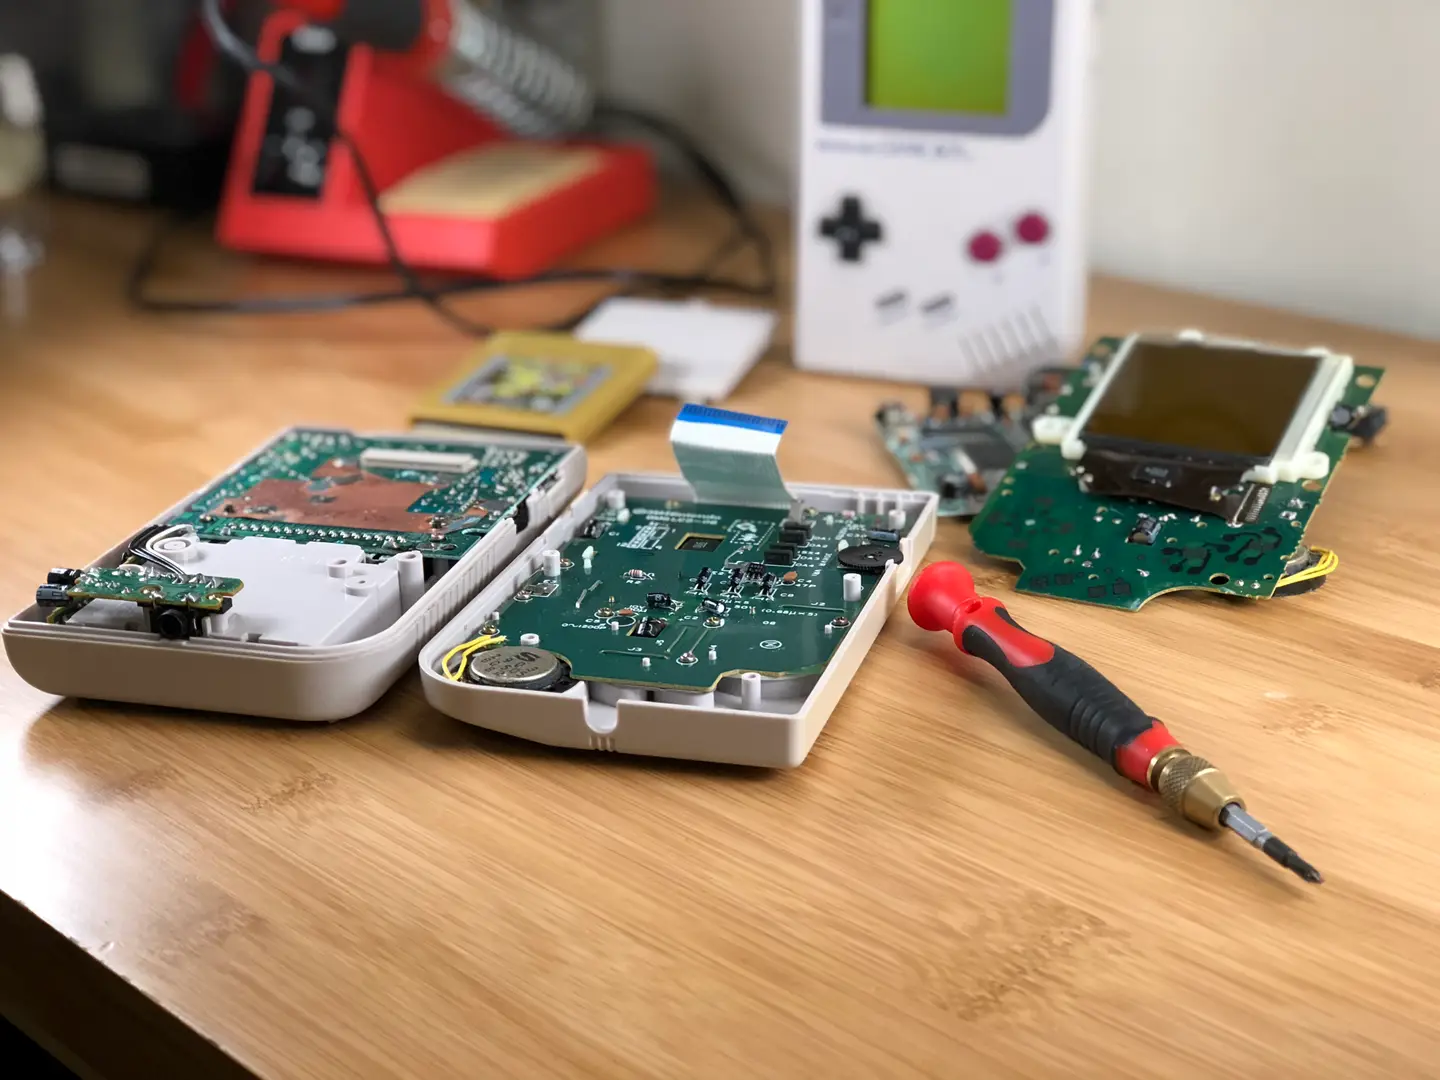
The Game Boy is comprised of two motherboards that connect with a ribbon cable. Over time, the wires in this cable can deteriorate causing vertical lines to appear on the display. In this guide, we’ll be repairing the vertical lines on a classic red Game Boy.
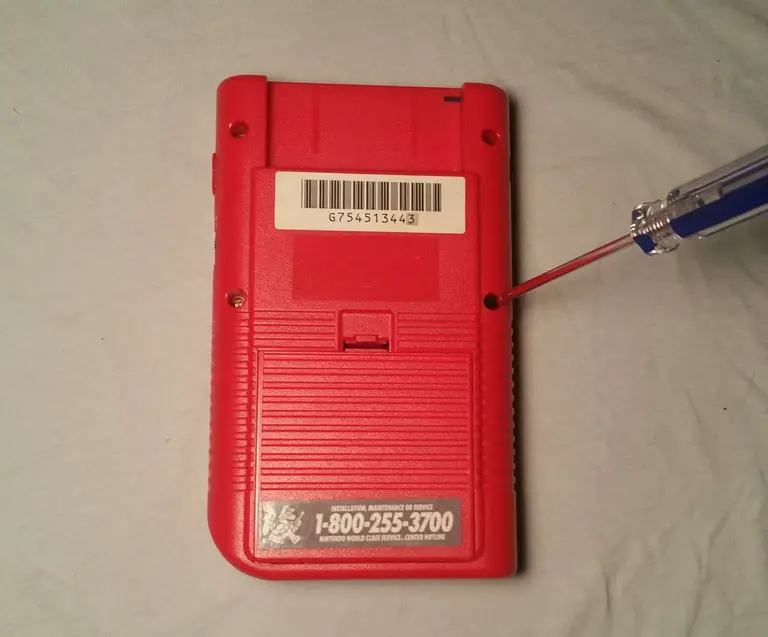
1 – Turn off and examine the Game Boy
Turn off the Game Boy, there’s no way we’re going to play it like this. It’s time for a thorough examination.
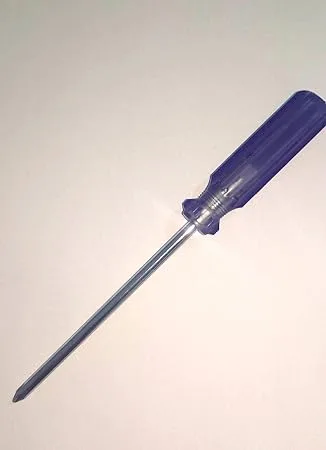
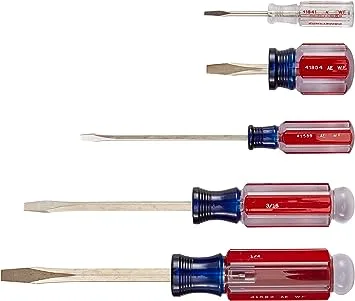
Look for any missing screws, there are six used to hold the shell together. Take note of the screw type used—many Game Boys are opened with a tri-wing screwdriver. However, a few early models are made with phillips screws.
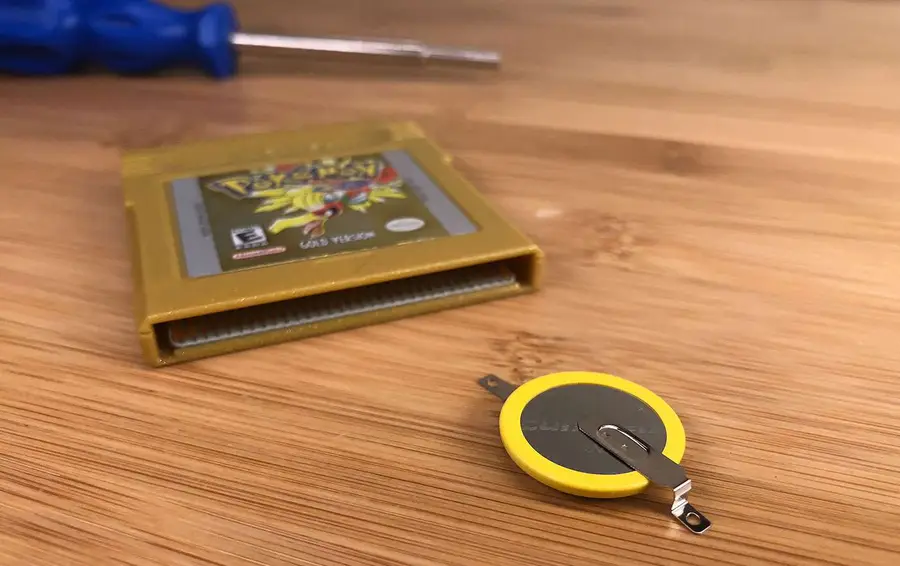
Be careful of battery acid damage which may affect internal components but is often repairable.

How to Clean the Original Game Boy Battery Contacts and Remove Corrosion
Game Boy won’t turn on? No problem.
If everything looks good, then it should be safe to proceed.
2 – Open the Game Boy
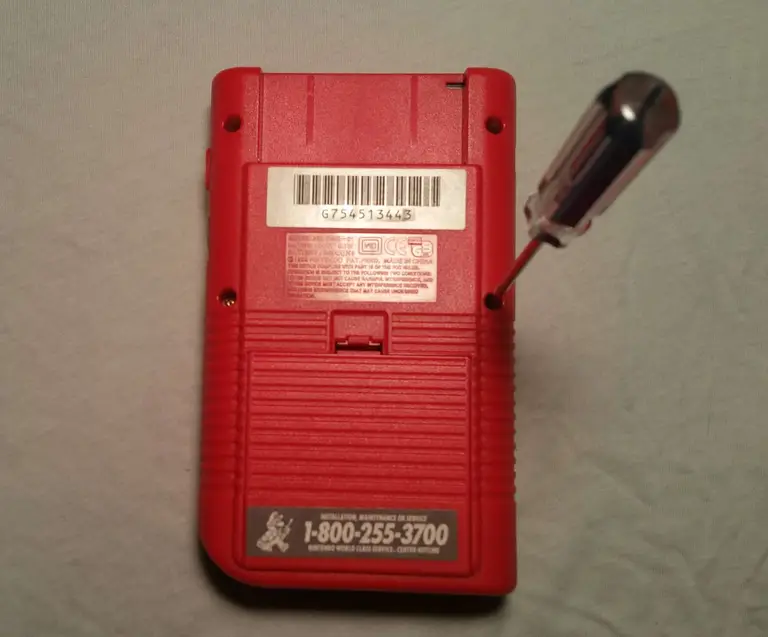
Using an appropriate screwdriver, remove all the screws from the back of the shell. You will need to remove the battery cover and batteries to reach the final screws. There are 6 total.
The Game Boy should open with ease, be mindful of the ribbon cable used to connect the boards.
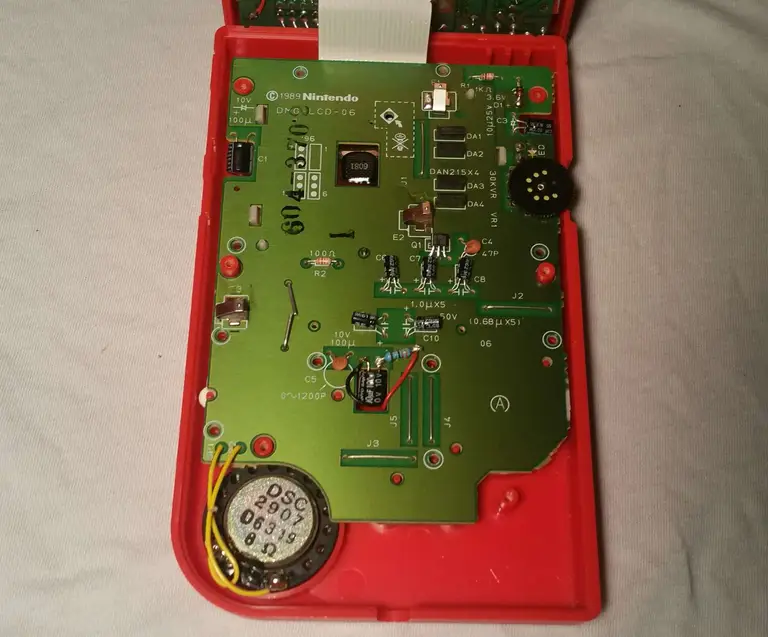
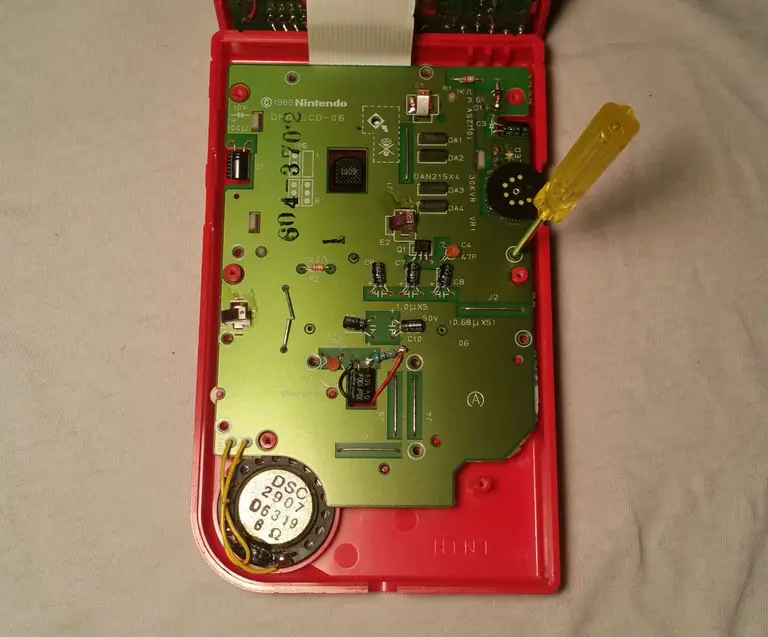
3 – Unmount the front motherboard
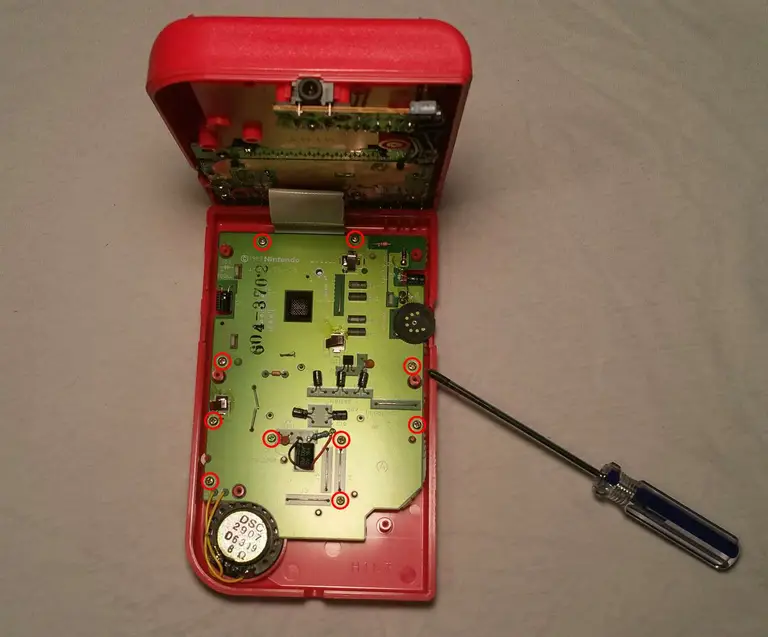
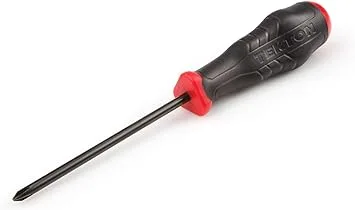
Using a Phillips number 1 screwdriver, unscrew the front motherboard from its shell. There will be 10 screws total.
The motherboard can be removed without disconnecting the ribbon cable. This cable is fragile, even the act of disconnecting and reconnecting can cause damage to the display. Exercise extreme caution when handling this cable.
4 – Remove the front shell
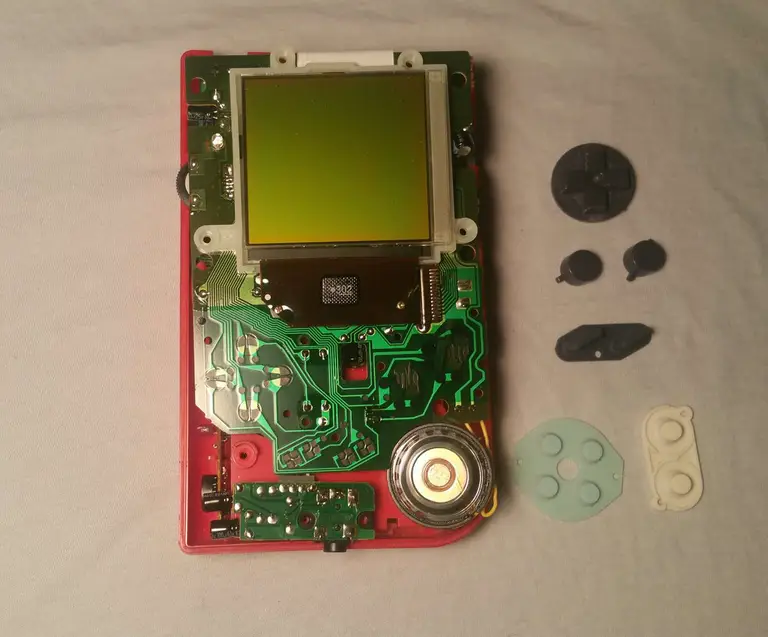
Carefully pull the motherboard from the shell.
The front half of the Gameboy is responsible for many things, one of which is housing the buttons. As such, there will be a few components to account for during this step:
- A Button
- B Button
- A/B Buttons Silicone Pad
- D-Pad Button
- D-Pad Button Silicone Pad
- Start/Select Buttons (One Piece)
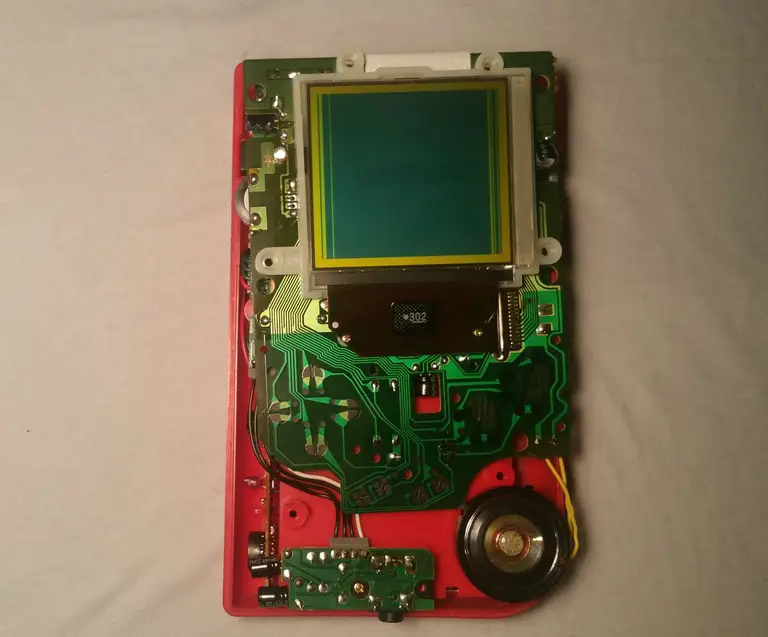
5 – Remove the black foam strip
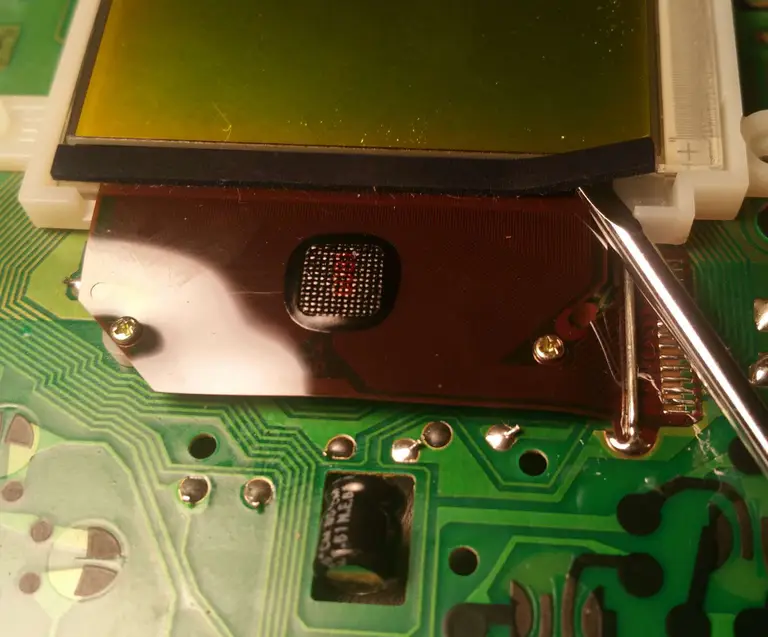
Once the front shell is removed, you will need to locate a small black strip of foam under the screen. This strip covers wires from the ribbon cable and will need to be removed. The strip is held on with a thin layer of glue.
Using a flat head screwdriver or something equally flat, pry the foam piece from the Game Boy. Be sure there is no glue residue on the wires. It should peel from the hardware as one piece.
Set the strip aside.
6 – Heat the soldering iron
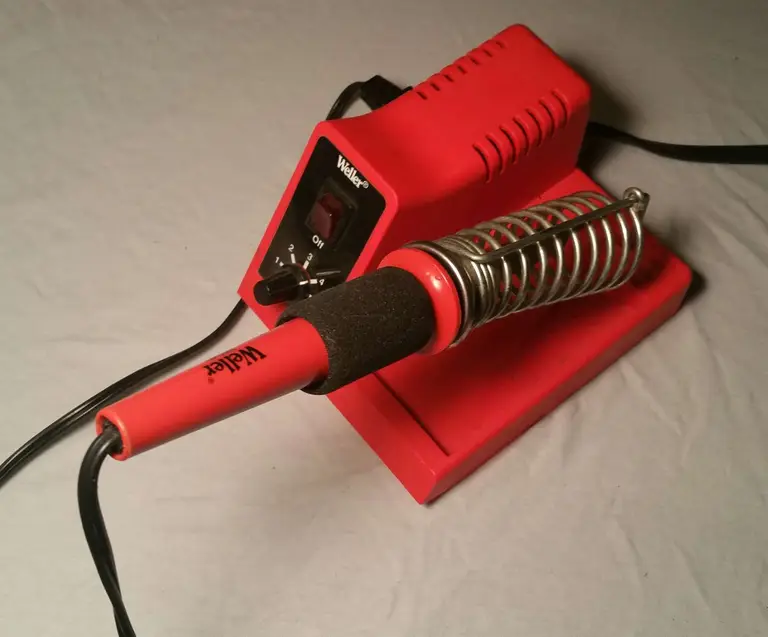
It’s time to whip out the power tools! Does a soldering iron count as a power tool?
If you haven’t already, heat up the soldering iron. We’ll be using the heat to reform the deteriorated connection in the ribbon wires.
7 – Turn on the Game Boy
With the soldering iron set aside and warming up, it’s time to prep the Game Boy. The screen will need to be on during the repair. This is to ensure each wire is properly fixed.
Insert four—preferably charged—AA batteries into the back of the Game Boy. Snap the battery cover in place and set the power switch to on. Adjust the contrast until the lines are easily visible.
8 – Apply heat to affected wires
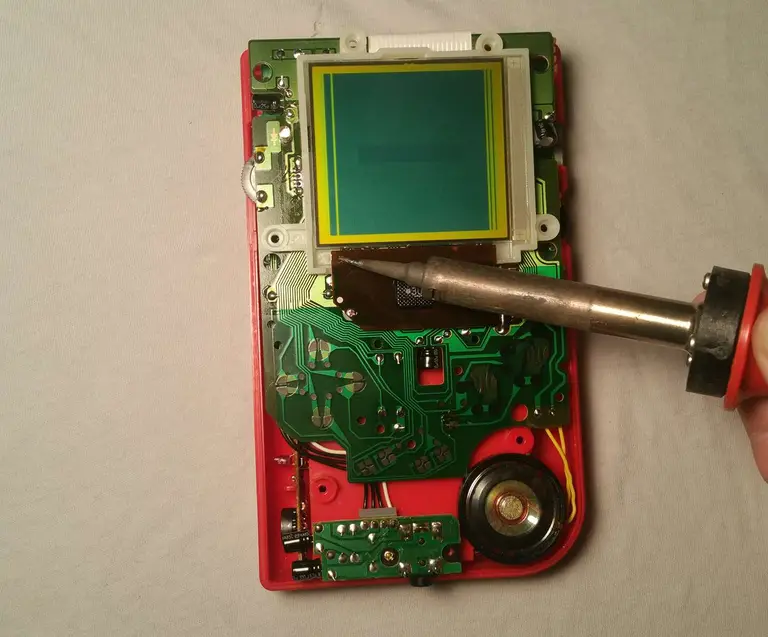
Do not touch the soldering iron to the wires.
Wave the soldering iron over the wires that line up with the unwanted vertical lines. Do not hold the soldering iron in one place for long, it’s best to keep the soldering iron moving throughout the repair.
Be patient and carefully sweep over the wires until the vertical lines have disappeared. When finished, place the foam strip back into place.
9 – Turn off the Game Boy

When the vertical lines are completely gone, it’s time to turn off the Game Boy. Set the power switch to “off” in the upper left corner.
10 – Install the front components
The buttons should fit gently into the front shell. There will be a silicone pad to place behind the A/B buttons and D-pad. Each silicon pad is seated into place using a small notch.
To install the front board, fit the speaker into its slot. The speaker uses a small notch to guide it into place. The rest of the board should fall into place with a gentle push, no force should be necessary.
11 – Mount the front motherboard
Using a Phillips number 1 screwdriver, screw the motherboard into place. There will be 10 screws used during this step.
12 – Screw the shell together
Remove the battery cover and any batteries used earlier.
Place both halves of the shell together. Everything should fit together nicely with no force. If the shell doesn’t fit together, investigate the source to ensure the motherboards are flush and level.
Once both halves are aligned, screw the shell together. There will be 6 screws used during this step.
13 – Time for a test run
Congratulations! It’s time to install the batteries for a test run. Find a nice lamp, get comfortable, and enjoy the experience with a nice clean display.