How to Power a Raspberry Pi from a 3D Printer Using Your Printer’s Power Supply Unit (PSU)

Share
What you'll need
Interests


Posted in these interests:

This guide will show you how to power a Raspberry Pi using your 3D printer’s power supply. This is especially useful if you’re using OctoPrint and only want to run your Pi when your 3D printer is running.

OctoPrint: Control Your 3D Printer Remotely with Raspberry Pi and OctoPi
Untether your printer!
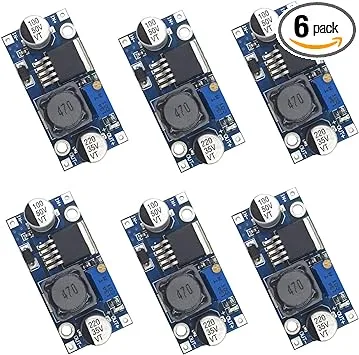
In a nutshell, we’re going to connect our printer to a small voltage regulator, also known as a “buck converter” or “step down converter”, to reduce the printer’s higher voltage to the 5V needed by the Pi.
This guide will work for any Raspberry Pi model, including the Raspberry Pi 4.
Important note: This guide involves electricity. Take proper precautions even when working with low voltages.
1 – Determine your connections
Before we can connect the LM2596 voltage regulator, we’ll need to determine where the connection should take place.
There are basically two methods of tapping into your 3D printer’s power supply:
Method #1: Run a new power supply line from your PSU
For this method, open up your printer’s power supply unit (PSU) and run a new positive (+) and negative (-) wire from one of the available slots. If you’re lucky, your PSU might have a separate 5V power output terminal.
In this unlikely case, no voltage regulator is needed! You can skip forward and connect these lines directly to your Pi. However, be sure that at least 2A is being output, or else you’ll need to use another supply line.
Note: Before opening your power supply, disconnect your printer’s power and wait for any capacitors in the PSU to discharge.
Method #2: Splice into the printer’s existing (external) wires
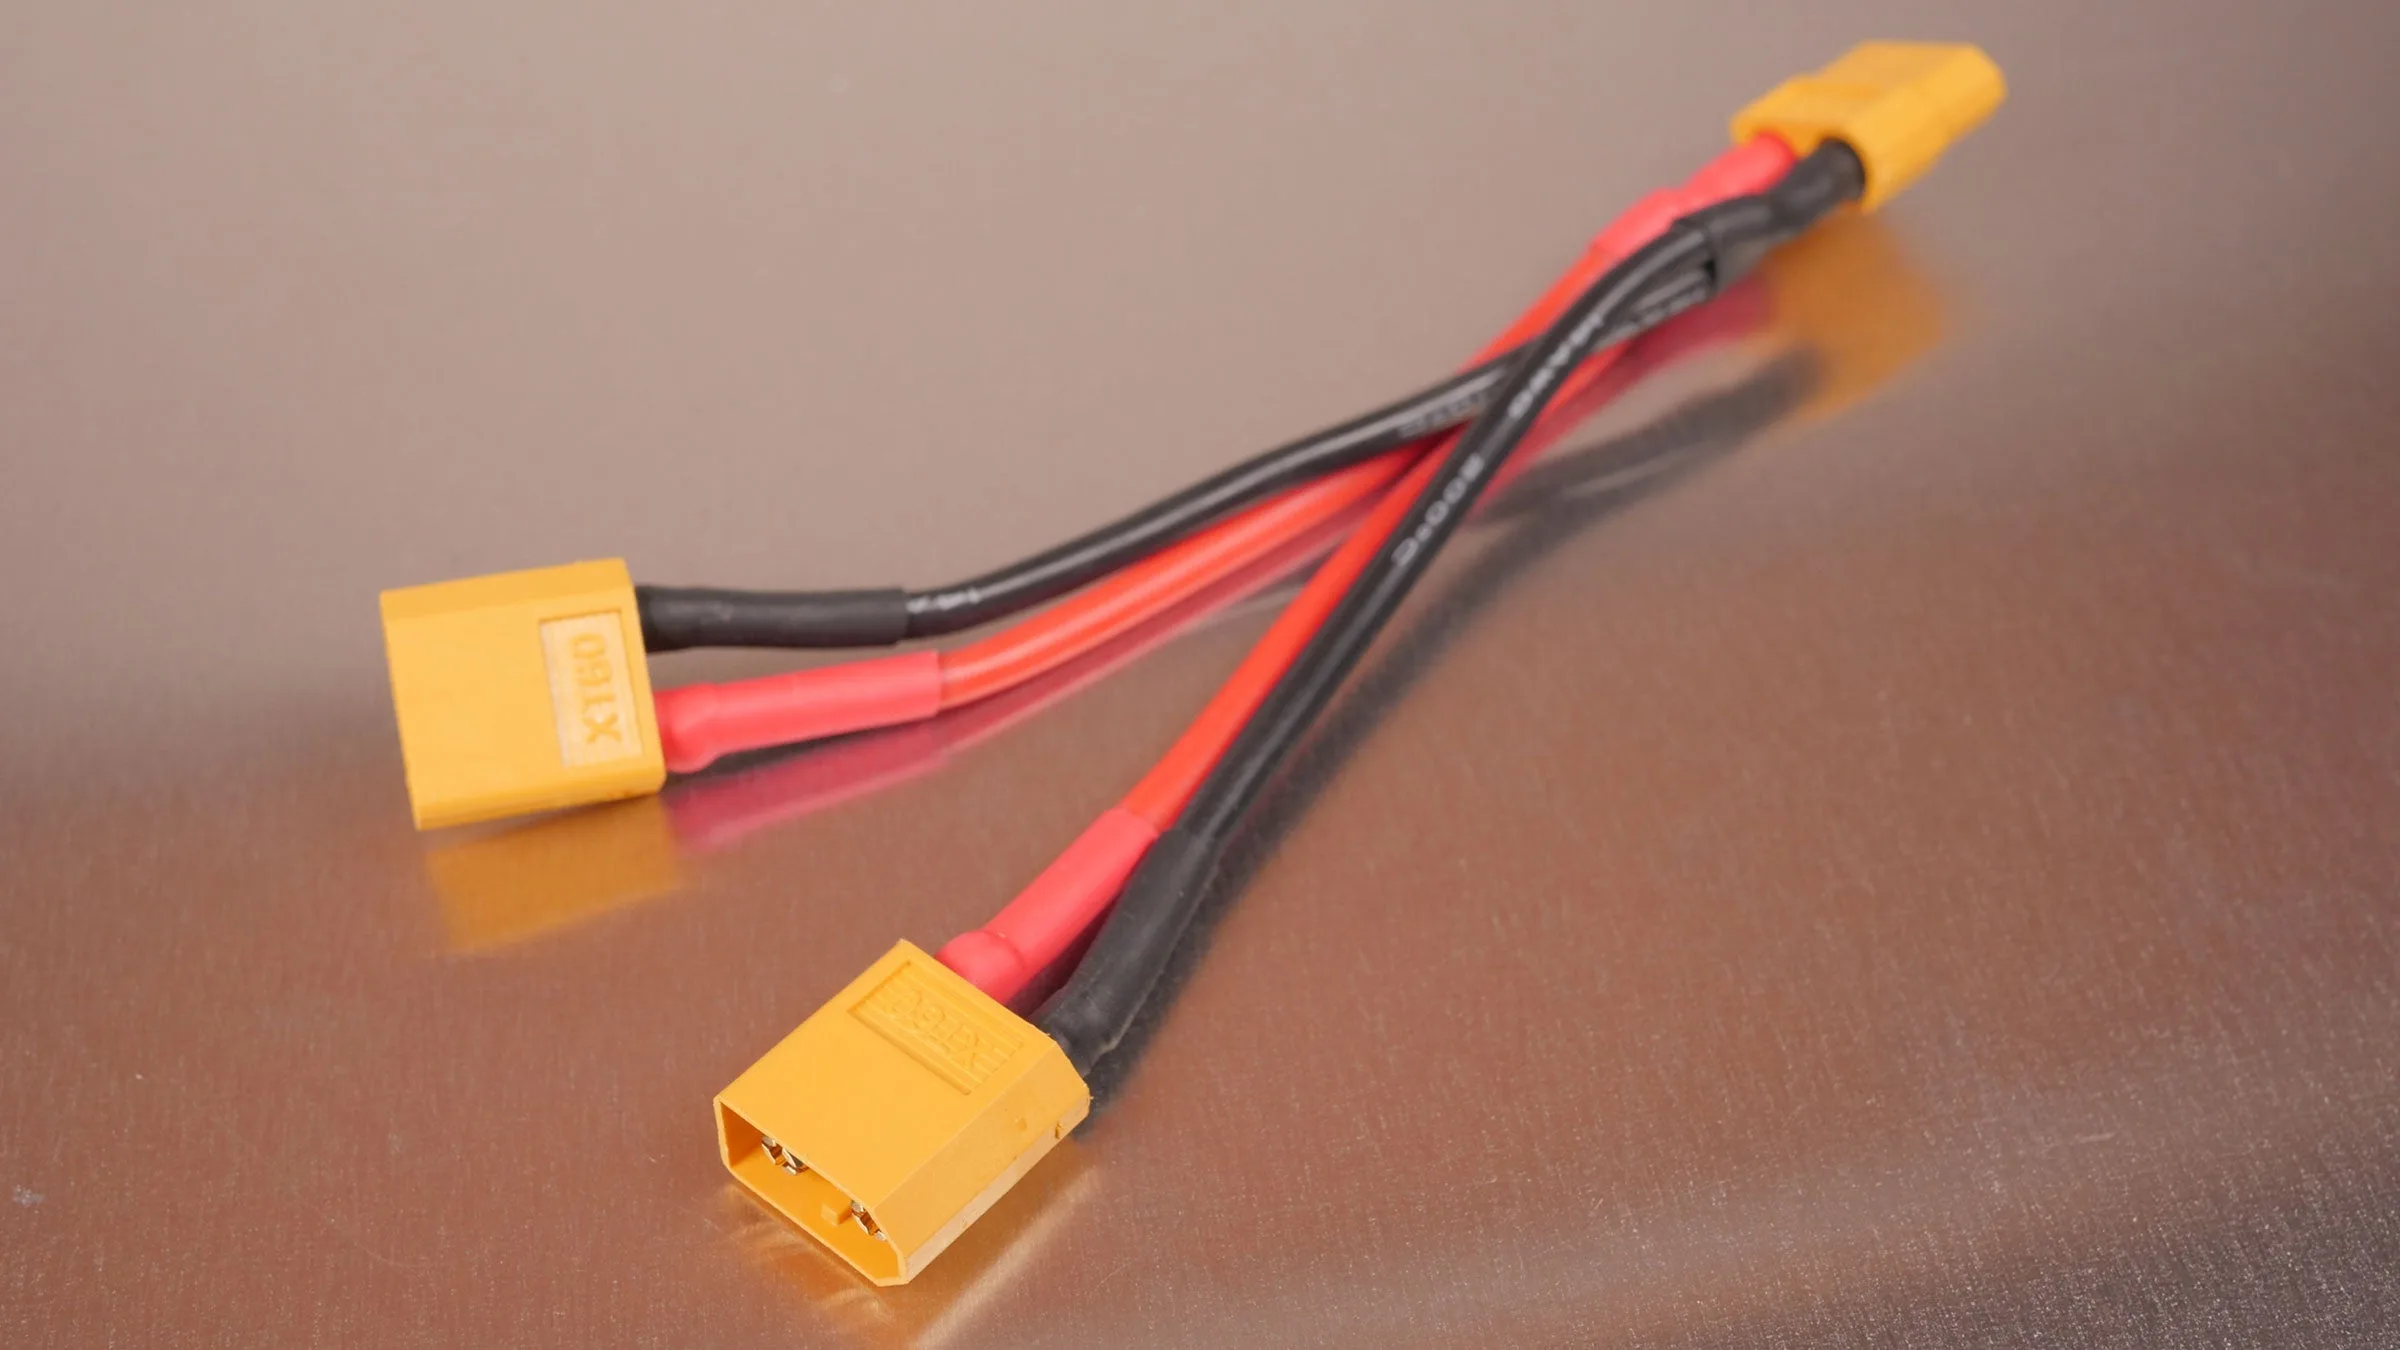
For this method, we can splice into one of the wires already coming out of your power supply. By splice, I don’t mean strip and use electrical tape. I recommend using some kind of Y-splitter cable to split the power out.
This method takes less time because no PSU disassembly is required. Additionally, it takes only seconds to revert the change if you’d like to undo your modifications. For these reasons, this is the method I’m going with.
My printer is the Creality Ender 3 and uses common XT60 connectors, so I used this extension cable. Some printers use other connectors, however; thus, be sure to choose a Y-splitter cable that will work with your printer.

Creality Ender 3 Review: The Best 3D Printer Under $200
Behold the Anet A8 slayer.
The rest of this guide will work for you regardless of which approach you choose!
2 – Solder the buck converter INPUT wires
Now we’re going to connect the INPUT side of the LM2596 voltage regulator/buck converter to the printer’s power supply.
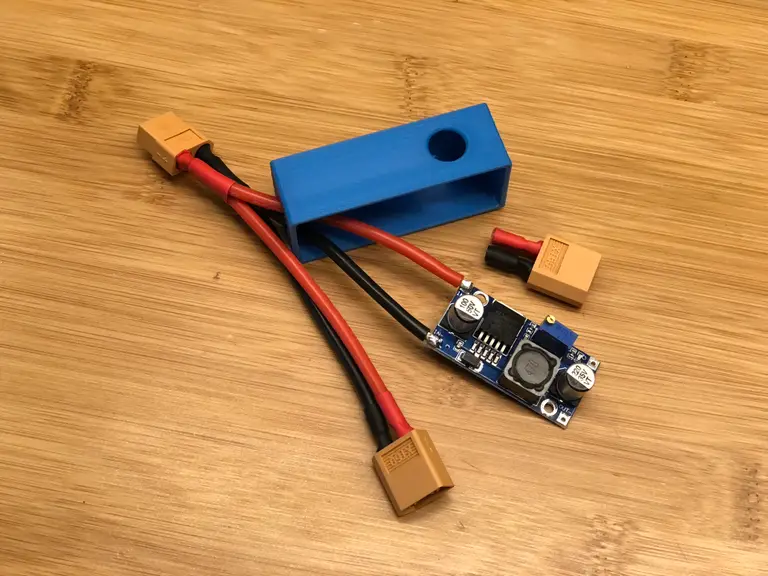
Since I’m using method #2, this means soldering my Y-splitter cable directly to the converter. I recommend printing a small enclosure for your LM2596; you can find tons of these on Thingiverse. The exact enclosure I used is included with this printer-mounted Pi enclosure.
First, Cut and strip one “leg” of the Y cable.
Then, solder the red positive (+) wire to the positive (+) INPUT terminal.
Finally, solder the black negative (-) wire to the negative (-) INPUT terminal.
Be sure to thread the wires through the enclosure opening before soldering them.
3 – Solder the buck converter OUTPUT wires
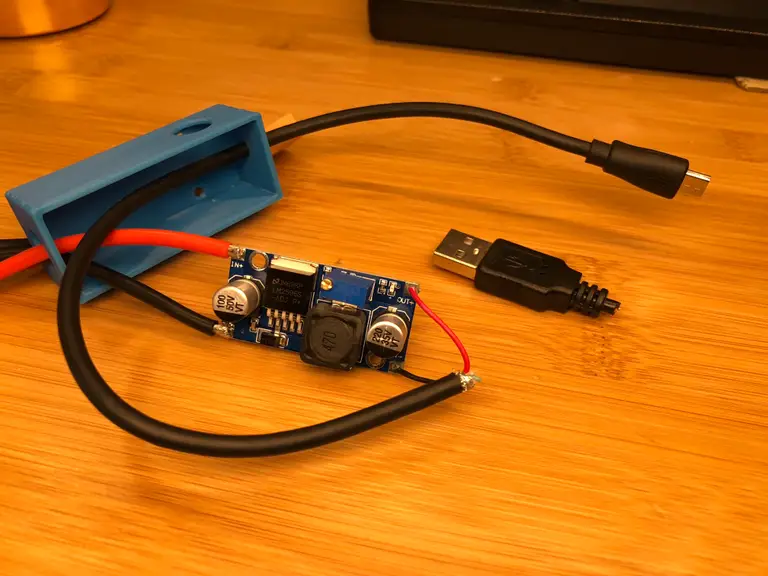
The Raspberry Pi 1, 2, 3, and Zero use a Micro USB port for power, so we’ll need to solder one to the output terminals of our buck converter. To do this, we’ll cannibalize an old Micro USB cable or AC adapter.
The Raspberry Pi 4 uses a USB-C port for power. If you’re using a Pi 4, you’ll need to cannibalize a USB-C cable or adapter instead.
Cut open and strip the cable. Locate the red positive (+) and black negative (-) wires, and solder these to the OUTPUT terminals of the buck converter.
Again, if you’re using an enclosure, thread the cable through the enclosure hole first.
| 🛈 Keep in mind how far your Pi will be mounted from the step down converter and don’t cut your cable too short! |
4 – All soldered!

Lookin’ good.
5 – Adjust the buck converter output voltage
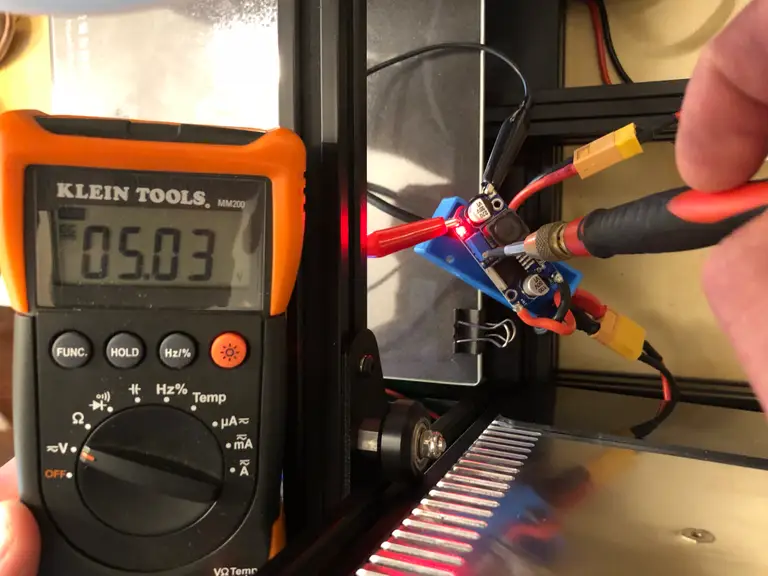
Next, we need to adjust the buck converter’s output voltage to 5V. For my printer, the line I’m tapping into is 24V, so I’ll be stepping this 24V down to 5V.
To do this, we’re going to connect a multimeter to the buck converter’s output, power on the printer (input), and turn a small potentiometer on the buck converter using either a small screwdriver or your fingernail.
If you don’t have a multimeter, you should think about picking one up. Check out our list of the best multimeters. Alternatively, you can alternatively purchase a buck converter that shows the output voltage on a built-in LCD display (though these are more expensive).

The Best Multimeters for Beginners and Pros (2022)
We present you with our guide to the best multimeter in five categories.
With your printer’s power cord disconnected, connect your buck converter to your printer’s power supply using either the wires you connected directly to your PSU (method #1) or the Y-splitter cable (method #2). Make sure neither the buck converter or any of your wires are touching any metal.
Then, set your multimeter to DC and connect it to the output terminals of the buck converter. I recommend using alligator clip leads if you have them; if you don’t, a second set of hands helps.
After you’re sure all hands and wires are free from any contact, connect your printer’s power cable and power it on. Turn the small potentiometer until your multimeter reads 5V. Then, turn off and unplug your printer.
| 🛈 Be EXTRA careful when working around live power so that you don’t electrocute yourself or your electronics. |
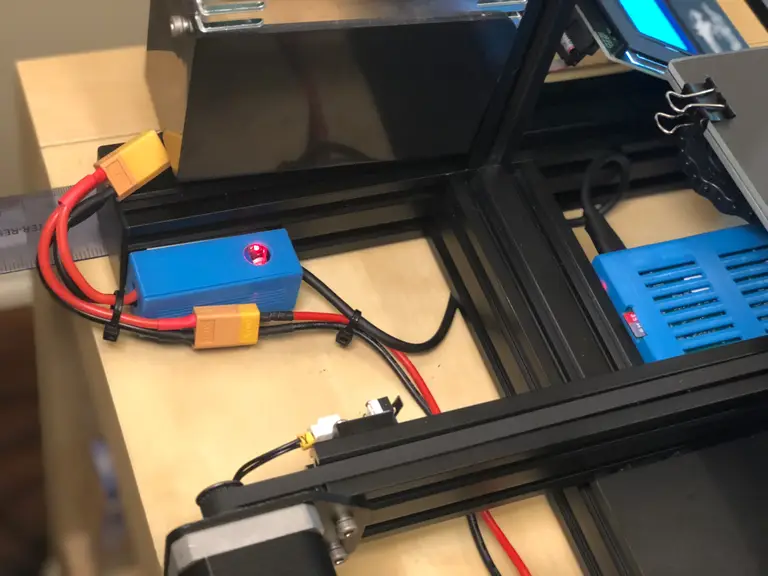
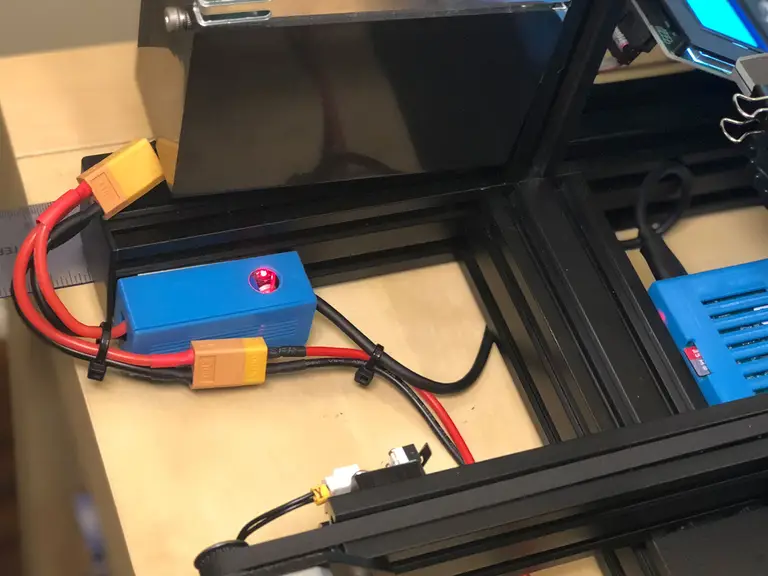
6 – Secure the buck converter
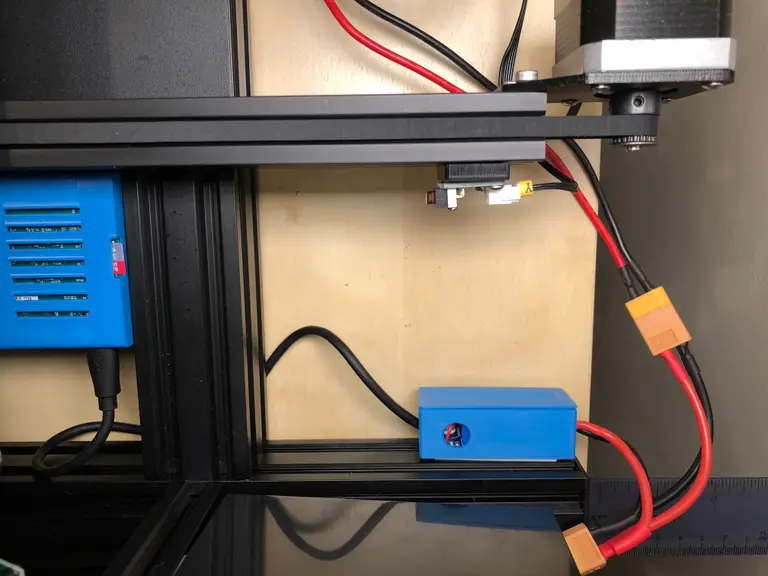
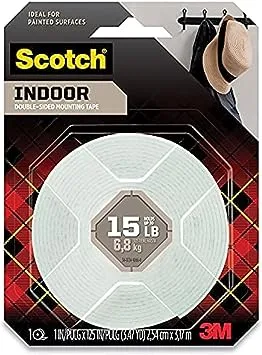
Secure the LM2596 enclosure to your printer using foam tape, taking care not to mount it in the way of any moving parts.
7 – Secure all wires and power on the Pi!
Connect the USB cable to your Pi. Use zip ties to secure your wires away from any moving parts and power on your Pi.
Pat yourself on the back, you’re all done! If you’re working on an OctoPrint setup, be sure to check out my comprehensive OctoPrint setup guide.
OctoPrint: Control Your 3D Printer Remotely with Raspberry Pi and OctoPi
Untether your printer!
| 🛈 Remember, you should always safely shut down your Pi through the OctoPrint interface prior to turning your printer’s power switch off. |


