When N64 Games Won’t Save: How to Change Your Nintendo 64 Cartridge Battery
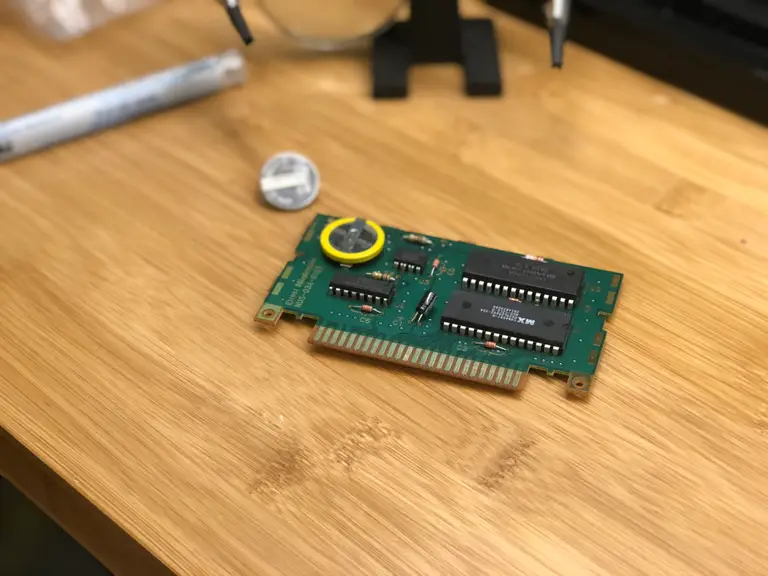
Share
What you'll need
Interests
It’s Friday night. You just invited a friend over so that you could destroy him in Super Mash Bros. You give him the N64 controller with the loose joystick (of course), turn on the game, and your favorite character, Ness, is nowhere to be found.
This is probably because your N64 cartridge battery died long ago and your unlockable characters have gone away.
Why won’t my N64 game save?
Most N64 cartridges store save data in SRAM, or Static RAM, kept alive by a small battery. This was a much cheaper alternative to the flash memory that was much more expensive back when the N64 was being sold.
In this guide, I’ll show you how to replace the battery in your cartridge in about 10 minutes so that you can start saving once again.
List of N64 games that use a battery
- 1080º Snowboarding
- F-Zero X
- Harvest Moon 64
- Major League Baseball featuring Ken Griffey Jr.
- Mario Golf
- New Tetris, The
- Ogre Battle 64: Person of Lordly Caliber
- Resident Evil 2
- Super Smash Bros.
- The Legend of Zelda: Ocarina of Time
- WCW/NWO Revenge
- WWF: Wrestlemania 2000
- and Others
Watch the video, or continue below
I made a video tutorial that will walk you through the process. Or, if you prefer, you can continue reading the text and photo-based version of this guide below!
1 – Nintendo 64 replacement battery
For the replacement battery you’ll need a CR2032 battery with pre-soldered tabs. This is the direct replacement for your old N64 cartridge battery. This is the battery I used and it came with a 3.8mm security screwdriver, which you’ll need later.
Unless you have a pulse spot welder laying around, don’t solder anything directly to the battery.
| 🛈 Just get the one with the tabs already attached. |
2 – Open the N64 cartridge
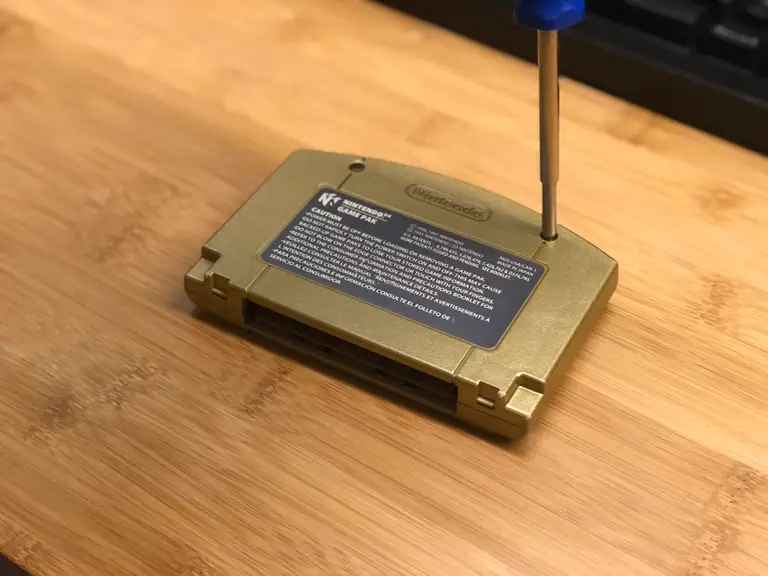
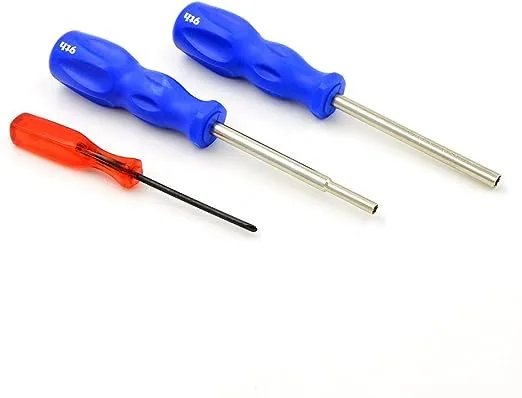
As always, Nintendo loves to try and keep us out of their hardware. You’ll need a 3.8mm security screwdriver to open the cartridge. Use it to remove the two screws on the back and open the case.
| 🛈 Fun fact: the Ocarina of Time cartridge is actually tan inside; probably to make it easier to paint gold. But I digress. |
3 – Remove the RF shield
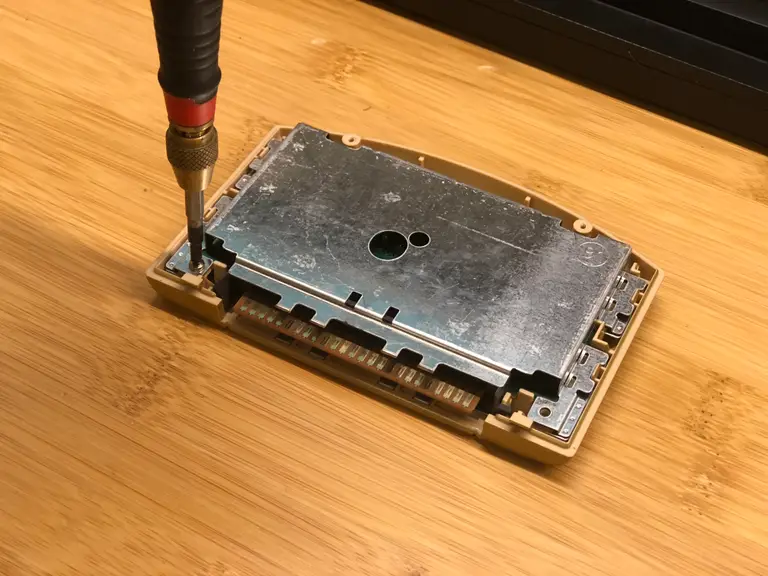
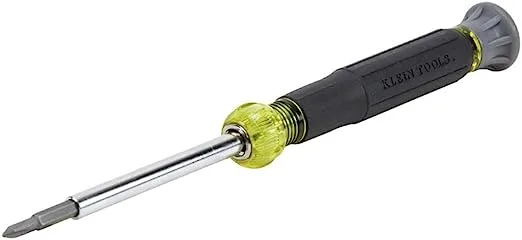
Use a small Phillips screwdriver to remove the electromagnetic shielding.
4 – Locate the battery
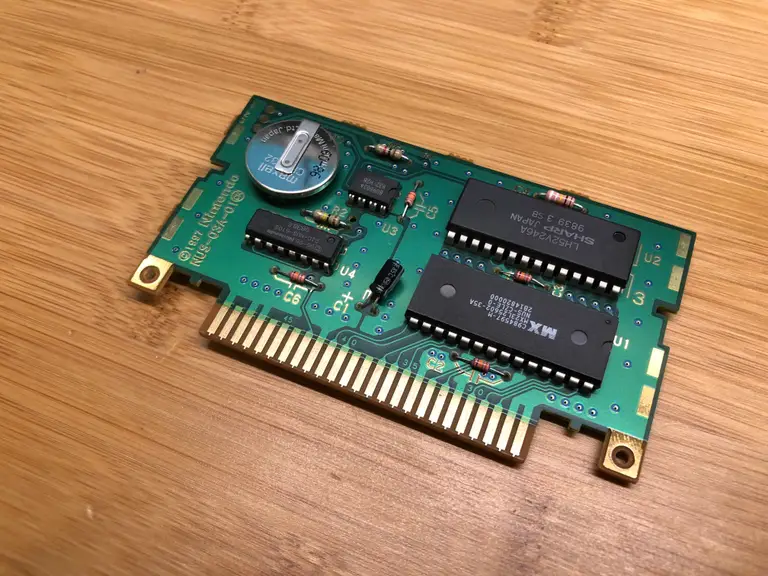
The battery is located on the same side of the cartridge as the microchips.
My battery is from 1998! That’s over 20 years old.
| 🛈 No wonder it doesn’t work. |
5 – Desolder the battery tabs
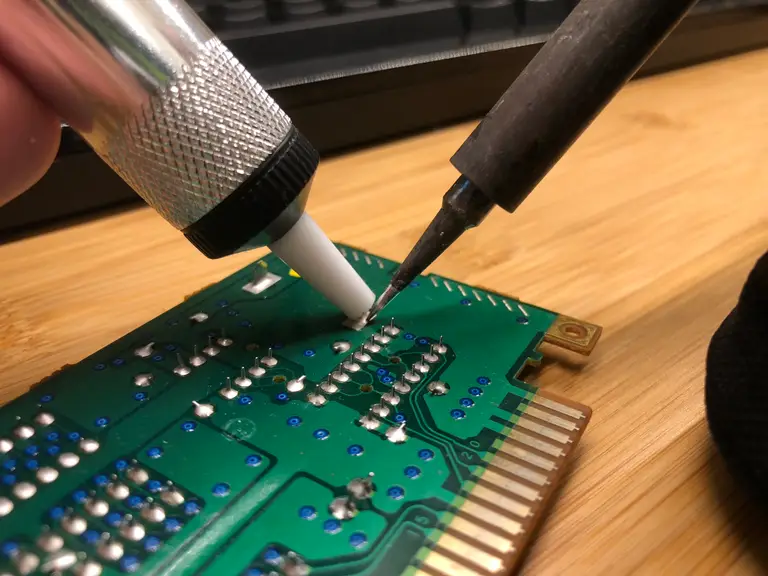
Locate the two large tabs on the other side of the board protruding from the battery. Heat each up with your soldering iron and use your solder sucker to desolder them.
6 – Solder the new battery
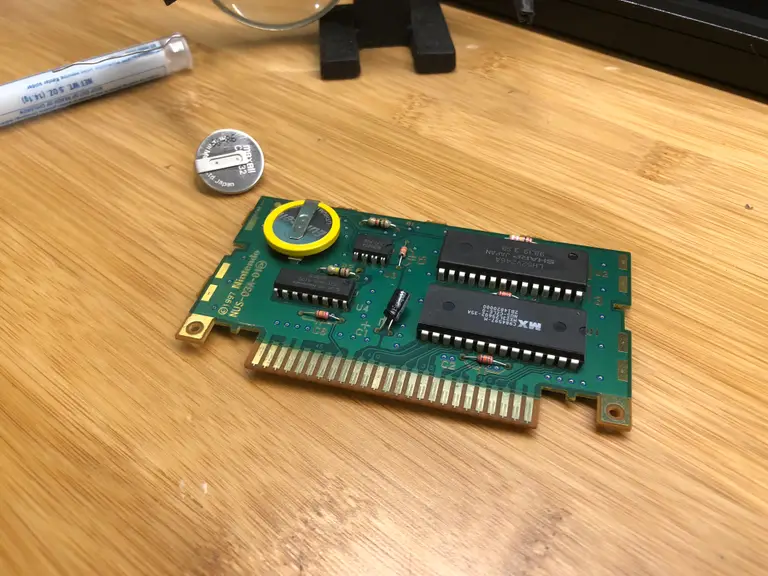
Your replacement battery has one wide tab and one narrow tab. This makes orientation easier as the battery is not reversible. Solder the new battery in place.
7 – Reassemble everything
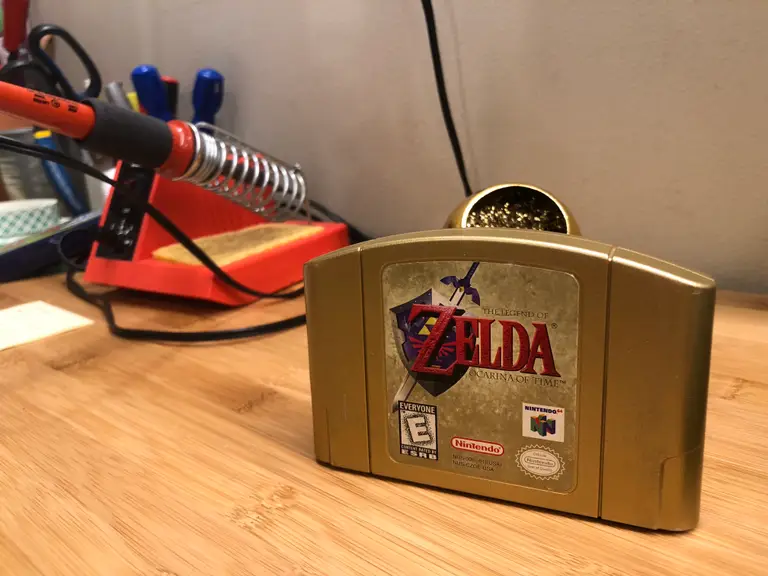
As always, assembly is the reverse of disassembly. You’re ready to play!
Now, let’s tackle that loose N64 joystick.

How to Fix or Replace Your Nintendo 64 Controller’s Joystick (And Why It Broke)
Spoiler: Mario Party did it. Mostly.


