
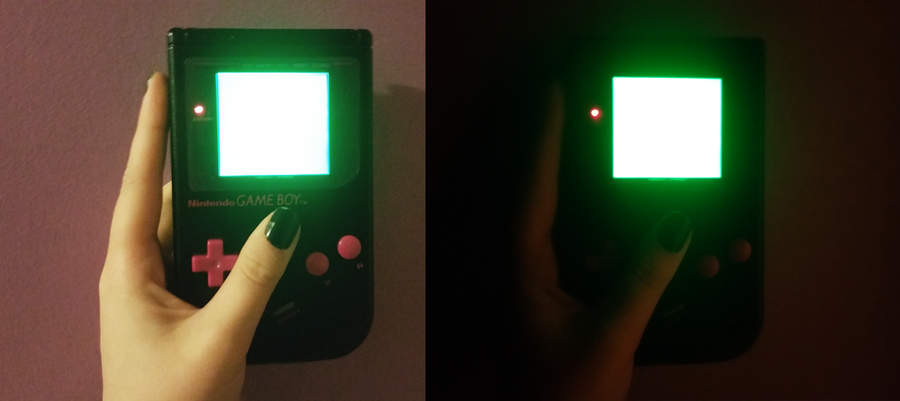
Are you struggling to see the pixels on your Game Boy? Why bother with ambient light fixtures when y
Nobody wants to spend the whole day troubleshooting. Do you have a problem with your hand held? Nint
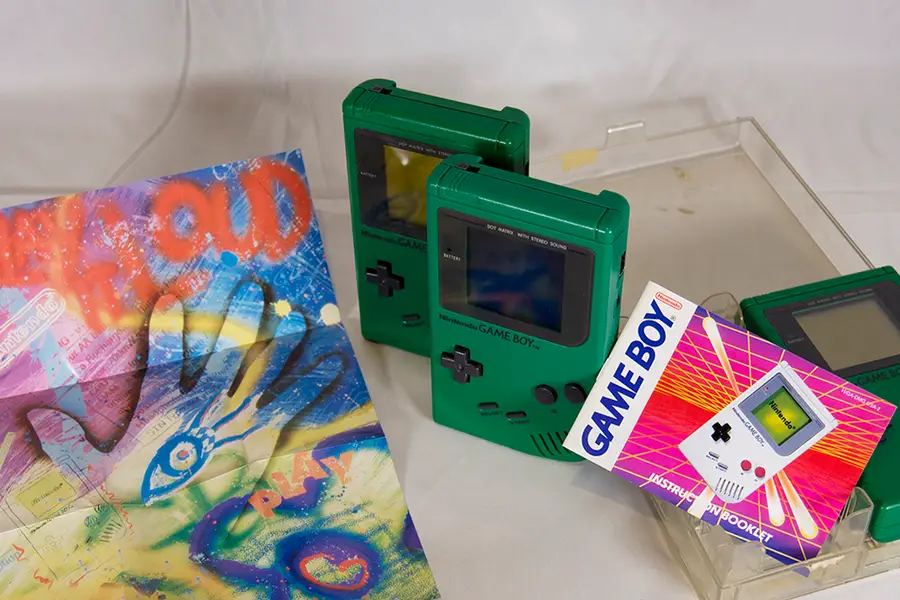
The Nintendo Game Boy is one my favorite retro hand-helds. They came in a surprising number of varia
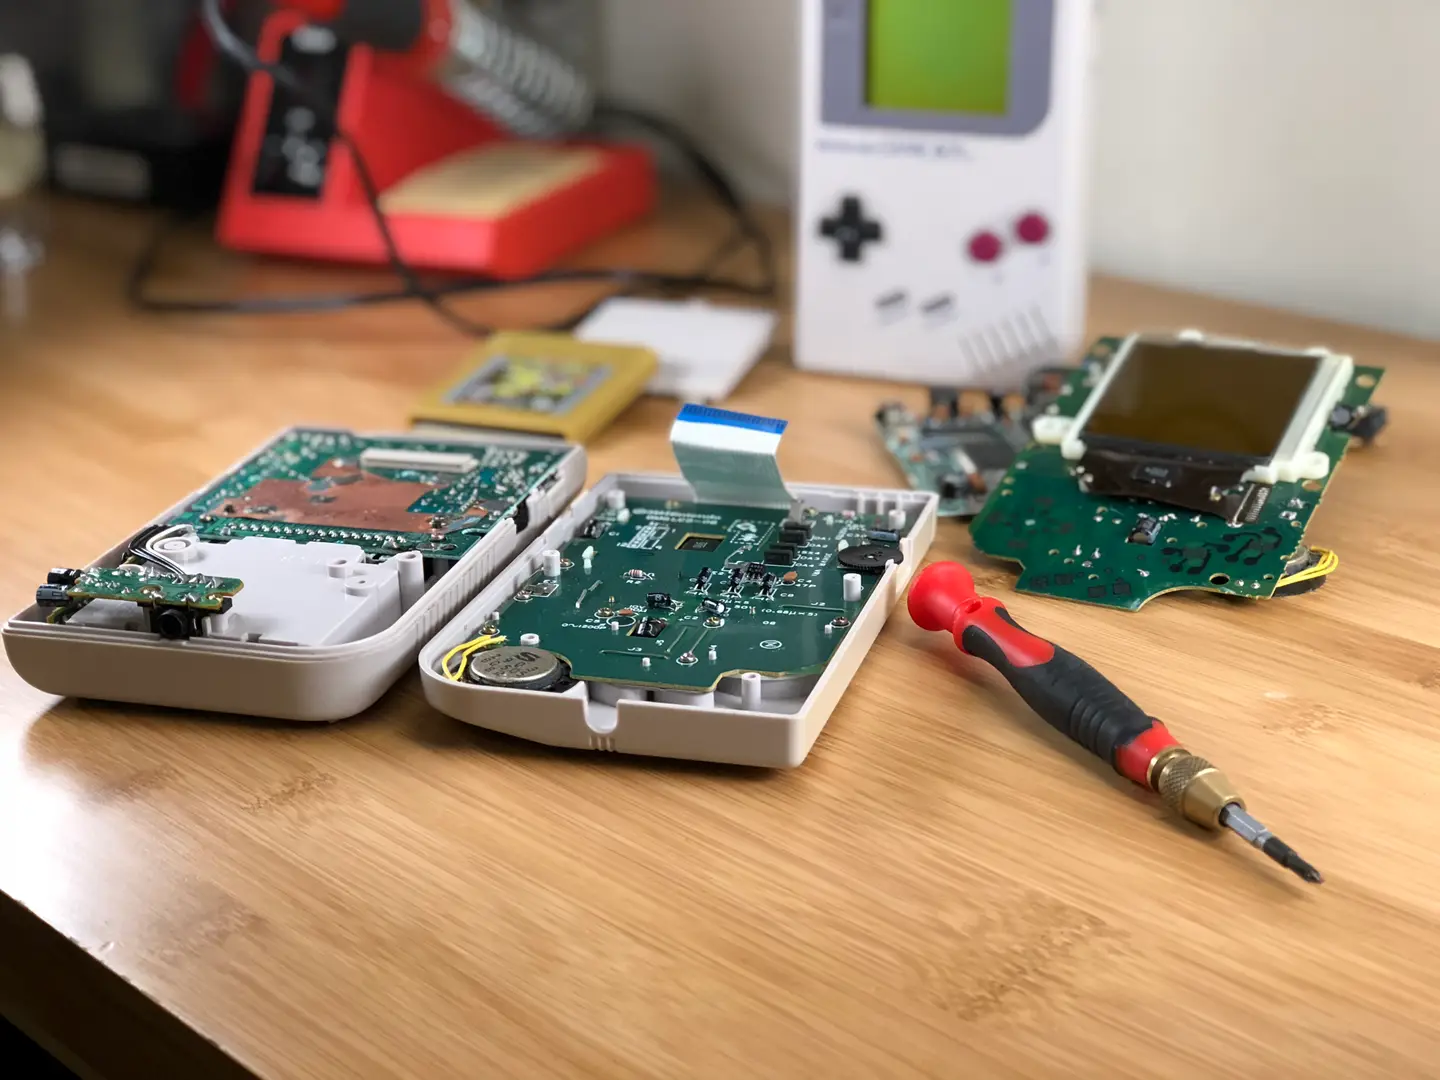
I recently bought a non-working Gameboy from eBay with the intention of hacking it to run Retro
Game Boys are awesome! But they’ve been around for so long, it’s no surprise to find the
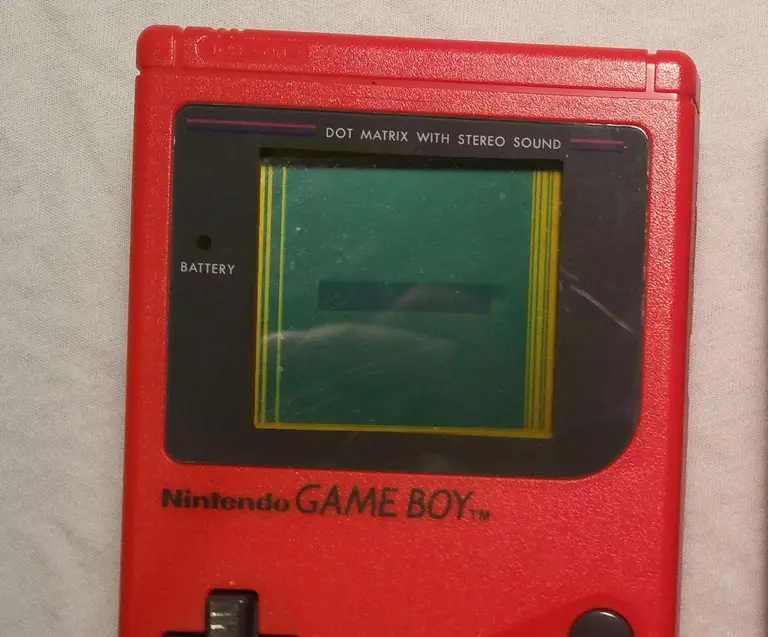
Finding your old Game Boy can produce a wave of nostalgia like no other. But nothing fades that feel
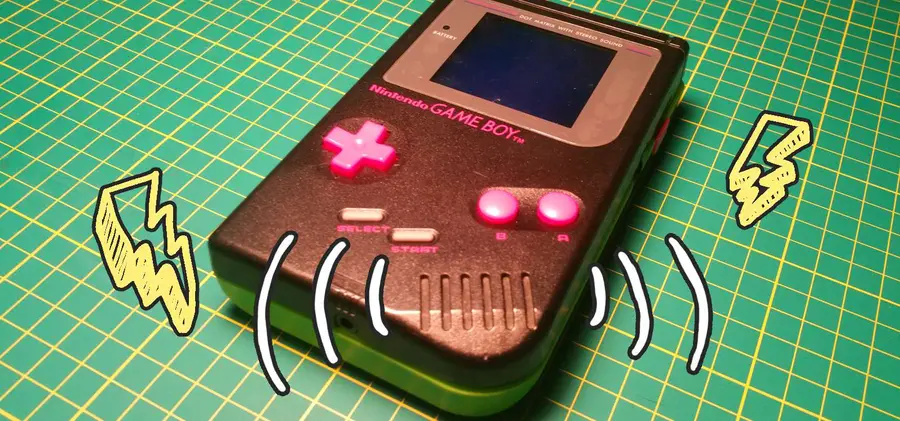
Installing a Game Boy backlight is arguably one of the coolest mods today. Such a minor detail
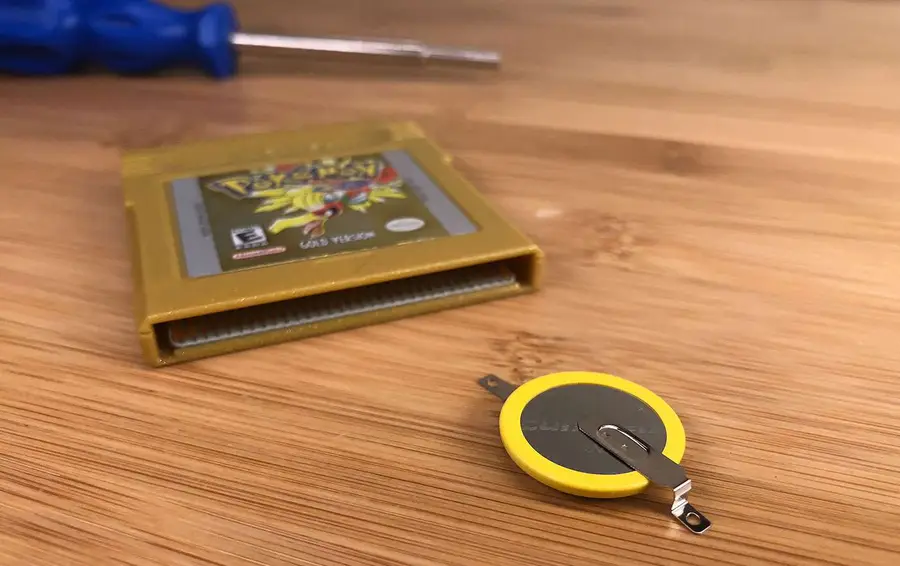
Nothing’s more frustrating than playing your old copy of Pokemon Gold, Silver, Red, or Blue fo
