How to Change Your Game Boy Cartridge Battery When Your Games Won’t Save
Share
Interests
Series
Posted in these interests:


Nothing’s more frustrating than playing your old copy of Pokemon Gold, Silver, Red, or Blue for Game Boy and discovering that your game didn’t save.
Why won’t my Game Boy game save?
Most Game Boy cartridges that allow games to be saved contain a small internal battery to store your save states. Over time, this battery degrades and needs replacement.
See, back when these games were developed, flash memory was still super expensive. As a result volatile memory, powered by a small battery, was often used instead. NES, SNES and N64 cartridges also used such batteries for storing saved games.
This guide will show you how to replace the battery in your Nintendo Gameboy cartridge in about 10 minutes.
Watch the video, or continue below
I made a video tutorial that will walk you through the process. Or, if you prefer, you can continue reading the text and photo-based version of this guide below!
1 – The Game Boy game replacement battery
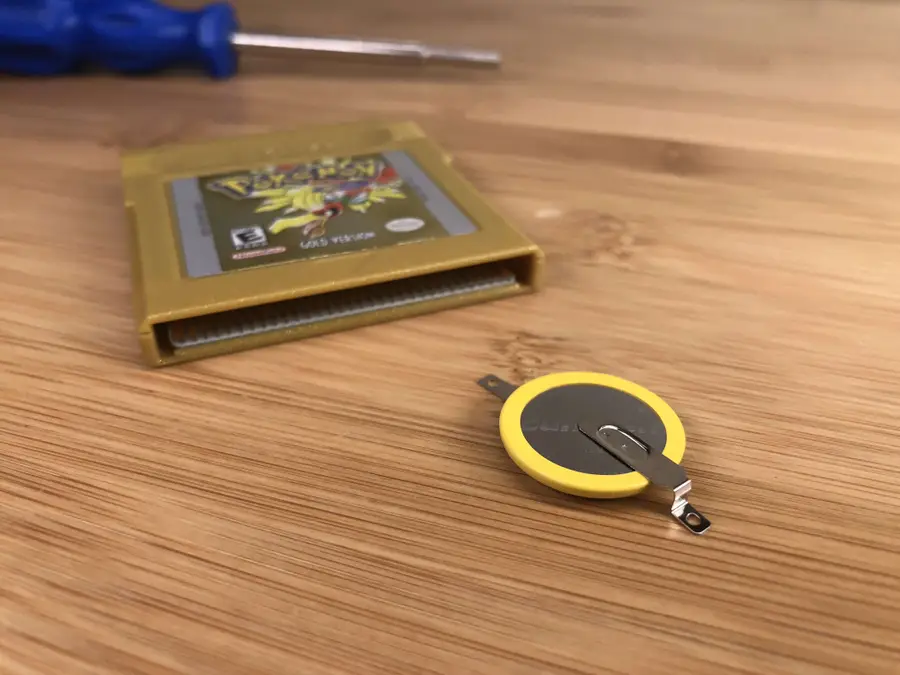
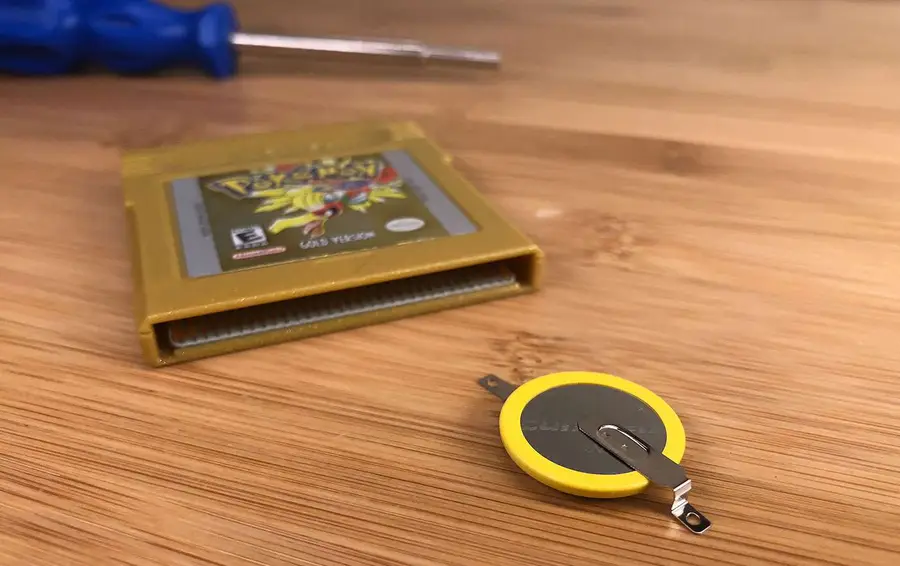
For the replacement battery you’ll need a CR2025 battery with pre-soldered tabs. This is a direct replacement for your old battery.
| 🛈 Soldering directly to a battery will make it explode, so grab one with pre-soldered tabs. |
2 – Open the Game Boy cartridge
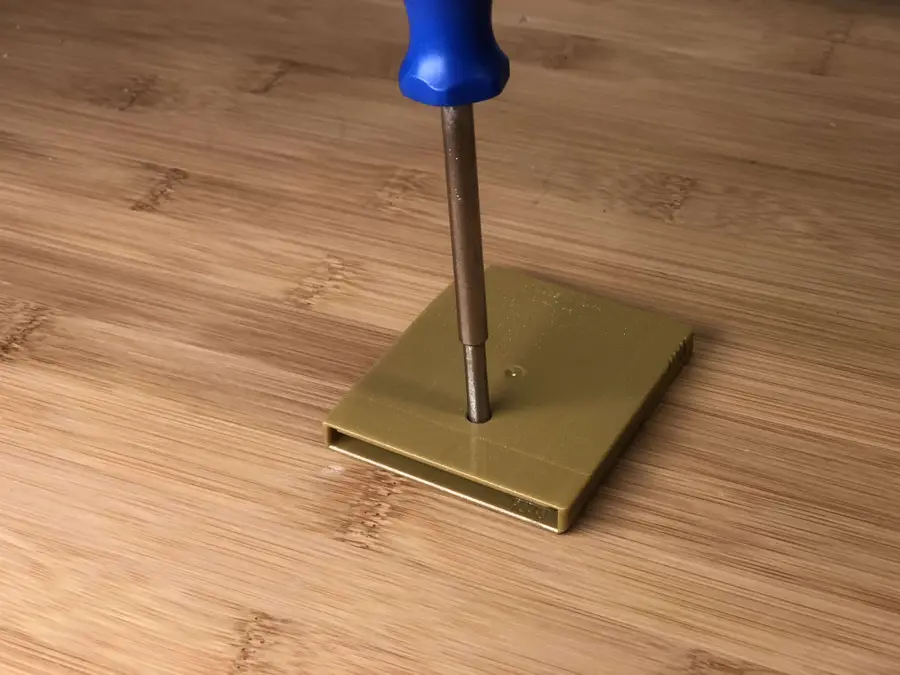
Nintendo was serious about not letting people easily disassemble their hardware! To open your cartridge, you’ll need a 3.8mm security screwdriver. These are inexpensive and will let you access a wide variety of Nintendo games and systems.
Remove the single screw from the back of the cartridge and remove the circuit board from its plastic housing.
3 – Remove the old battery
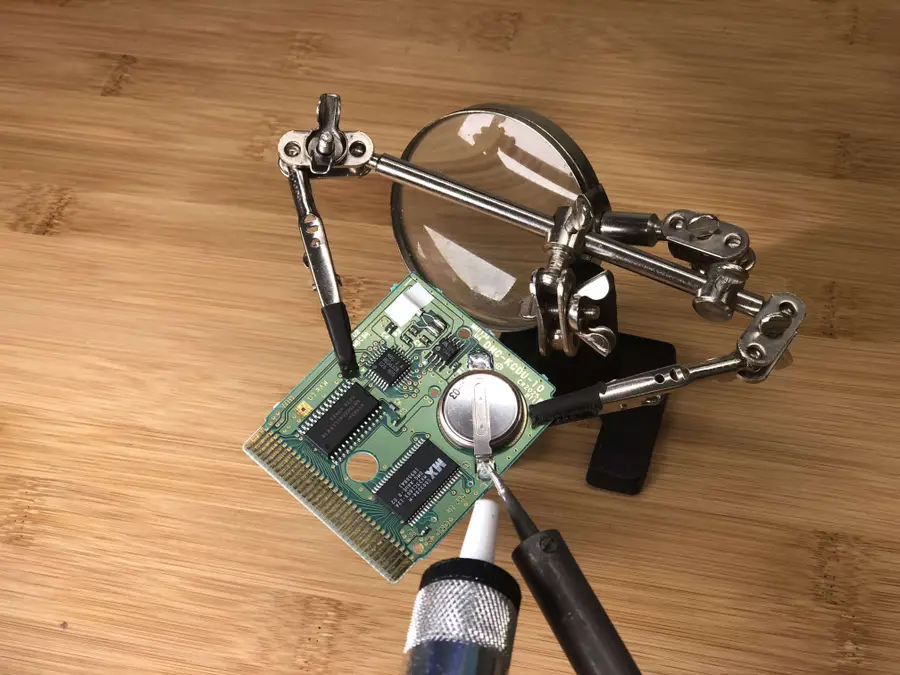
The Game Boy game battery is soldered to the circuit board via two tabs. Heat up each tab and then use your solder sucker to remove the old solder.
If you haven’t used a solder sucker before, it’s easy — just press the plunger down, heat up the solder with your soldering iron, and then press the button on the solder sucker and the plunger will suck up the melted solder.
If you don’t have a solder sucker, you can also use a slightly less expensive desoldering wick — but I find these much harder to use.
Using soldering “helping hands” can help to hold the circuit board but aren’t necessary.
| 🛈 Furiously chuck the old battery in the garbage. Or your local recycling center. |
4 – Inspect the old battery
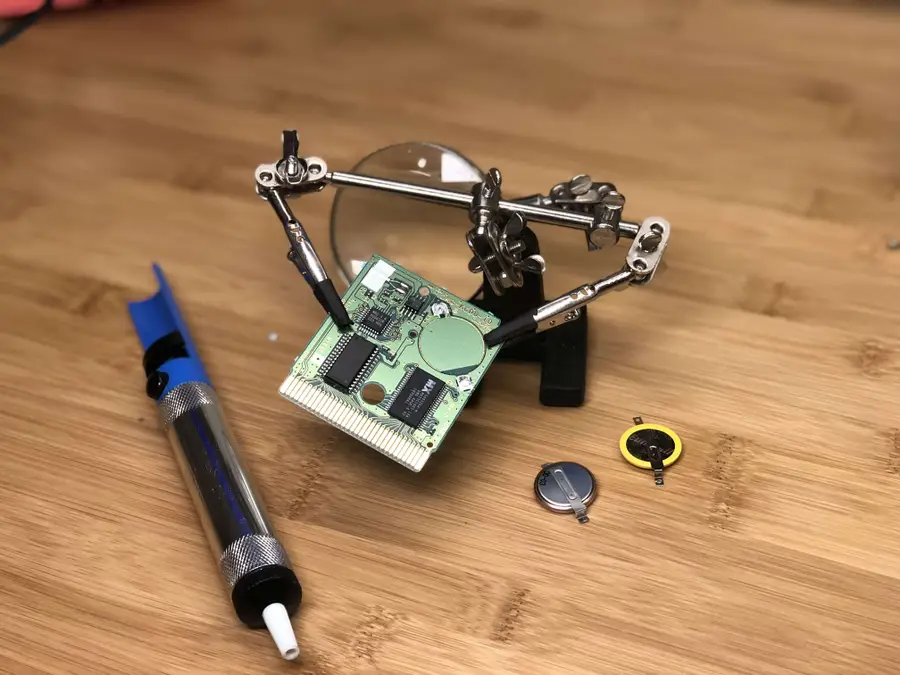
Mine was from 2003!
5 – Install the new battery
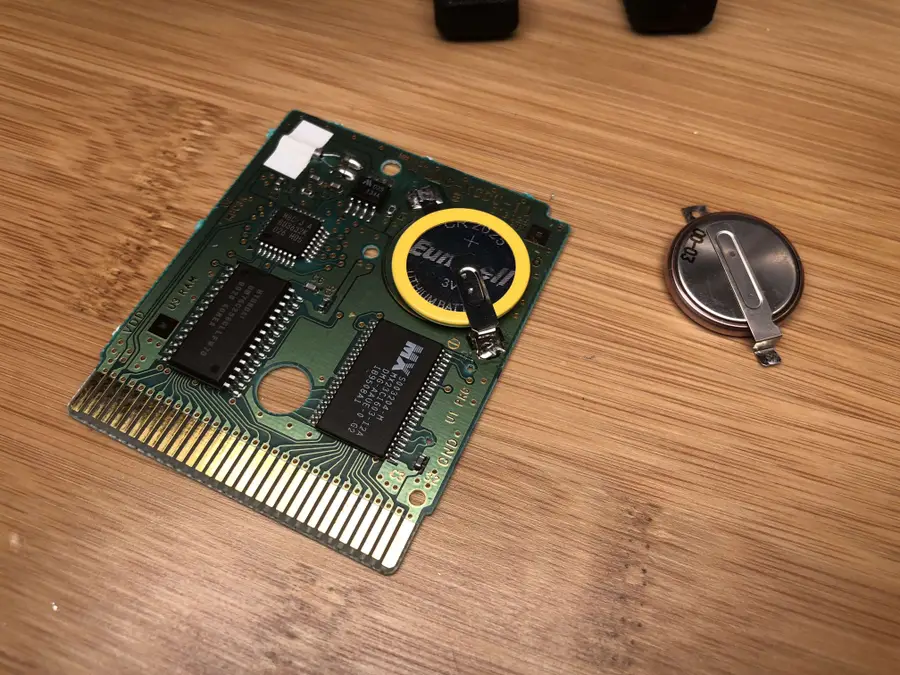
Tab orientation matters here — see the attached photo as reference. Simply solder your new battery in place using a bit of fresh solder.
6 – Reassemble the cartridge
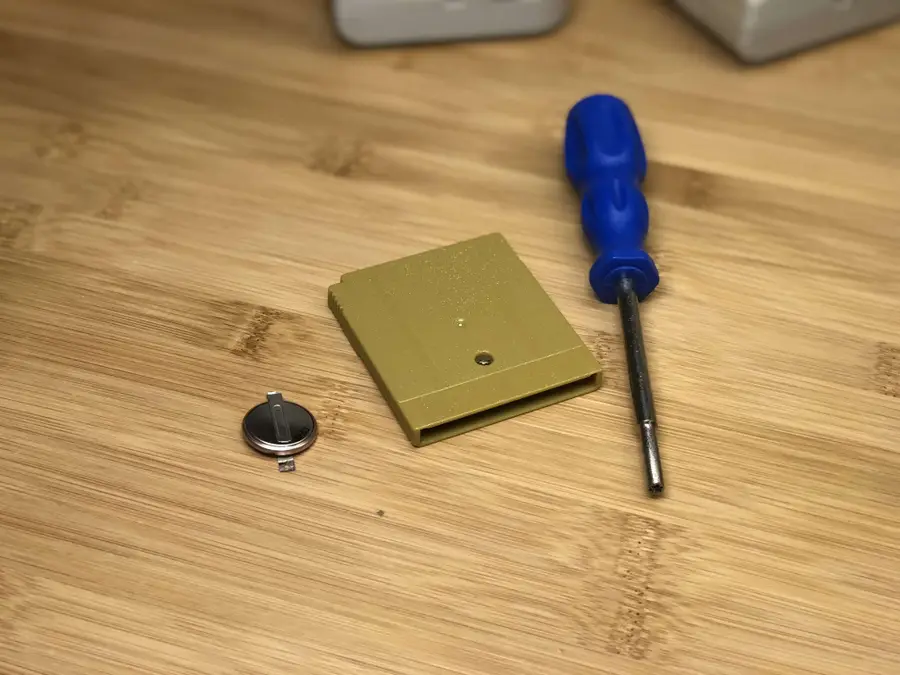
Use your special screwdriver to reattach the screw.
7 – Catch them all!
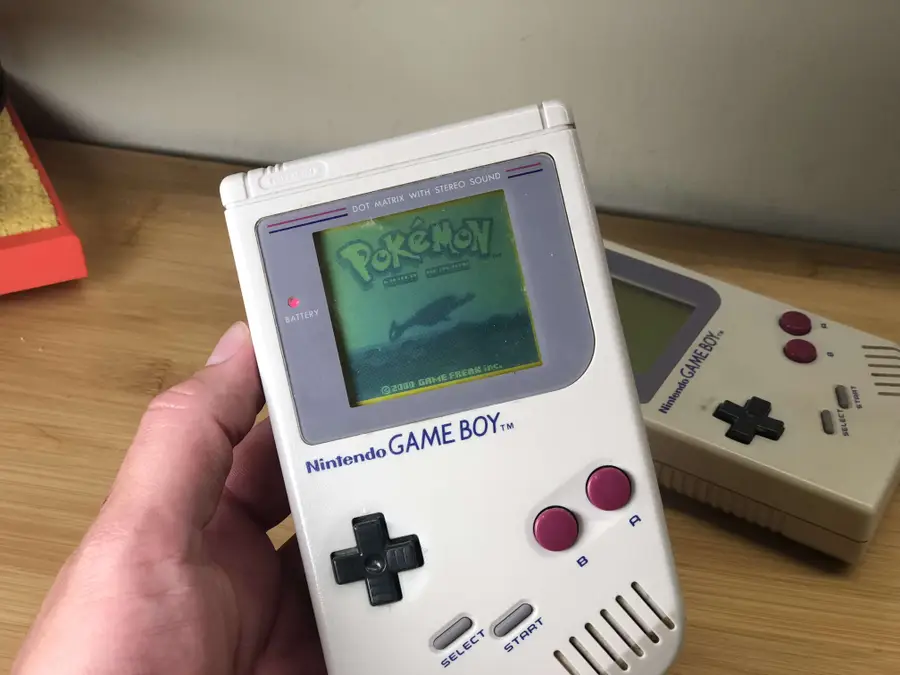
You’re now ready to conquer your favorite video game, with breaks allowed — and another ten years of save states ahead of you.
8 – Ready to take it to the next level?
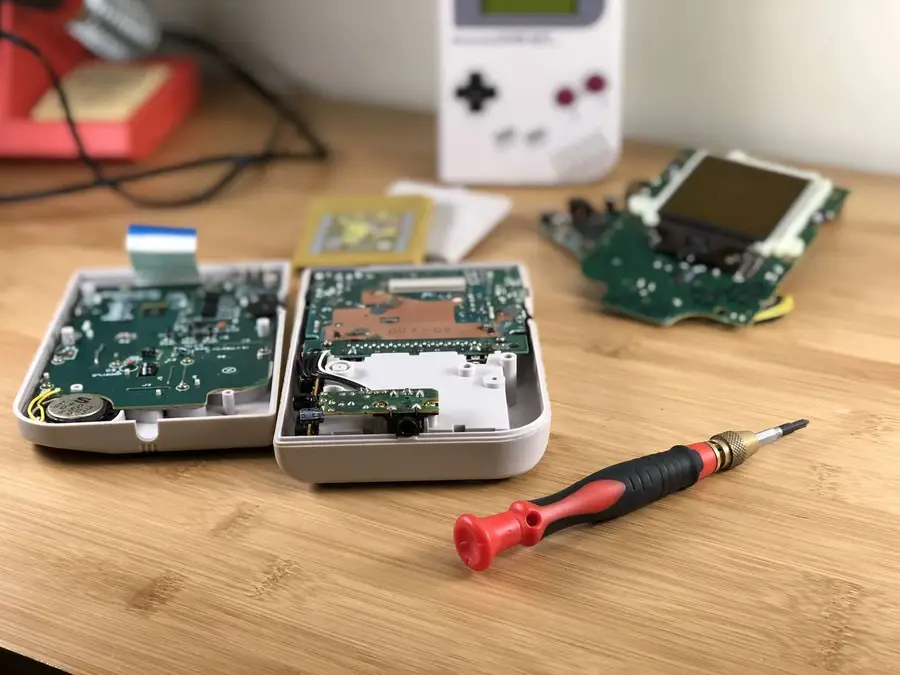
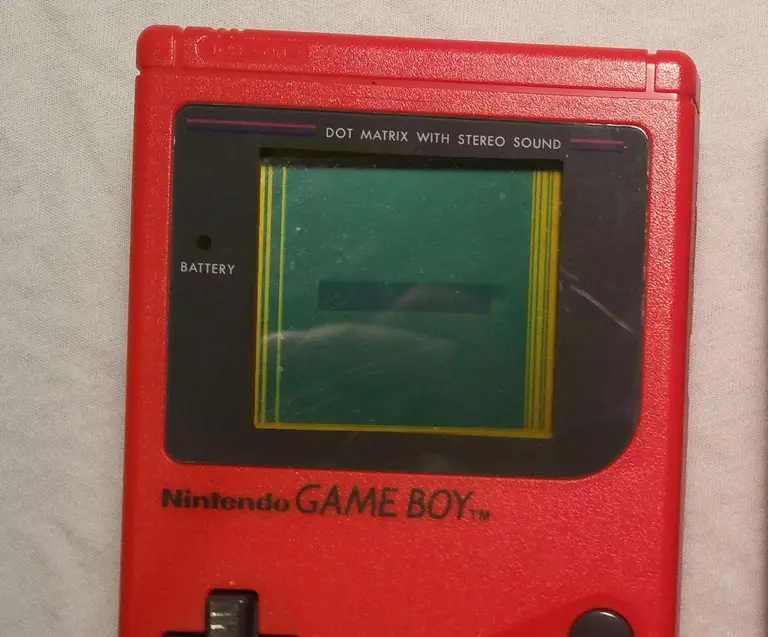
If your Game Boy has lines on the screen or is showing signs of age, check out our Game Boy repair guide.
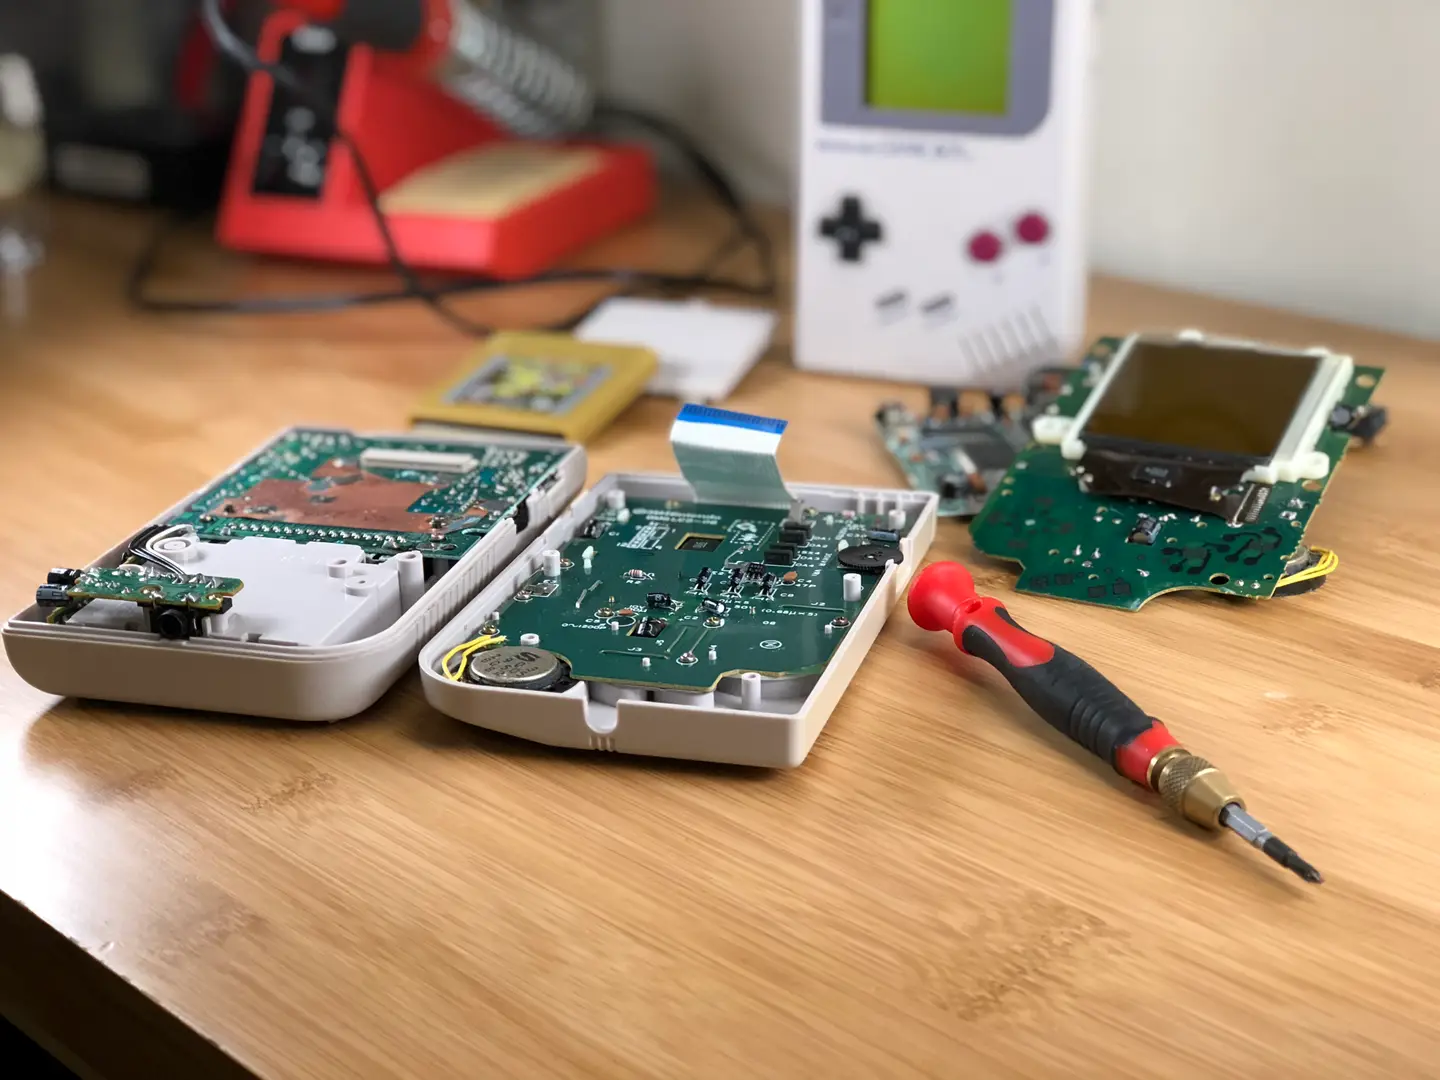
The Ultimate Original Game Boy (DMG-01) Troubleshooting and Repair Guide
Something wrong with your Game Boy? Let’s fix it!
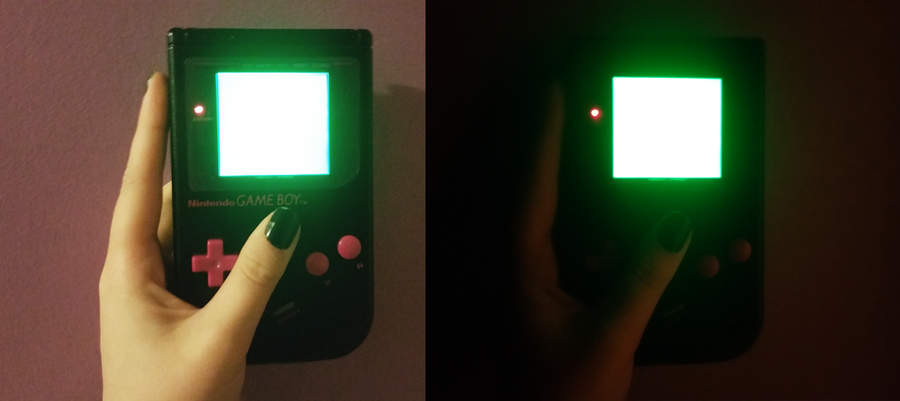
Or maybe you want to make your Game Boy backlit or add other mods — check out our ultimate Game Boy mod guide too!
The Ultimate Original Game Boy Modding Guide
Game Boys are awesome. Let’s make them even better!

