How to Clean the Original Game Boy Battery Contacts and Remove Corrosion

Share
What you'll need
Interests
Series


Posted in these interests:

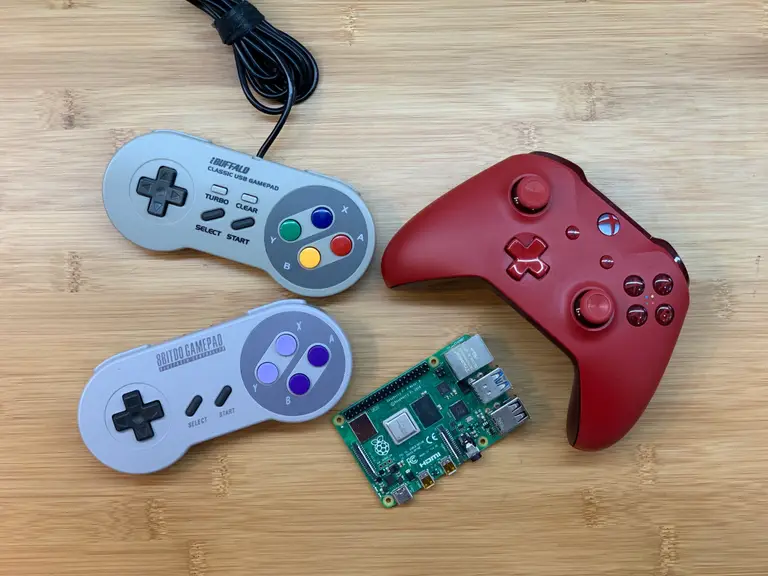
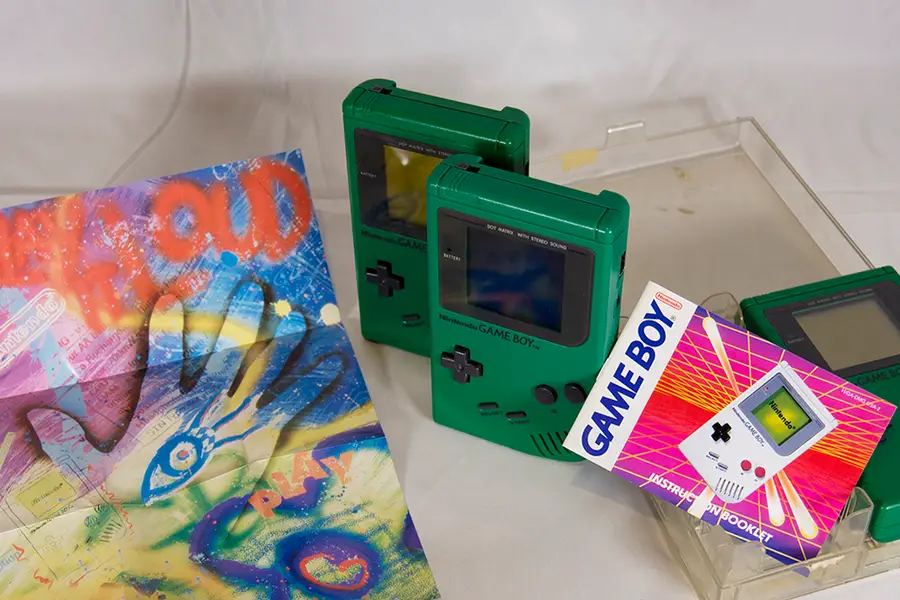
I recently bought a non-working Gameboy from eBay with the intention of hacking it to run RetroPie using a Raspberry Pi Zero. I chose a non-working Game Boy not only to reduce cost but also so that I wouldn’t have to destroy an original, perfectly fine Game Boy.
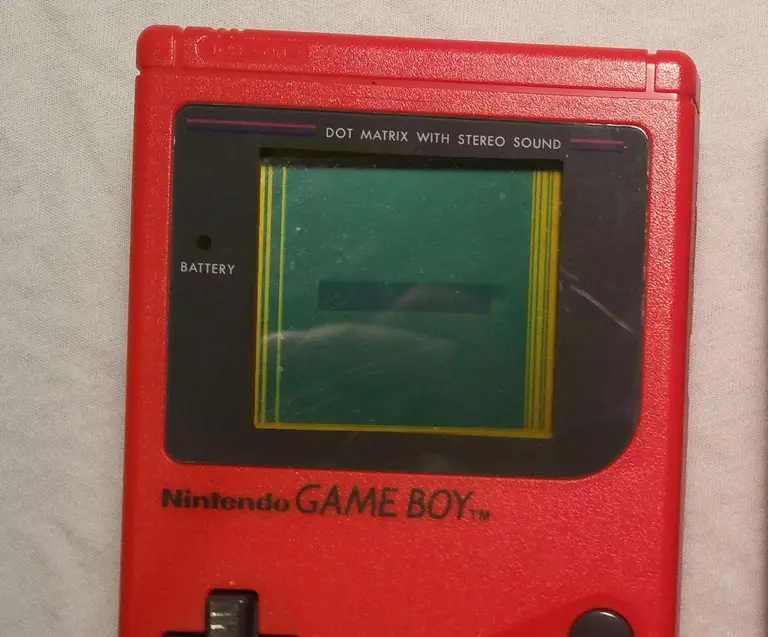
The listing stated that it suddenly stopped working — and when I received it, I noticed the battery terminals were extremely corroded, caked with a greenish residue. It seemed obvious to me that this is why it stopped working. This is an extremely common reason for these old Game Boys to not power on.
I plan on getting this one to work, keeping it, and then ordering another non-working Game Boy for my Raspberry Pi Zero emulator project (check back later as I’ll be writing that guide here on howchoo).
For this guide, I’ll show you how to clean your Game Boy’s battery terminals, hopefully restoring your Game Boy to a working order.
Watch the video, or read on below
1 – Identify the corrosion
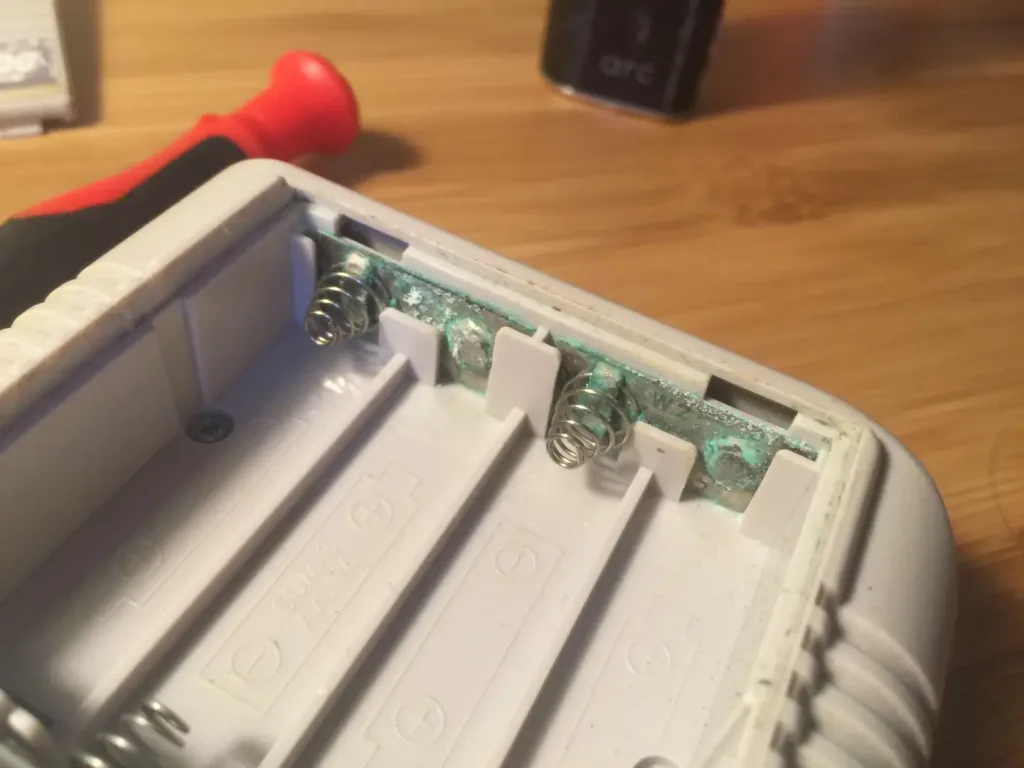
If your terminals are covered in a blue-white or blue-green substance, then they are definitely corroded — this happens when batteries are left in the device for a long period of time.
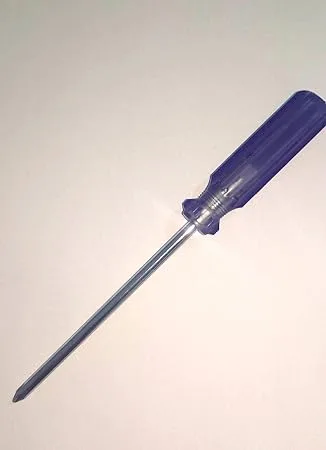
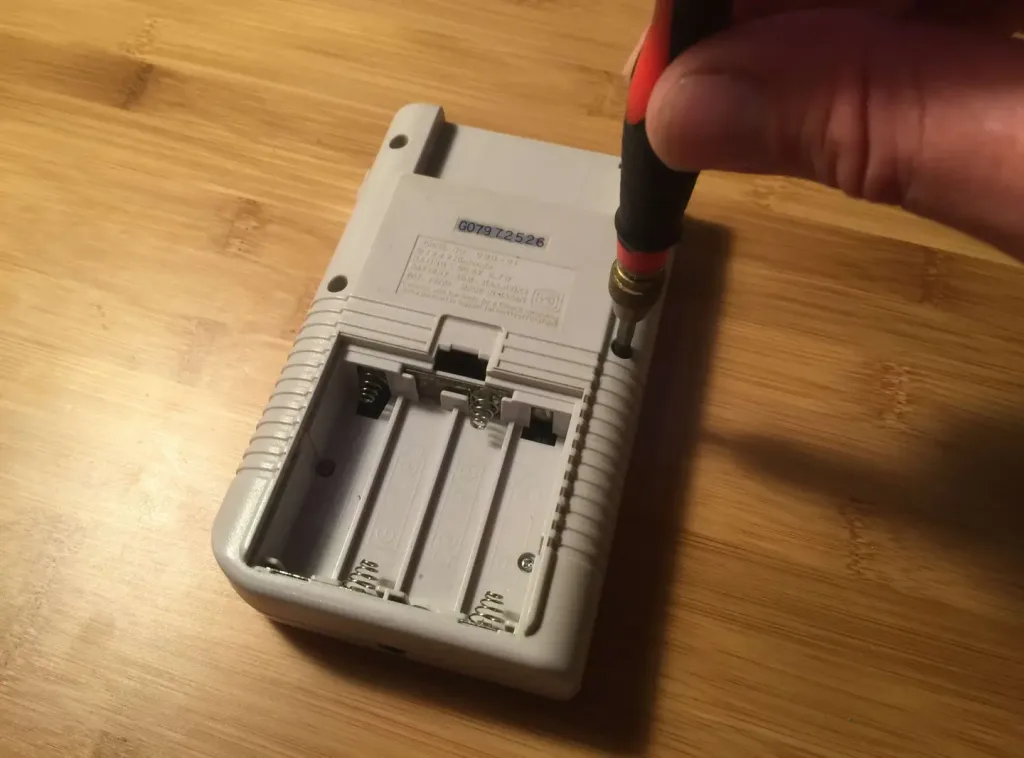
2 – Remove the back case
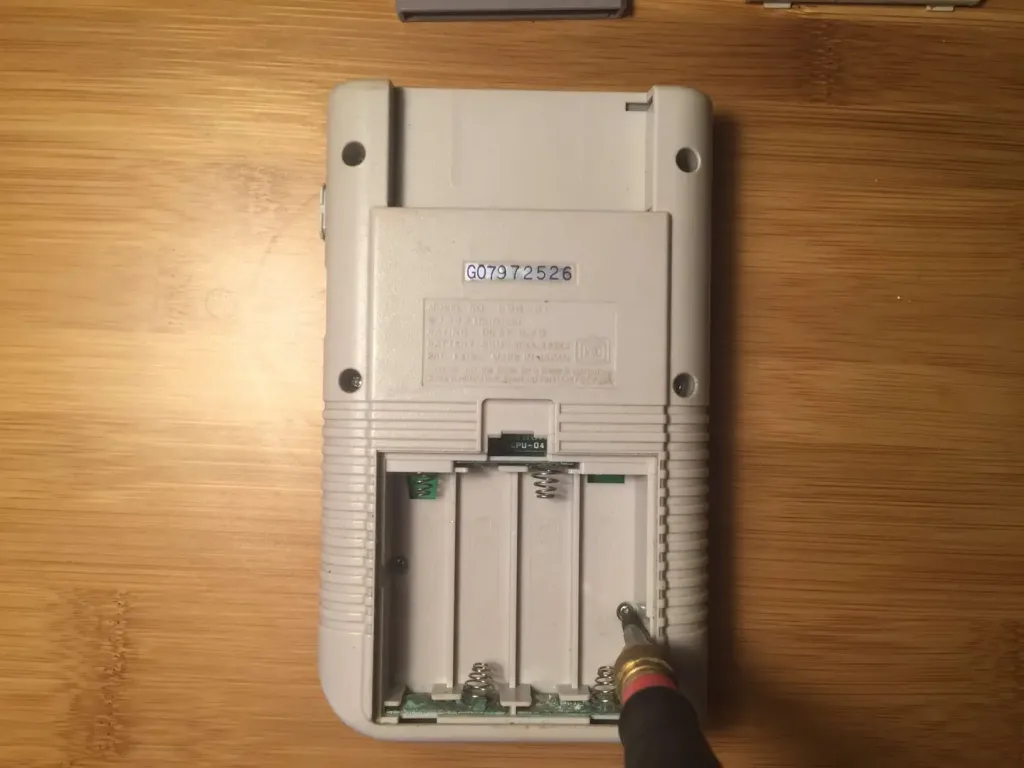
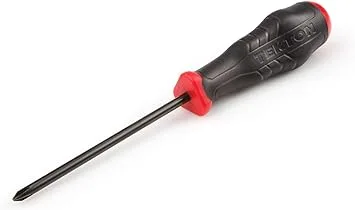
There are six screws you need to remove in order to get the case apart. If you’re lucky, these are normal Phillips screws — but Nintendo used Y-shaped security screws on some Game Boys, which require a different bit (I’ve linked to it at the top of this guide).
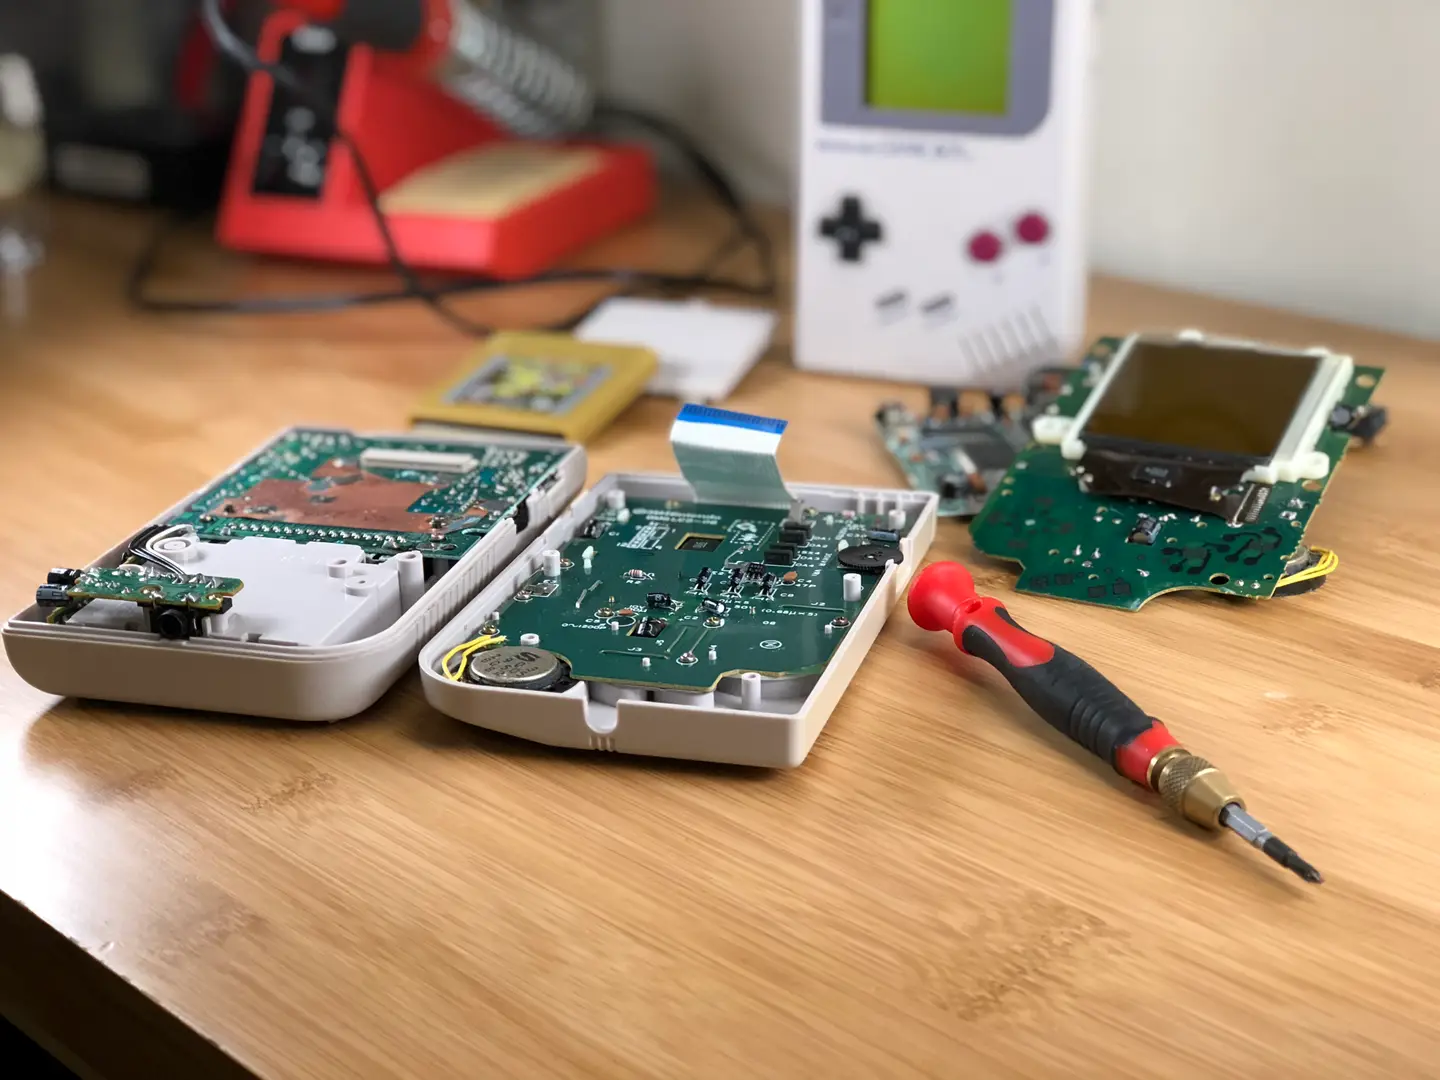
3 – Separate the back case from the front
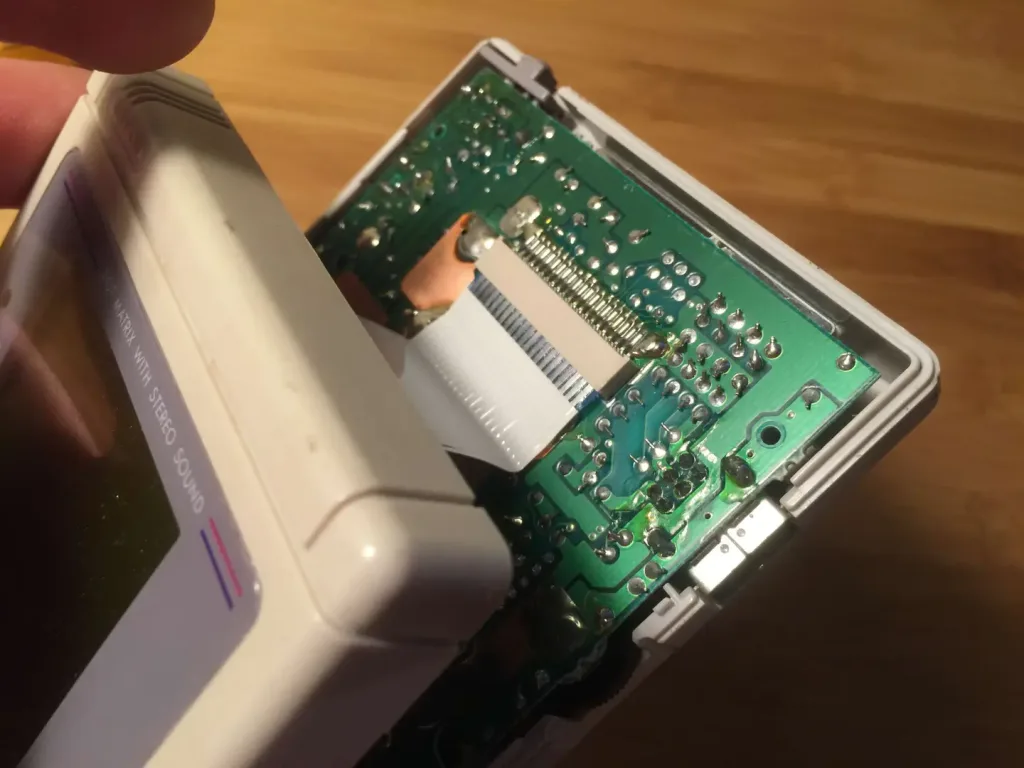
After removing all six screws, carefully slide and disconnect the ribbon cable (pictured) that’s connecting the two halves.
4 – Remove the logic board and audio port
There are two screws holding the logic board in and two screws holding the audio port on. Remove all 4 screws and carefully remove both boards (and the power button!) from the back case.
| 🛈 Sorry I didn’t get a photo of this one — I was busy making the video. But check it out (above) if you need help with this part. |
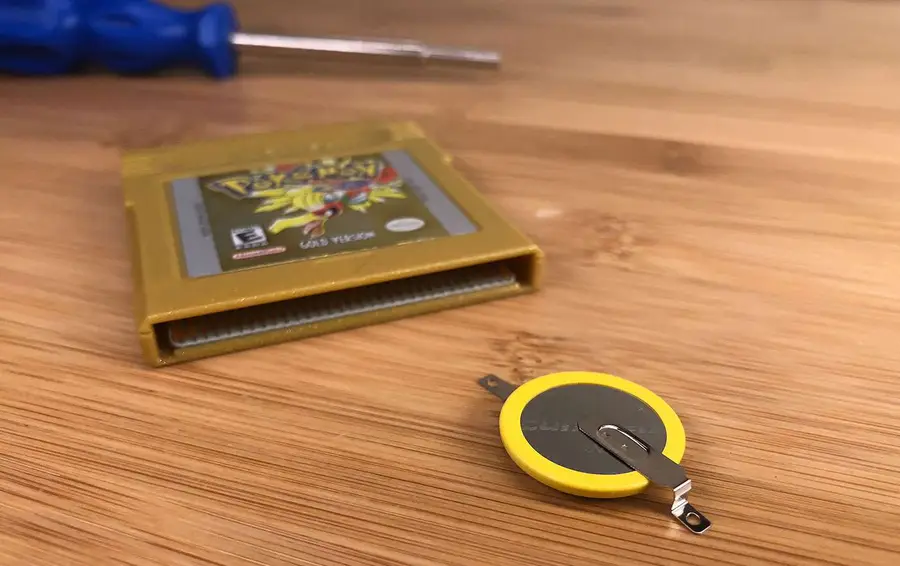
5 – Remove the battery contacts
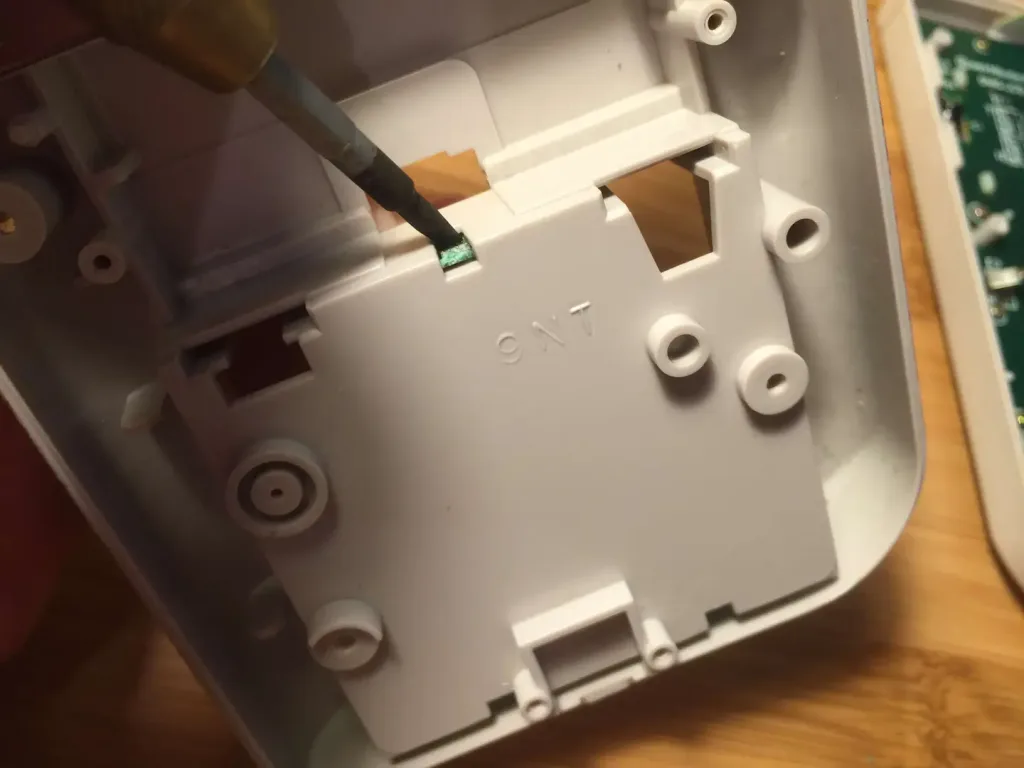
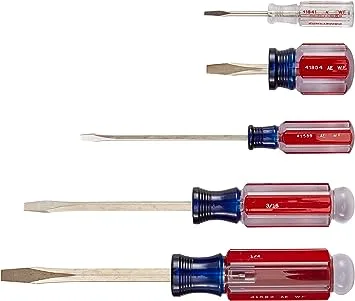
We’re going to remove the three battery contacts/terminals using a small flathead screwdriver so that we can clean them more easily. There are two removal contacts at the bottom of the battery compartment and a single centered one at the top of the battery compartment.
To remove these contacts, use a small flathead screwdriver to get behind the contact and then extract it using a pair of needle-nose pliers. This process is made super easy because the clips are easy to access from the back. Carefully remove the top contact and two bottom contacts.
6 – Soak the contacts
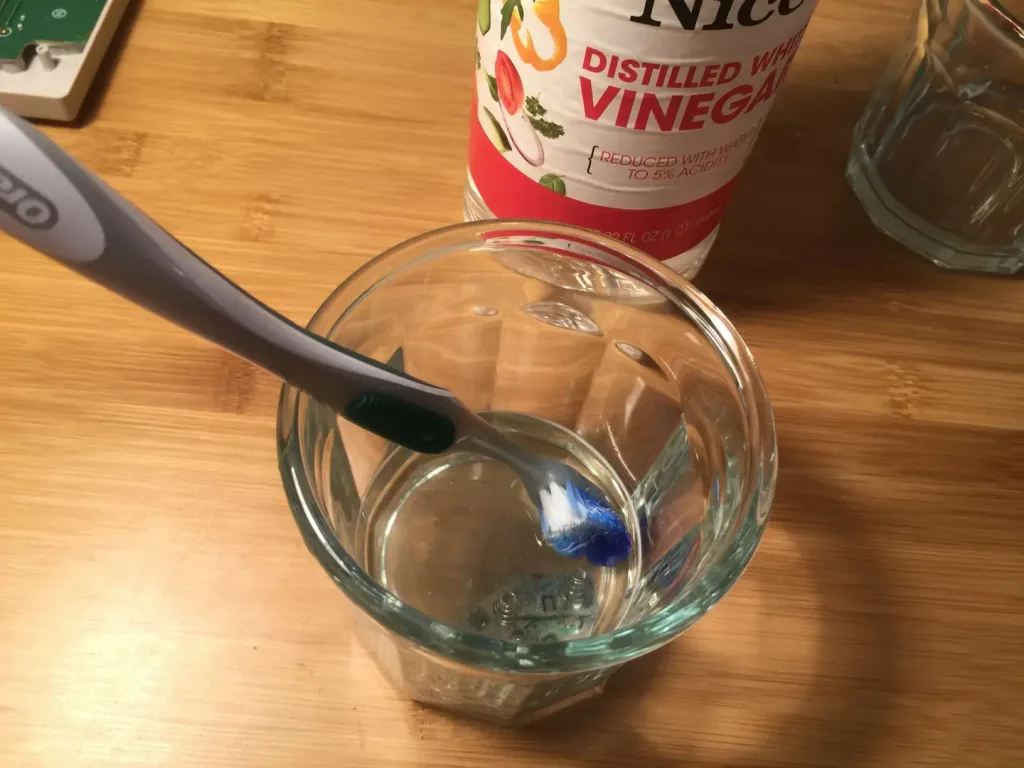
To remove the corrosion, soak the three contacts in a small container of distilled white vinegar. You may need to scrub them slightly using an old toothbrush or your flathead screwdriver to get them squeaky clean.
Let them soak for about five minutes, rinse them with water, and then soak them in rubbing alcohol for about a minute. This will remove any impurities created by the vinegar. Finally, dry them with a paper towel.
7 – Clean the remaining two contacts
We removed the back of our Game Boy so that we can clean the two non-removable contacts at the top of the battery compartment. Dip a bit of paper towel in some rubbing alcohol and carefully clean the two contacts that are soldered to the board.
8 – Reassemble everything
Make sure everything is dry. Replace the contacts, put the case back together, insert the batteries, and test your Game Boy out!
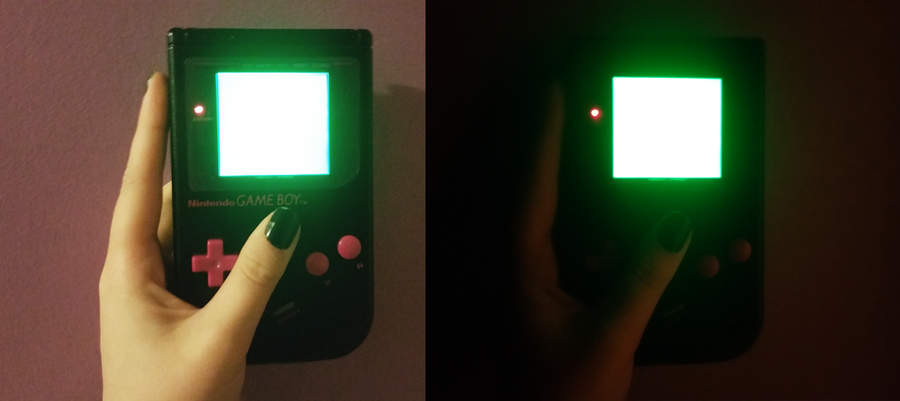
9 – It works!
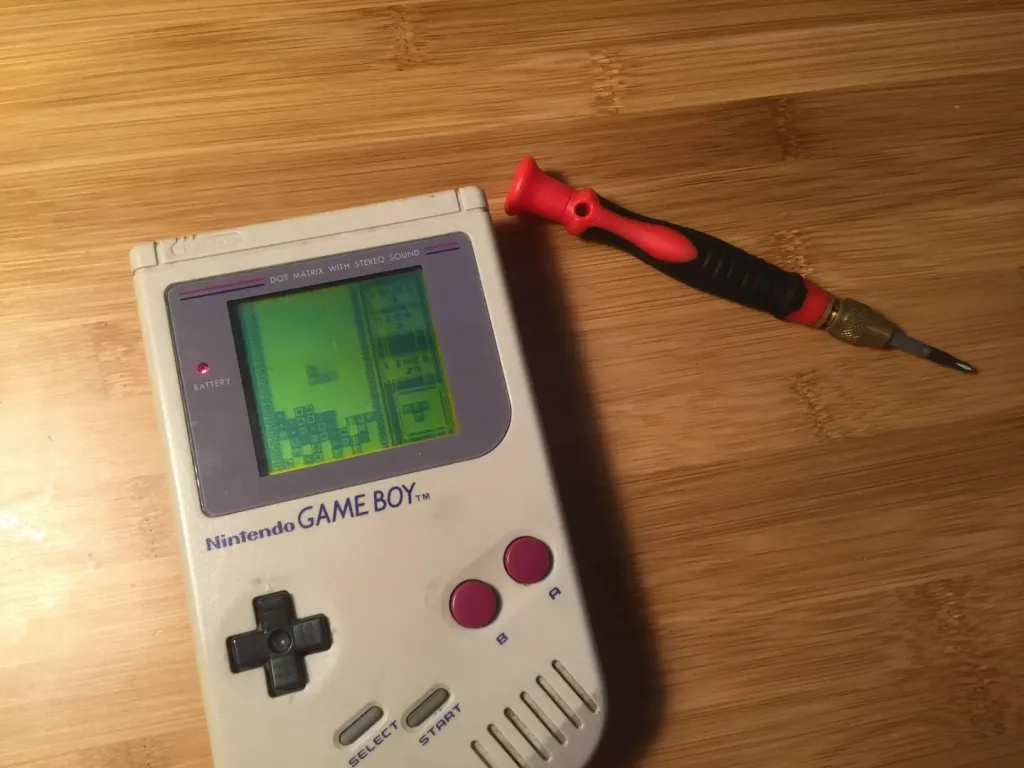
This was the issue and it totally fixed my Game Boy. 🙂 There are some lines on the screen, but nothing major — howchooer Ash wrote a guide on how to fix vertical Game Boy lines!

How to fix vertical lines on an original Game Boy screen
You can’t play it like this!