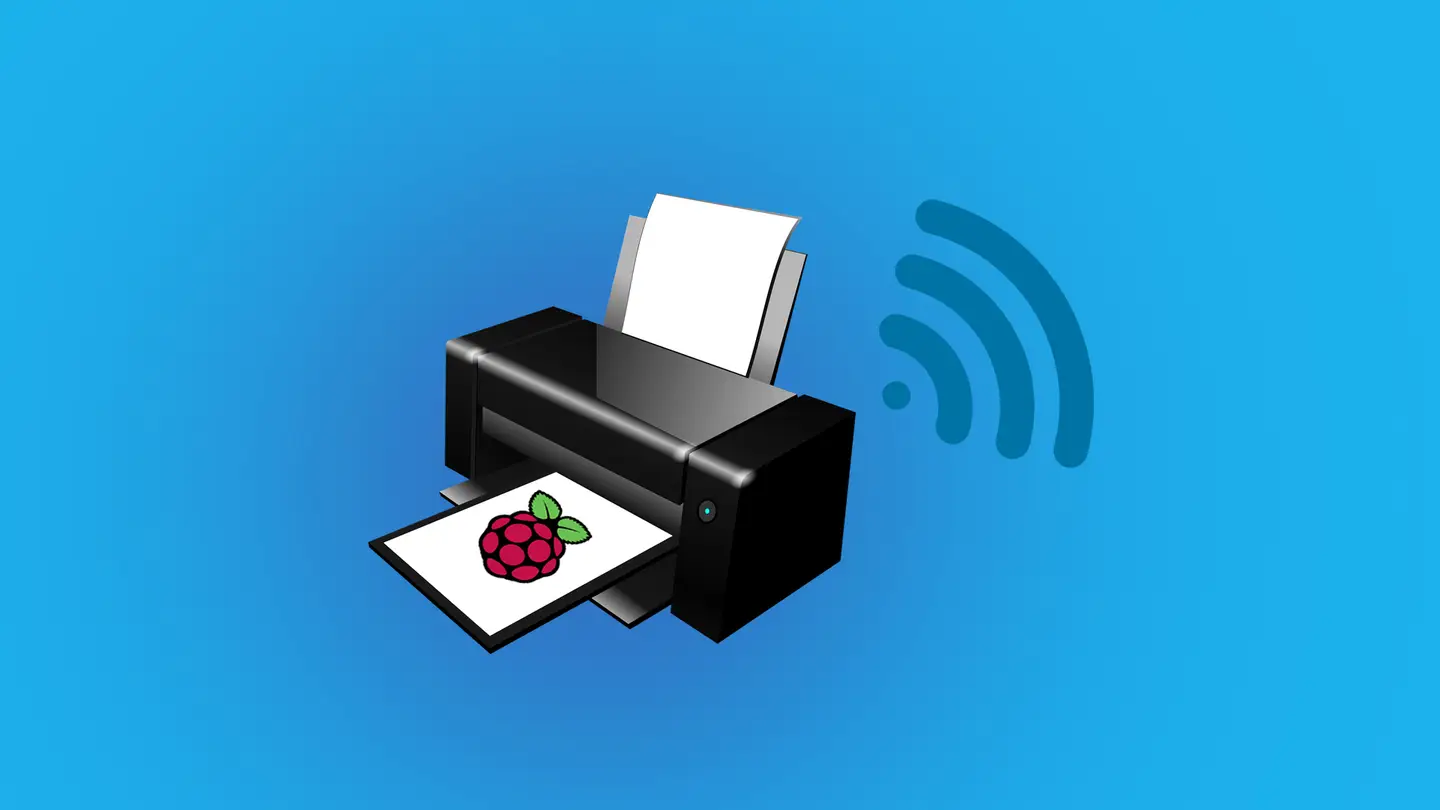
How to Make Any Printer Wireless with a Raspberry Pi

Share
What you'll need
Interests

Posted in these interests:

With a Raspberry Pi and a free afternoon, you can make any printer a wireless network printer. You don’t even need a full-sized Pi model—this project will work easily with the Raspberry Pi Zero W.
We’ll be using CUPS to create a print server that can be managed with a web interface on the network. CUPS provides plenty of features like print job management, job cancellations, and the ability to adjust printer settings from your browser window.
1 – Install Raspberry Pi OS
This project is built on Raspberry Pi OS. Unless you plan on using a monitor or screen, you can get away with using the light version.
If you haven’t already, go ahead and install Raspberry Pi OS onto a microSD card. You will need access to the internet. Visit our guides on how to enable SSH and how to set up WiFi on a headless Raspberry Pi for help setting this up.

How to Set up WiFi on Your Raspberry Pi Without a Monitor (Headless)
No monitor, keyboard, or mouse? No problem.

How to Enable SSH on Raspberry Pi OS Without a Screen
The SSH protocol is disabled by default.
2 – Install CUPS
It’s important to update Raspberry Pi OS before installing CUPS. If you’ve never done this before, check out our guide on how to update Raspberry Pi OS. You will need to access the Pi via SSH using a terminal.

How to Install Raspberry Pi OS on Your Raspberry Pi
Get the new official Raspberry Pi OS on your Pi.
Once the Pi has been updated, run the following command to install CUPS.
$ sudo apt-get install cups3 – Set up the Printer
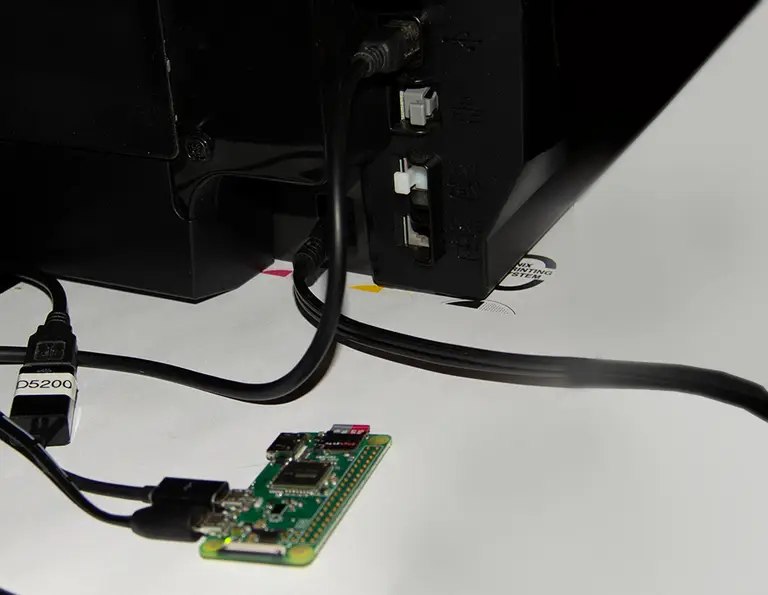
Connect your printer to the Raspberry Pi. The cable you need for this step may differ depending on the type of printer you’re connecting and what model of Pi you’re using.
In my case, I’m using a Canon MX922 and a Raspberry Pi Zero W. The Canon is connecting to the Pi Zero with a USB B to Micro USB setup. I had to use a USB A to Micro USB adapter. Again, your needs may not match what I’m using for this step.
When the printer is connected, turn it on.
4 – Start CUPS for the first time
Add your Raspberry Pi username to the CUPS system to create a profile. Replace pi with your username.
sudo usermod -aG lpadmin piNow we can start the CUPS software on the Raspberry Pi. In a terminal window, run the following command.
sudo /etc/init.d/cups start5 – Set permissions
Permissions are necessary to access the web interface from any computer. Run the following command to apply the appropriate permission level and restart the application.
$ sudo cupsctl --remote-any
$ sudo /etc/init.d/cups restart
6 – Access CUPS
As an optional step, you can take this opportunity to set a static IP address on the Raspberry Pi.

How to Configure a Static IP Address on the Raspberry Pi
Making things a little less dynamic.
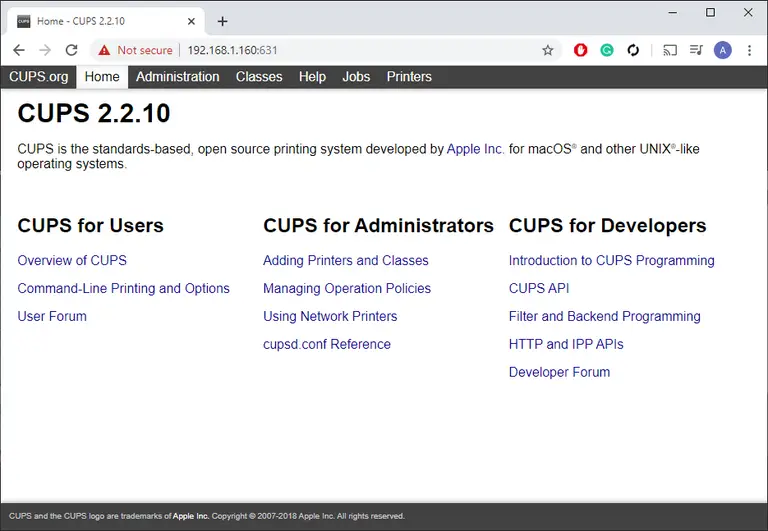
Access the CUPS web interface using either the hostname or IP address for the Raspberry Pi. Paste this address into your browser, replacing [YOUR_PI] with the IP or hostname.
https://[YOUR_PI]:631/admin| 🛈 If you receive a login prompt, use your Raspberry Pi login credentials. |
7 – Add a printer
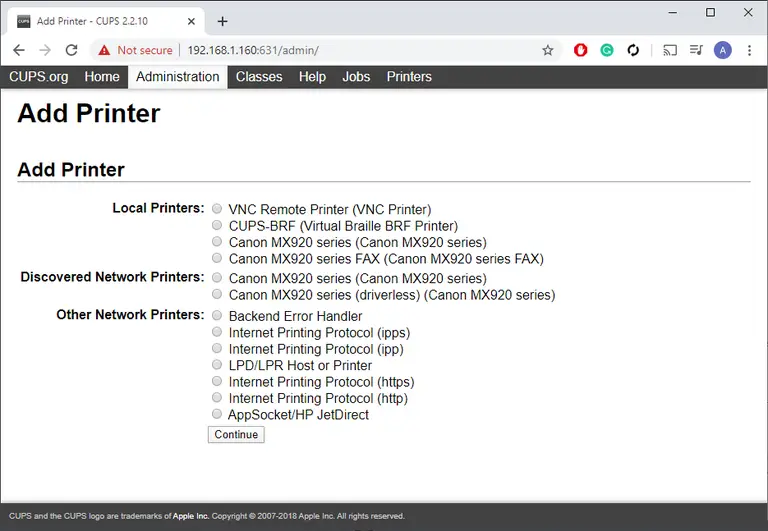
When the web interface loads, go to the Administration tab and choose Add Printer.
Choose your printer from the list. Set a name, description, and location for your printer. The name field can’t have any spaces, slashes, or pound signs. You can use this screen to choose whether or not the device is shareable on the network. Click Continue.
Select a PPD for your printer model from the list or upload one from your machine. When a PPD file has been specified, click Add Printer. It should now appear under the Printers tab.
8 – Manage your printer
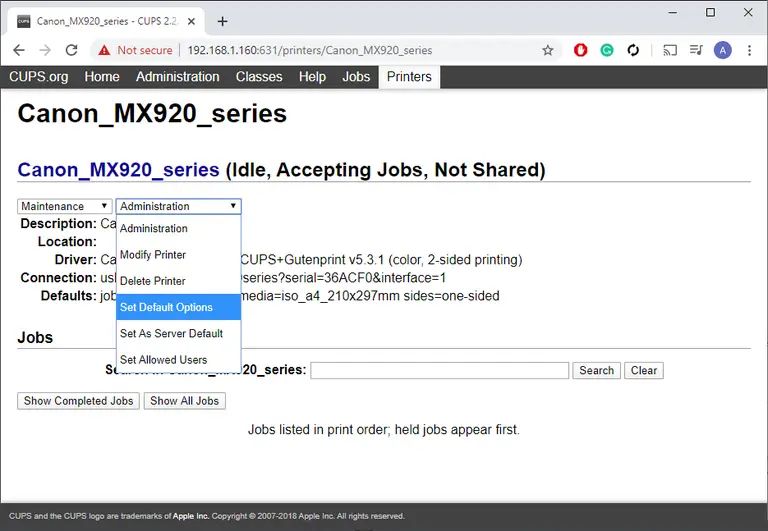
To manage your printer, select it under the Printers tab. Use the Jobs section to show a list of completed jobs or currently queued print jobs.
In the upper left are a couple of drop-down menus. The left menu has maintenance features like test pages and print job management. The right menu has administrative options like adding user permissions or removing the printer entirely. You can also use the Administration menu to change the default print settings for the printer under Set Default Options.
Great job! You’ve created a Raspberry Pi-powered print server. You should be able to discover and connect to printers on this Pi server like any other wireless printer.


