Home
Interests
Sign In
Home
Interests
Photography
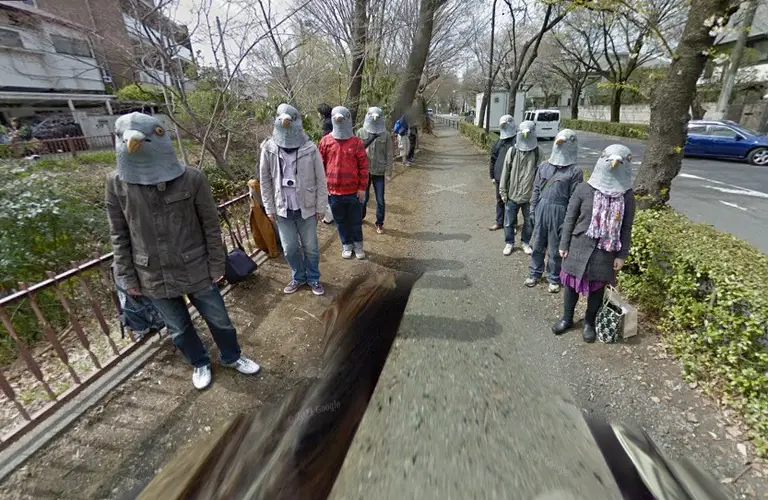
35+ Unbelievable Google Street View Images!
Note this is a PG-style list, which includes no nudity or violence. Making this list of the most unb
howchoo
View guide
In these interests:
Google
Photography