
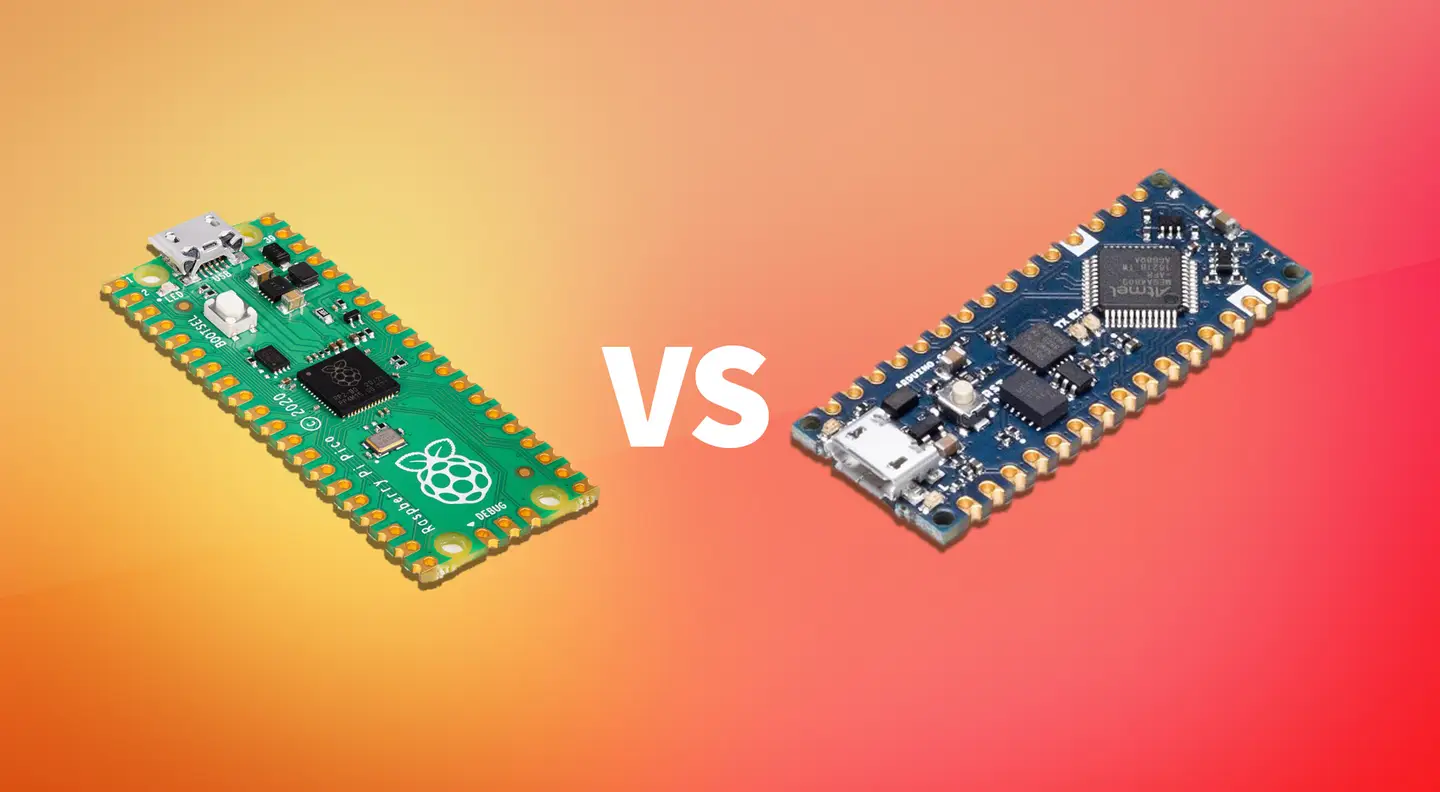
Finding the right microcontroller for your project is critical for not just budgetary reasons but al
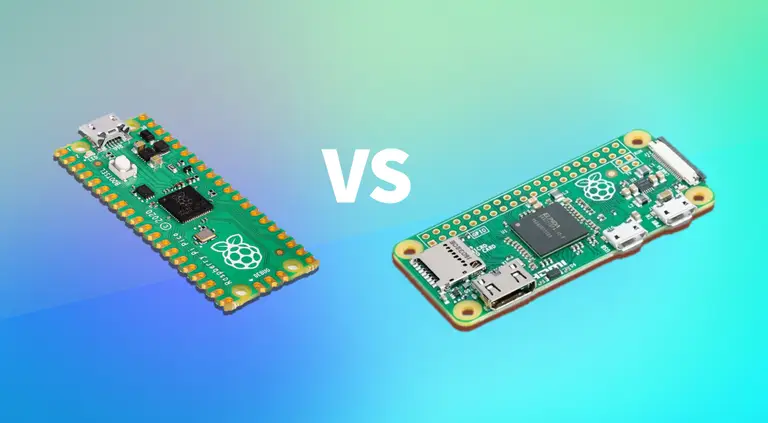
The Raspberry Pi Pico and Raspberries Pi Zero are miles apart when it comes to specs, form factor, a
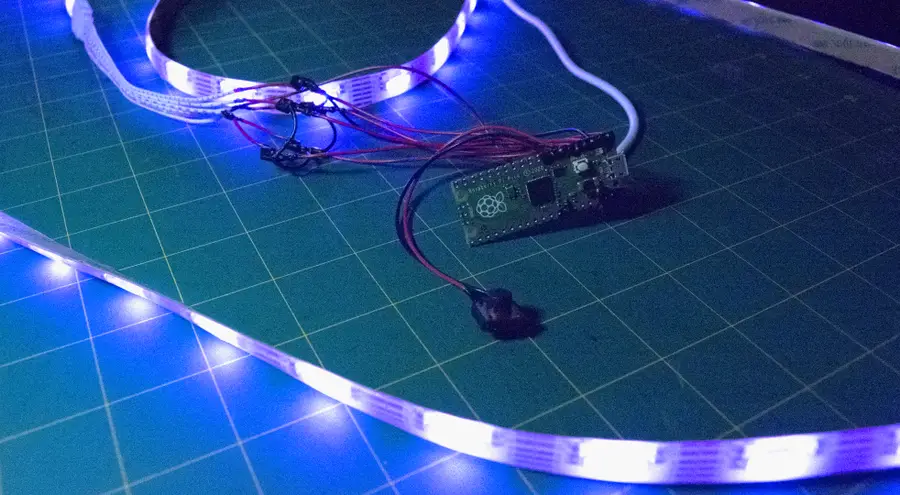
LEDs can take your project from trashy to flashy but why waste valuable GPIO pins on something so si
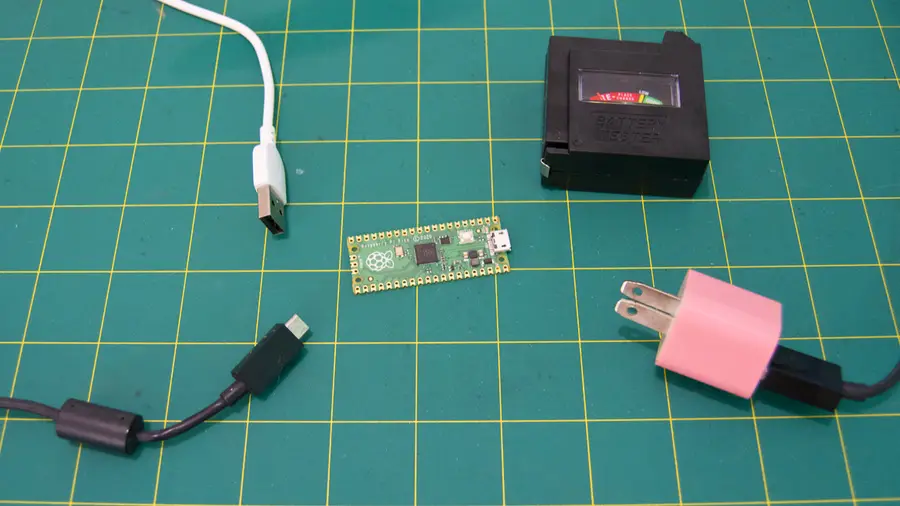
The Raspberry Pi Pico is a little board with a lot of room for creativity. But like your brain, the
