

You’ve put so much work into setting up RetroPie or EmulationStation. You load it up
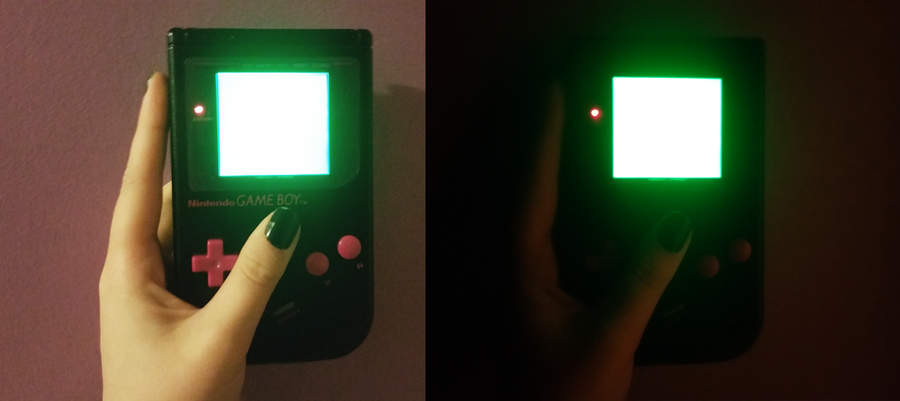
Are you struggling to see the pixels on your Game Boy? Why bother with ambient light fixtures when y
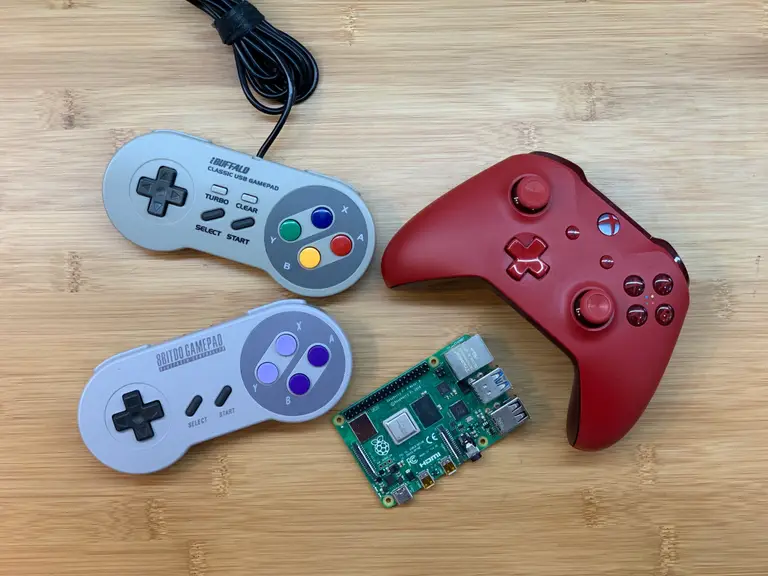
If you want to play retro games on RetroPie, you need a controller. But not all controllers are crea
Nobody wants to spend the whole day troubleshooting. Do you have a problem with your hand held? Nint
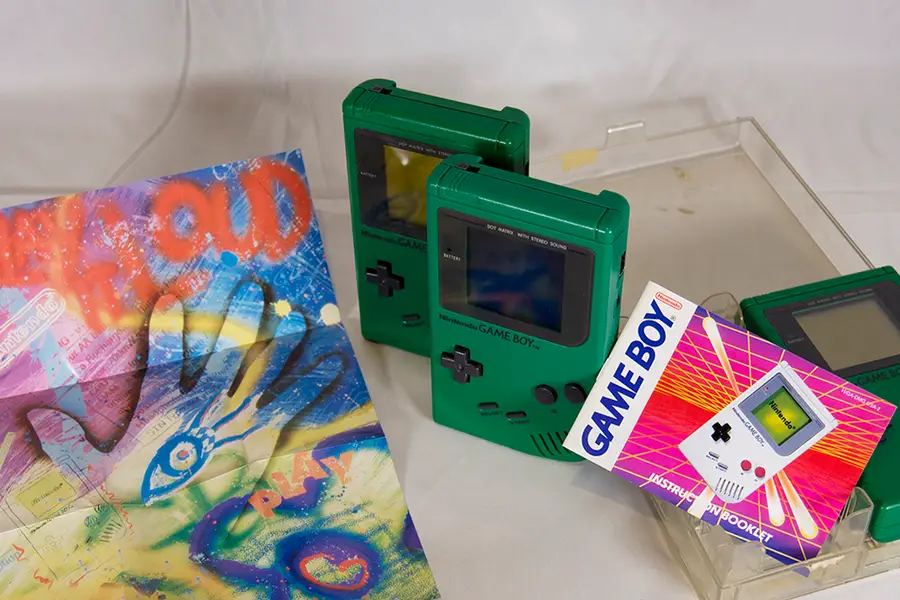
The Nintendo Game Boy is one my favorite retro hand-helds. They came in a surprising number of varia
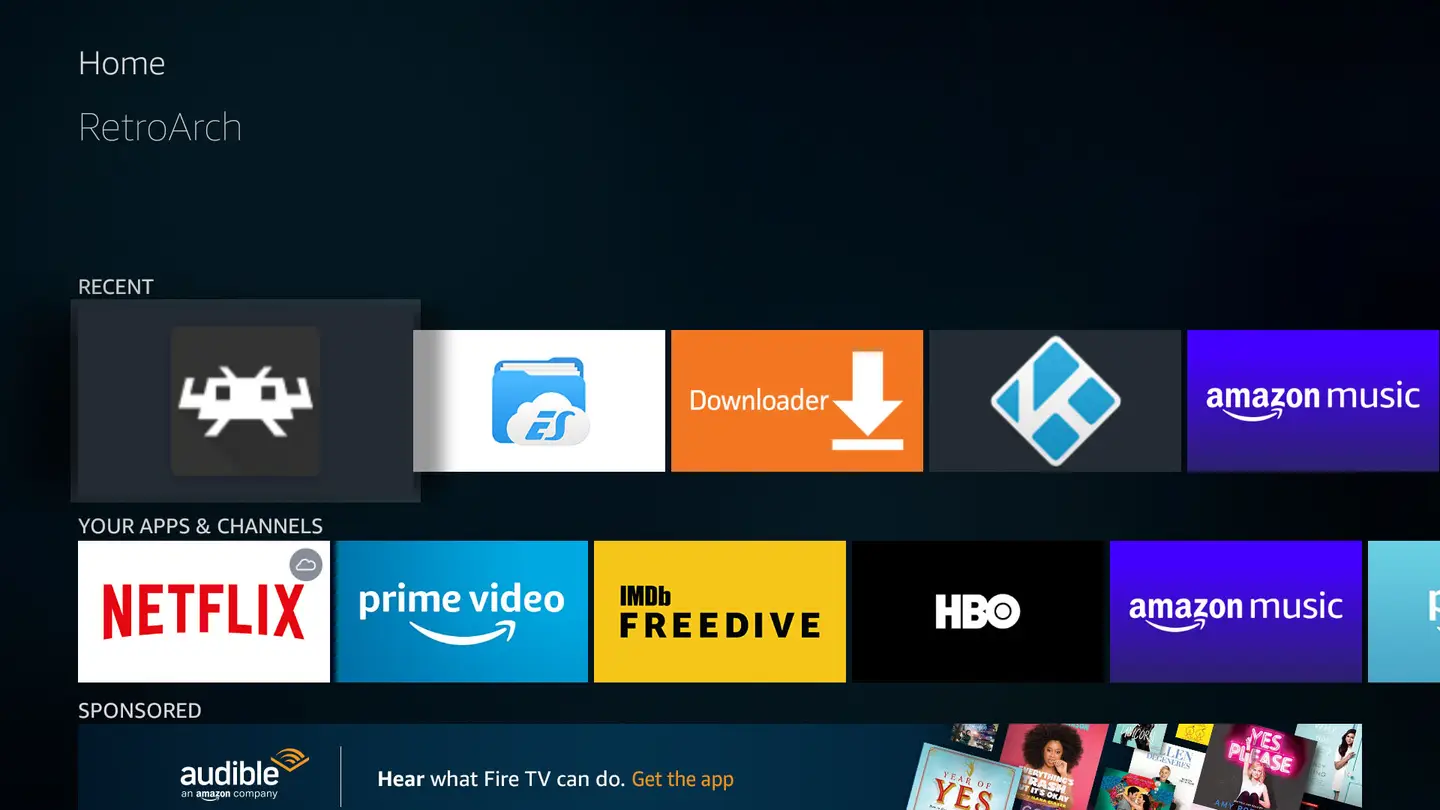
If you want to emulate all your favorite retro gaming systems quickly and easily, this guide is for
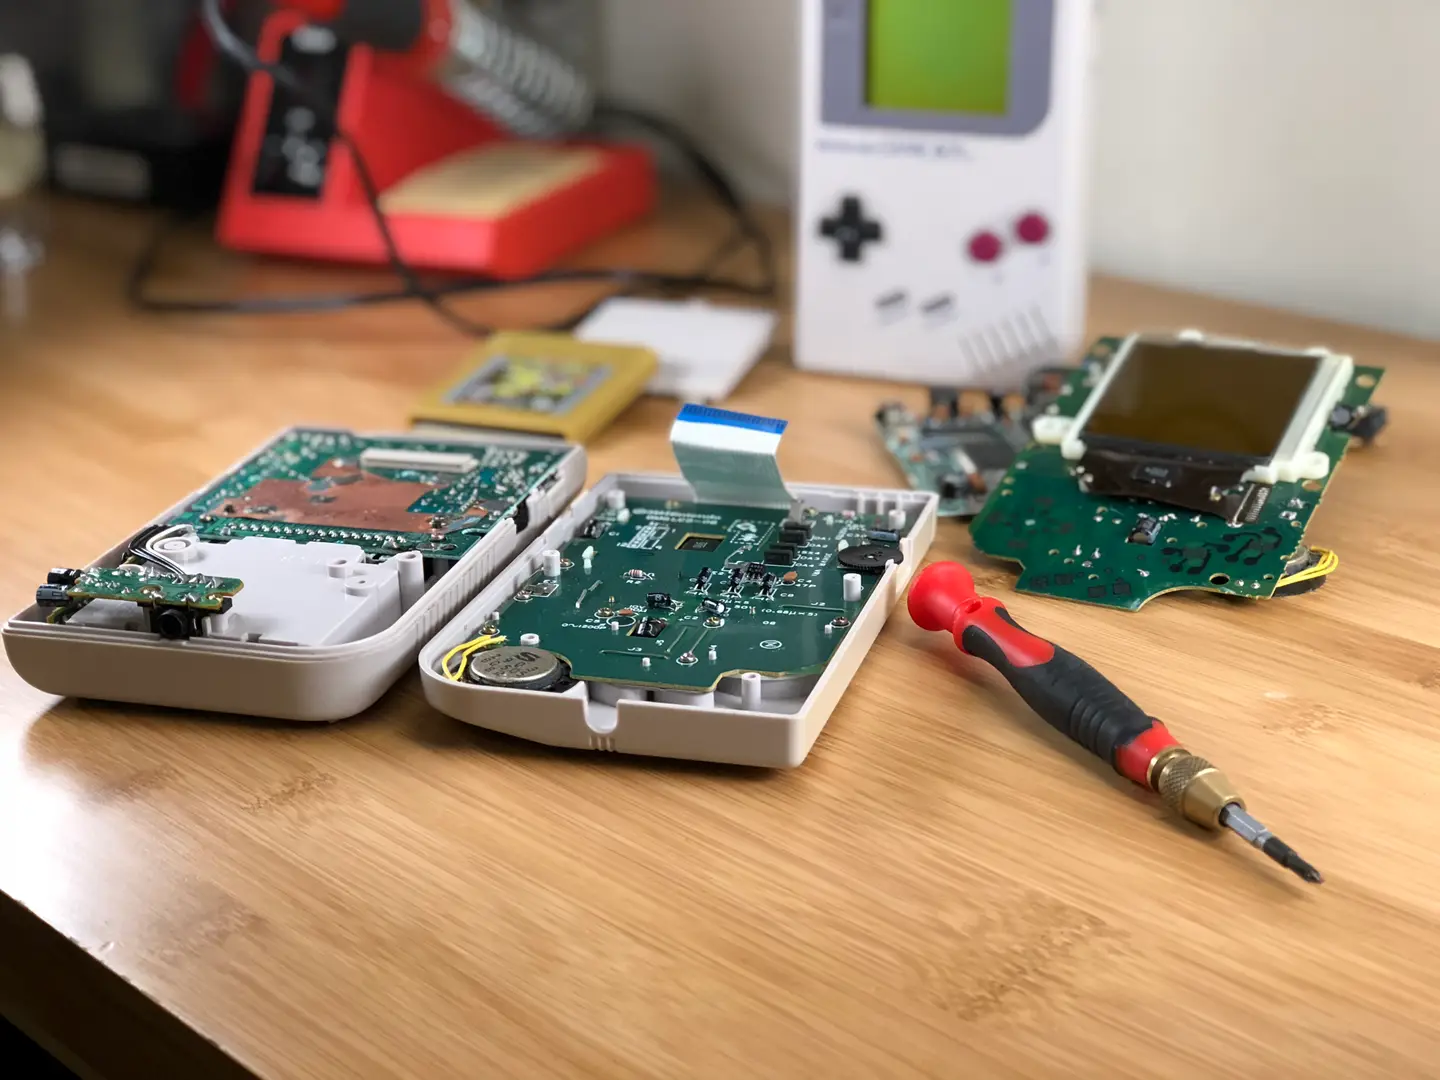
I recently bought a non-working Gameboy from eBay with the intention of hacking it to run Retro
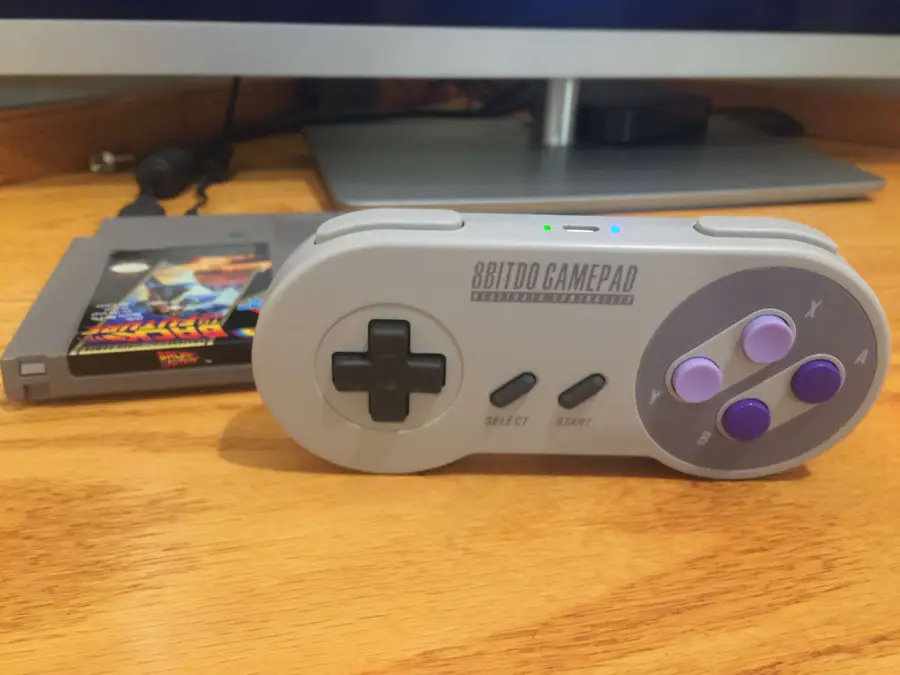
Using a Bluetooth controller with RetroPie is a piece of cake — this guide will show
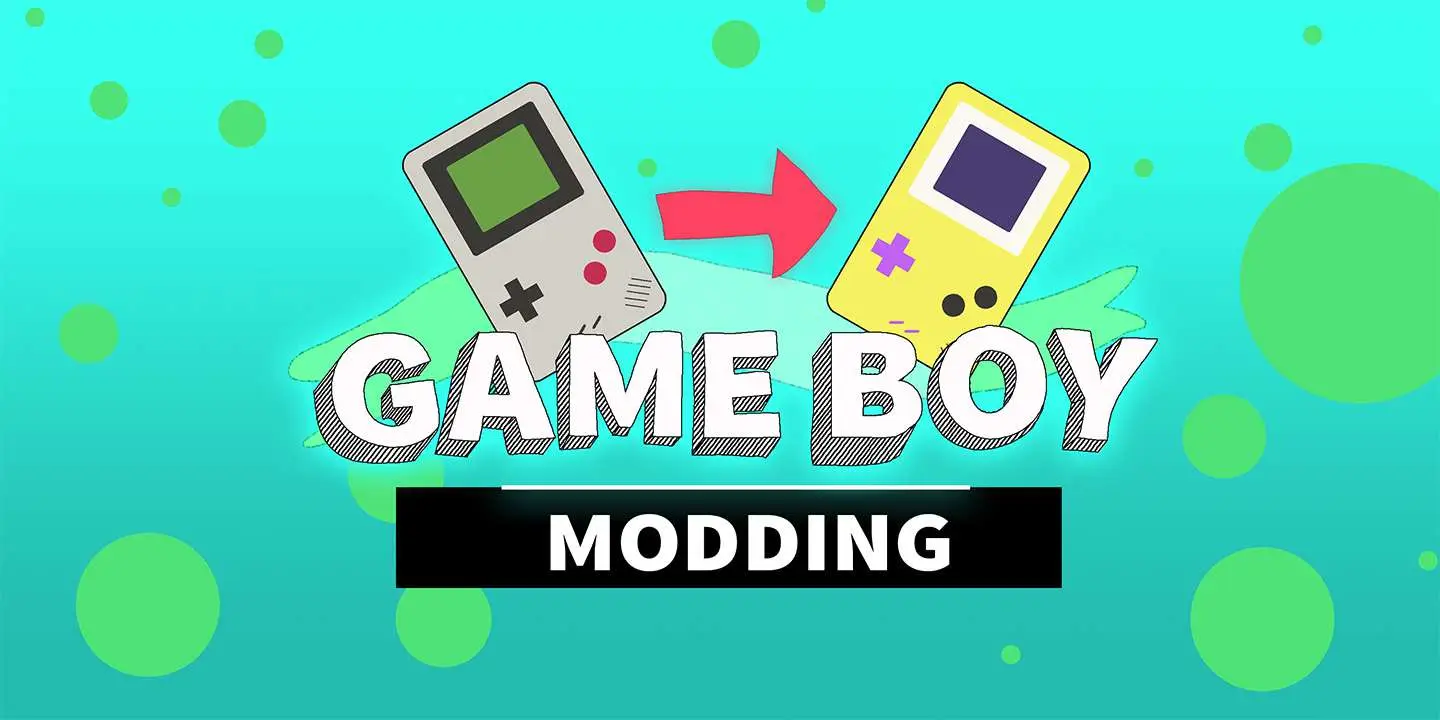
Game Boys are awesome! But they’ve been around for so long, it’s no surprise to find the
I’ve been a gamer for most of my life, starting with simple games on my old Macintosh 128K, diving

We’ve compiled the most common RetroPie questions and answers into a clear and conci
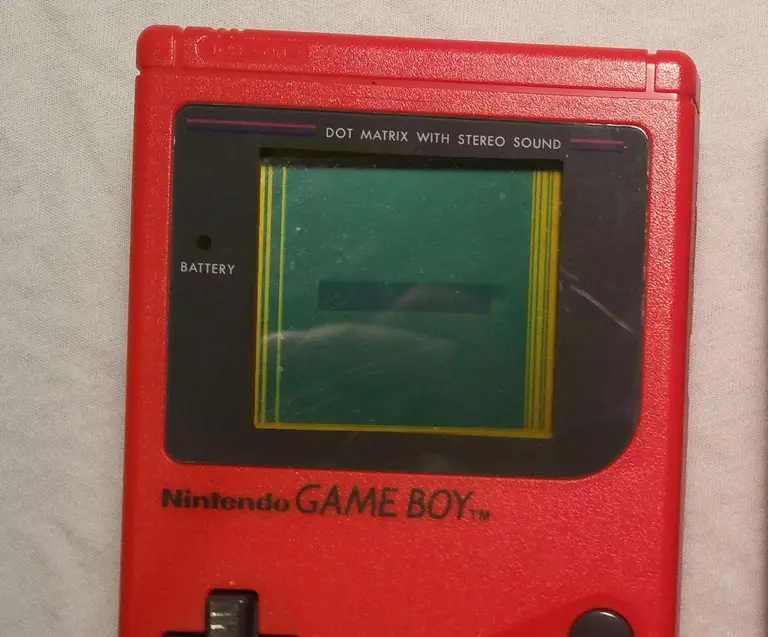
Finding your old Game Boy can produce a wave of nostalgia like no other. But nothing fades that feel
