How to Replace the Filter on Your Roomba i7
Share
What you'll need
Interests
Your Roomba i7 vacuum filter will need to be cleaned every few weeks and replaced every two months. This short guide will show you how to remove and replace (or clean) your Roomba vacuum filter.
1 – Remove the dust bin
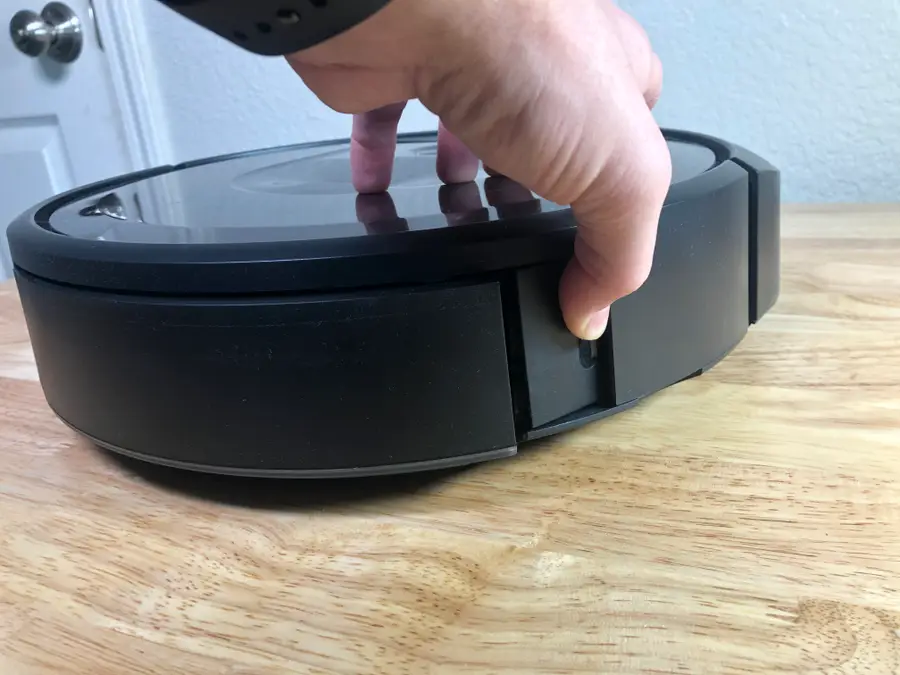
To remove the dust bin, simply push the tab at the side of the bin. Pushing the tab will pop the dust bin out, and it can be easily removed.
2 – Remove the old filter
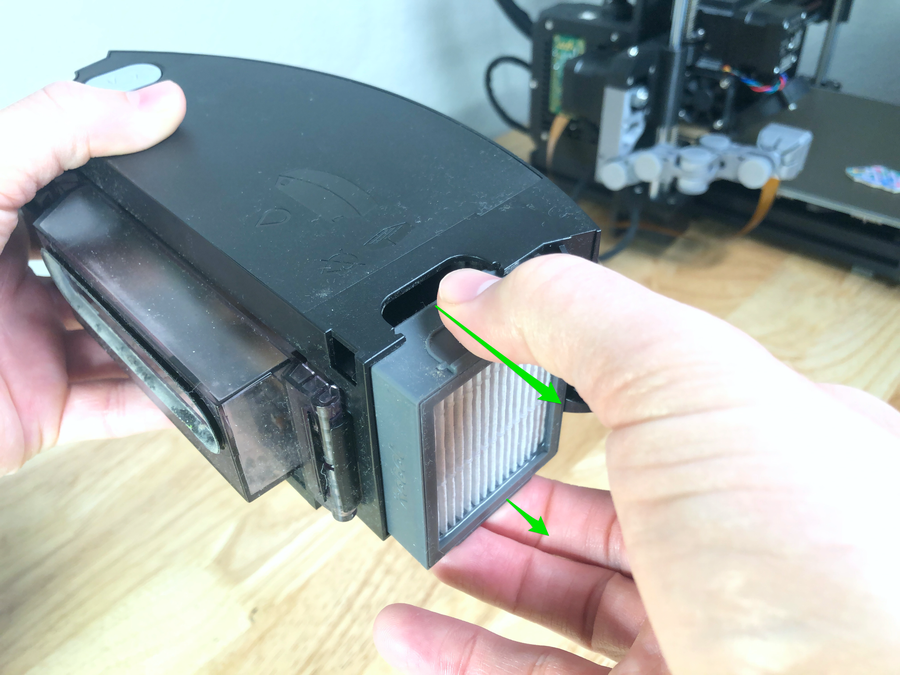
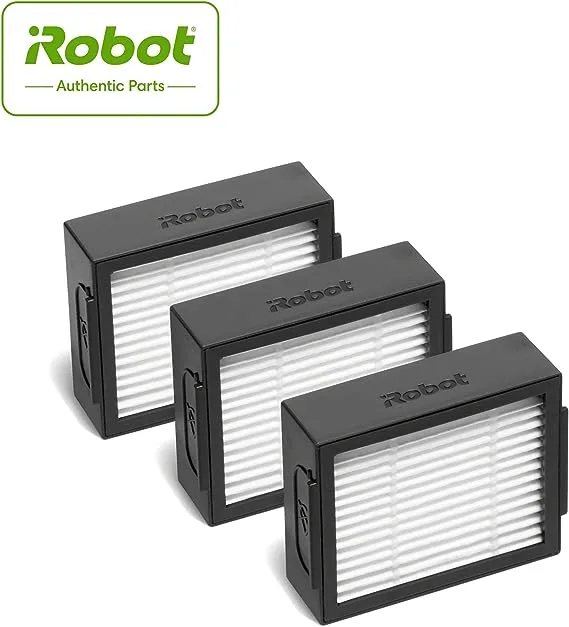
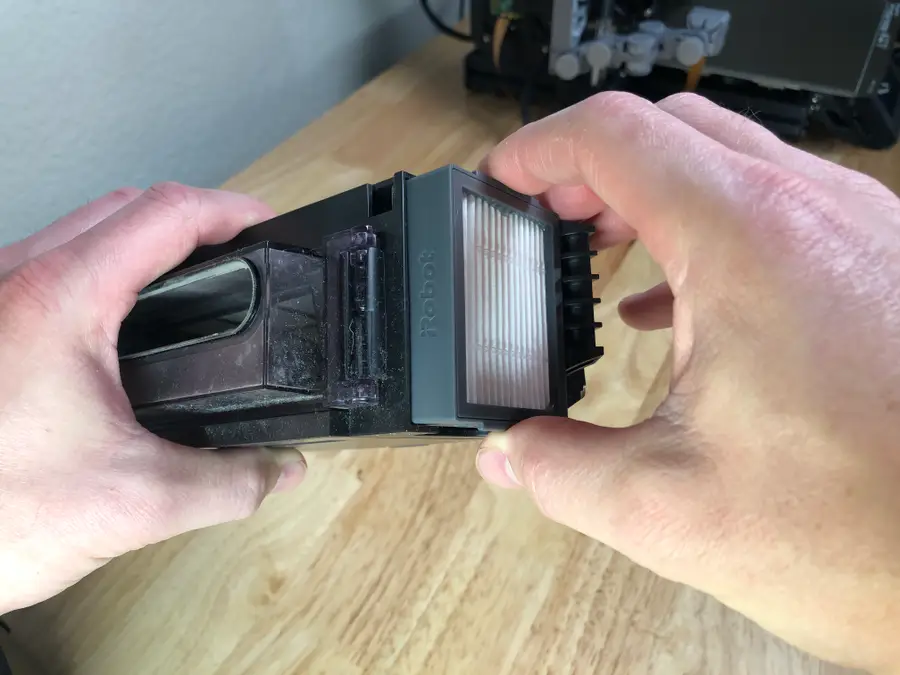
You can remove the filter by pulling it straight out from the dust bin. Hold on to the dust bin one hand, and grab the edges of the filter with your other.
3 – Clean the filter and reuse it (optional)
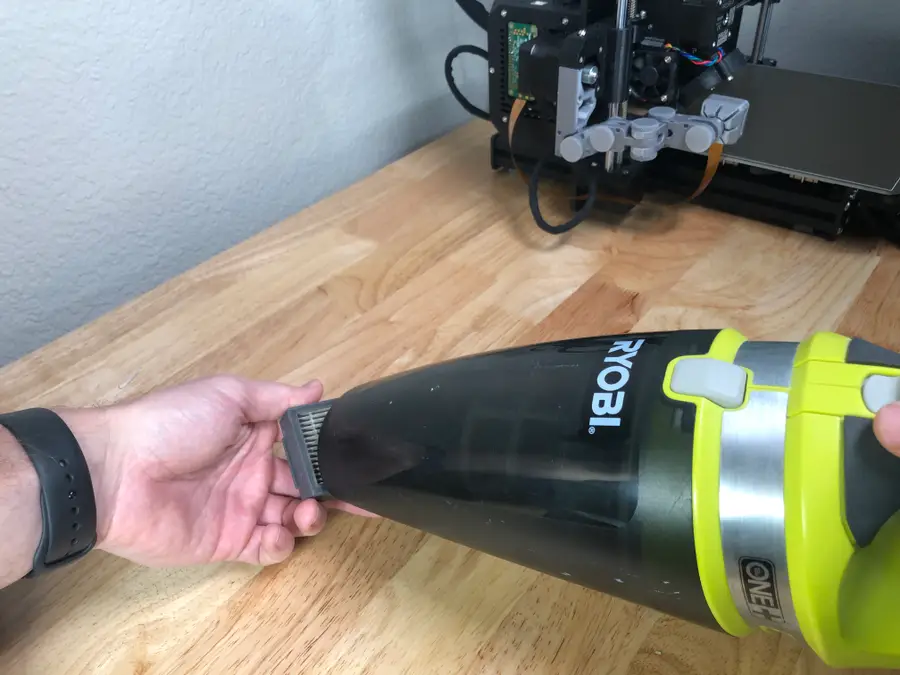
You don’t need to replace the filter every time it gets dirty. In fact, you’ll want to clean the filter every week or so. At this point, you can clean the filter if you choose. To begin, tap the filter against the side of your garbage can to shake loose the dirt and debris. If you’d like, you can also spray the filter with compressed air or vacuum it to remove more of the dust.
4 – Put the new filter in place
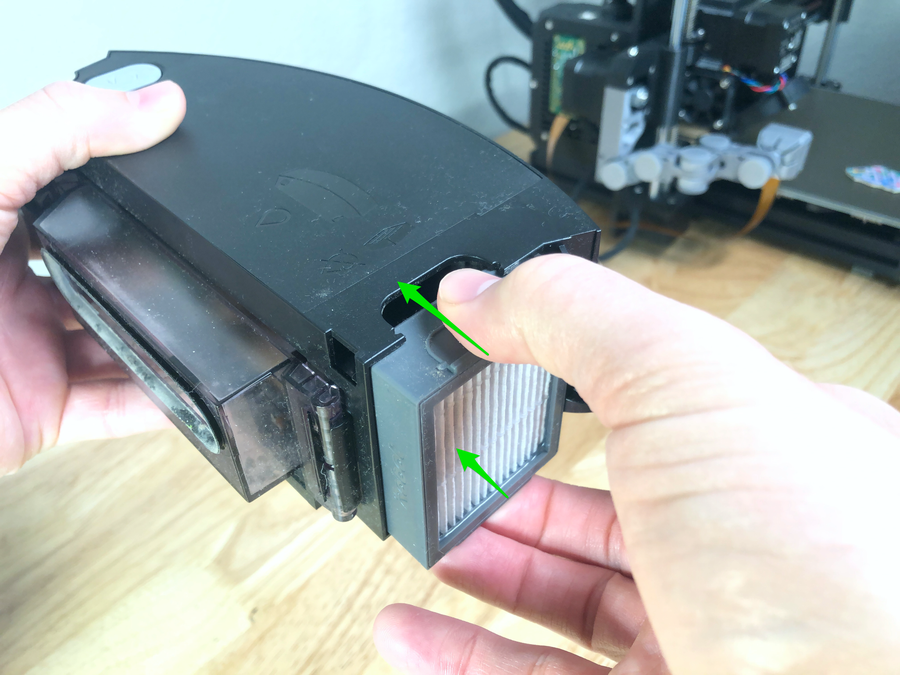
Push the new (or cleaned) filter back in to the dust bin securely.
5 – Put the dust bin back in place
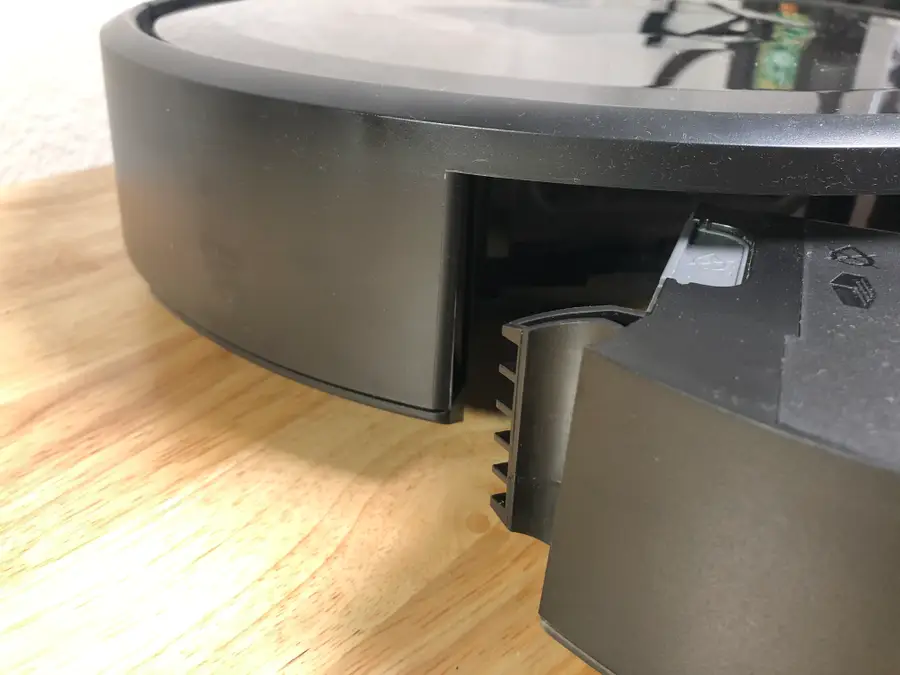
To put the dust bin back in place, start by place the hook into the opening. If the hook is in place properly, it acts as a hinge. Then, you can push the other side of the dust bin and lock it into place.
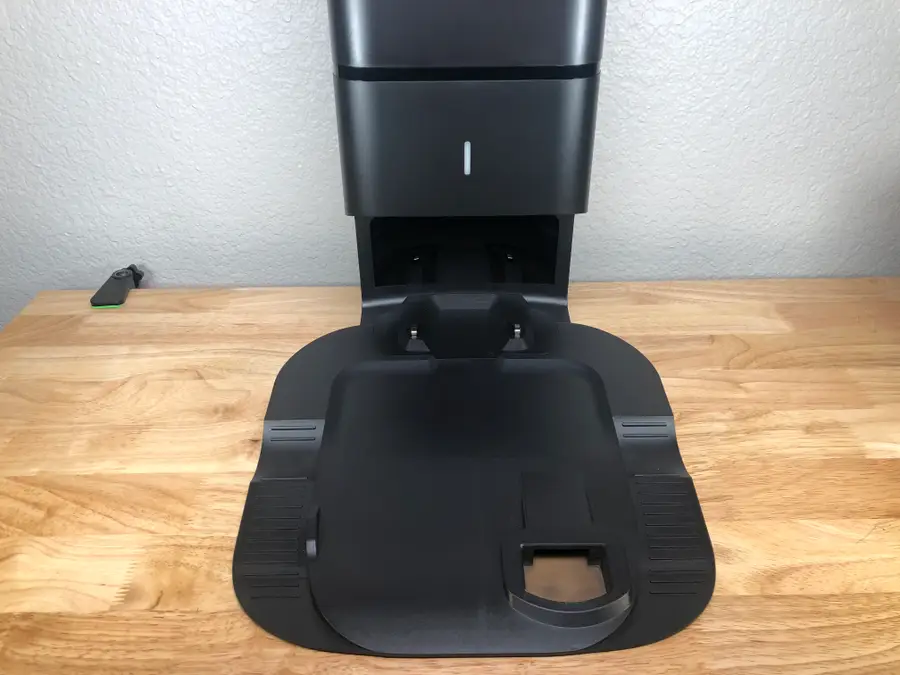
With the dust bin back in place, your Roomba i7 is ready for action! Next, learn how to unclog the Roomba i7 Clean Base.

