How to Replace the Main Suction Fan on the Roborock S5 (S552-00)

Share
What you'll need
Interests

Posted in these interests:

If your Roborock S5 (XIAOMI S552-00) sucks at sucking and you’re experiencing the “Fan speed lowered due to blocked strainer. Clean strainer to continue.” error, then your main suction fan assembly (or “engine ventilator”) needs to be replaced. This guide will show you how to do that.
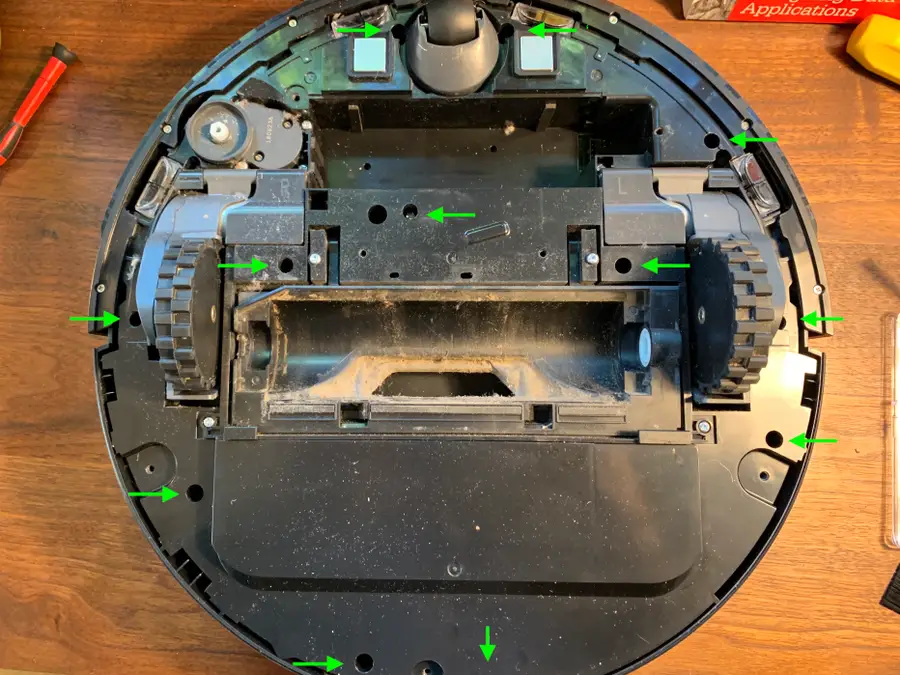
1 – Remove the bottom cover
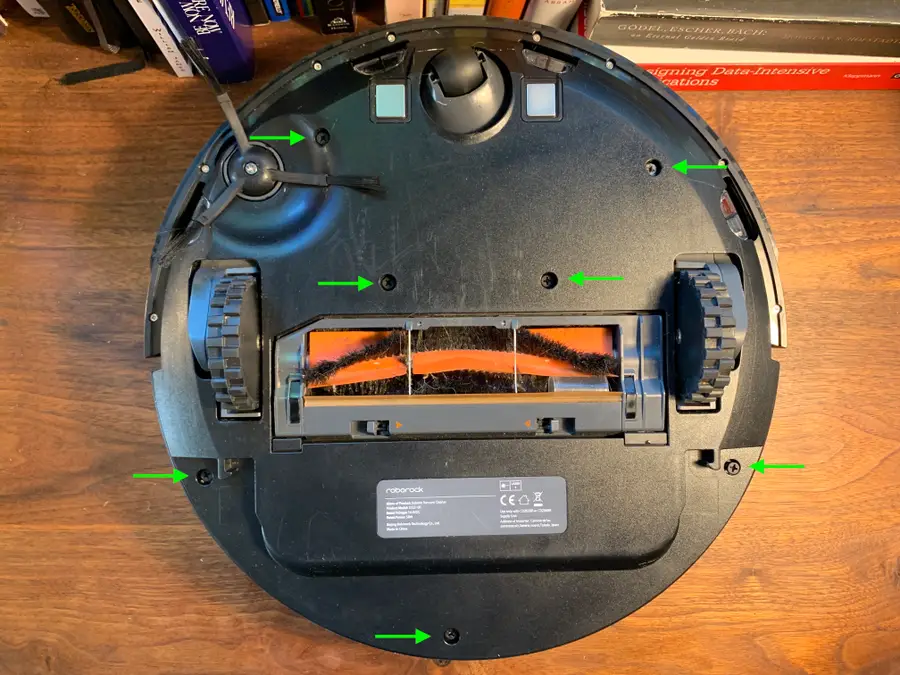
Remove the 7 screws from the bottom panel using a Philips-head screwdriver. Then, remove the main brush/roller and set it aside.
2 – Remove the side brush
Remove the single screw securing the spinning side brush in place.
3 – Remove the battery
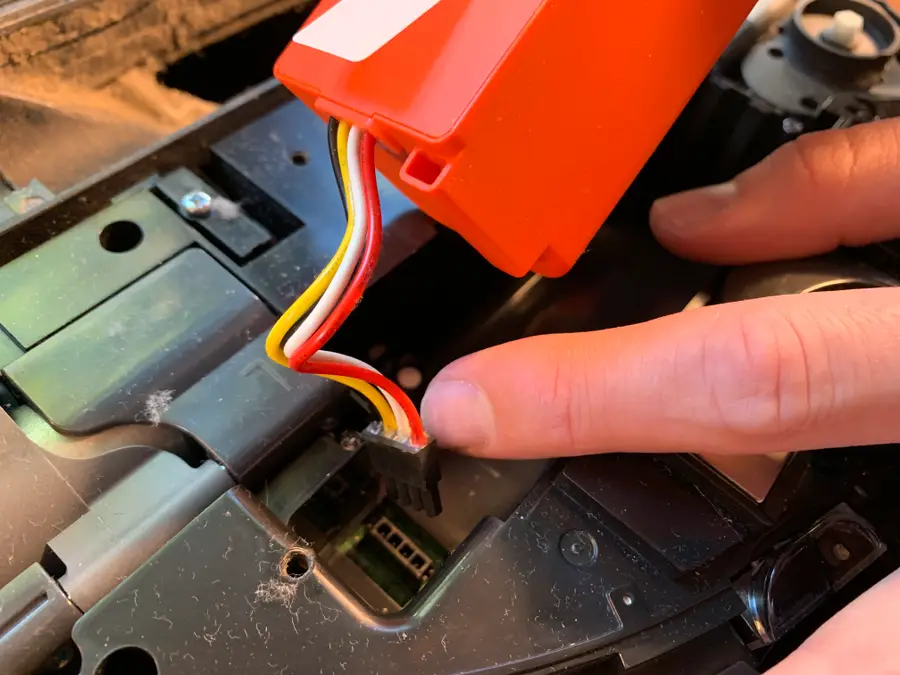
Remove the battery and its 4-pin connector and set it aside.
4 – Remove the main bottom assembly
Remove the 12 recessed screws from the bottom of the assembly.
5 – Remove the bottom brush assembly
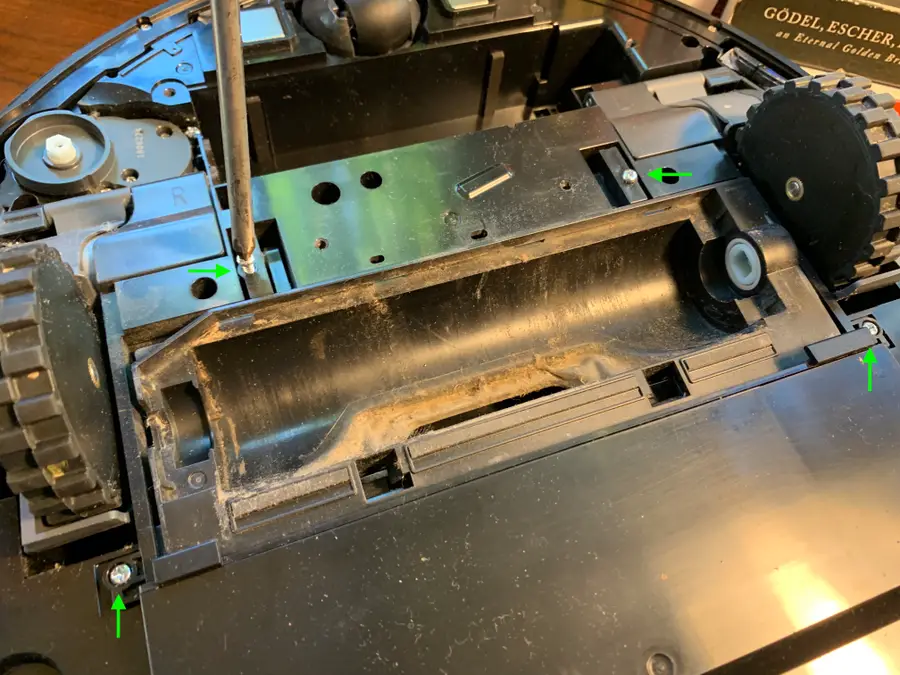
Remove the 4 screws from the bottom brush assembly.
6 – Remove the additional bottom screws
Remove the 4 bottom screws.
7 – Remove the wheel assemblies
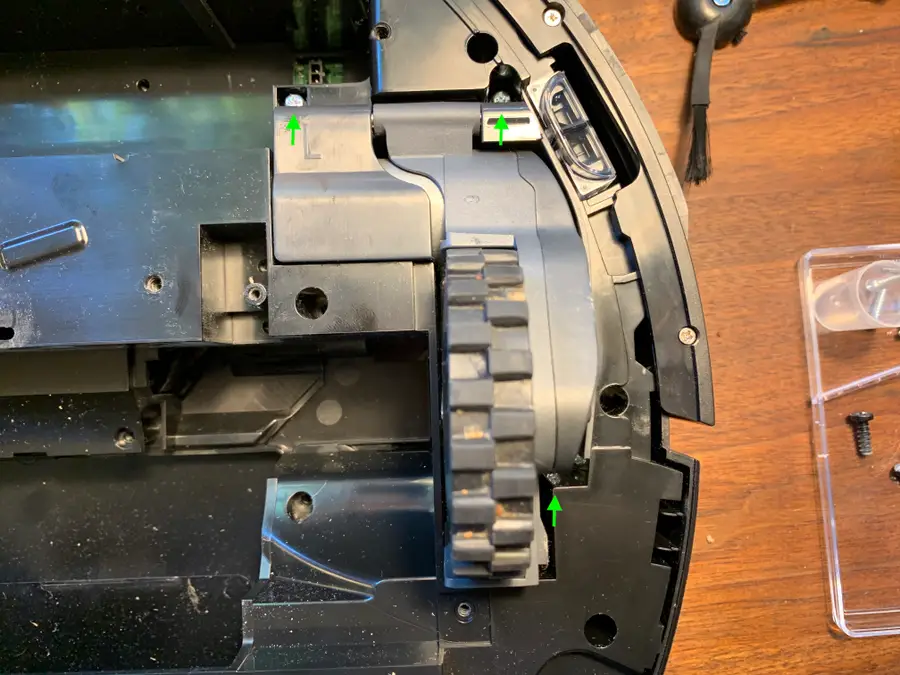
Remove the 3 screws from each wheel assembly and set the wheels aside.
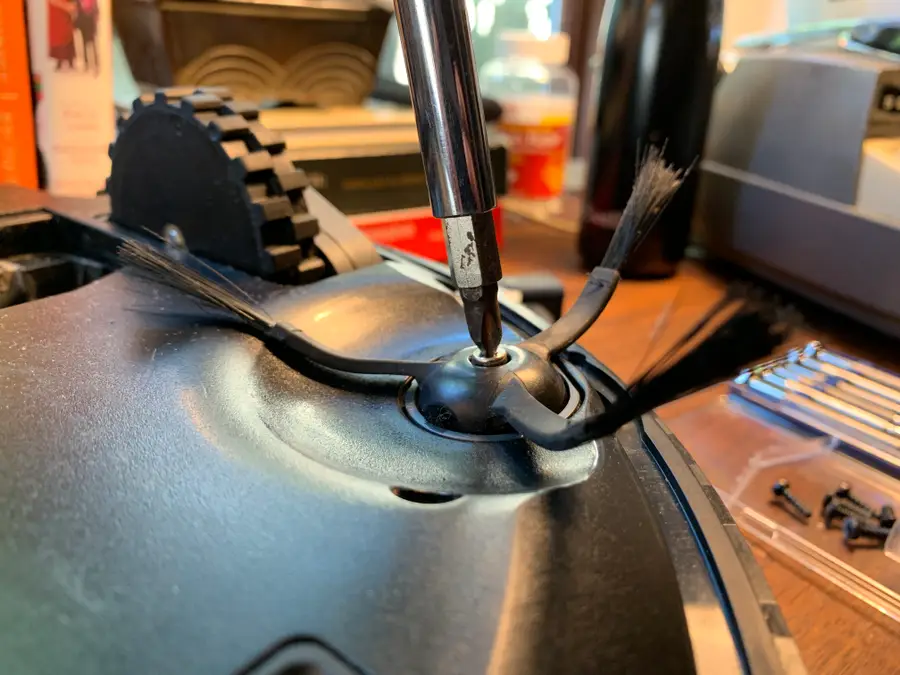
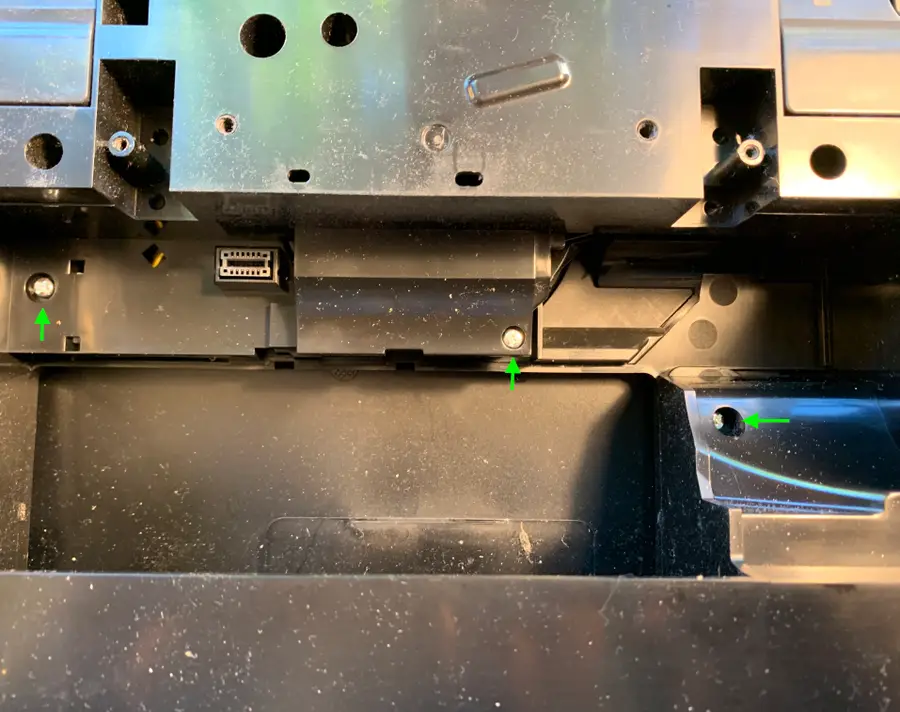
8 – Remove the spinning brush assembly
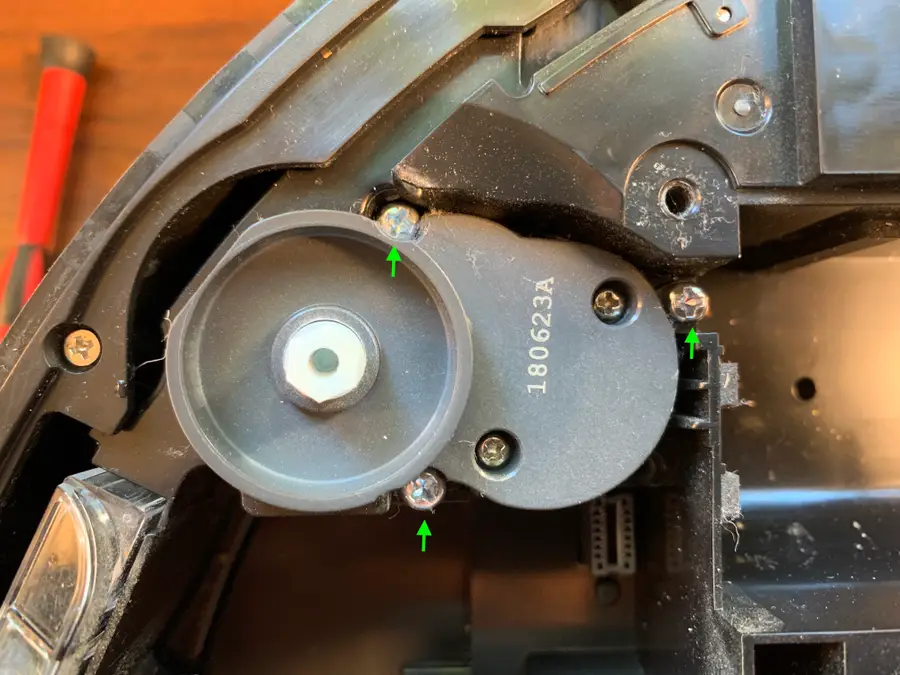
Remove the 3 screws securing the spinning brush assembly. Then, remove the single screw hiding beneath the brush assembly like a coward.
9 – Remove the hidden sticker screw
Remove the last remaining screw that’s hiding beneath a white sticker beneath the battery component.
| 🛈 It’s hiding beneath the sticker like a coward. |
10 – Remove the front bumper

Remove the small 8 screws from the bumper assembly. Then, remove the two plastic bumper pieces and set them aside.
11 – Remove the bottom caster wheel
Remove the bottom caster wheel by pulling it upwards with your fingers.
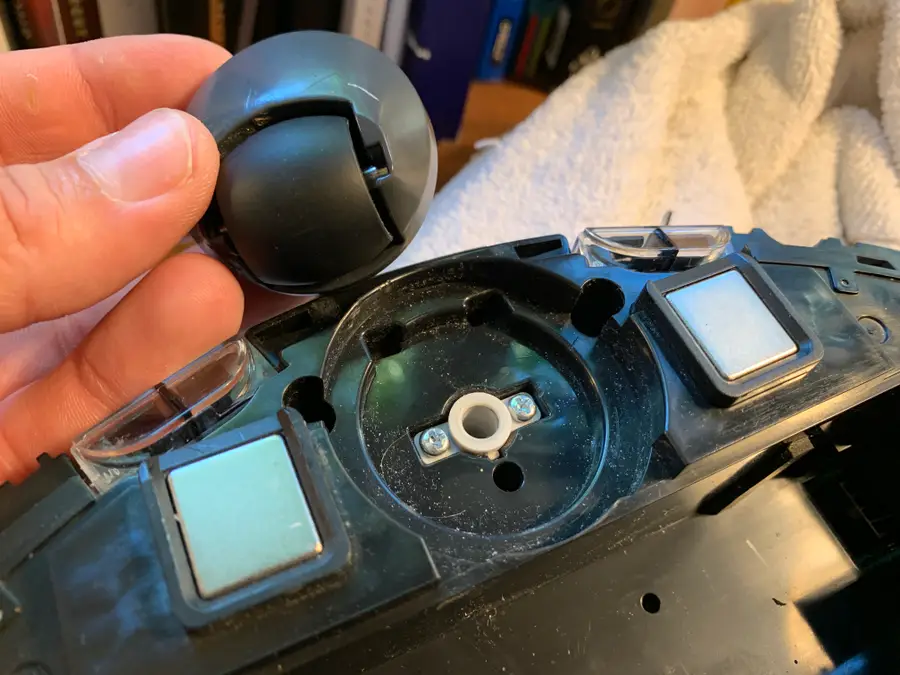
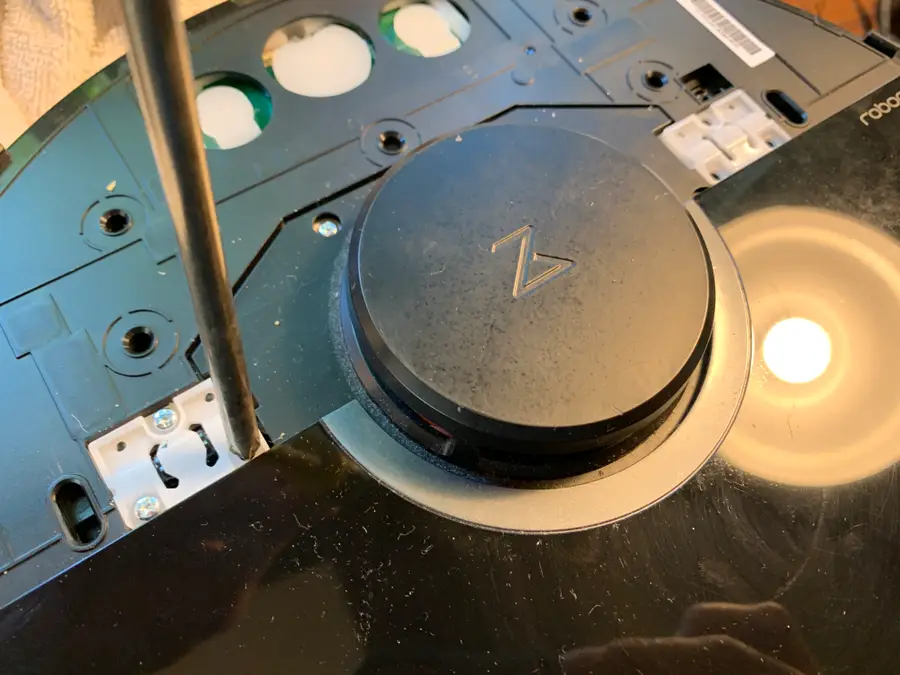
12 – Remove the top front button panel
Using your hands, carefully pry the top front button panel off.
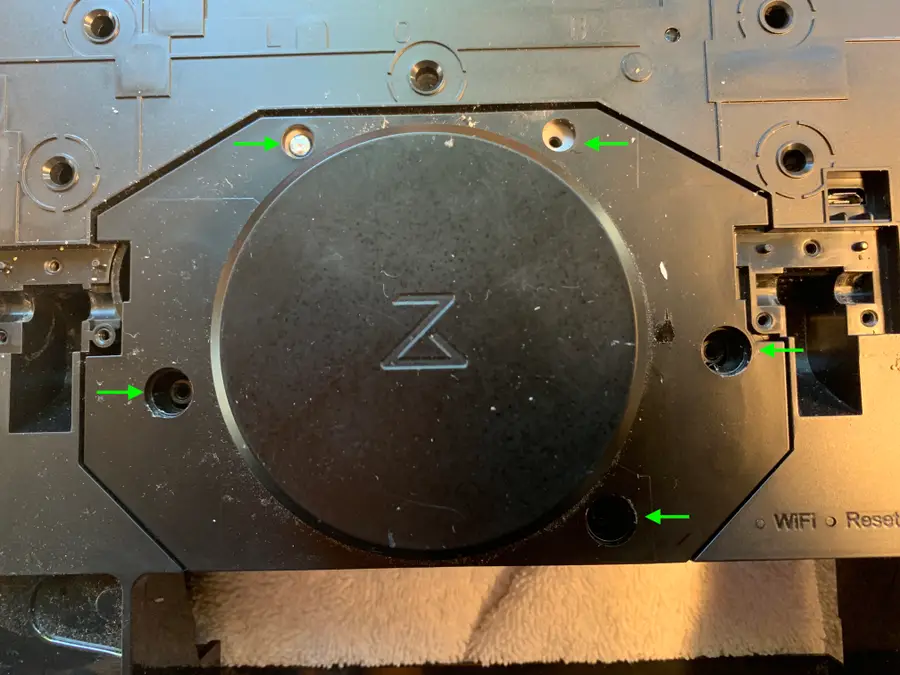
13 – Remove the top door
Remove the 6 hinge screws and then lift the top door off.
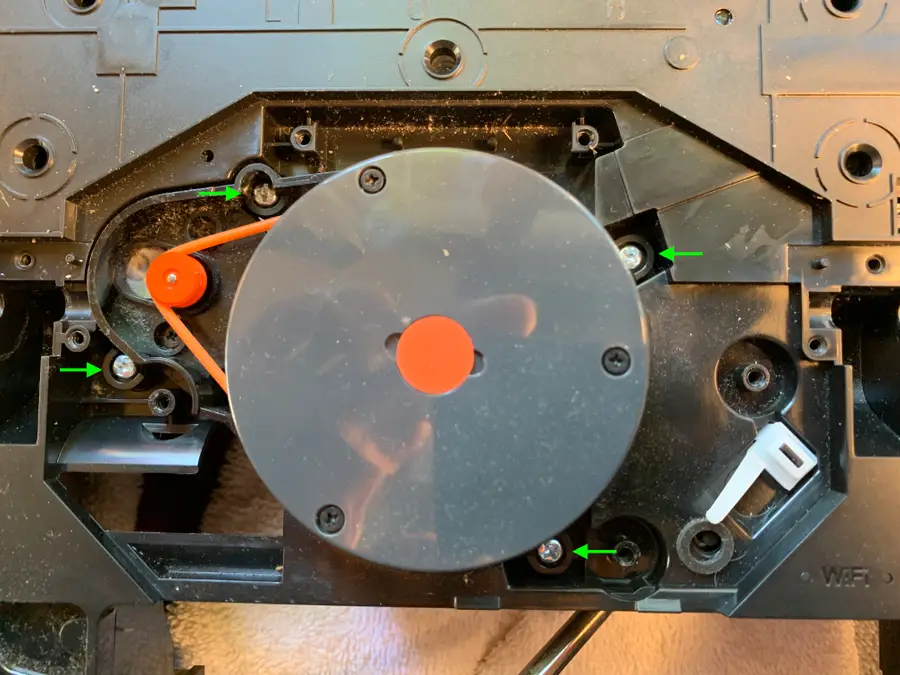
14 – Remove the LIDAR cover
Remove the 3 rubber screw covers and then remove the screws contained beneath. Then, remove the 2 screws from the top of the LIDAR cover.
Then, set the LIDAR cover aside.
15 – Remove the LIDAR assembly
Remove the 4 LIDAR assembly screws and lift the assembly out.
16 – Lift off the top panel
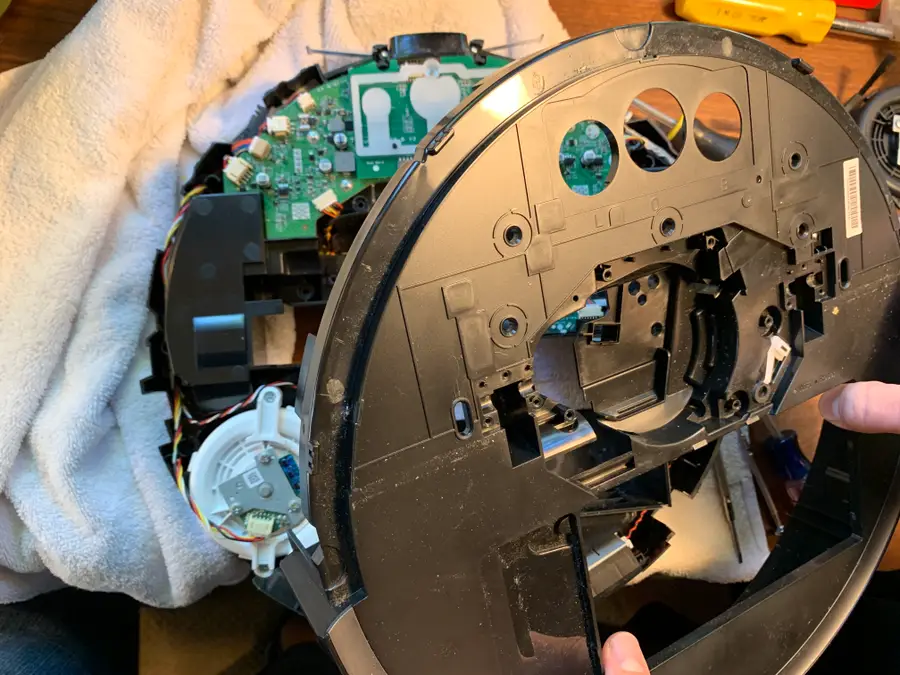
Now that all the screws are removed, the top panel should slide off effortlessly. If it doesn’t, you’ve missed a screw.
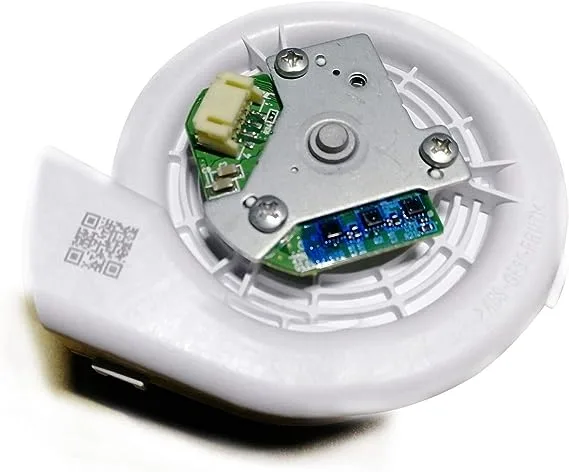
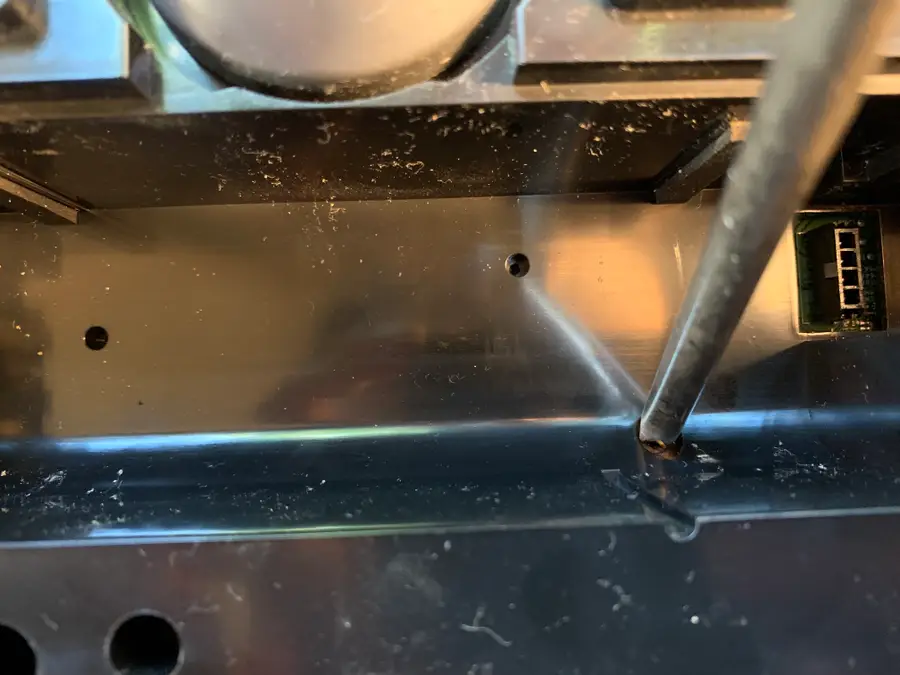
17 – Replace the fan assembly
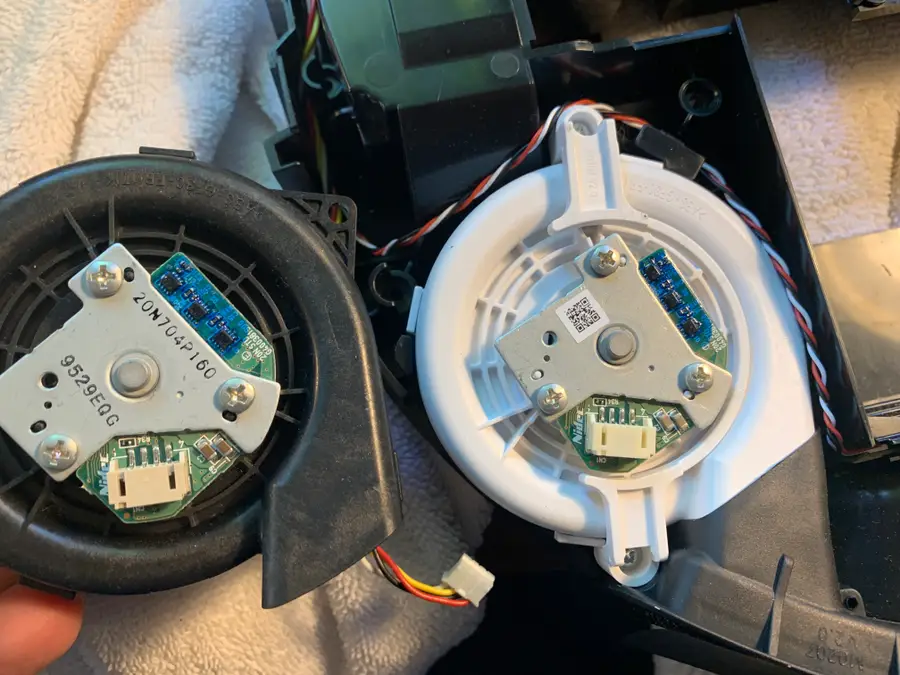
Remove the connector and 2 screws securing the fan assembly. If the new assembly has no metal screen, carefully pry off and transfer the metal screen from the old one to the new one.
Then, install the new assembly in its place.
| 🛈 If your new fan has two long plastic tabs on it and your old does not, carefully snap them off using a pair of pliers. |
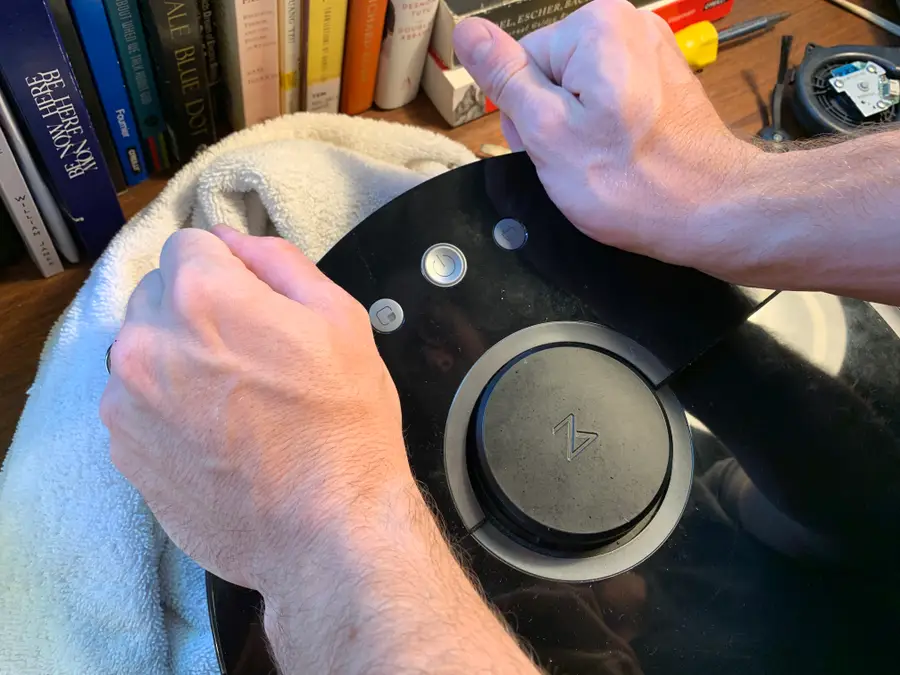
18 – Put everything back together
As usual, reassembly is the reverse of disassembly!