
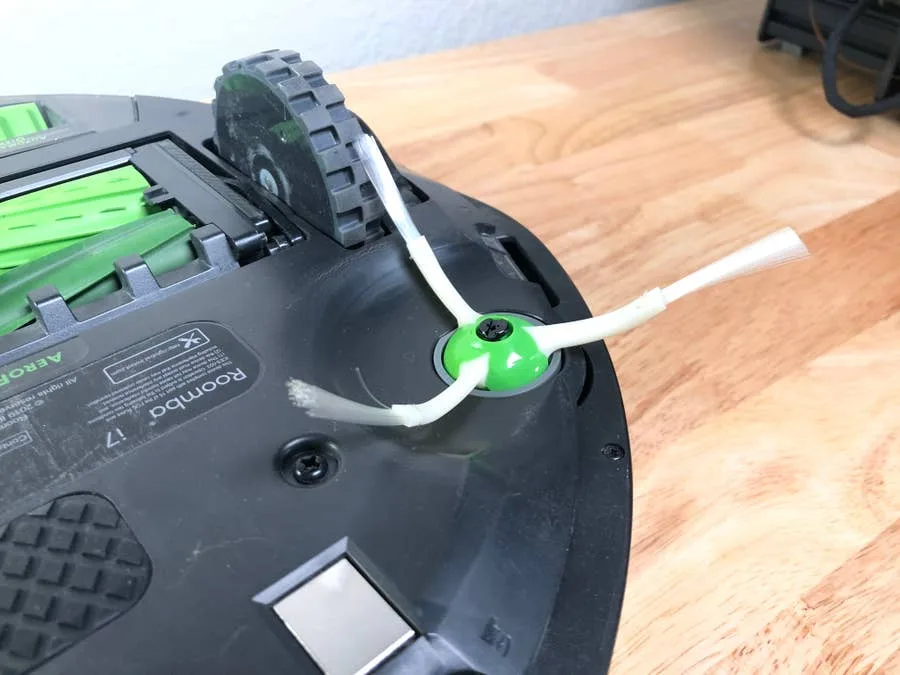
Your Edge-Sweeping Brush needs to be replaced about once a year. Use this guide to learn how to repl
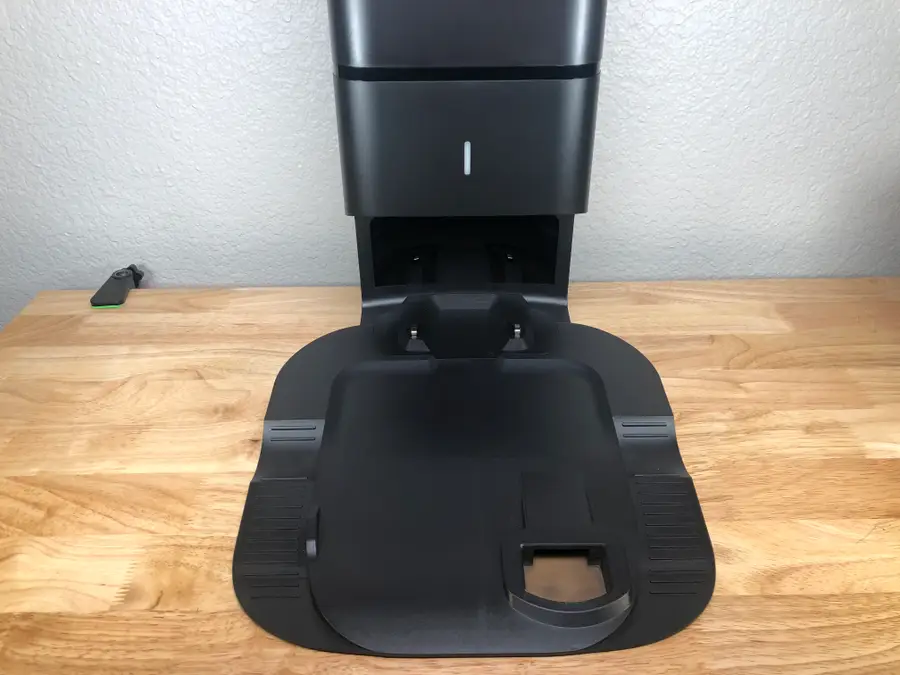
The Roomba i7+ Clean Base is amazing because it automatically removes dirt and debris from the Roomb
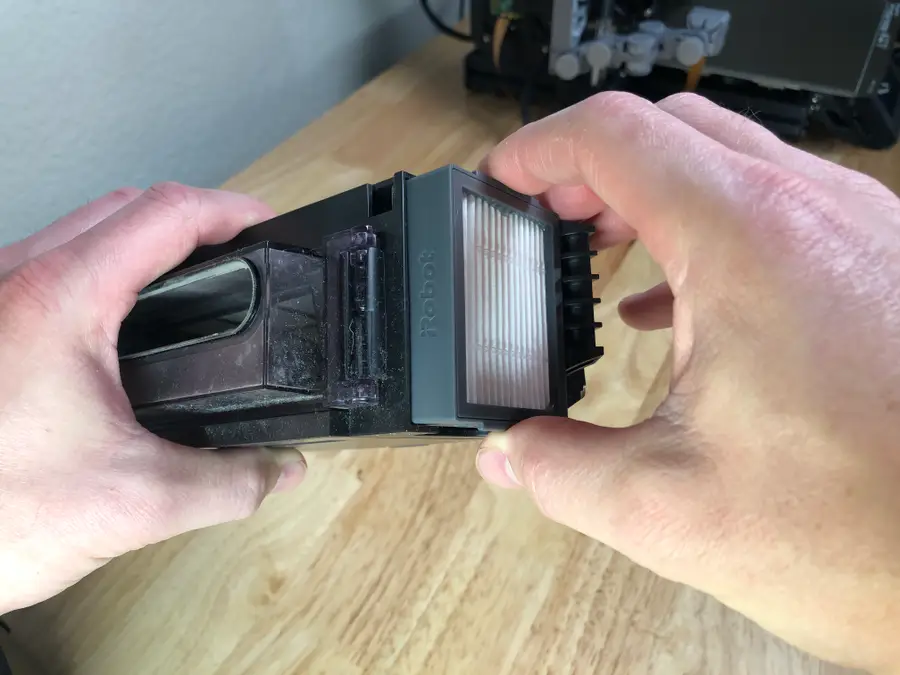
Your Roomba i7 vacuum filter will need to be cleaned every few weeks and replaced every two months.
