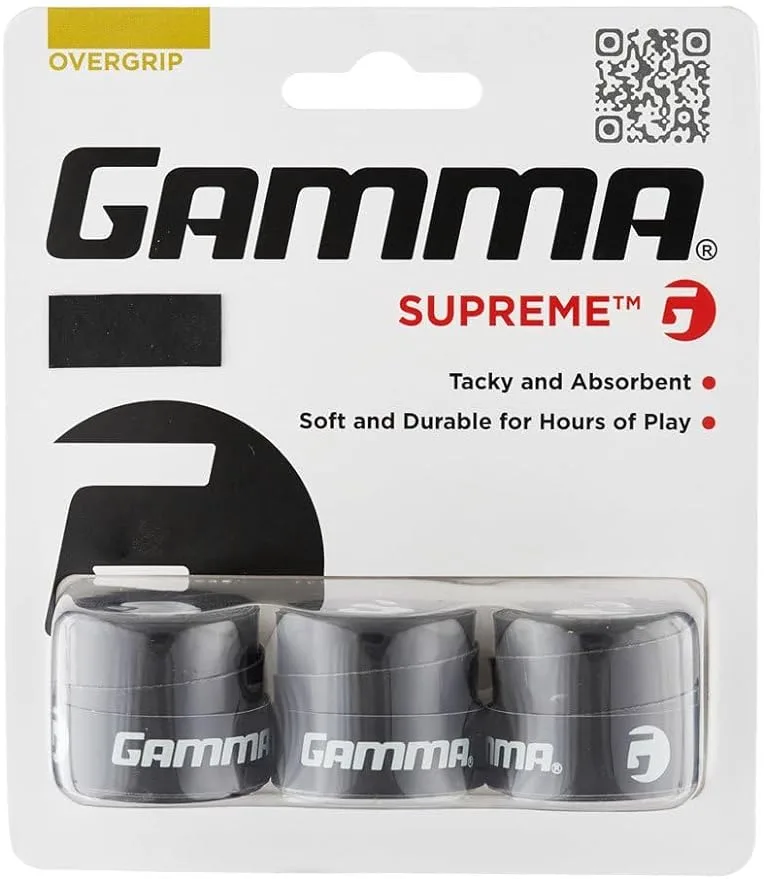
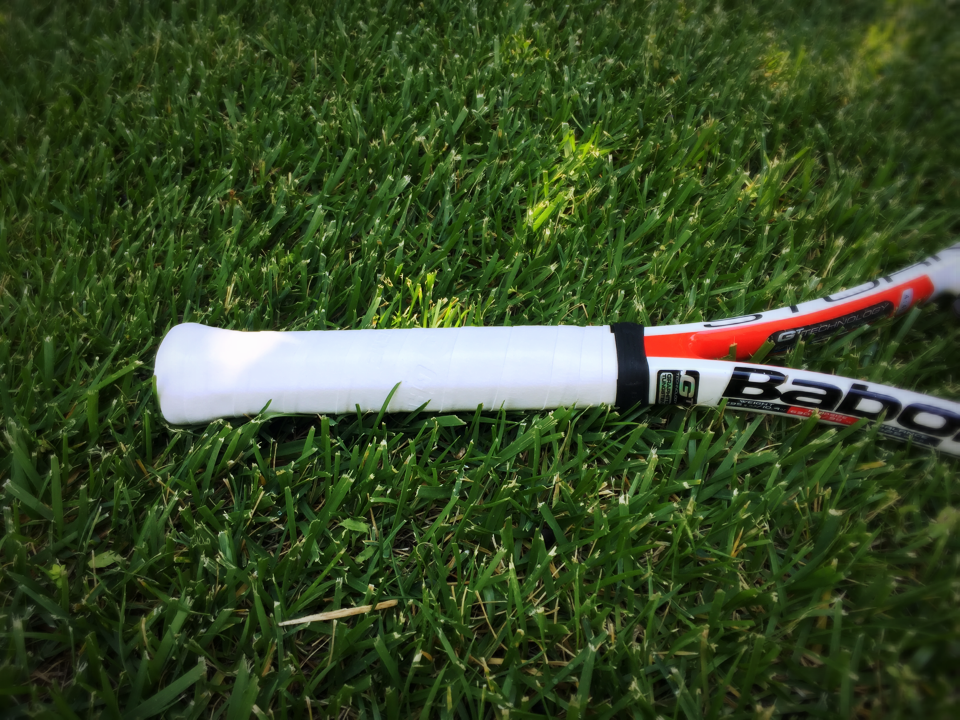
How to wrap overgrip tape on a tennis racket
Share
What you'll need
Interests
Posted in these interests:

What is overgrip tape?
Overgrip is a padded, often sticky, tape that is wrapped around the grip of the tennis racket. Tennis rackets come with a more permanent grip, but overgrip is placed over the grip and is designed to be replaced frequently. Many tennis players choose to use overgrip tape in order to get a better “grip” on the tennis racket and provide more comfort and shock absorption.
1 – Remove old overgrip tape
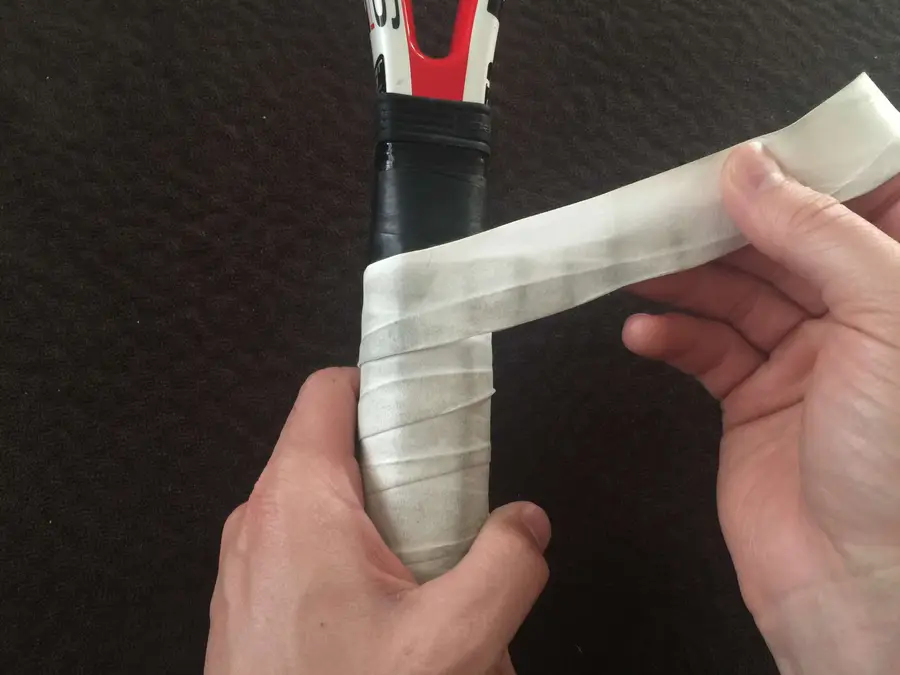
Removing old overgrip tape is easy. Simply remove the tape at the top of the handle that is securing the edge of the overgrip. Then unwrap until the old overgrip is completely removed.
2 – Unroll new overgrip and remove plastic
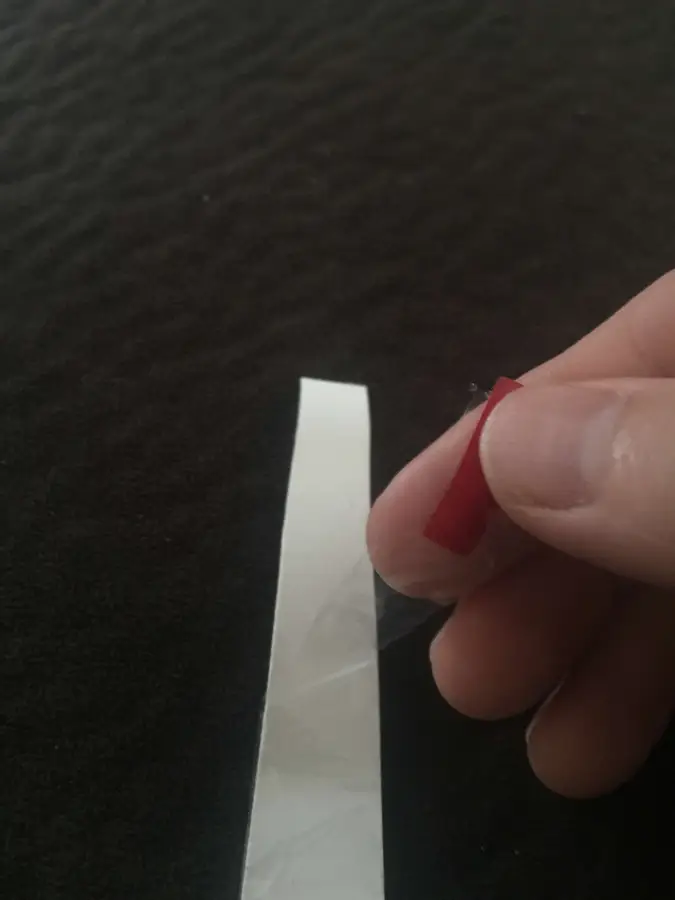
At this point you’ll want to completely unroll the new overgrip and remove the plastic. Depending on the kind of overgrip you buy, it may be secured by a piece of tape. This tape can be used later to secure the overgrip to the racket.
3 – Find the adhesive on one end of the overgrip
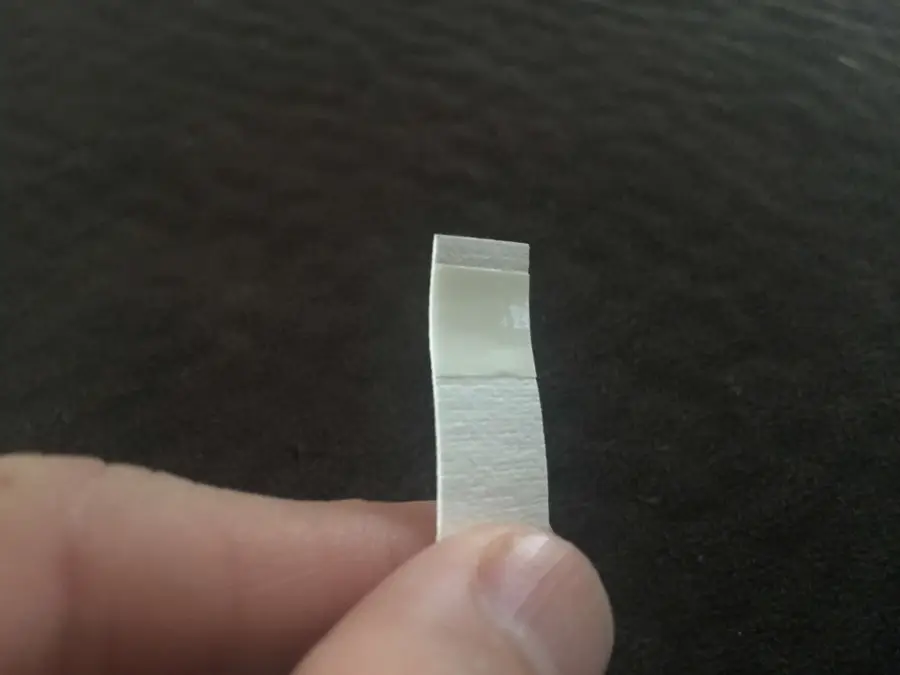
Some kinds of overgrip come with an adhesive strip on one end. If your overgrip doesn’t have it you can skip this step. If it does, find the end with the adhesive and remove the plastic covering it. This adhesive strip is helpful but not necessary.
4 – Begin wrapping
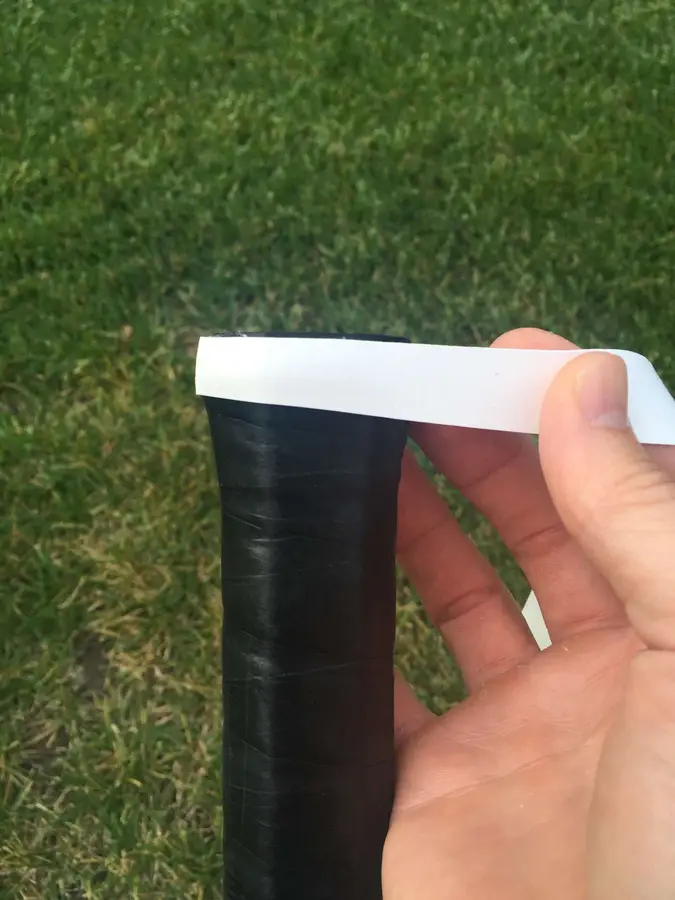
With the handle of your tennis racket up, place the end of the overgrip on the corner of the handle and begin to wrap from left to right. If your overgrip has adhesive, stick the adhesive strip to the corner of the racket.
5 – Make one full wrap and begin to overlap
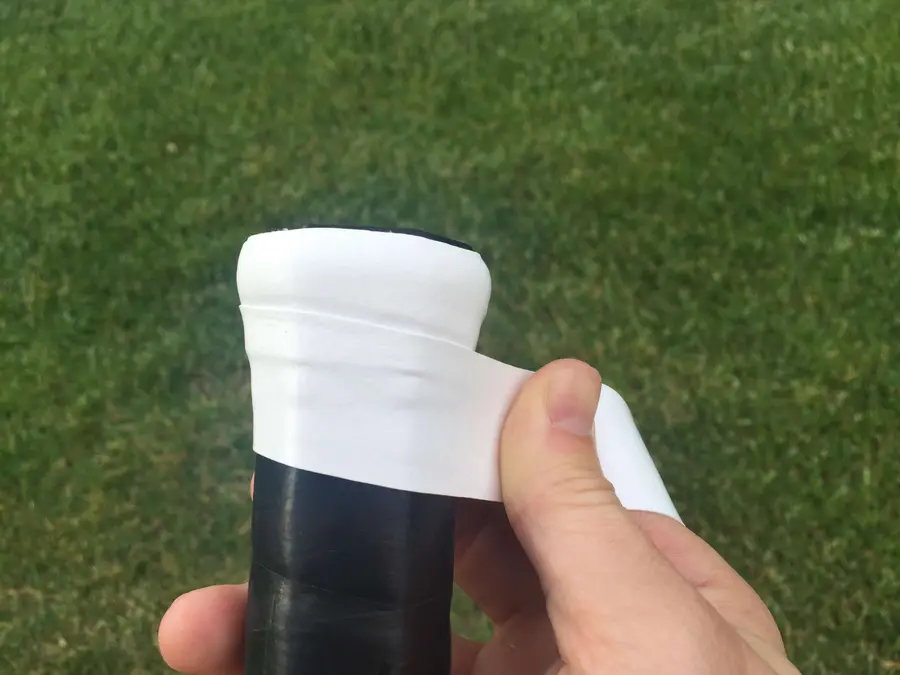
To begin wrapping, you’ll want to spin the racket. This way the part of the handle where you are placing the overgrip is always facing you. This makes it much easier to place it evenly.
Keep the overgrip very taught to avoid wrinkles.
After making one full wrap you’ll begin to overlap and work your way down the handle. The overlap should be between 1/8″ and 1/4″. As you get more familiar with this process you will find what works best for you.
The overgrip I’m using for this demonstration is angled at both ends. This helps set the correct angle for starting and finishing the wrap. If your overgrip does not have the angle you may want to begin with one and a quarter wraps before you start working up the handle. This will make the overgrip more secure at the base.
6 – Work your way up the handle
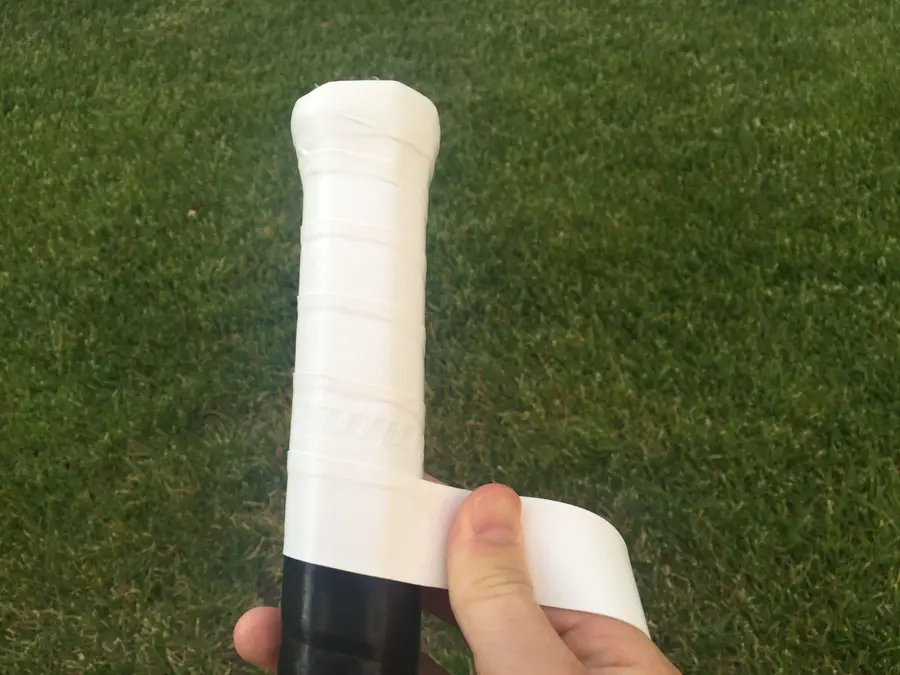
Continue spinning the racket and placing the overgrip maintaining a consistent overlap.
7 – Finish wrapping at the end of the handle
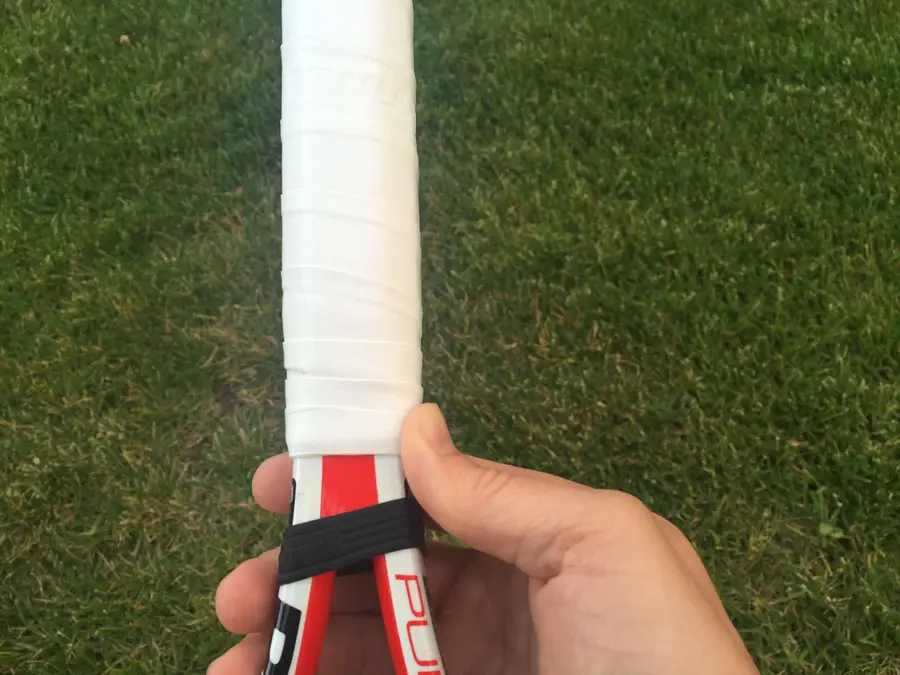
If you’ve maintained a consistent overlap of 1/4″ to 1/8″ you should have just the right amount of overgrip. Once you reach the end of the handle you may have to increase the size of the overlap.
8 – Place tape on the end to secure the overgrip in place
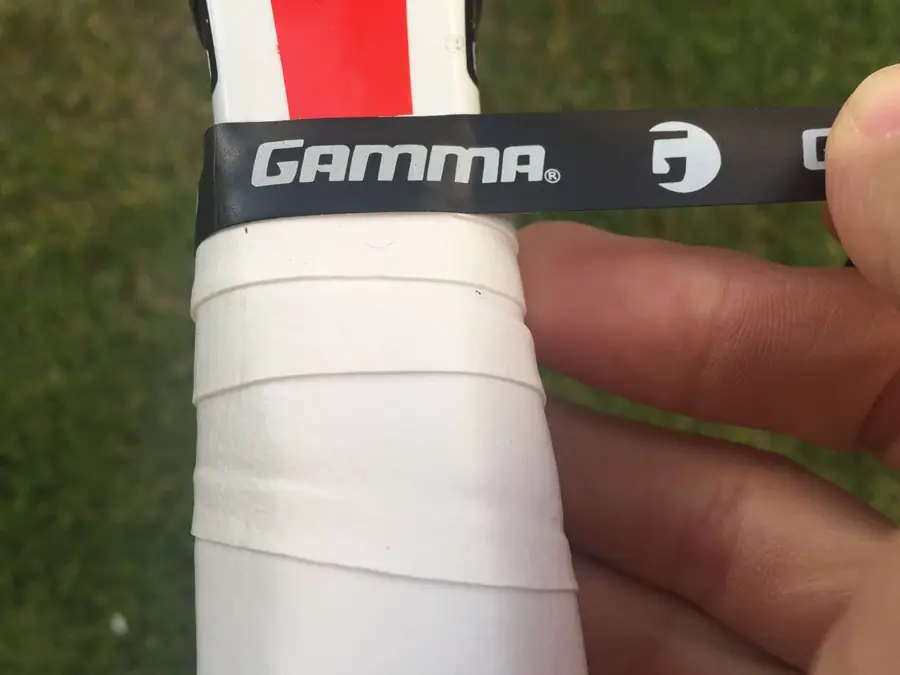
The overgrip likely came with a piece of tape that can be used to secure it in place. Place the tape at the end and wrap tightly.

