How to Level the Bed on the Anycubic Photon or Photon S
Share
What you'll need
Interests
Series
In this short guide, I’ll teach you how to level your Anycubic Photon or Photon S bed, or build plate, in order to get the perfect first layer and reduce print errors. Using this bed-leveling method, I haven’t needed to relevel my Photon even after multiple resin changes. This is an important part of Anycubic Photon and Photon S printing.

Anycubic Photon/Photon S Full Print Guide: Your First Print
Your end-to-end guide to printing on the Photon and Photon S.
Despite the Photon being an SLA printer, this process will seem familiar to you if you’ve ever printed on an FDM printer.
1 – Raise the print plate
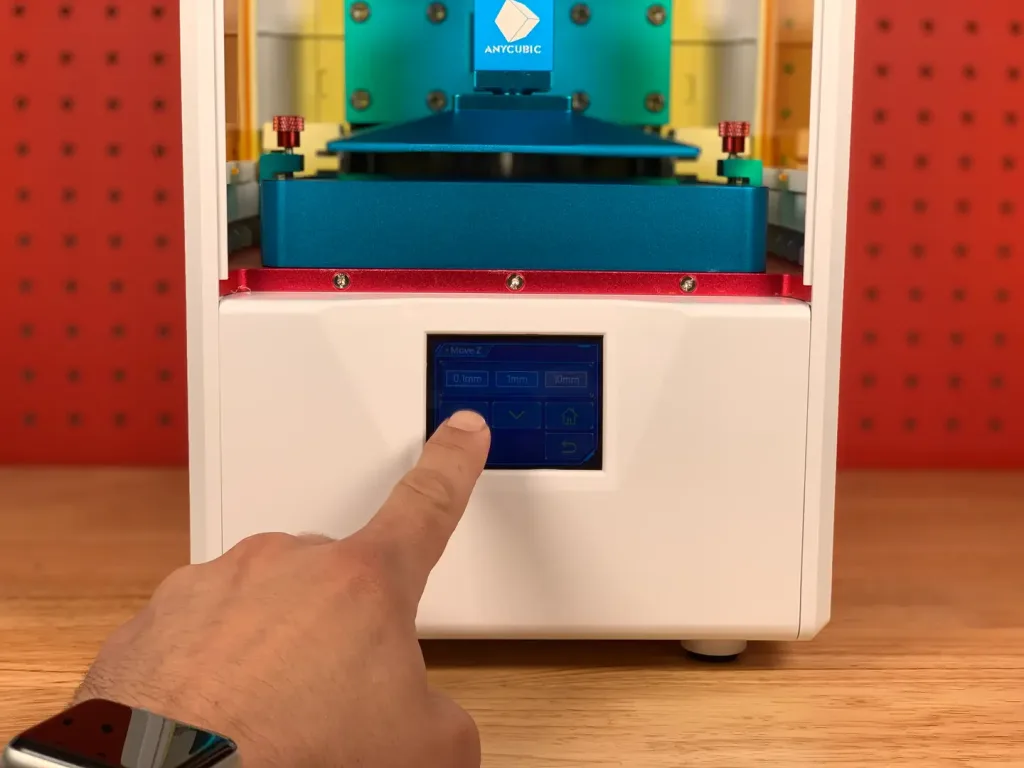
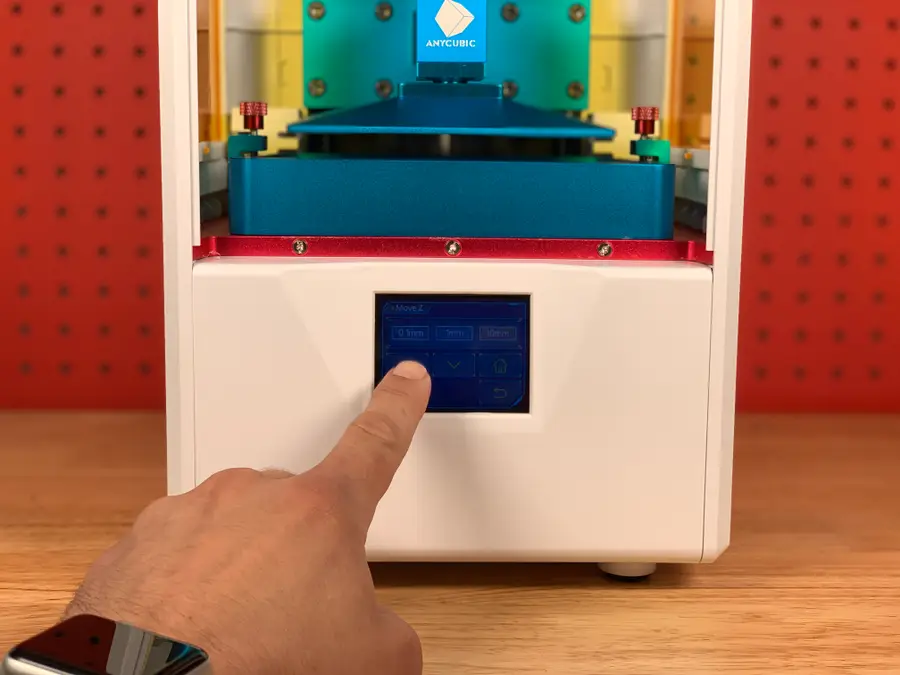
Power on your printer and manually raise the print plate via the menu. For my Photon S, this is done by navigating to Tools > Move Z.
Raise the print plate above the resin vat.
2 – Remove the resin vat
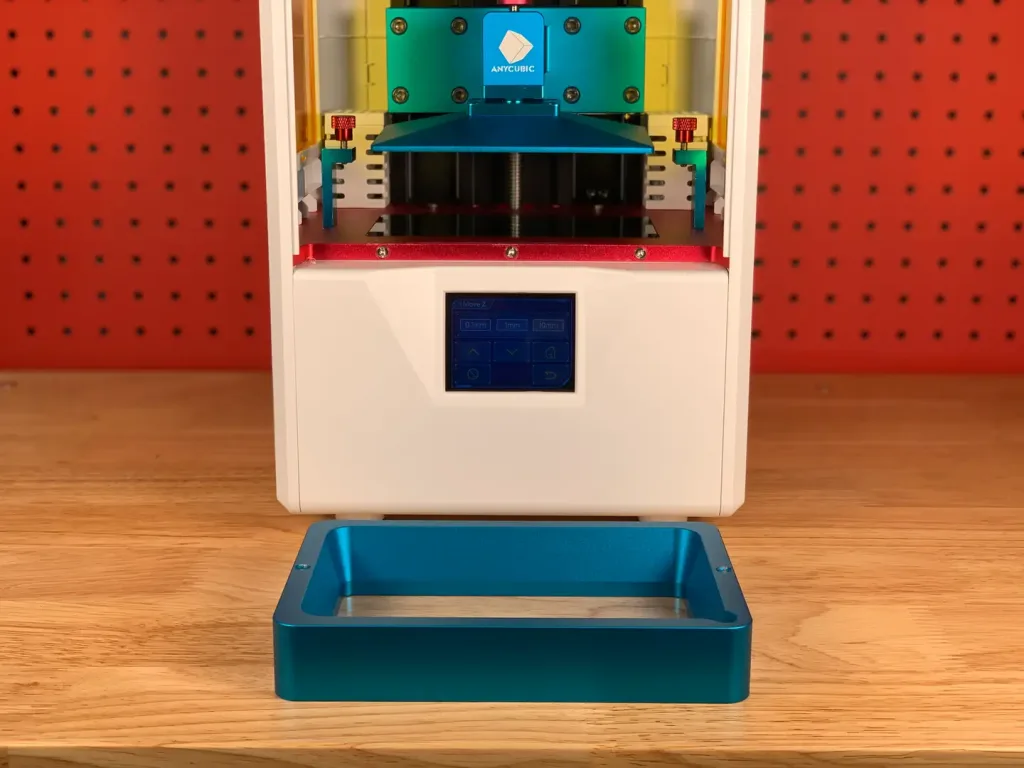
Loosen the two resin vat thumb screws, slide the vat out, and set it aside.
3 – Set the print plate angle
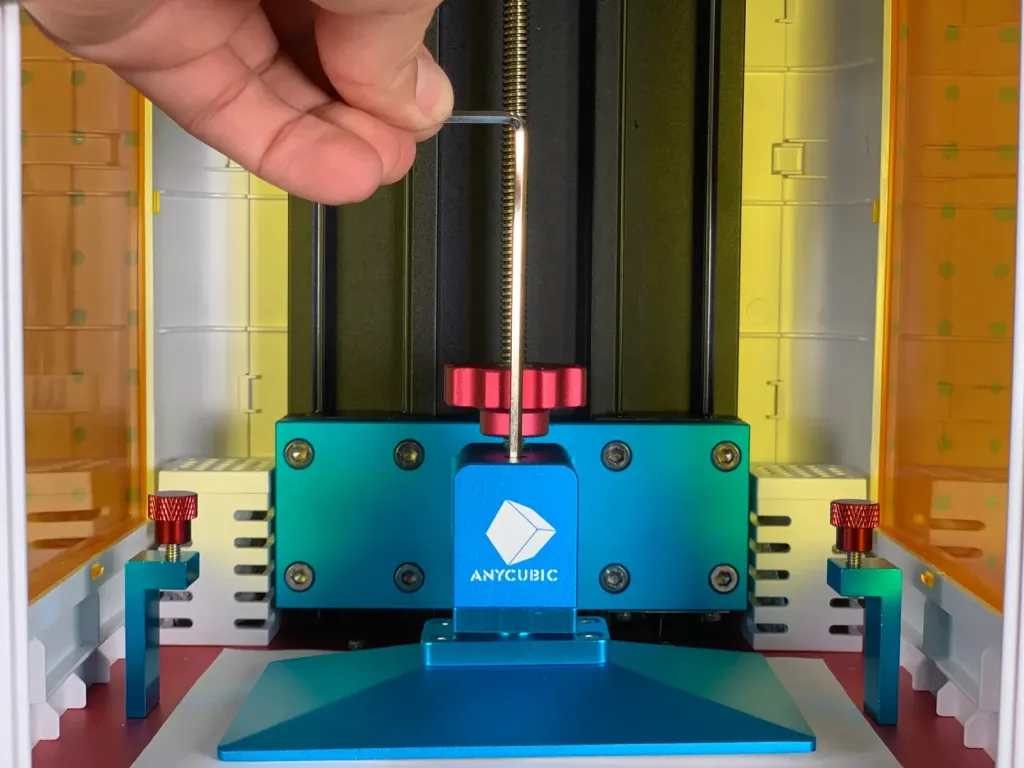
The print plate is mounted to a ball head that allows its angle to be adjusted. Use the included hex key to slightly loosen the bolt on the top of the print head.
| 🛈 This step should only need to be done once; once the angle is set, leveling can be done without loosening the print head. |
4 – Lower the print plate
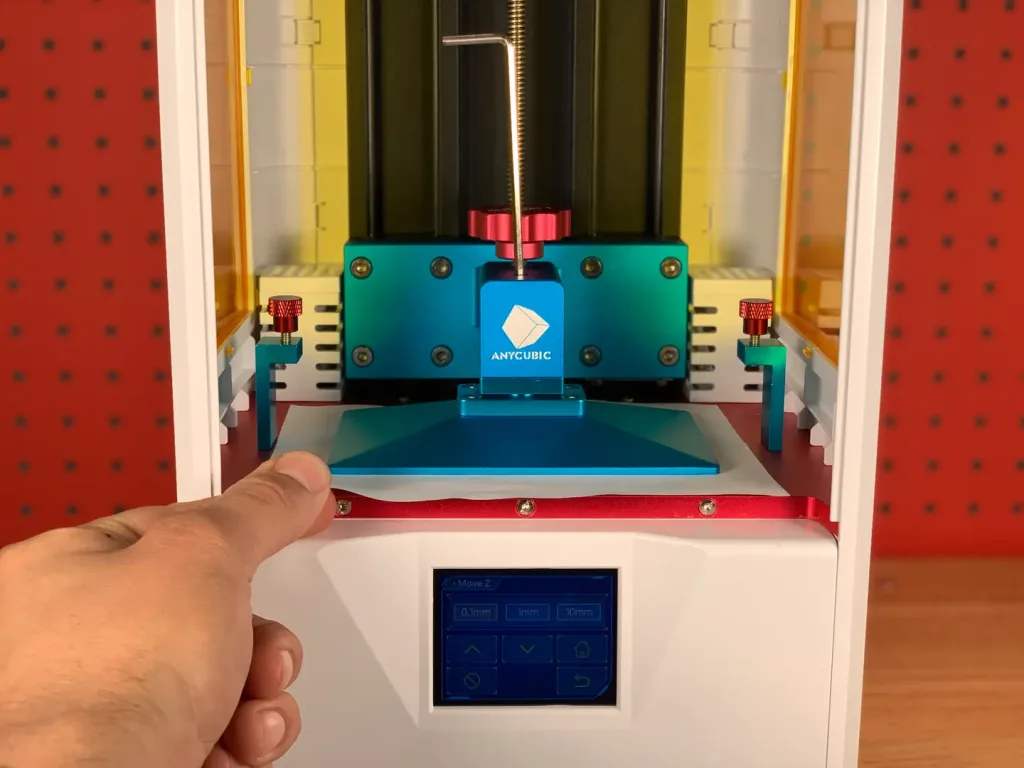
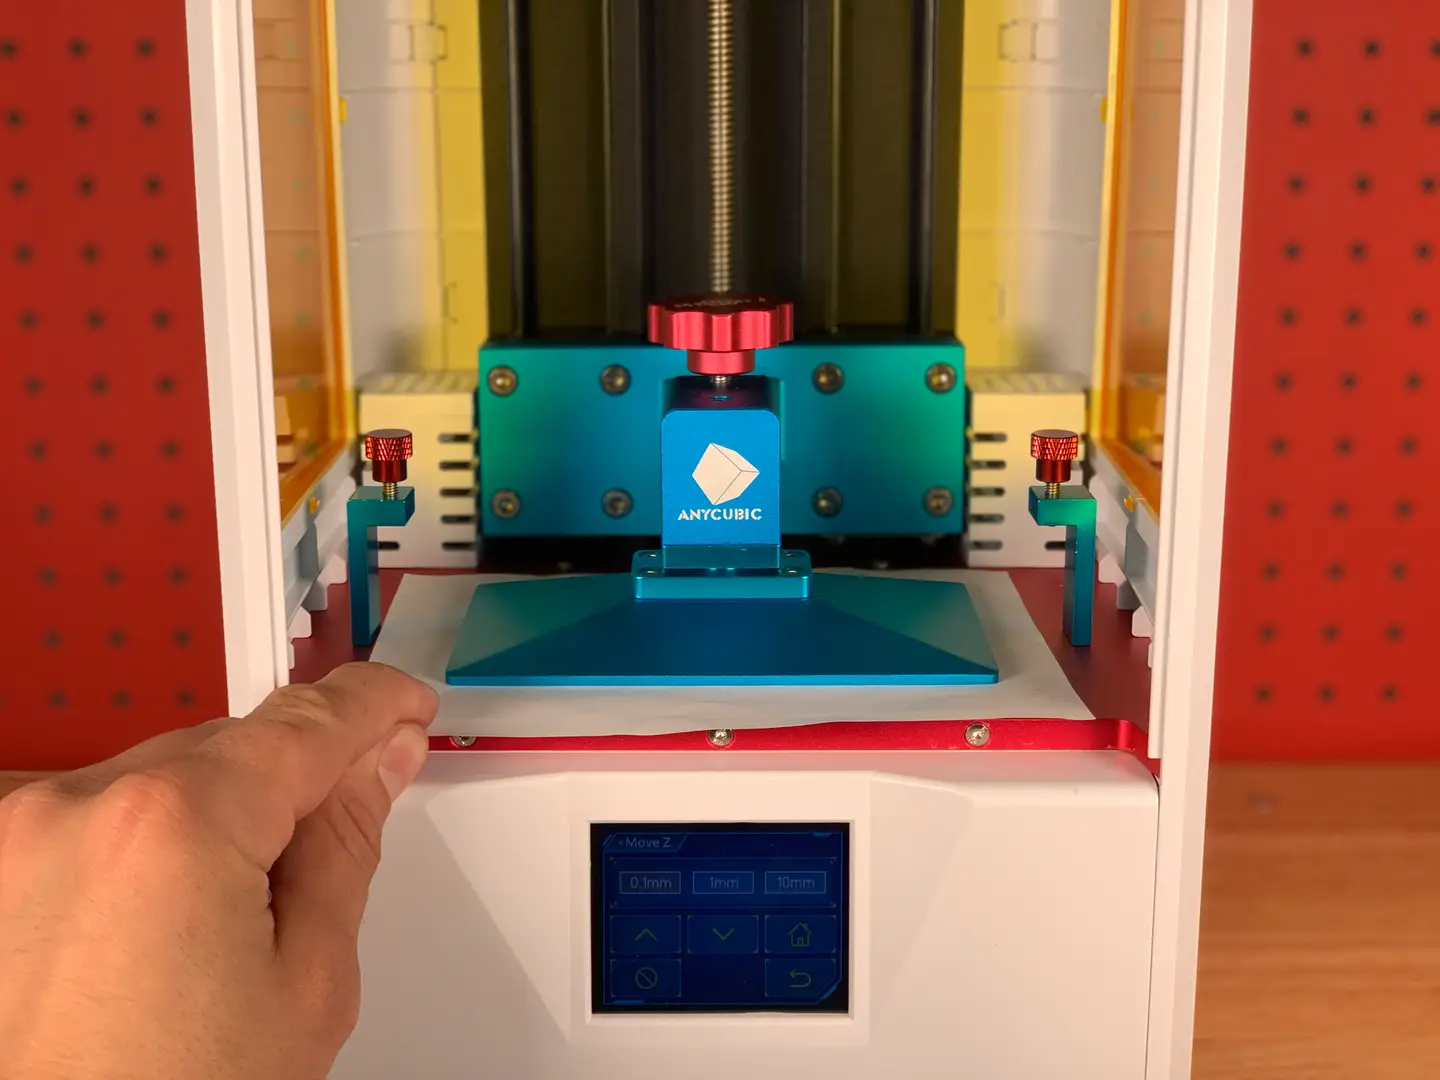
Place a piece of paper on the print LCD screen and carefully lower the print plate until there is slight friction when pulling the paper. Adjust the print plate in increments of 0.1mm to carefully sandwich the paper until there’s just a small amount of friction.
If you loosened the print plate to set its angle, make sure there’s even spacing on all four corners of the plate, square the plate to the front or back of the machine, and then tighten the bolt to store the angle.
| 🛈 Be careful not to smash the print plate into the delicate LCD screen. Adjust it in 0.1mm increments when you get close. |
5 – Set the new Z-origin
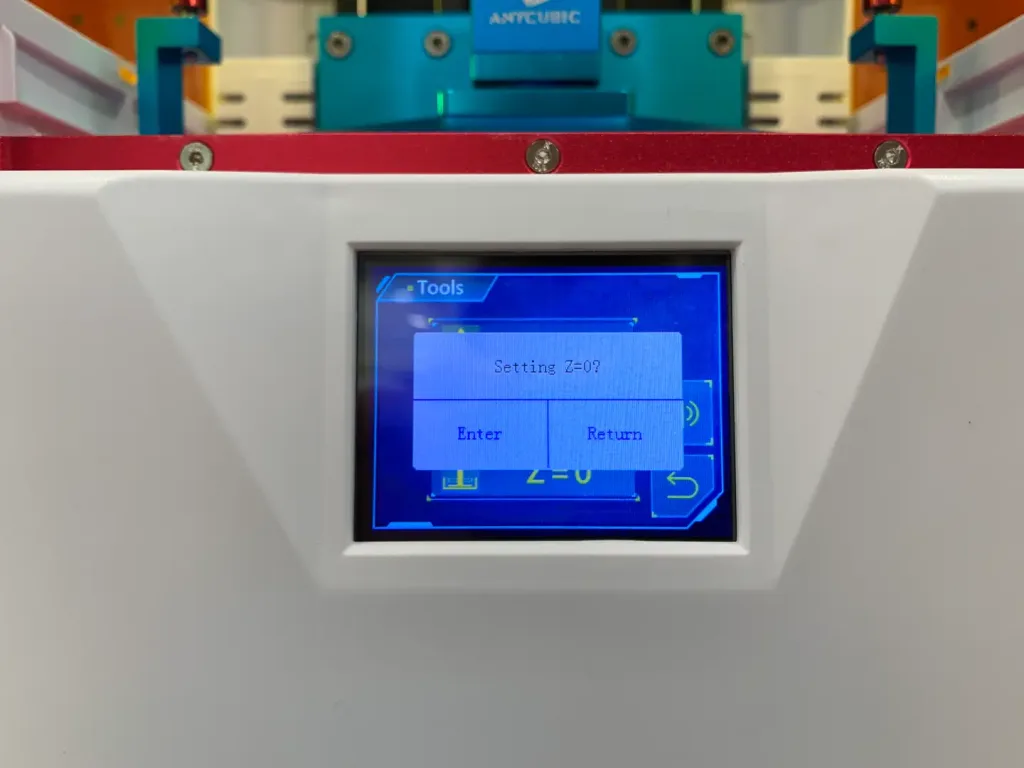
When you’re finished, navigate to Tools > Z=0 to store the new Z-origin.
6 – Reinstall the resin vat
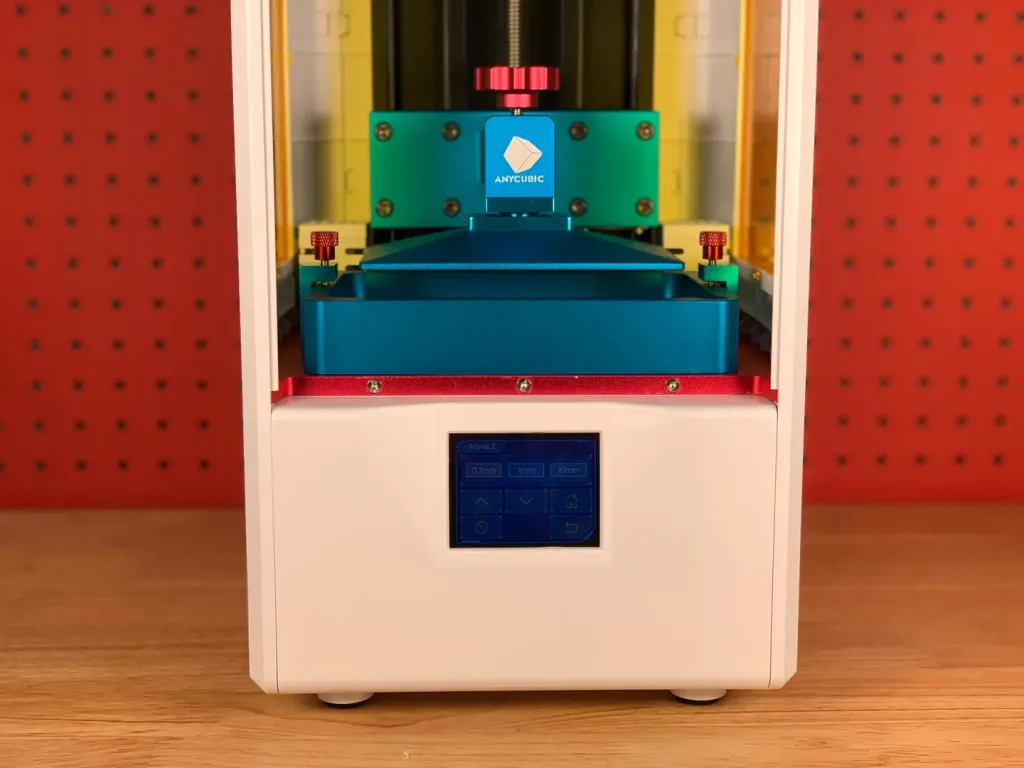
Use the menu system to raise the print plate and reinstall the resin vat.
You’re all finished! Using this Photon bed leveling method, you shouldn’t need to relevel for several prints.


