Xfinity: How to Change Your WiFi Network Name
Share
Interests
Series
Posted in these interests:


Most Xfinity routers use a default WiFi network name (SSID) that is hard to identify and remember. Changing the WiFi name allows you to personalize your network and make it easier for friends and family to connect.
This guide will show you three ways to change your WiFi network name on your Comcast Xfinity router.
1 – With your router login
We made a whole guide that shows you how to log into your Xfinity router, but we’ll summarize it here for you.
- Visit 10.0.0.1.
- As long as you haven’t changed the credentials, you can use the username admin and the password password to log in.
- Go to Gateway > Connection > WiFi.
- Press EDIT next to your wireless network.
- Edit the network name (SSID). (We recommend changing the password as well.)
- Click SAVE SETTINGS.
Remember, that when you change the network name you’ll no longer be connected. You’ll have to log in again with your new network settings.
2 – With the Xfinity “My Account” app

You can easily change your Xfinity WiFi network with just your phone and the Xfinity “My Account” app.
- Make sure you have the Xfinity “My Account” app downloaded to your phone.
- Open the “My Account” app.
- Log in with your Xfinity username and password.
- Select Internet.
- Select Wireless Gateway.
- Click Change WiFi settings.
- Enter a new network name.
- Click Save.
Visit this guide for steps on how to log into your Xfinity account.
3 – With the Xfinity online website
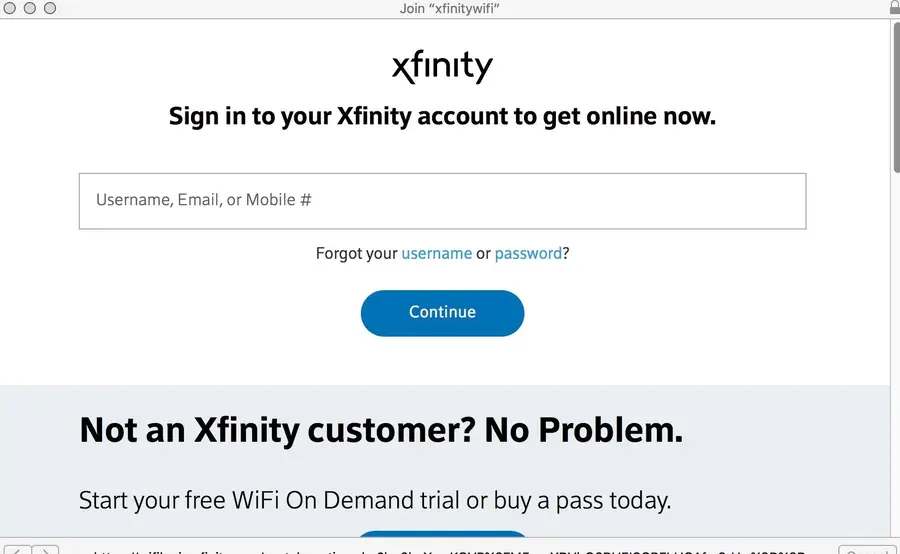
Finally, you can simply visit your account page at the Xfinity website to change your WiFi network name.
- Head over to the Xfinity “My Account” page.
- Log in to your account with your Xfinity username and password.
- Click on Settings.
- Click Internet.
- Click WiFi Credentials.
- Select Edit on the right-hand side of the window.
- Enter your desired WiFi network name and password.
- Click Save.
After a few minutes, you should have a new updated Xfinity WiFi network name!

