Anycubic Mega X: Cura Machine Settings and Cura Profile

Share
What you'll need
Interests
Series

The Anycubic Mega X is new enough that the machine doesn’t appear in Cura’s “Add a printer” interface. This short guide will show you how to add the Anycubic Mega X to Cura and set up the correct Anycubic Mega X Cura profile.
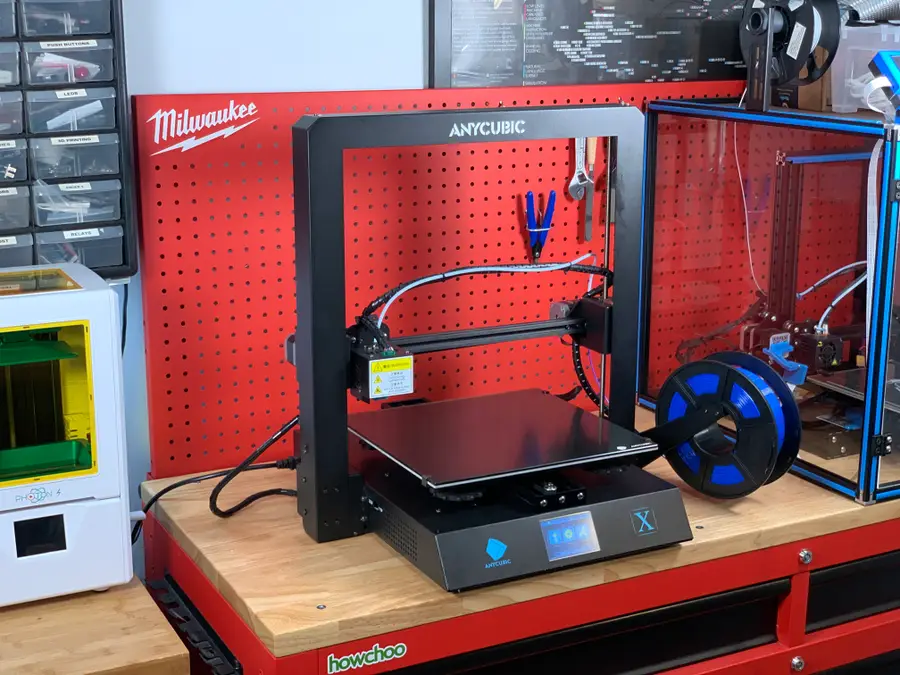
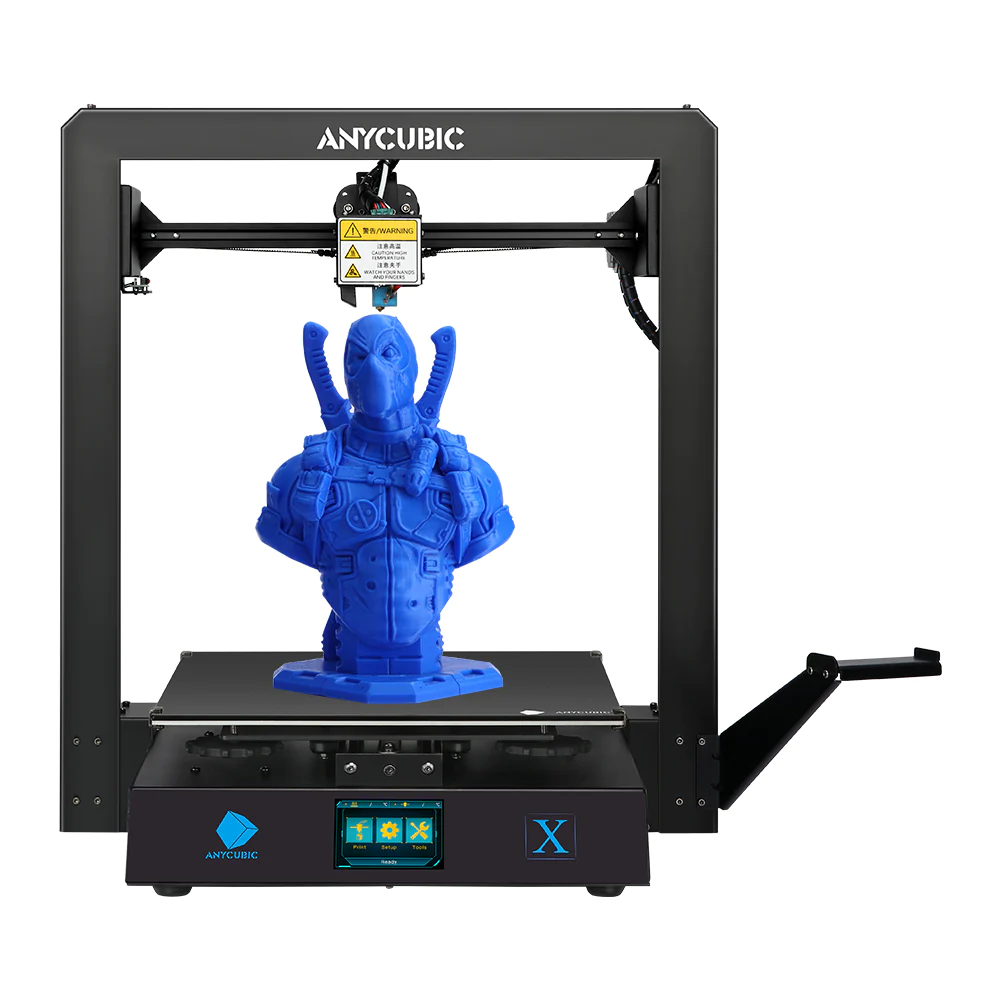
Anycubic Mega X Review (2023)
A budget 3D printer with a MASSIVE build volume.
1 – Add a placeholder printer
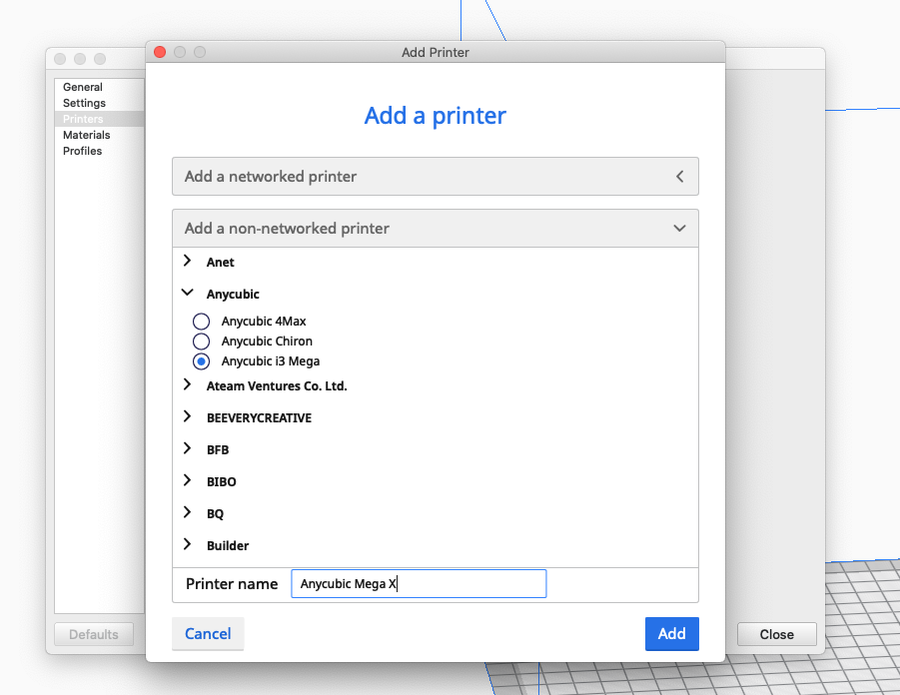
Open Cura and navigate to Preferences > Printers > Add and select Add a non-networked printer.
Then, select Anycubic > Anycubic i3 Mega. We’ll use this as the base for the Anycubic Mega X since it’s similar and then modify the profile from there.
Finally, change the printer name from “Anycubic i3 Mega” to “Anycubic Mega X” and click Add.
| 🛈 If you see “Anycubic Mega X” as a selectable option, it means Cura has been updated to include the Mega X natively. In this case, select it instead and proceed to the next step to double-check that the settings are correct. |
2 – Edit the placeholder machine settings
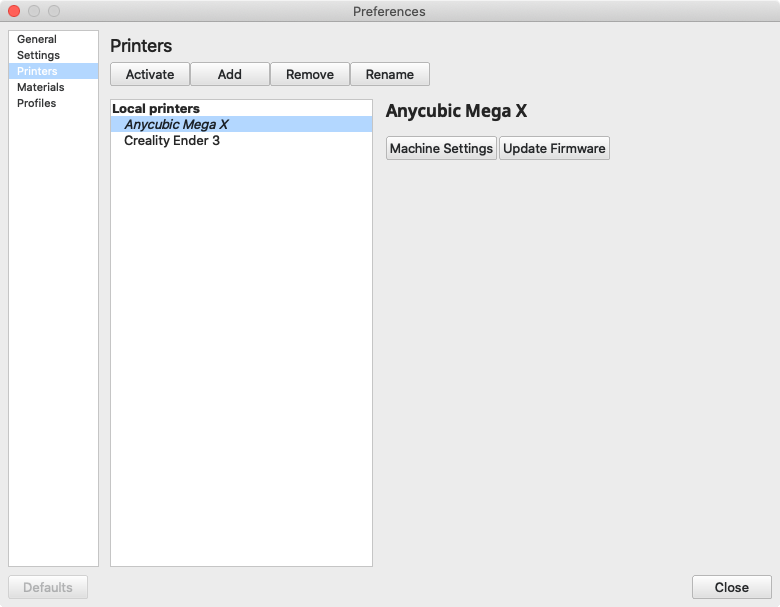
In the preferences window, select Anycubic Mega X under Local printers and then click the Machine Settings button.
This will open the Machine Settings panel that we can customize for the Mega X.
3 – Set the Anycubic Mega X Cura Machine Settings
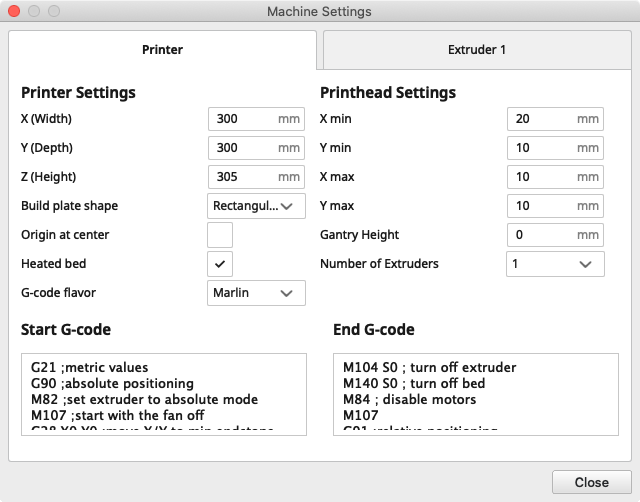
Make sure the following Anycubic Mega X Cura settings are selected:
Mega X Printer Settings
| Printer Settings | |
|---|---|
| Z (Width) | 300mm |
| Y (Depth) | 300mm |
| Z (Height) | 305mm |
| Build plate shape | Rectangular |
| Origin at center | No (unchecked) |
| Heated bed | Yes (checked) |
| G-code flavor | Marlin |
Mega X Printhead Settings
| Printhead Settings | |
|---|---|
| X min | 20mm |
| Y min | 10mm |
| X max | 10mm |
| Y max | 10mm |
| Gantry Height | 0 |
| Number of Extruders | 1 |
Mega X Start G-code
G21 ;metric values
G90 ;absolute positioning
M82 ;set extruder to absolute mode
M107 ;start with the fan off
G28 X0 Y0 ;move X/Y to min endstops
G28 Z0 ;move Z to min endstops
G1 Z15.0 F{speed_travel} ;move the platform down 15mm
G92 E0 ;zero the extruded length
G1 F200 E3 ;extrude 3mm of feed stock
G92 E0 ;zero the extruded length again
G1 F{speed_travel}
M117 Printing...
G5
Mega X End G-code
M104 S0 ; turn off extruder
M140 S0 ; turn off bed
M84 ; disable motors
M107
G91 ;relative positioning
G1 E-1 F300 ;retract the filament a bit before lifting the nozzle, to release some of the pressure
G1 Z+0.5 E-5 ;X-20 Y-20 F{speed_travel} ;move Z up a bit and retract filament even more
G28 X0 ;Y0 ;move X/Y to min endstops, so the head is out of the way
G1 Y180 F2000
M84 ;steppers off
G90
M300 P300 S4000
When you’re finished, click Close to save.
4 – Optional: Change recommended print settings
Now that the machine itself is configured, you can optionally change a few print profile settings for the Mega X. The default print settings inherited from the i3 Mega should work great for the Mega X, except that I recommend updating a few values (below).
Download the Mega X Cura profile
You can find importable Cura profiles for PLA and TPU on the USB drive that came with your printer, or mirrored on our GitHub repo. Download those profiles and import them in Preferences > Profiles.
Or, manual setup
Navigate to Preferences > Profiles > Normal, click Duplicate, and give it a name such as “Mega X Profile” or “Mega X Normal Profile”. I generally use a single profile and update quality from there, but that’s up to you.
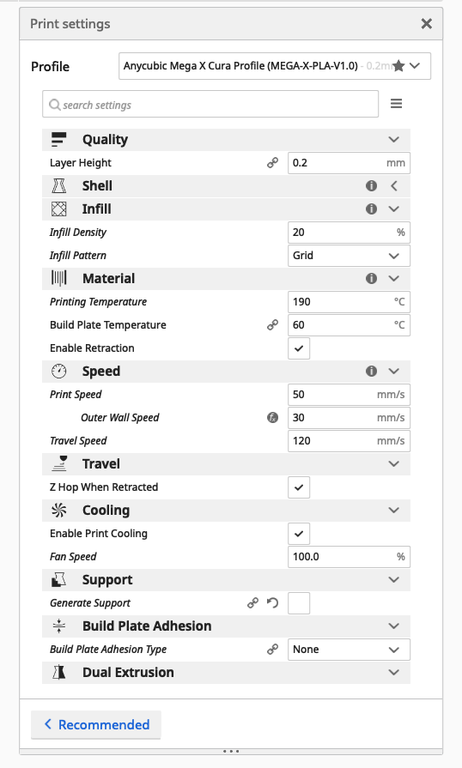
Close the settings panel. In the normal “Print settings” Cura panel, change the following settings:
| Print Settings | |
|---|---|
| Infill Density | 20% |
| Infill Pattern | Grid |
| Print Speed | 50mm/s |
| Outer Wall Speed | 30mm/s |
| Travel Speed | 120mm/s |
| Z Hop When Retracted | Yes (checked) |
When you’re done, reopen the profile in Preferences > Profiles and click Update profile with current settings/overrides.