How to Add a Health Check to Your Docker Container


Share

This guide will cover Docker health checks. First, we’ll talk about what health checks are and why they’re valuable, then will talk about implementation. I’ll be cover the material in the form of a tutorial, so feel free to grab a shell and follow along.
1 – What is a health check?
Health checks are exactly what they sound like – a way of checking the health of some resource. In the case of Docker, a health check is a command used to determine the health of a running container.
When a health check command is specified, it tells Docker how to test the container to see if it’s working. With no health check specified, Docker has no way of knowing whether or not the services running within your container are actually up or not.
In Docker, health checks can be specified in the Dockerfile as well as in a compose file. I’ll cover both implementations in a later step.
2 – An example using Flask
Let’s see how health checks work by building a simple Flask app.
Before we begin, note that all of this code is available in a Github repository: Howchoo/docker-flask.
Let’s start with the requirements.txt:
Flask==0.12.2And the Dockerfile:
FROM python:3.6-alpine

COPY . /app

WORKDIR /app

RUN pip install -r requirements.txt

CMD ["python", "app.py"]
And finally, app.py:
from flask import Flask

app = Flask(__name__)


@app.route('/')
def hello_world():
    return 'Hello world'


if __name__ == '__main__':
    app.run(host='0.0.0.0')
Now let’s build the container:
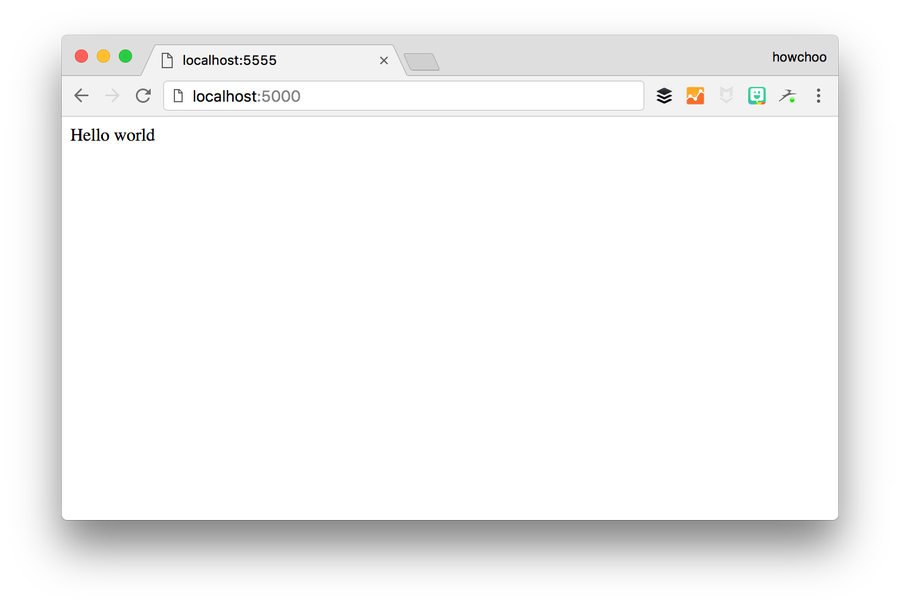
docker build -t docker-flask .This should build pretty quickly. Then we’ll run the container.
docker run --rm --name docker-flask -p 5000:5000 docker-flaskNow test by opening up your browser to localhost:5000. You should see “Hello world”.
3 – Why do we need a health check?
Well, to be honest, in our case it may not make that much of a difference because we’re just running the development server, but in a production environment we’d probably be running a few different processes. We’d probably serve our Flask app using nginx and uwsgi, possibly using supervisor.
In this case, we could theoretically lose our Flask app, but the container would still be running. So the normal state of the container would be “running” even though we are no longer serving traffic.
If we’re running this service in a swarm, the swarm will still think everything is OK because the container is running. But actually, we’d prefer the swarm to know that things aren’t healthy and restart the container so we can serve traffic again.
4 – Add a health check to the Dockerfile
Since the goal of our container is to serve traffic on port 5000, our health check should make sure that is happening.
A health check is configured in the Dockerfile using the HEALTHCHECK instruction. There are two ways to use the HEALTHCHECK instruction:
HEALTHCHECK [OPTIONS] CMD commandor if you want to disable a health check from a parent image:
HEALTHCHECK NONESo we’re obviously going to use the first. So let’s add the HEALTHCHECK instruction, and we’ll use curl to ensure that our app is serving traffic on port 5000.
So add this line to the Dockerfile right before the last line (CMD).
HEALTHCHECK CMD curl --fail http://localhost:5000/ || exit 1In this case, we are using the default options, which are interval 30s, timeout 30s, start-period 0s, and retries 3. Read the health check instruction reference for more information on the options.
5 – See the health status
Let’s rebuild and run our container.
docker build -t docker-flask .
docker run --rm --name docker-flask -p 5000:5000 docker-flask
Now let’s take a look at the health status. Notice we have the –name option to the above command so we can easily inspect the container.
docker inspect --format='{{json .State.Health}}' docker-flask If you run this immediately after the container starts, you’ll see Status is starting.
{"Status":"starting","FailingStreak":0,"Log":[]}And after the health check runs (after the default interval of 30s):
{"Status":"healthy","FailingStreak":0,"Log":[{"Start":"2017-07-21T06:10:51.809087707Z","End":"2017-07-21T06:10:51.868940223Z","ExitCode":0,"Output":"Hello world"}]}We have a little more information here. We see the Status is healthy as well as some details about the health check.
We can also see the health status by running docker ps.
docker psYou’ll see the following:
CONTAINER ID        IMAGE                  COMMAND                  CREATED             STATUS                   PORTS                    NAMES
9f89662fc56a        howchoo/docker-flask   "python app.py"          2 minutes ago       Up 2 minutes (healthy)   0.0.0.0:5555->5000/tcp   docker-flask
Notice under STATUS, the status is Up with (healthy) next to it. The health status appears only when a health check is configured.
6 – Configure the health check using a compose file
We can also configure the health check using a compose file. Let’s make a file called docker-compose.yml.
version: '3.1'

services:
  web:
    image: docker-flask
    ports:
      - '5000:5000'
And we deploy our stack to a swarm using:
docker stack deploy --compose-file docker-compose.yml flaskNow, the health check was specified in the Dockerfile, but we can also specify (or override) the health check settings in our compose file.
version: '3.1'

services:
  web:
    image: docker-flask
    ports:
      - '5000:5000'
    healthcheck:
      test: curl --fail -s http://localhost:5000/ || exit 1
      interval: 1m30s
      timeout: 10s
      retries: 3
7 – In conclusion
Hopefully you have a better understanding of Docker health checks and how to implement them. If you have any questions or would like to suggest improvements to this guide, please comment below.