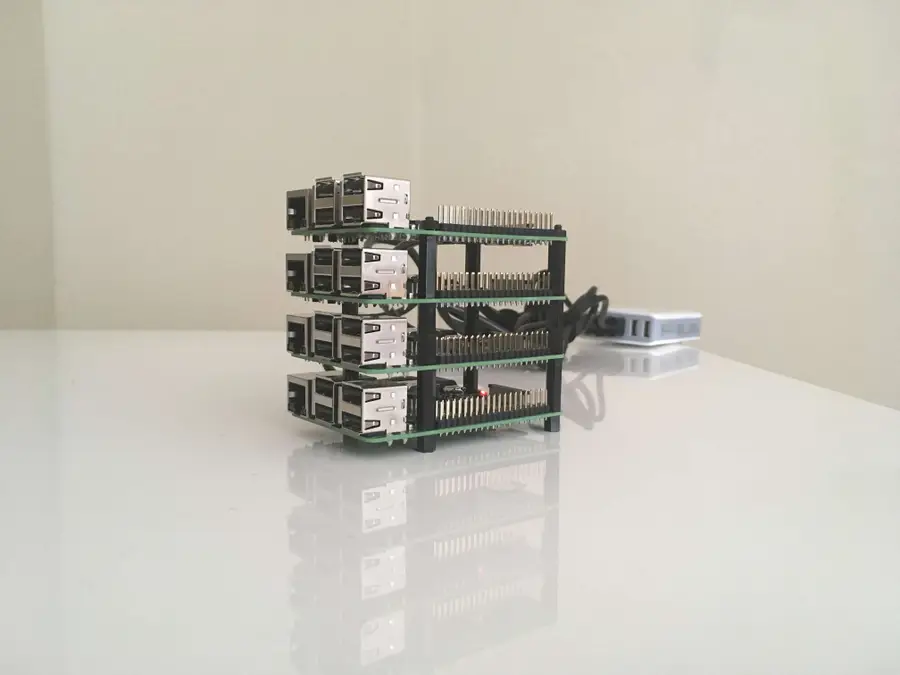
Docker: Persistence With a Data-only Container

John John (304)
10 minutes

If you've been experimenting with Docker, you've probably discovered that each time you restart a container the data is gone. This is because each container is built from an image, and the image has no knowledge of what has happened within the previous container. This is quite necessary because the image was built from a specific set of instructions, and the container needs to be the same every time it's built.

But persistent data is kind of necessary at times. This guide will show you how to create a very basic set up with an application container, a database container, and a persistent data container. With this set up you'll be able to tear down and rebuild your application and database containers as frequently as you'd like without losing data.

Note (11/24/15) Although this guide is still somewhat applicable, there is a better way of doing things. Docker has since fixed a lot of issues with docker-compose and docker-machine. You can expect an updated version of this guide soon, but for now you might find this guide on docker compose somewhat useful. Even if you're not using Django, there is a section on persistent data.

Posted in these interests:
h/docker12 guides
h/code69 guides
h/webdev60 guides

There are many different ways to get your environment set up. This is just one option, and it may not be the best option. But it is an option. You'll want to build multiple images from separate Dockerfiles. In many tutorials, you'll find examples of building an image using a command like this:

docker build .

But this doesn't suit our needs very well since we'll need to build three images. One thing I've done is create a folder for docker files in my application root.

mkdir -p docker/dockerfiles

Then for each image I create a separate folder.

mkdir docker/dockerfiles/web
mkdir docker/dockerfiles/data

We will put a Docker file in each of these directories and build the images like this:

docker build -t web docker/dockerfiles/web/
docker build -t data docker/dockerfiles/data/

Of course we don't have Dockerfiles yet, but this is how would do it. Also keep in mind that we won't be building our own mysql image - more on that later. Another necessary step is to create our custom mysql config files. Again, I put these files in my repository so other developers can use them as well.

mkdir -p docker/etc/mysql/conf.d

Add let's create a custom config file for mysql.

vim docker/etc/mysql/conf.d/custom-my.cnf

And add the following:

[mysqld]
bind-address    = 0.0.0.0

This is necessary because the default bind-address is different from the address of our container. So for this purpose we will just use 0.0.0.0 to bind to any address. This can be configured further in the future, but for the sake of this tutorial we'll do it the easy way.

Since this isn't a guide about building docker images, I'm not going to cover this in detail. You can refer to other guides on howchoo or better yet, the Docker documentation, for details on creating an image that suits your needs. The application container will simply make a connection to the database container that we've yet to build. This step requires that you install the necessary packages on your own. Below is just a example starting point for an image that uses Ubuntu 14. So if you don't already have a Dockerfile for the application you can create a new one.

vim docker/dockerfiles/web/Dockerfile
FROM ubuntu:14.04
MAINTAINER Your Name
ENV DEBIAN_FRONTEND noninteractive
RUN apt-get update
RUN apt-get install -f -y libmysqlclient-dev
# Install application specific packages and modules
# Expose the port your application will run on

There are some things you'll want to keep in mind when building this image. For instance, make sure to expose the proper port. Another thing I do is mount the application folder onto the container when it's time. To do this, you'll want to make sure to create the application folder on your image like this:

RUN mkdir -p /var/application_folder

Make sure to create necessary files (like log files) and set permissions as well.

RUN touch /var/log/error.log
RUN chmod 664 /var/log/error.log

This is also where you'll install your modules or gems or whatever your language and framework use.

We won't need to create a custom mysql image because one exists that suits our needs. The name of the image is just mysql:5.6 and we'll build our container directly from this image.

Creating the data-only image is super easy. All we need to do create an Ubuntu image with a volume on /var/lib/mysql.

vim docker/dockerfiles/data/Dockerfile
FROM ubuntu:14.04
VOLUME /var/lib/mysql
CMD ["true"]

And that's it.

Like I said before, we only need to build our application and data images because we're going to use an existing mysql image.

docker build -t web docker/dockerfiles/web/
docker build -t data docker/dockerfiles/data/

It's important to tag your images so that you can access them by name rather than by ID.

We can see our images like this:

docker images

You should see your images named web and data.

Now that we have our images, it's time to create the containers. We'll want to create our containers in the following order: data, mysql, then web. The reason is because we need to attach the data container to the mysql container when the mysql container is being created. And then we need to attach the mysql container to the web container in the same way.

Creating the data-only container is about as easy as creating the image.

On the command line, run:

docker run --name data data

Again, it's good to name the containers so that you can call them by name rather than by ID. You may develop your own naming conventing, but for this example I'm going to name the containers the same as the image.

docker run --name mysql \
        --volumes-from data \
        -p 3606:3606 \
        -e MYSQL_ROOT_PASSWORD=dockermysqlpassword \
        -e MYSQL_USER=mysql_username \
        -e MYSQL_PASSWORD=mysql_password \
        -e MYSQL_DATABASE=mysql_database_name \
        -v `pwd`/docker/etc/mysql/conf.d:/etc/mysql/conf.d \
        -d mysql:5.6

As you can see this is where we'll specify our data-only container by create a volume using the --volumes-from option. We will use the default port 3606. Something interesting about this particular mysql container is that we need to set our login credentials using environment variables. You can see that the -e option is used to set our environment variables.

The -d option means we are going to run this container as a daemon.

The last thing to note is the -v option. We're mounting the conf.d directory that we created in step 1 onto the mysql container. This will give our mysql container access to our custom config file.

docker run --name web \
        -p 8000:8000 \
        --link mysql:mysql \
        -v `pwd`:/var/application_directory \
        -e APP_SPECIFIC_ENV_VAR = value \
        web \
        sh docker/bin/setup.sh

As you can see, we're using the -p option to open port 8000, but you should specify which port is necessary.

The interesting thing here is the --link option. This means that in our container, the hostname mysql will be linked to the container named mysql. So in our database settings, we can specify mysql as the host. For my apps, I set the the database host in an environment variable.

We're also mounting our application folder. It's ideal to have the code separate from the application container - especially for development. This way you can tear down and rebuild the application container without worrying about losing code.

The last thing you'll notice is that I've included a setup.sh script to run once the container has been created. Since I'm running a Django app, my setup.sh script syncs data, runs the migrate command, and starts the Django server. Your setup.sh script can do whatever is necessary.

You can see your running docker containers like this:

docker ps

Or all docker containers including those that aren't running:

docker ps -a

One thing to keep in mind is that your data-only container DOES NOT need to be running in order to use it. So it's OK if you don't see it in the list of running containers. Since we named our containers we can access them by name. In order to restart a container you can type:

docker restart web

This will not rebuild the container but simply stop it and start it again. It's safe to run this whether or not the container is running. You'll want to run commands on your application container. Suppose you simply want to open a bash shell, you can do it like this:

docker exec -it web bash

The -it are important options because they allow you to open an interactive shell. If you just wanted to run a command in the background you could use -d instead (but that doesn't make sense if we're trying to open a shell).

Also, there are a lot of Docker commands and some commands have a lot of options. I recommend scripting some of the commands that you'll do routinely. There are a lot of necessary options, and they are easy to forget!

The most important thing I can leave you with is a reference to the Docker user guide. Please comment if you're aware of any better practices.

John John (304)
15 minutes

What is docker? Docker is a tool that allows you to deploy applications inside of software containers.