3D Printer Glass Beds: Why You Should Be Printing on Glass
Share
What you'll need
Interests
There are a lot of different 3D printing surfaces out there — metal, BuildTak, painter’s tape, glass, and more. But for most 3D printers, glass is the ultimate printing surface.
In this guide, I’ll explain reasons why you should print on a glass bed, whether or not your printer can use one, where you can find one, and the differences between various types of glass.
Chances are your printer didn’t come with a glass bed; no matter, it’s easy and inexpensive to add one to your setup.
1 – Reason #1: Glass is supremely flat
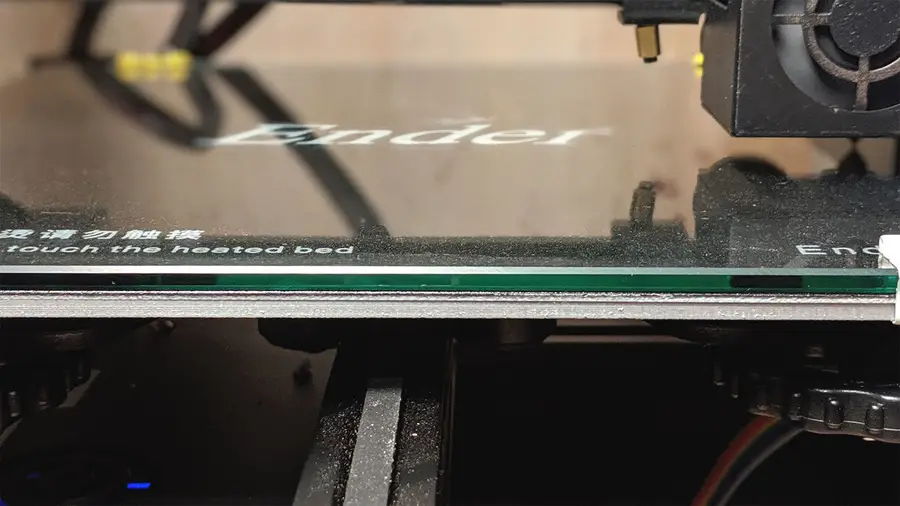
Your printer’s build plate is not flat. It’s probably made from aluminum and, even when new, is slightly bowed toward the center or edges. This is just the nature of thin, machined, often mediocre-quality aluminum.
Why is this important?
Print quality is all about tolerances. Well, it’s about a lot of other things too, but tolerances and precision are really important. When your 3D printer is laying layer after layer of filament to form your print, it’s very helpful if the distance between the extruder and bed is identical for the entire layer, right?
Imagine you’re printing a large cube. If the bed isn’t flat, the center of the cube doesn’t exist on the same exact plane as its edges. Thus, you end up with an imperfect print with poor layer adhesion and quality.
Lastly, repeated print and bed heat cycles can warp your aluminum build plate further.
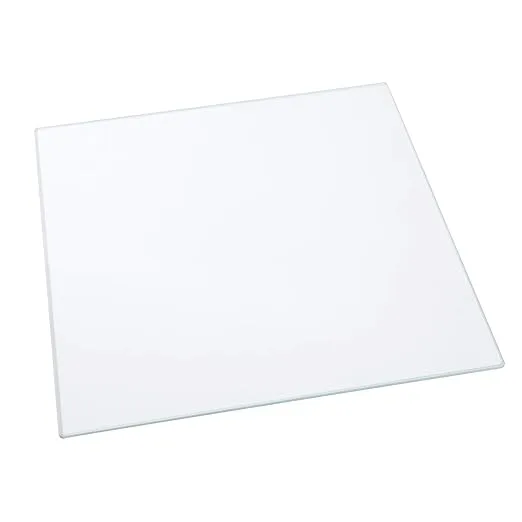
A high quality glass bed is supremely flat, hard, and rigid
Go with glass. Glass will always remain flat and smooth, will always love you, will never give you up, and will never let you down.
| 🛈 Nor will it run around and desert you. |
2 – Reason #2: Glass beds save on prep time
If you’ve ever spent time removing painter’s tape or replacing a BuildTak-like surface while hating your life, then you know the pain. With a proper glass bed, cleaning takes about 30 seconds and applying a new layer of adhesion material takes seconds (more on this later).
No more replacing things or running out of materials between prints. The time you save really adds up.
3 – Reason #3: Glass is easy to clean
File this under “reduced prep time”. Cleaning a glass bed takes less than a minute and isn’t always necessary between prints.
Later on in this guide, I’ll teach you how to clean your glass bed properly. For now, know that glass is very easy to clean of dust, adhesion material, and stray filament remnants.
4 – Reason #4: Glass beds give your prints a smooth, shiny surface
If you’ve ever seen a print online that has a supremely shiny, flat surface, it was probably printed on a glass bed. The super smooth nature of the glass itself leads to shiny, smooth, ultra flat prints without added texture.
5 – Reason #5: Glass beds are an inexpensive upgrade
In terms of non-printable upgrades, glass beds offer a lot of bang for your buck. Depending on your bed size, a quality borosilicate glass bed can be had for $12-30. I picked up my Ender 3 glass bed for under $20 on Amazon. This is a small price to pay for such an impactful upgrade that saves time and improves the quality of your prints.
6 – Reason #6: Effortless print removal
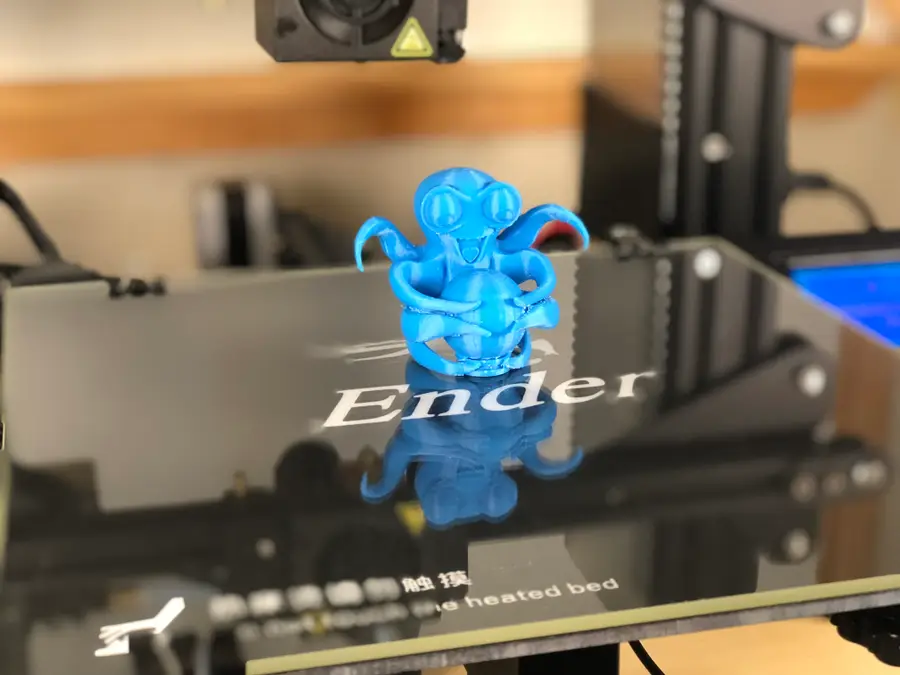
After your print and the glass bed have cooled, removing the print is a breeze. Sometimes the print will “pop” right off the bed; other times, you can simply pull it off with your fingers. No more tireless scraping, saving you time and effort while reducing the risk of damaging the print upon removal.
| 🛈 If you do need to use a scraping tool on your glass bed, try to use a plastic one so as not to scratch the bed. |
7 – Glass bed types (choose borosilicate)
There are several types of glass that you can use for your bed — and several types of glass in general. Let’s start there:
Types of glass
Not all glass is created equally. There are 3 main types of glass. Windows, glass jars, and lab equipment all use different types of glass with different properties.
| Glass Type | Thermal Shock Resistance* | Chemical Resistance | Applications |
|---|---|---|---|
| Soda-lime silicate | Low | Average | Food and beverage containers, windows, lamp envelopes |
| Phosphates | Low | Low, except for hydrofluoric acid | Bone scaffolds, optical fibers, heat absorbers |
| Borosilicate | Average-High | High | Industrial equipment, exterior lighting, laboratory and kitchen glassware |
*Thermal shock resistance
Thermal shock resistance is an important property to consider when choosing a glass for your bed. It is essentially the ability of a solid to withstand sudden changes in temperature during heating or cooling.
Your glass bed will rapidly cool or heat when your heated bed is activated, when the extruder comes into close contact with the print surface, or when a print finishes in a cold environment. Therefore, it’s important that your bed not explode with sudden temperature changes.
Additionally, cheap glass like soda-lime silicate can contain bubbles; when this glass is heated, the air in these bubbles can expand and shatter the glass.
Go with borosilicate
Borosilicate glass is the same type used in labs for beakers and other neat labware. There’s a reason scientists choose this type of glass: it’s highly resistant to temperature changes and chemicals. It’s consistently smooth and flat and doesn’t contain bubbles that can cause the glass to fracture or explode while heating.
You probably shouldn’t have Home Depot cut your bed for you
Some people have cut inexpensive soda-lime silicate glass panes or IKEA mirrors to size for use on their printer and have experienced success for some time with them; this doesn’t mean that they’re safe to use, nor does it mean that they will last a long time.
tl;dr; Use borosilicate glass. A proper borosilicate glass bed is very inexpensive (more on that later).
| 🛈 Exploding glass beds are bad. |
8 – How to get good print adhesion on a glass bed
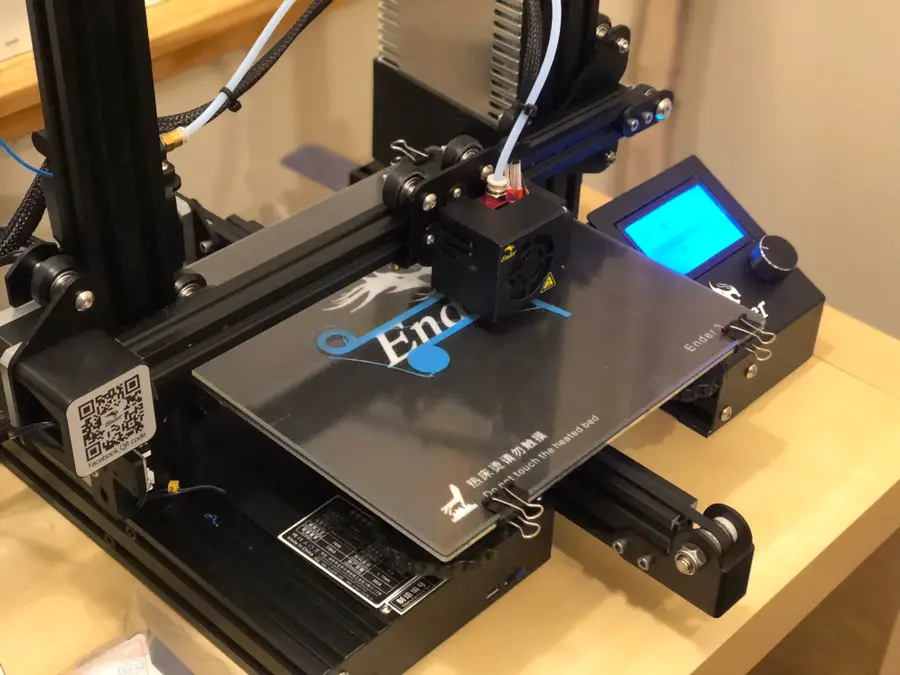
There are a few ways to make sure your prints stick nicely to your glass bed: the magic formula is heat and hair spray or heat and glue.
Heat
A heated bed is key to printing on glass. While it is possible to use a glass bed on an unheated printer, I wouldn’t recommend it. You’re going to run into issues with adhesion.
Hair spray
Hair spray is a tried-and-true method for getting good bed adhesion. Simply spray a light, even coat across the entire thing — similar to how you would with spray paint. I recommend removing the bed before doing this so you don’t cover your printer in sticky hair spray. Let it dry for a few minutes until it has a hazy appearance to it.
Any hair spray will do. At some point, Aqua Net became the de facto 3D printing hairspray. I have no idea why, except that it’s usually the cheapest hair spray available at your local pharmacy or grocery store. A single can will probably outlast your printer.
Glue sticks
Grab a normal glue stick and rub it on your bed, coating it evenly. You can add a bit of water and smear it around for a more even coat. I don’t generally use glue sticks because they’re messy and hair spray has always worked out fine for me, but some people do prefer them.
Commercial adhesion products
Commercial bed adhesion products also exist, but I’ve never found the extra cost to be necessary. Much of the time, they seem like a repackaged hair spray or glue stick with less scent and a larger price tag.
9 – How to hold the glass bed in place
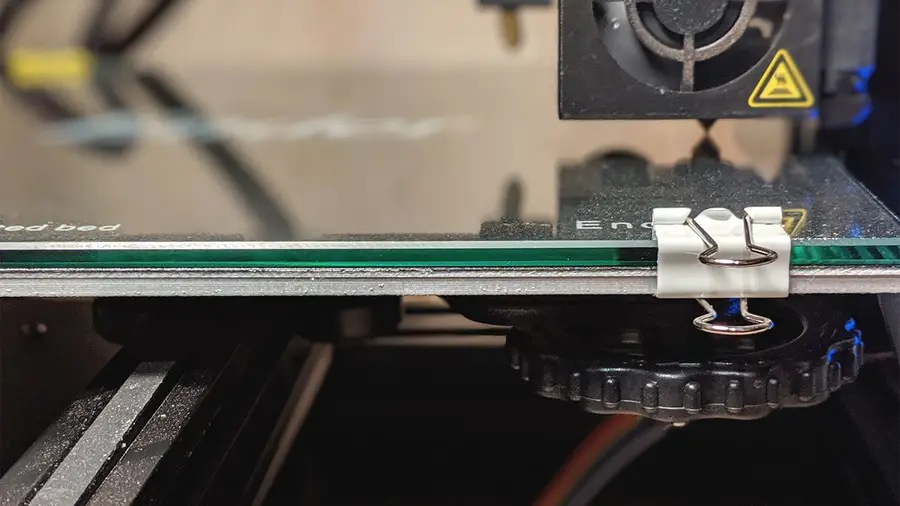
There are a few ways to securely attach a glass bed to your printer:
Binder clips
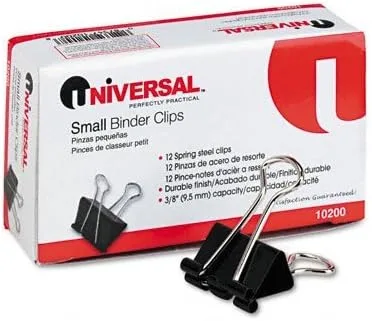
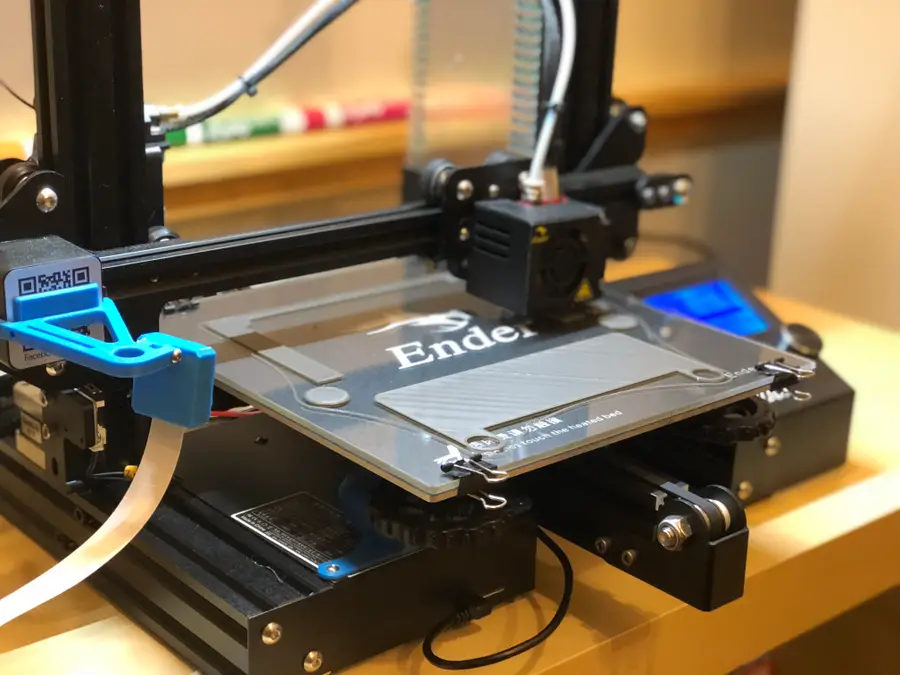
The easiest way to affix your glass bed to your 3D printer’s bed is to use small binder clips. Much like using hair spray for adhesion, this is the method generally accepted by the 3D printing community.
Be sure to use small binder clips so that, when fully stretched, the binder clip arms are parallel to the build plate. This will ensure that the extruder and other parts of the print head never make contact with the binder clips. These are the binder clips I normally use.
Simply attach two binder clips to the front and two to the back of the build plate, pressing the glass bed onto the build plate. Sometimes, though rarely, you might have a print that goes right to the edge of the plate in these areas. In that case, you can shift the clips around to accommodate.
Print bed clips
You can also find glass bed clips on Thingiverse and print them; just make sure you use a high-temp filament that won’t warp with normal prints. For example, if you normally print PLA or PETG, print the clips in ABS. If you print a lot in ABS, you probably shouldn’t use plastic bed clips.
Buy bed clips
You can find and buy metal bed clips online.
| 🛈 After adding your bed, it will now be thicker! You’ll need to either adjust your printer’s z-axis endstop or adjust your printer’s height using its normal adjustment mechanism to lower it to account for the new thickness. |
10 – How to clean your glass bed
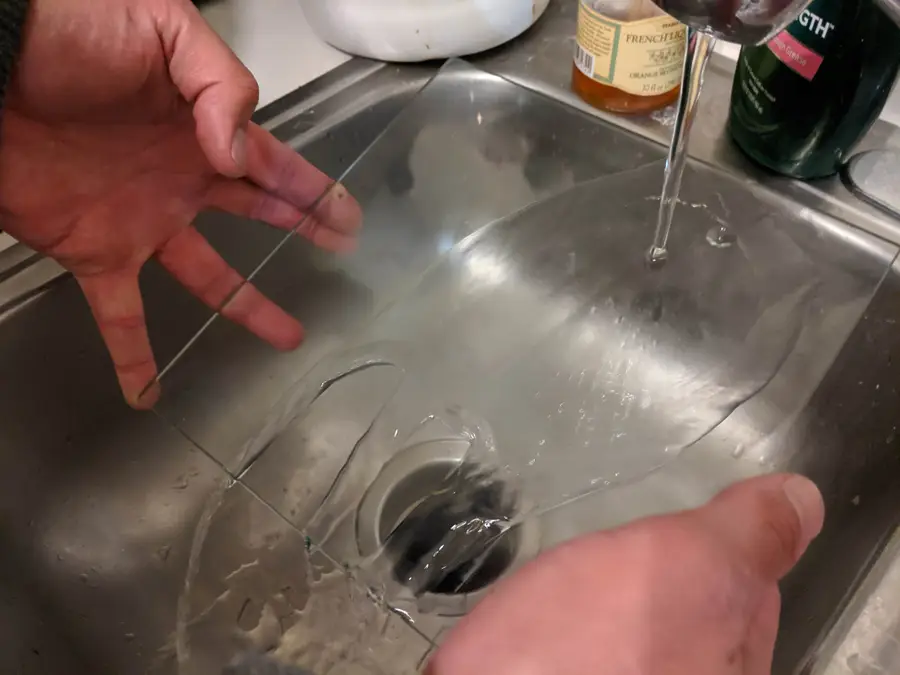
Cleaning the glass bed is one of the best parts about using it as a build medium. Gone are the days of removing and replacing painter’s tape or BuildTak.
Wash the bed
After you’ve let your print cool and set it aside, remove the binder clips and glass bed. Run the glass bed under your kitchen faucet and use a sponge and bit of soap to scrub off the hair spray/glue residue and tiny bits of filament left behind. Most hair spray and glue sticks are water-soluble, making the whole process easy and satisfying.
Dry the bed
To dry the bed, set it on your counter on a clean paper towel and use another to dry the top. After the glass is dry, put it back onto your printer.
Before starting a new print, make sure the bottom is fully dry. When you heat your bed, any water trapped between the glass and build plate will turn to steam and can crack or chip your bed. Learn from my mistakes. 🙂
| 🛈 You can often go several prints without needing to clean the plate! |
11 – Where to find a glass bed for your printer
You can find a glass bed for your printer on Amazon. Simply look up the dimensions of your bed by Googling the model, and then punch that into Amazon. Make sure the result you find explicitly mentions borosilicate.
12 – Can you use a glass bed without a heated bed?
Yes and no. You technically can use a glass bed on an unheated printer. However, similar to layer adhesion issues sans heat, you may have issues getting your print to stick to the bed — even with glue or hair spray. While I don’t recommend using a glass print surface if your bed is not heated, it is certainly possible to do so.
13 – Am I wrong?
I know this is a very opinionated guide and a strong standpoint to take. I’ve reached this conclusion after owning half a dozen printers, experimenting with every possible type of build surface, and consulting with several full-time 3D printing professionals.
There are certainly exceptions: specialized types of printers, printers that must touch a bed made of a particular material (like metal) to self-level, etc.
If you don’t agree that glass is the ultimate build surface, please let me know in the comments section below. I’d love to hear your viewpoint so that I, and other readers, can learn.
After all, one of the most amazing things about 3D printing culture, and the community in general, is sharing and openness to new ideas. 🙂 I’ll also update this article with any relevant information you provide.

