Ender 3 Spring Upgrade: Choosing and Installing New Bed Springs

Share
What you'll need
Interests
Series


This guide will teach you how to choose and install upgraded bed springs on the Ender 3 or Ender 3 Pro. (If you have an Ender 3 V2, then use our spring upgrade guide for the V2.) The stock bed springs that come with the Ender 3 are terrible; they can lead to print issues and require more frequent bed leveling.
If you’re tired of leveling your bed constantly, better springs are a very inexpensive upgrade to your Ender 3! When you’re done, you won’t need to level your bed between prints nearly as often.
1 – Choose your springs
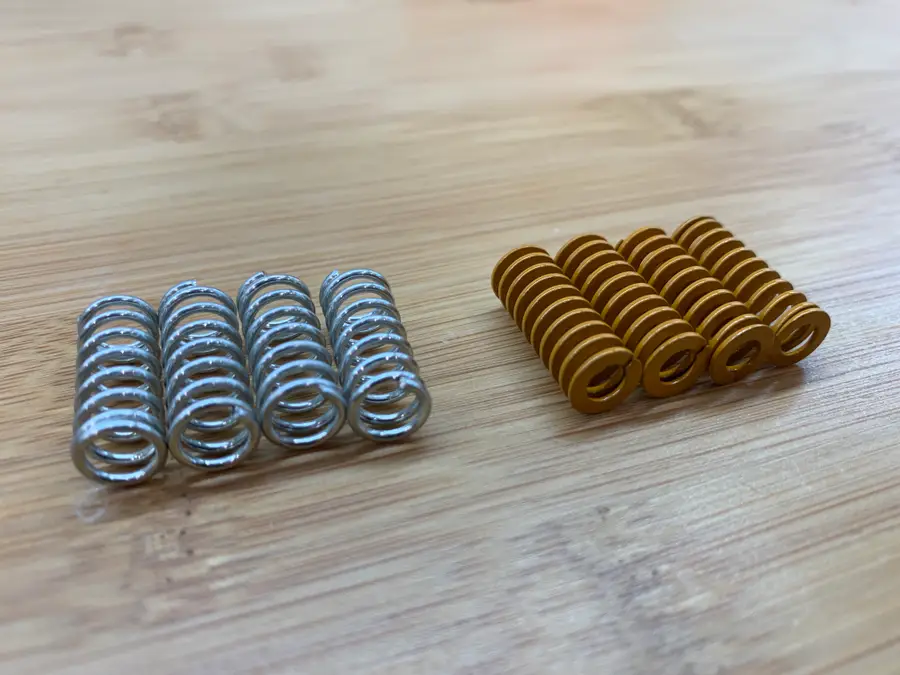
Of course, you’ll need 4 springs. Here are a few considerations when choosing upgraded 3D printer bedsprings:
Rigidity
The replacement springs are more rigid than the stock springs, increasing consistency between prints and reducing vibration.
Length
The replacement springs are the same length as the original springs, meaning you shouldn’t need to adjust your Z-axis endstop like you would with longer springs.
Shape
The replacement springs feature a flat top and bottom (vs. the stock springs’ rounded top and bottom), resulting in less spring movement or shifting during and between prints.
tl;dr;
After much research, I found these to be the best Ender 3 bed springs available on Amazon. They’re under $10 with free shipping.
2 – Remove the old springs
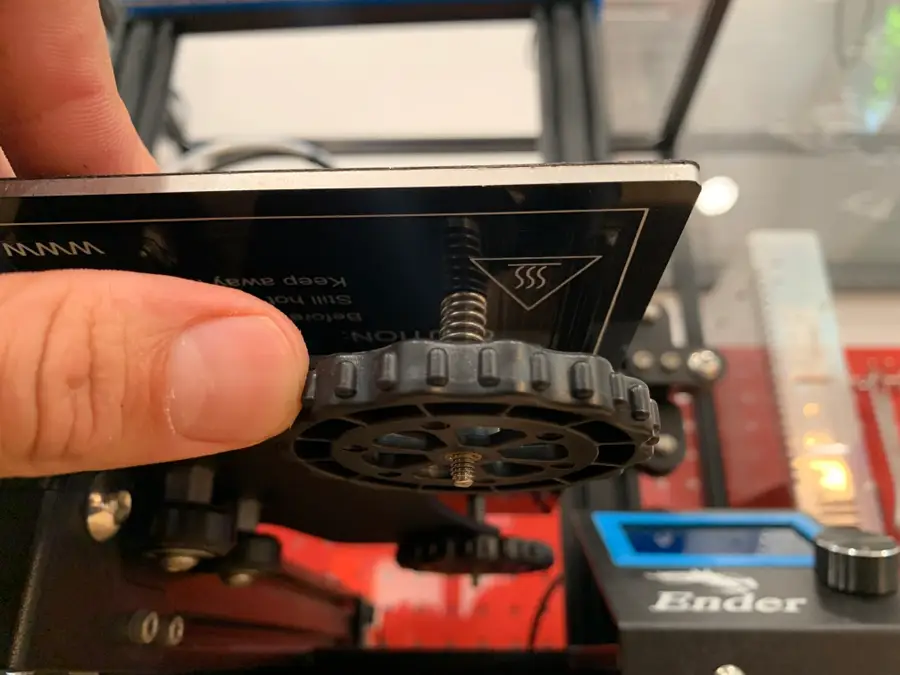
To remove the old springs, turn each bed adjustment wheel counter-clockwise until it can be fully removed. Set each wheel aside.
3 – Install the new springs
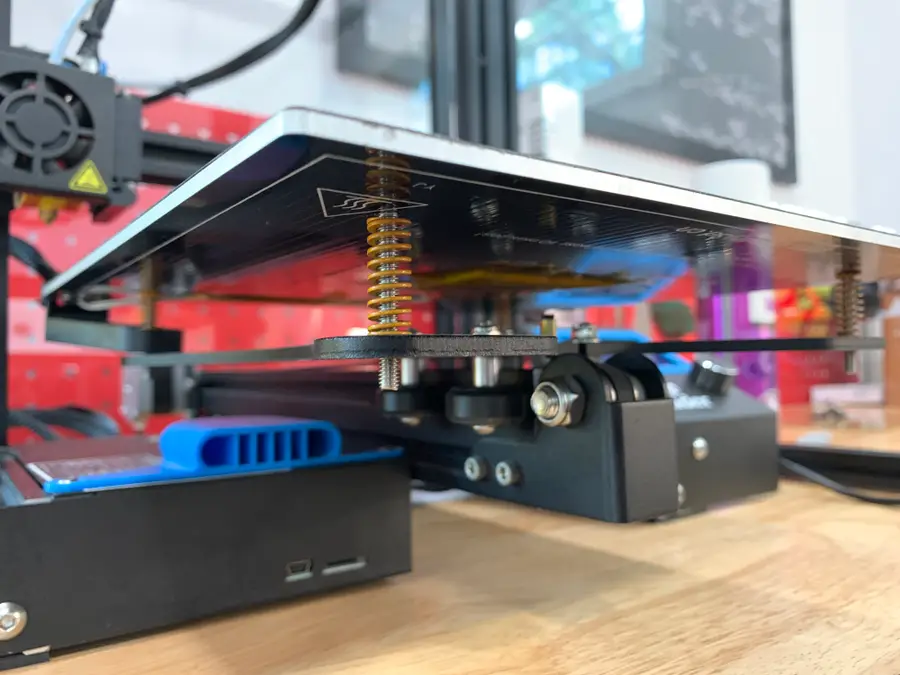
I recommend not removing the build plate completely since the back-right corner contains the heating element wiring. Instead, carefully lift each corner and replace each spring individually.
| 🛈 If you need to, you can flip the bed upside-down and install the back-right corner first. The wire-retaining clip will keep the spring from falling out. |
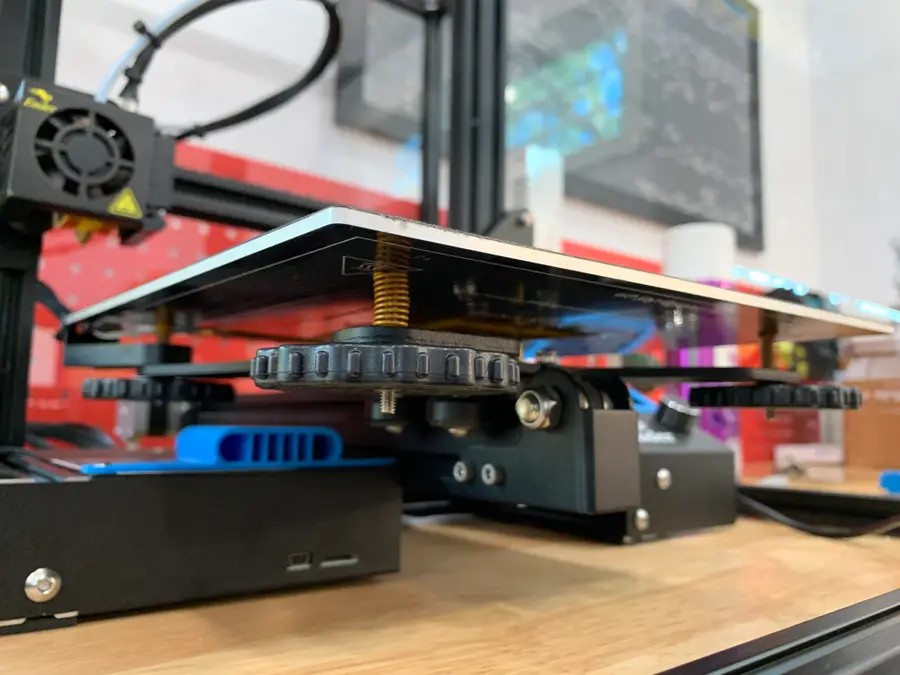
4 – Reattach the knobs

After all 4 springs have been replaced, reattach each adjustment knob. If you reattach any adjustment knob before all 4 springs are replaced, it will make it more difficult to replace each spring.
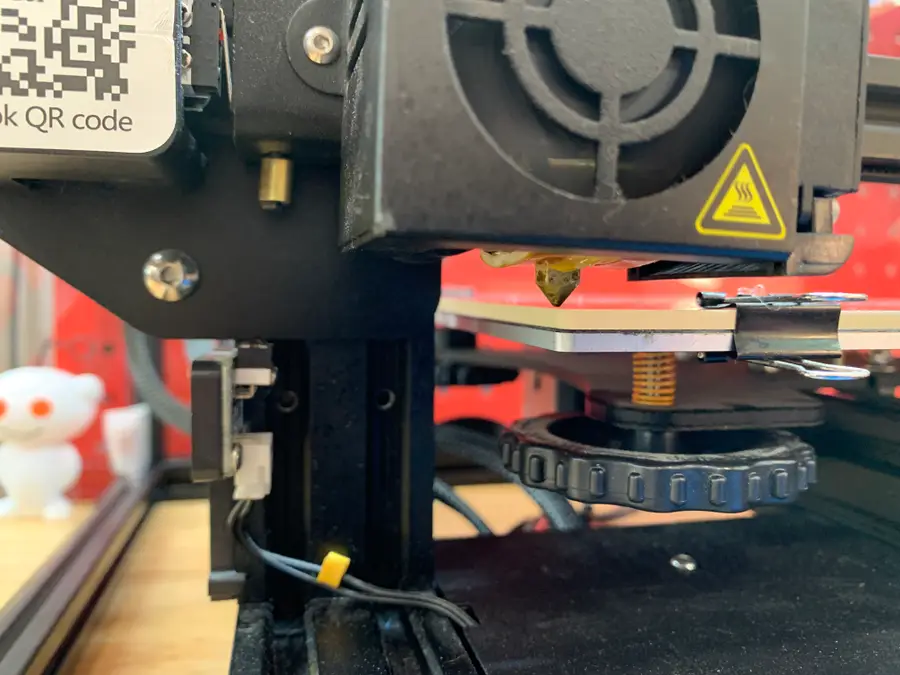
The new springs are a bit stiffer and feature a flat top and bottom, a definite improvement over the old springs.
| 🛈 Remember the “down up” text on each knob should be oriented upwards. |
5 – Level your bed
Finally, you’ll need to level your bed—just as you have a thousand times before. Thankfully, you shouldn’t need to level your bed between prints nearly as much from now on!