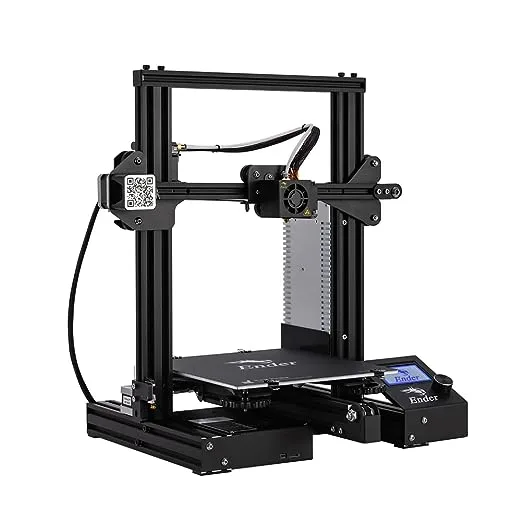
Creality Ender 3 Silent Mainboard Upgrade: Better Prints with Less Noise!
Share
What you'll need
Interests
Series
If your 3D printer is located in your room, office, or some other area where you like to spend your time, the sound it makes while printing can be maddening. The “whining” and “whirring” noises generated by your 3D printer are caused by the cheap stepper motor drivers used on the stock motherboard.
In addition to reducing noise, an upgraded mainboard uses higher quality stepper motor drivers and other components, improving overall print quality.
Today I’ll show you how to perform this board upgrade on your Ender 3 or Ender 3 Pro. This is one of the best Ender 3 mods for the money.
1 – Choose a board
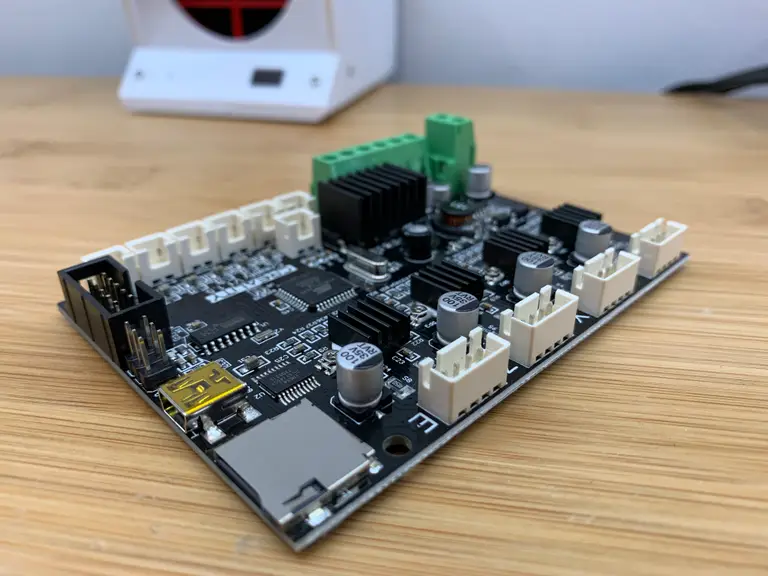
Before choosing an upgrade board, I took a look at both third-party boards and those created by the original manufacturer, Creality.
Creality upgrade boards
Creality offers an upgraded board for under $50 that uses TMC2208 stepper motor drivers instead, eliminating stepper motor noise.
This upgrade effectively reduces the printer’s sound output from 48dB to 36dB, with the remaining noise comes from the Ender 3’s fans, which are also easy to upgrade.
This is the board I’ll be using: the Creality Silent Mainboard (v1.1.5). I chose to go with a Creality-made board as they’re reportedly more stable and reliable.
Third-party boards
There are also numerous third-party board upgrades available for the Ender 3. A popular choice is the SKR Mini E3, which uses TMC2209 stepper motor drivers and adds 32-bit support.
Keep in mind, some third-party boards, including the Mini E3, have been reported to have issues—including input errors and power back-feeding. Therefore, third-party boards are less of a direct replacement and may require some troubleshooting. Still, if you’re up for the challenge, they’re a great upgrade option.
2 – Unplug your printer
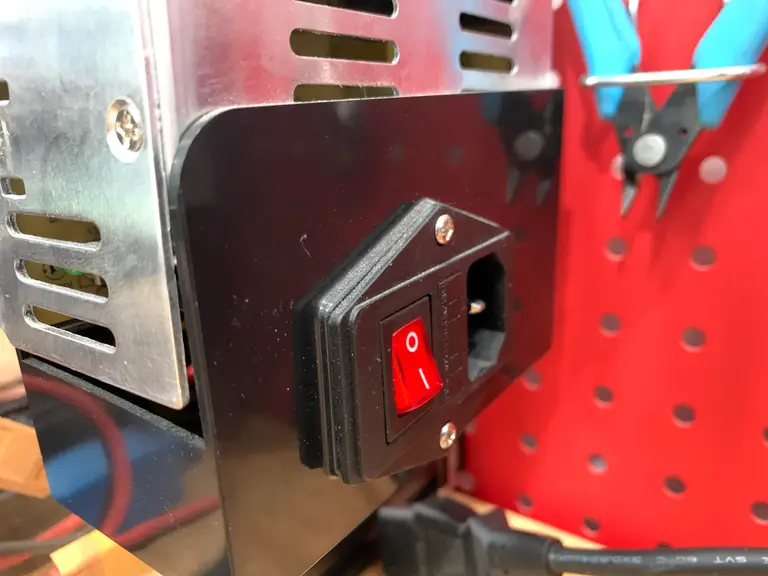
Before starting, unplug your Ender 3 from the wall. This is for safety reasons and also to prevent shorts when swapping the board out.
3 – Remove the main board cover
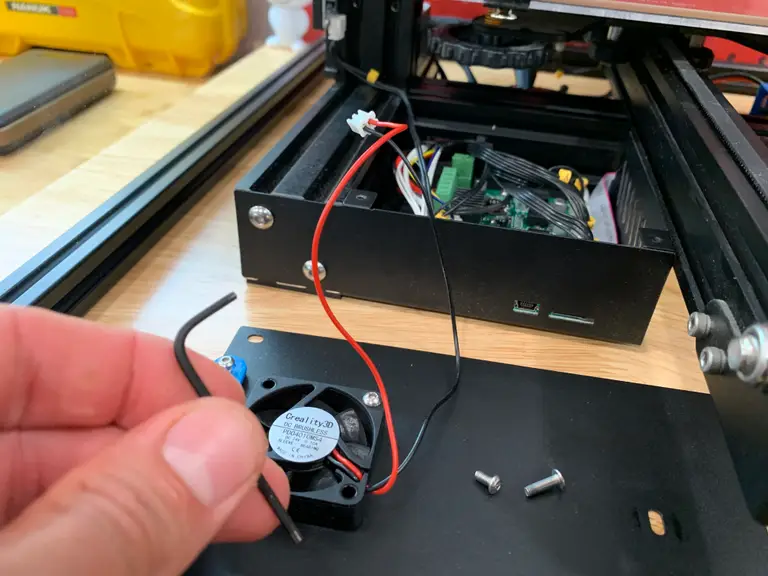
Using the M2 hex key your printer originally came with, remove the 3 screws securing the main board cover.
Then, unhook the fan connector and set the cover aside.
4 – Remove the old board screws
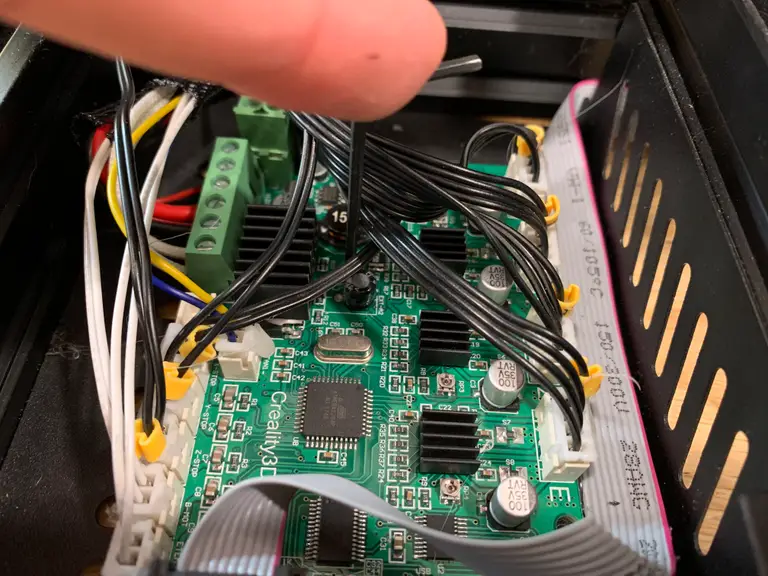
With all the wires still connected, use your M2 hex key to carefully remove the four screws securing the board to the printer chassis.
| 🛈 These screws are shorter than the cover screws, so don’t mix them up. |
5 – Remove the hot glue
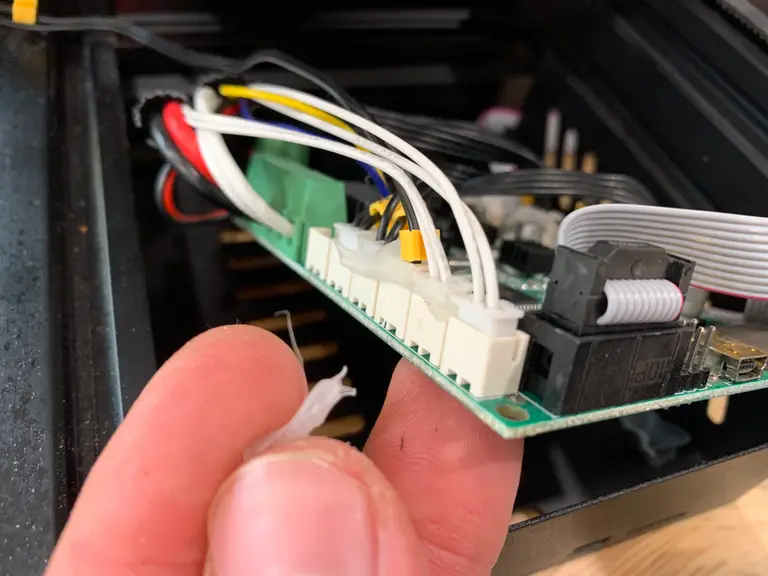
At the factory, Creality’s employees added some hot glue to each connector to prevent them from shaking loose during shipping.
Carefully remove these bits of glue using your fingers. You can also use a dot of acetone to help dissolve the glue, but don’t let it get on anything else (i.e. plastic) since acetone is a solvent for many types of plastics.
I just peeled each piece of glue off with my fingernails without using acetone.
| 🛈 Unless you plan on shipping your printer, you probably don’t need to add hot glue to your new connectors. |
6 – Swap the wires
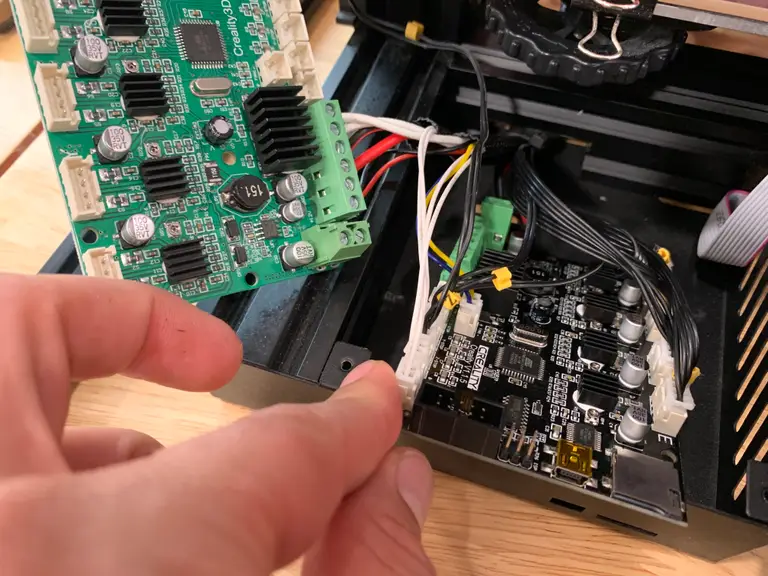
You’ll need to move each wire to the new board so that everything is wired exactly the same. You have two options for doing this:
Option A: Label everything
Carefully label each wire with tape and marker and draw a map of where each label goes. Pay attention to the labels printed on the PCB. Then, remove all the old wires and connect them to the new board. Take lots of photos.
Option B: Do a 1:1 swap (my approach)
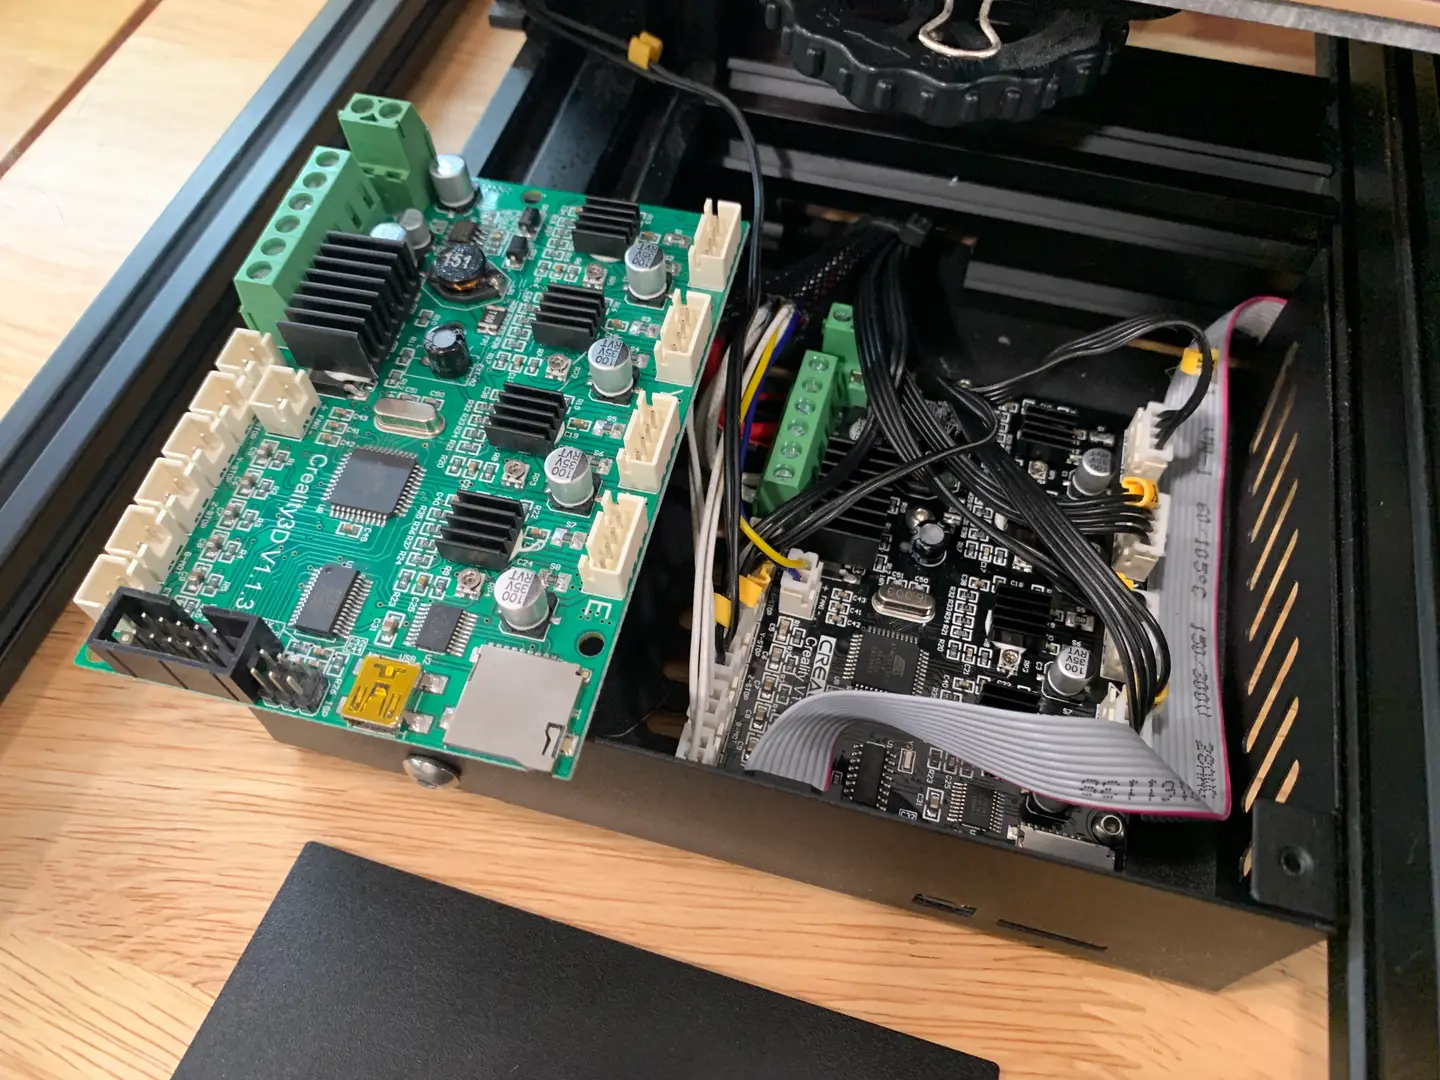
Before removing any wires, place the new board on top of the old board. Then, swap wires from the old to the new—one at a time—taking careful notice of placement. This approach can save you a lot of time if you’re vigilant. When you’re done, you can unhook individual wires to route them more cleanly.
Get to swappin’
Swap the wires from the old board to the new one using your preferred method. I used option B: swapping the wires, in place, one at a time.
In addition to swapping connectors, you’ll also need to use a small flathead screwdriver to move wires between terminal blocks. For safer and more effective conductivity, I recommend stripping and cutting the tinned solder off of each terminal block wire before reinserting it.
7 – Secure the new board
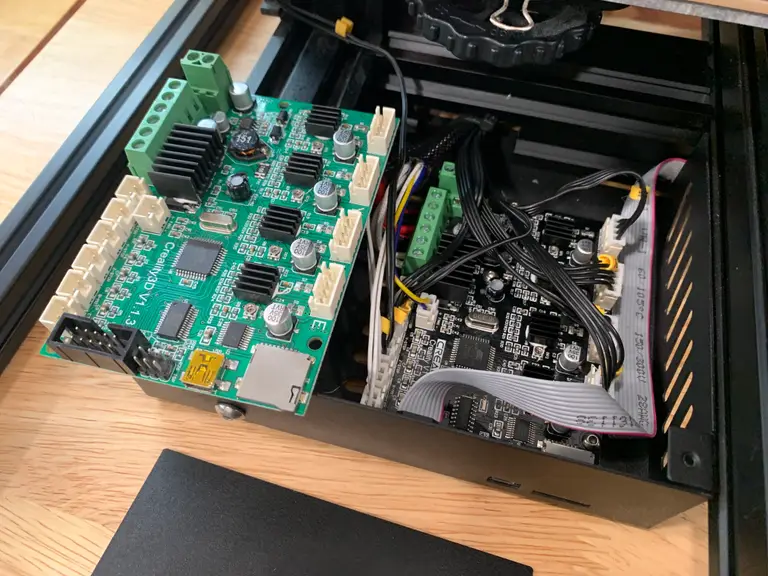
Reattach the new board using the four mounting screws. The front-left hole has no matching stud, so leave that hole empty.
If you have giant hands, this will probably be the hardest part of the project.
| 🛈 Protip: Use a pair of tweezers to place each screw and then secure it in place. |
8 – Close the control panel and reconnect the fan
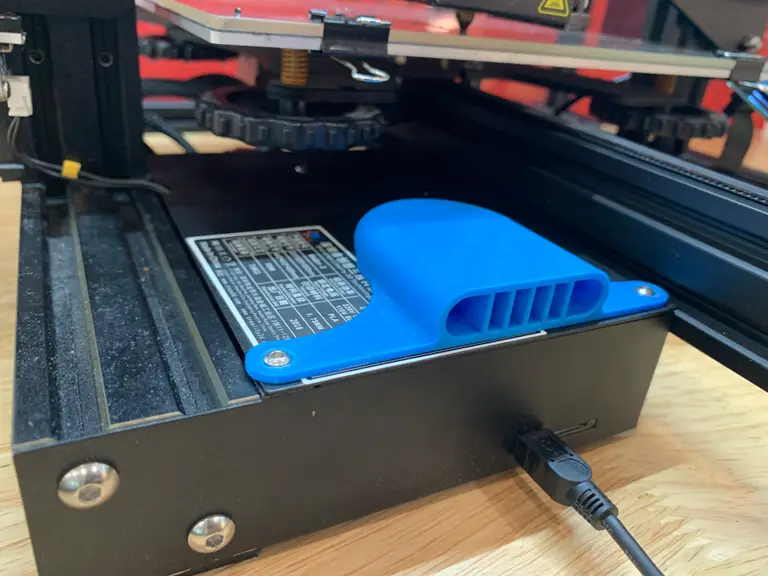
Reconnect the control panel fan to the only empty board connector.
Then, reattach the control panel cover using the three control panel cover screws. The longer screw goes in the back.
9 – Run a test print
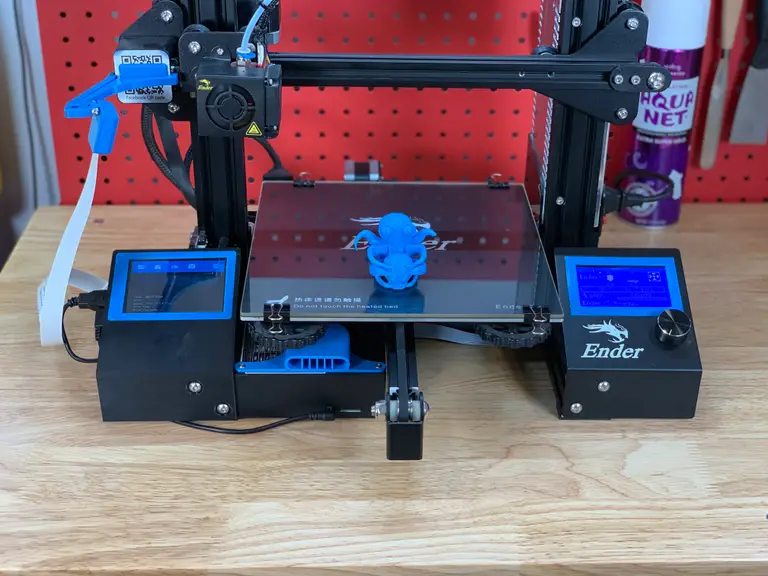
Power on your printer and run a test print to make sure everything is running smoothly. If it isn’t, remove the cover and inspect your wiring.
10 – Next: Check and update firmware
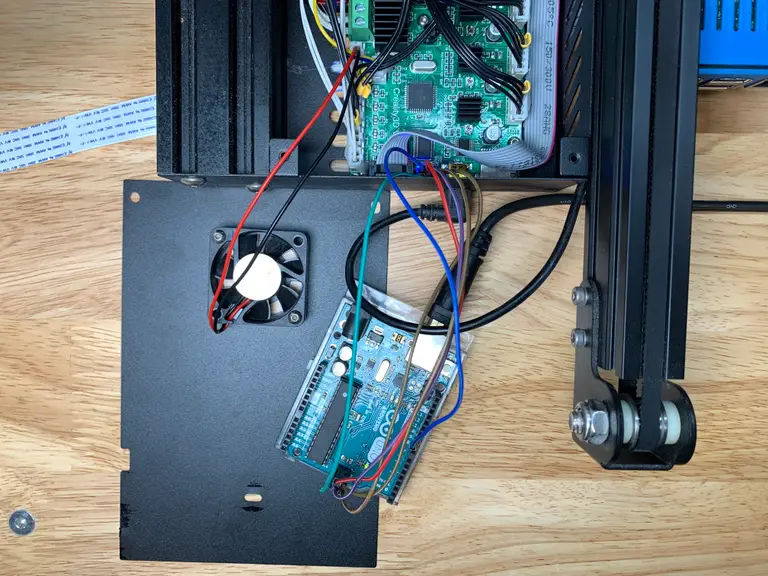
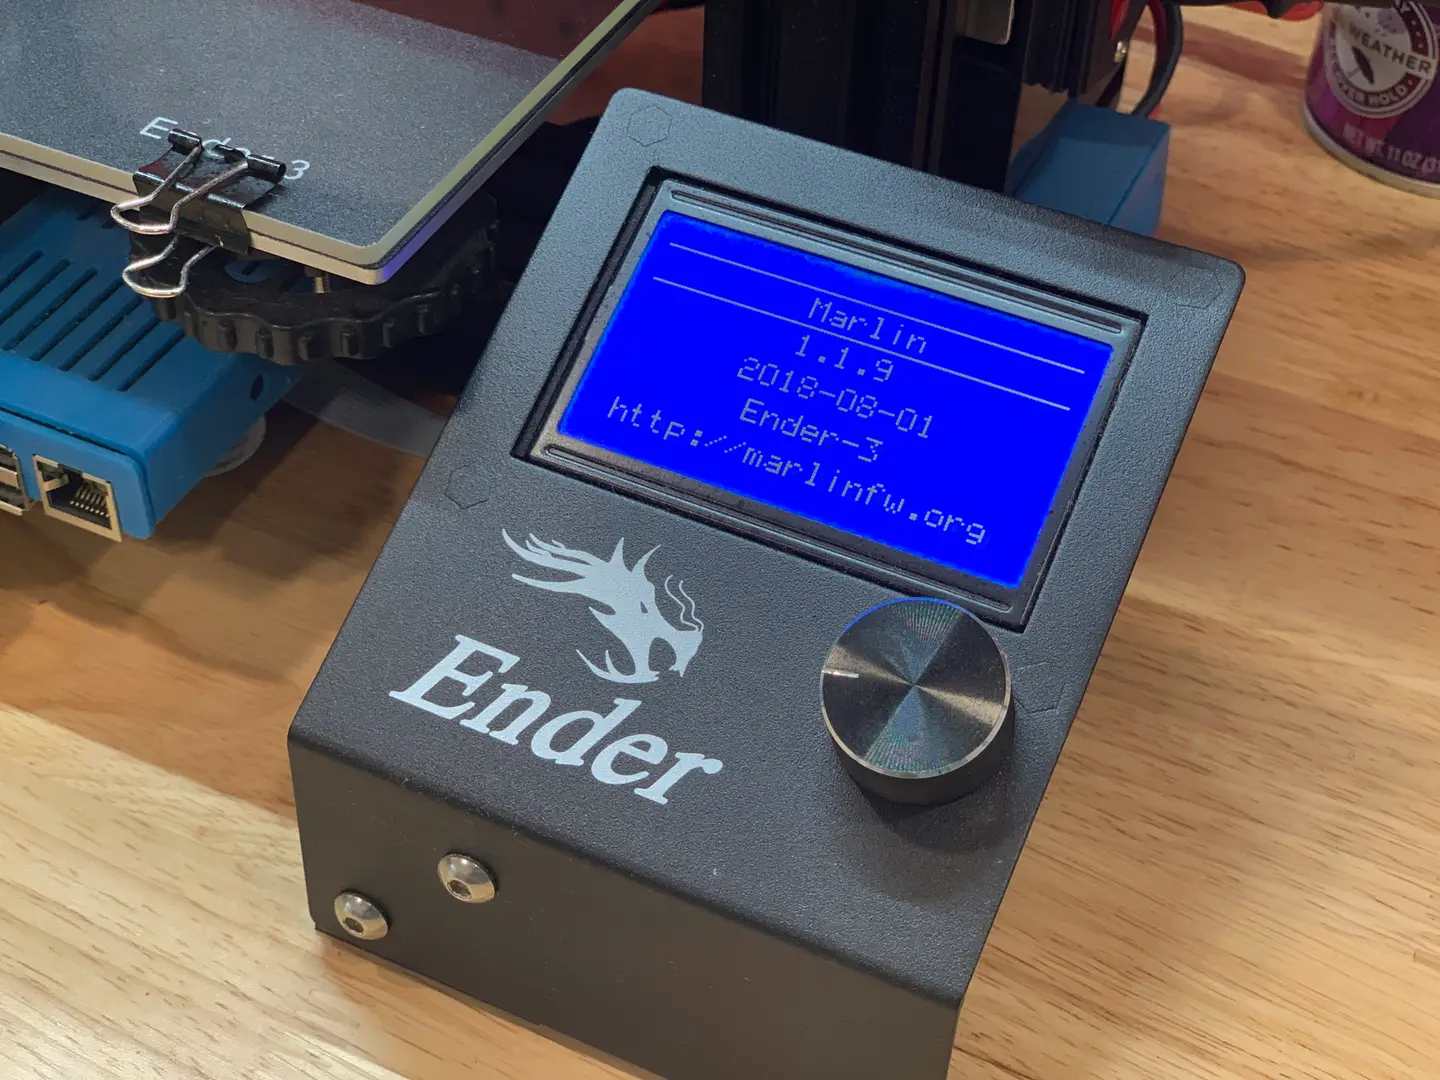
This version of the board is supposed to ship with an updated Marlin firmware version (v1.1.8) that adds thermal runaway protection. You can verify this in the printer menu by selecting the About Printer menu item.
If your board shipped with an older firmware version, or if you’d like to update your firmware to the latest version (v1.1.9+), check out my Ender 3 firmware update guide!

Ender 3: How to Install a Bootloader and Update Marlin Firmware
Update your 3D printer’s firmware and add thermal runaway protection.
Spring upgrade
If you’re looking for another upgrade, I recommend upgrading your Ender 3 springs for under $10.

Ender 3 Spring Upgrade: Choosing and Installing New Bed Springs
An inexpensive upgrade that greatly reduces bed leveling frequency!

