How to Add an OctoPrint Touchscreen to Your Ender 3

Share
What you'll need
Interests
Series


Posted in these interests:

This guide will teach you how to add a touchscreen to your Creality Ender 3 or Ender 3 Pro for use with OctoPrint. A touchscreen is an inexpensive 3D printer upgrade that will save you time and headaches when using OctoPrint.
I’ll be using a 3.5″ Adafruit touchscreen for this guide, but you can use a different one. Check out our list of great Raspberry Pi touchscreens for ideas.

The Best Raspberry Pi Touchscreens (2022)
An awesome touchscreen > a standard monitor when it comes to Raspberry Pi.
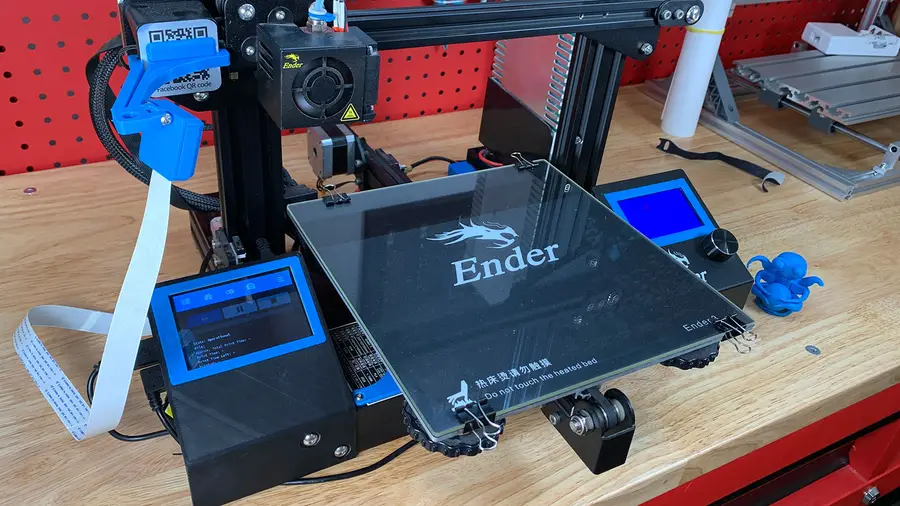
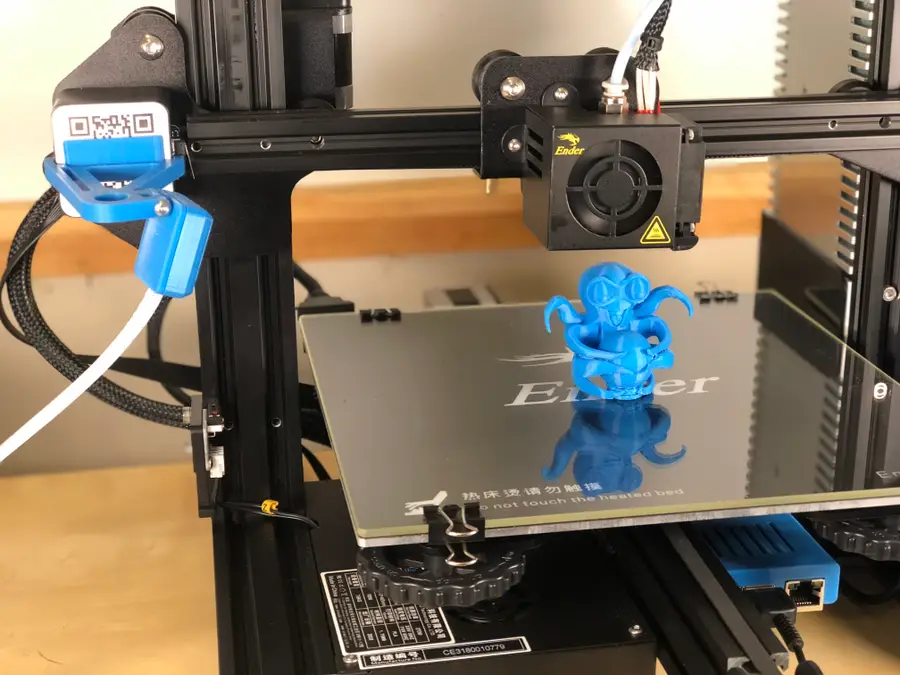
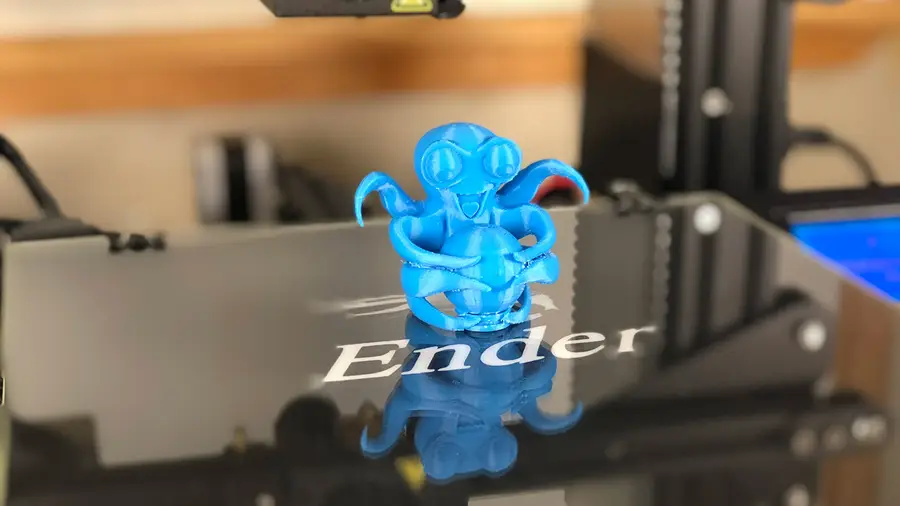
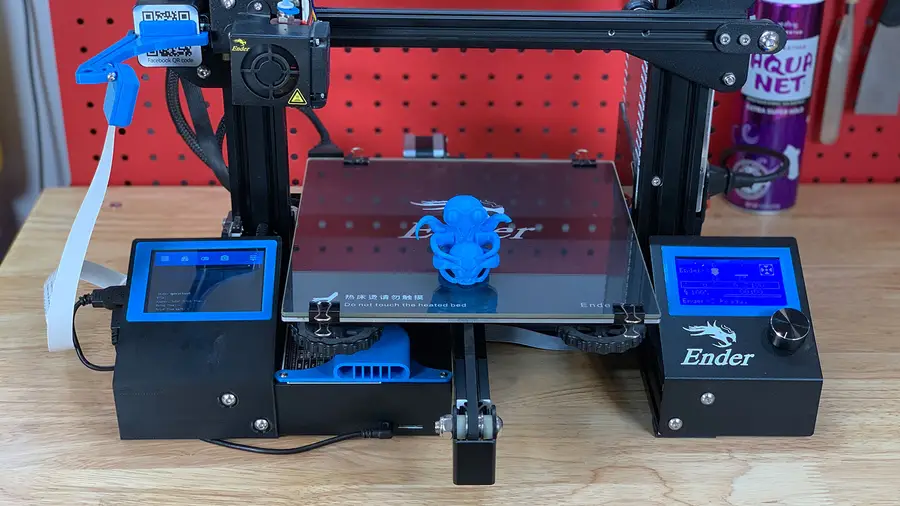
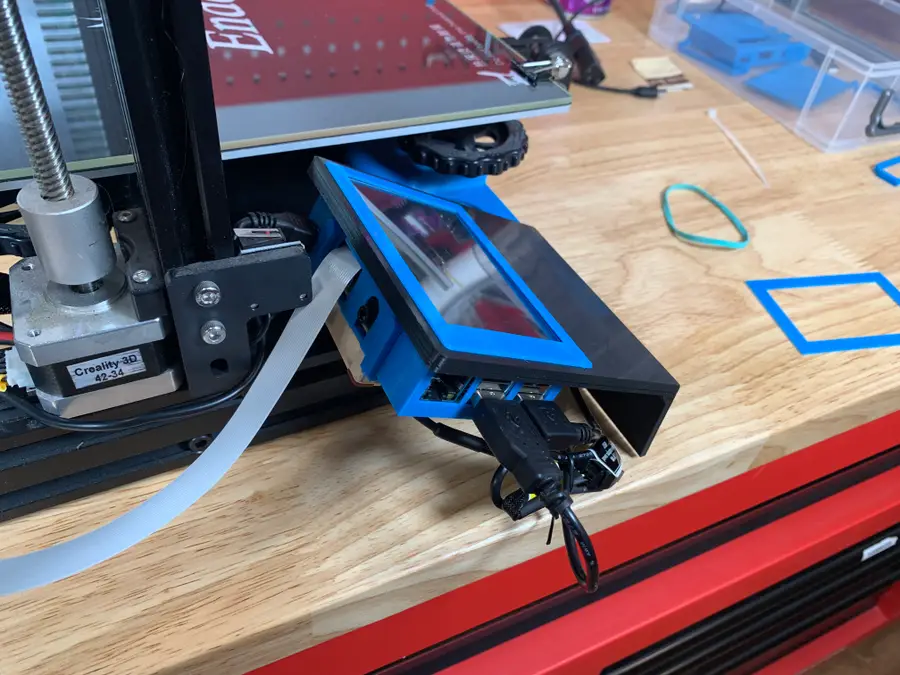
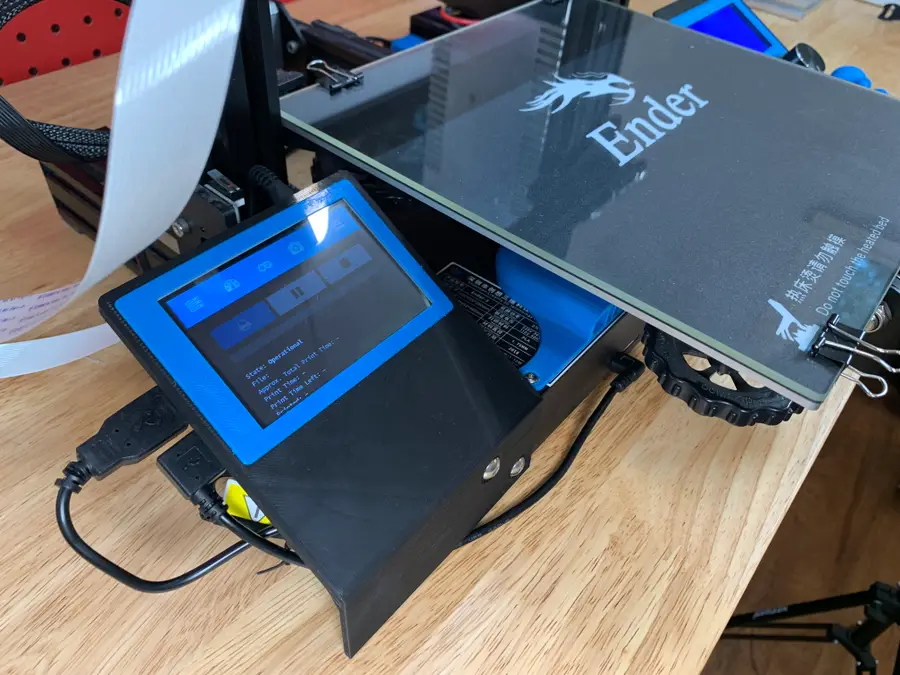
1 – The completed project
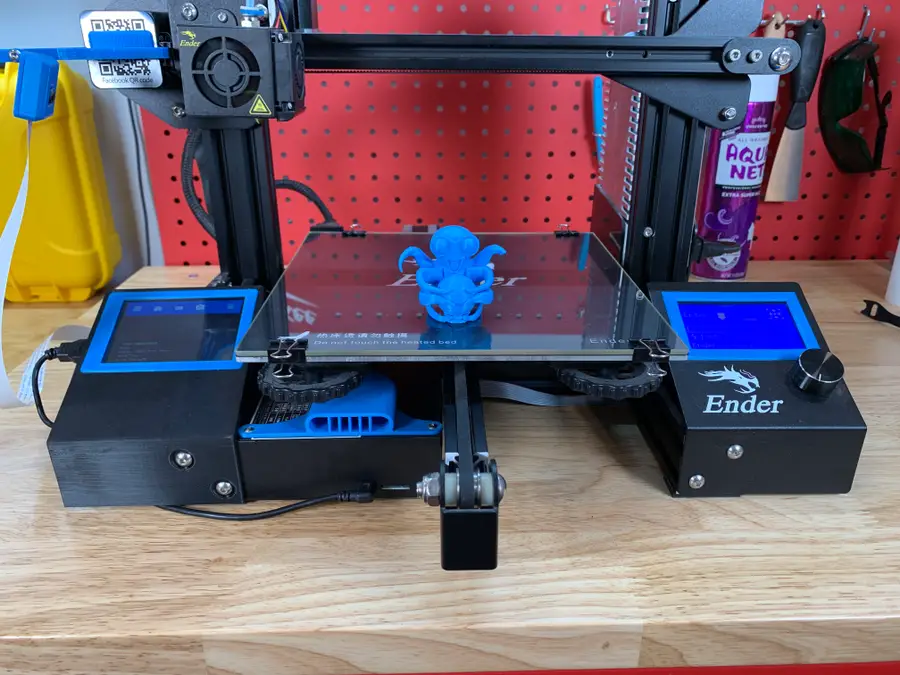
As is the norm, here’s a completed photo of the Ender 3 touch screen setup.
2 – Print the parts
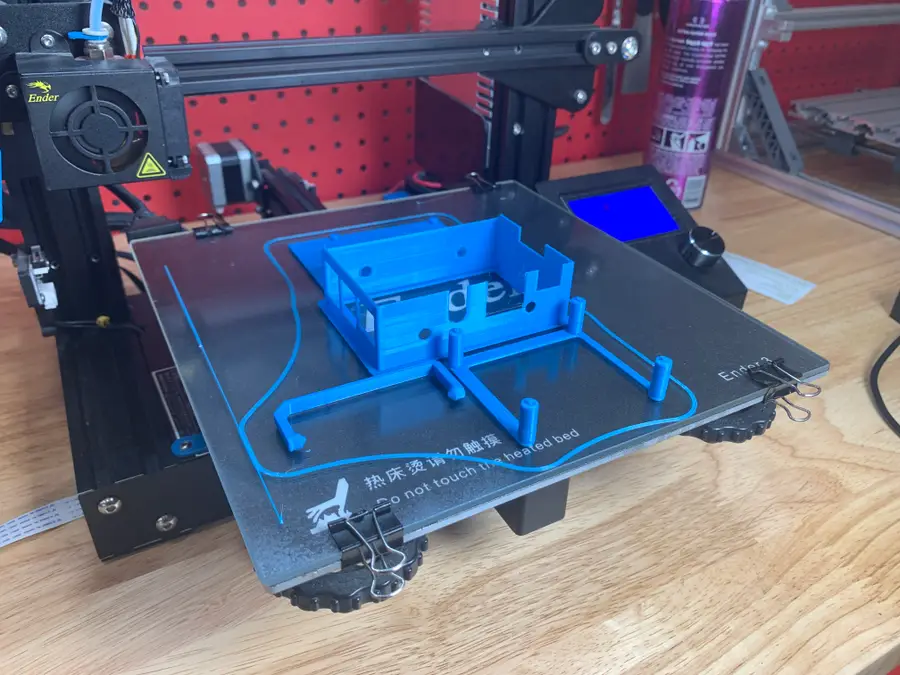
The best model I found for the 3.5″ Adafruit touchscreen I’ll be using is by designer Tronnic. It mounts to the lower-left aluminum extrusion on the Ender 3, resulting in a symmetrical addition that looks like it came from the factory.
Download the model from Thingiverse and print the following:
| QTY | File |
|---|---|
| 1 | 0_Ender3_Touchscreen_Holder_Base.stl |
| 1 | 1_2_Ender3_Touchscreen_Pi_Case_no_letters.stl |
| 1 | 2_1_Ender3_Touchscreen_Pi_Back_40mm_Fan.stl or 2_Ender3_Touchscreen_Pi_Back.stl* |
| 2 | 3_1_Ender3_Touchscreen_Pi_Clamp.stl |
| 1 | 5_Ender3_Touchscreen_Support.stl |
| 1 | 6_Ender3_Camera_Bracket |
* If you decide to add a fan to your enclosure, I recommend printing the 40mm fan back. Otherwise, print the blank back.
Raspberry Pi 4
If you’re using the Raspberry Pi 4 for OctoPrint, be sure to print this remix as well.
Print settings
For the main holder base/bracket, I recommend printing at least 50% infill. If you’re using Cura, I recommend the “Gyroid” infill pattern. I printed with 15% “Cubic” infill originally, and the weight from the Pi and fan caused slight sagging.
If you like perfect symmetry, I recommend you also print this separate screen surround to border the original Ender 3 screen.
| 🛈 You can print all the files without supports by orienting them correctly. |
3 – Install OctoPrint
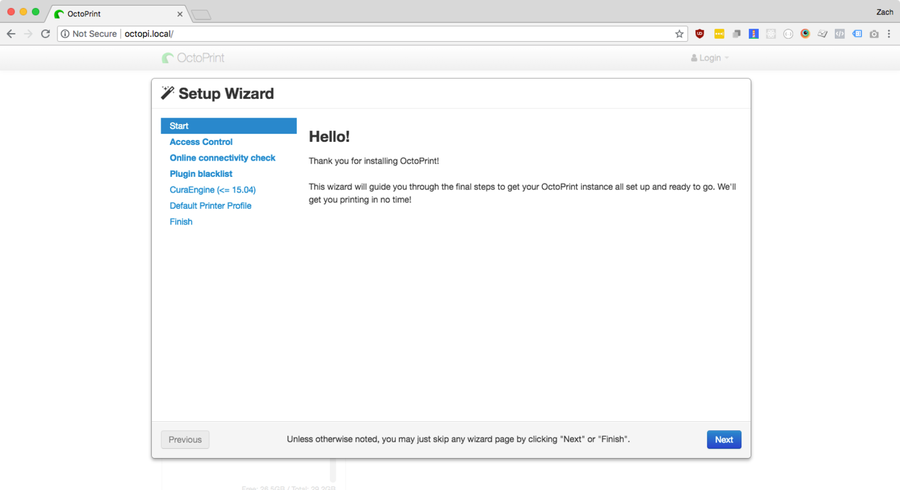
If you haven’t installed OctoPrint yet, use my guide to set up OctoPrint on the Ender 3.

How to Set Up and Use OctoPrint on the Creality Ender 3
Control your Ender 3 remotely.
4 – Set up the touchscreen

I wrote a separate, full guide on adding an OctoPrint touchscreen to any 3D printer. Use that guide to configure the screen to work with OctoPrint, then return here for Ender 3-specific instructions!

How to Add an OctoPrint Touchscreen to Any 3D Printer
An inexpensive upgrade that improves the printing experience
I also made an OctoPrint touchscreen video in case you prefer to learn that way:
5 – Attach the camera
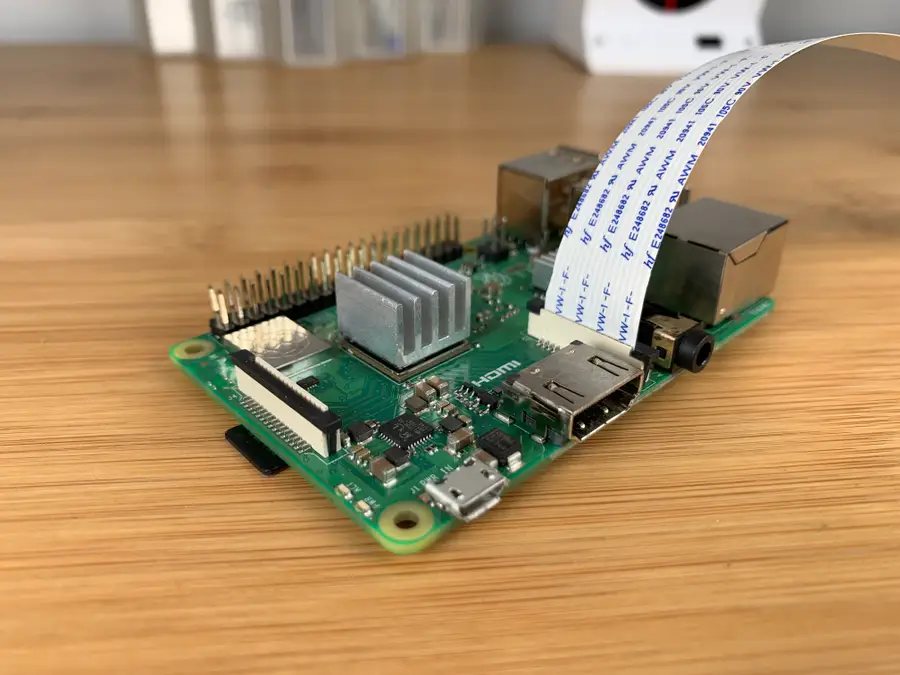
Attach your camera ribbon cable to the Raspberry Pi, routing it above the HDMI connector.
| 🛈 Don’t bend the cable too much or you may damage it! |
6 – Connect the screen to the Pi
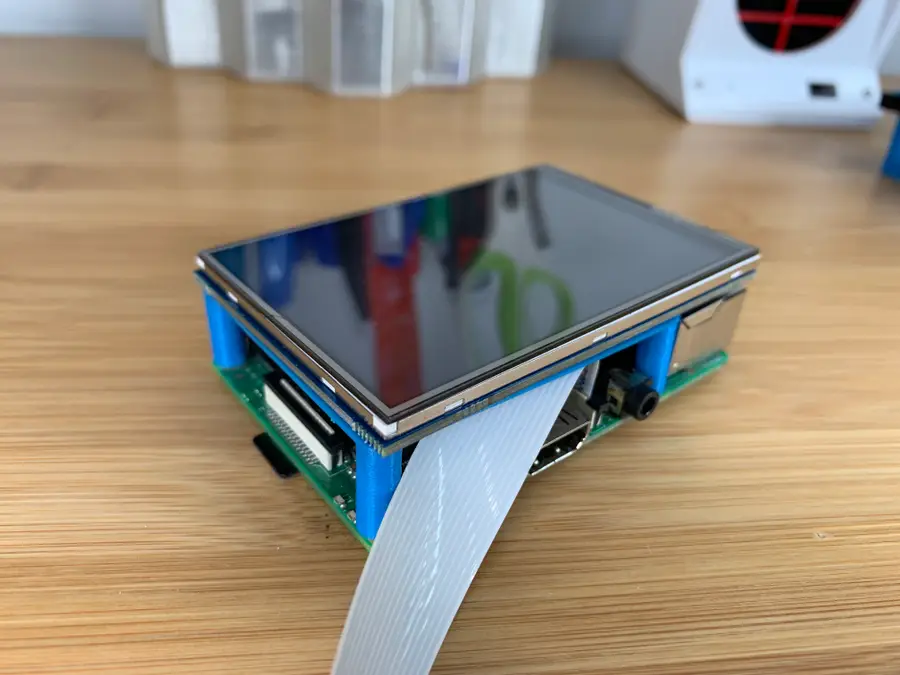
The “support” model you printed is used in place of standoffs. Insert it between your screen and the Raspberry Pi and slide the screen onto the Pi’s GPIO header.
| 🛈 If your screen came with standoffs and they’re about the same size as the support model, I recommend using those instead. |
7 – Insert the case into the main frame/holder
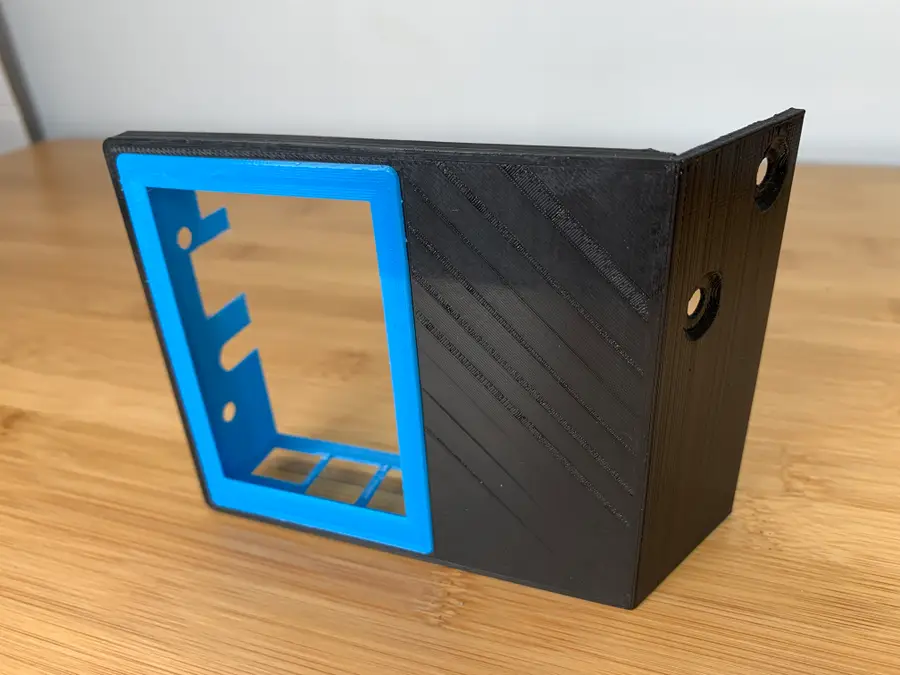
Slide the case into the main frame that will connect to the Printer. Orient it so that the “thicker” part of the frame is to the left.
| 🛈 Be careful! The case is VERY thin and easy to break. Once everything is assembled, it’s quite sturdy. |
8 – Slide the Pi into the case
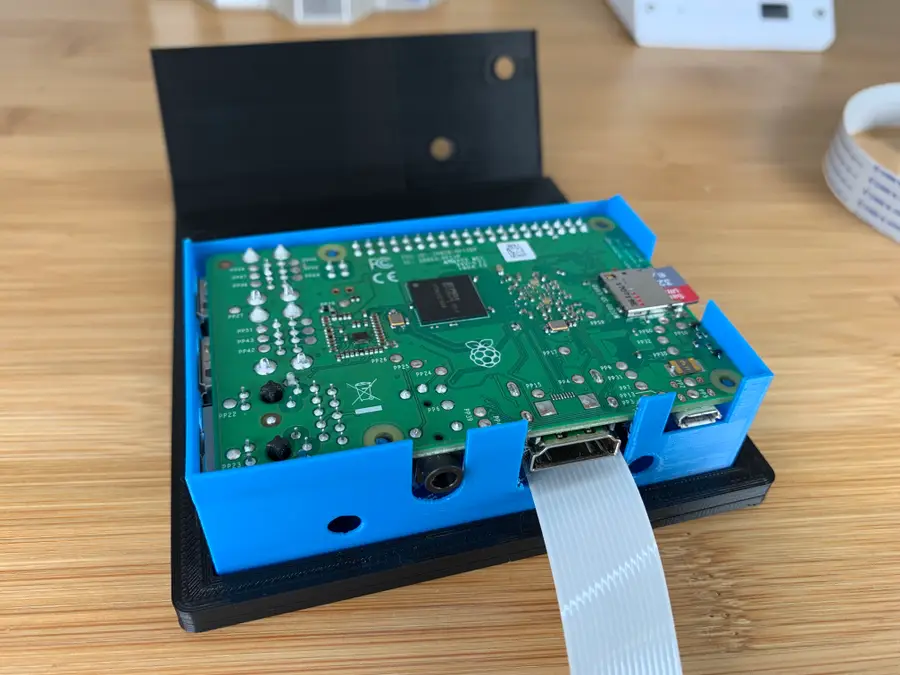
Insert the Pi into the case and ensure there’s a snug fit.
If your touchscreen came with 4 small perforated tabs on the corner, you may need to snap them off with a pair of pliers to make the screen fit in your case—I already did this before taking this photo.
| 🛈 Be careful—the case is super thin and easy to break. Once it’s assembled it’s much sturdier. |
9 – Secure the fan (optional)
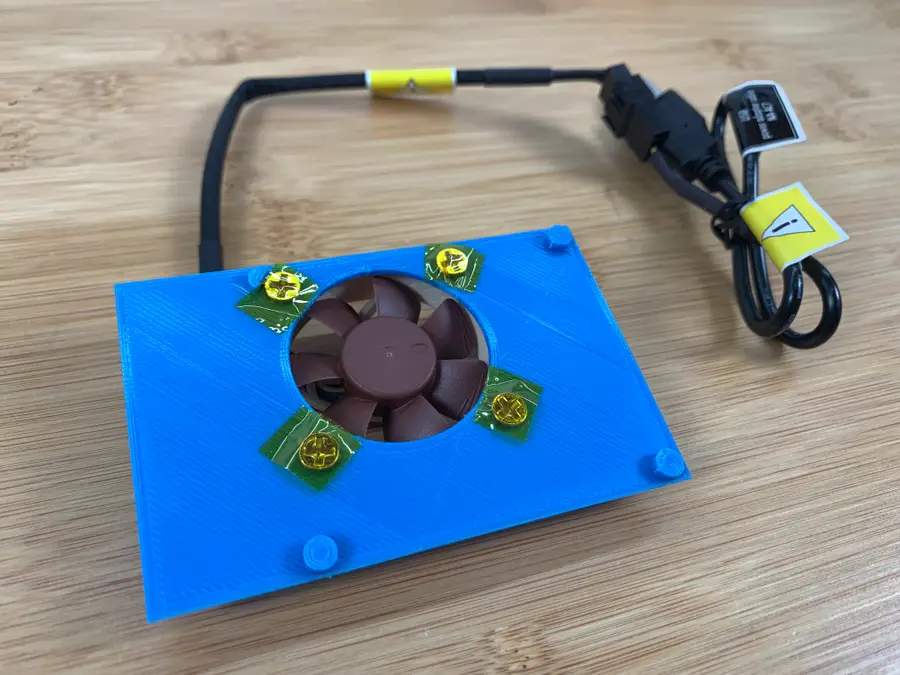
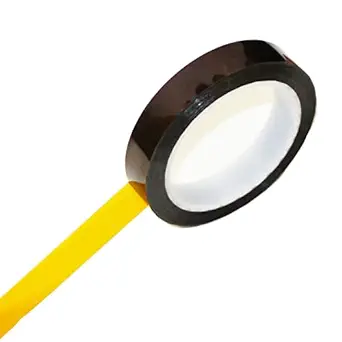
Using this 40mm USB fan is optional but recommended. It’s only $10, so I decided to do it just to ensure I always get the highest quality prints possible. Using the included screws, mount the fan so that it sucks air away from the Pi (blowing out the back). Cover the screws with Kapton tape to prevent shorts.
| 🛈 If you’re handy with a soldering iron, I recommend shortening the USB cable to make things neater. |
10 – Secure the back plate

Secure the fan or non-fan backplate using the two clamps you printed. If you aren’t using a fan, use the blank backplate instead.
| 🛈 Be careful not to snap the edges off of your case when you connect them! The case is thin. |
11 – Mount the assembly
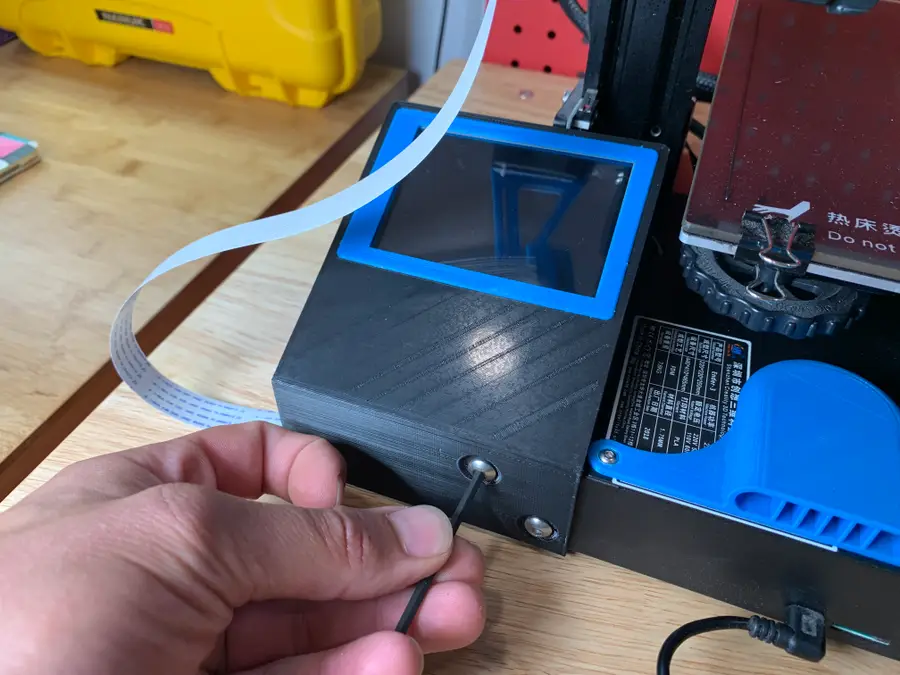
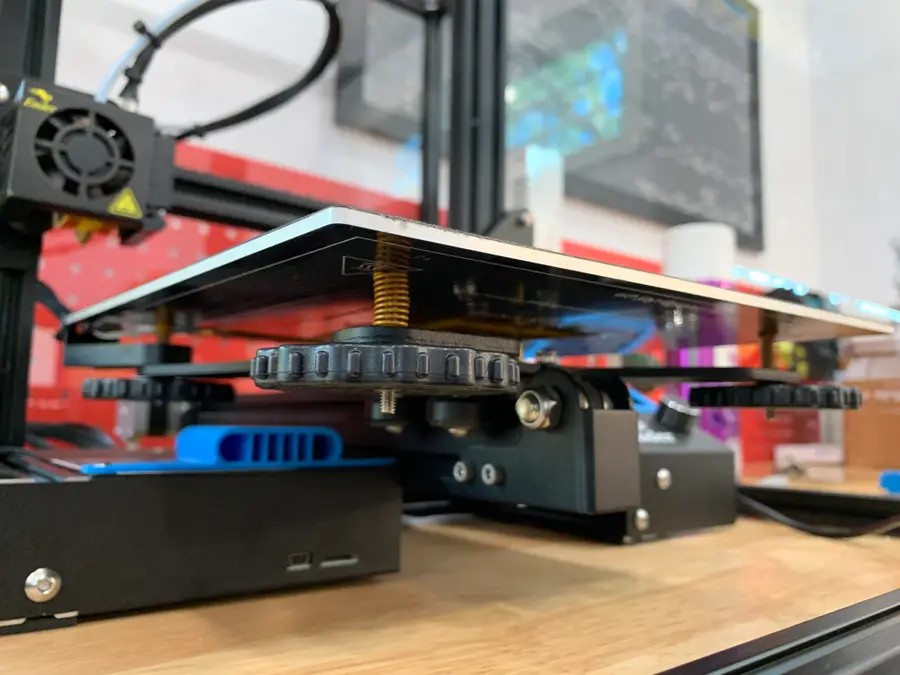
Remove the two screws from the lower left part of your printer and use them to secure the new touchscreen housing.
12 – Attach the new camera mount
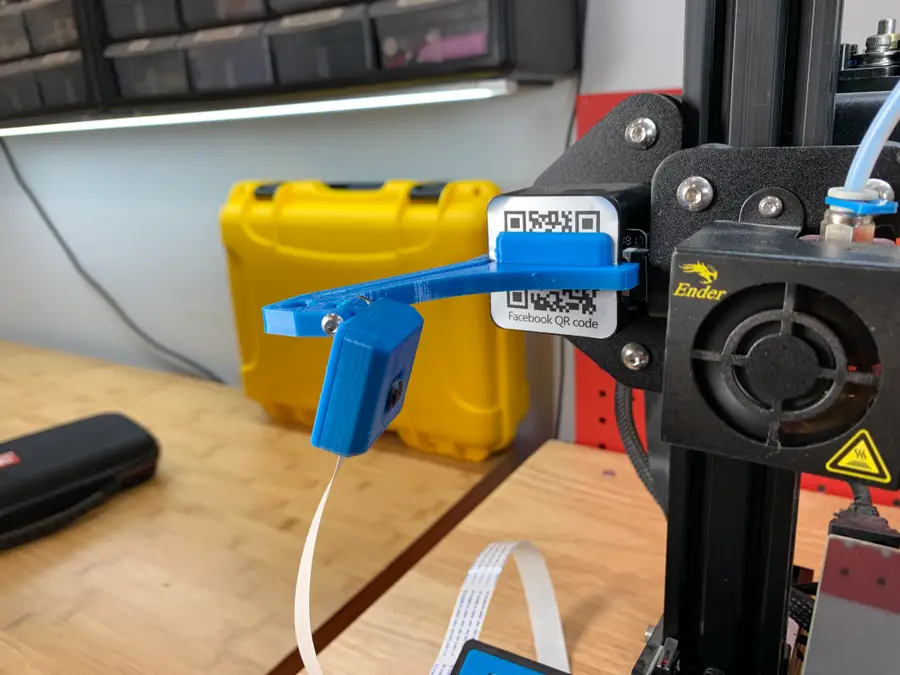
The old camera mount that most Ender 3 owners use will block the touchscreen. Tronnic was awesome enough to remix that original camera mount into one that won’t block the screen.
Swap the old mount out for the new one.
13 – Reroute your cables
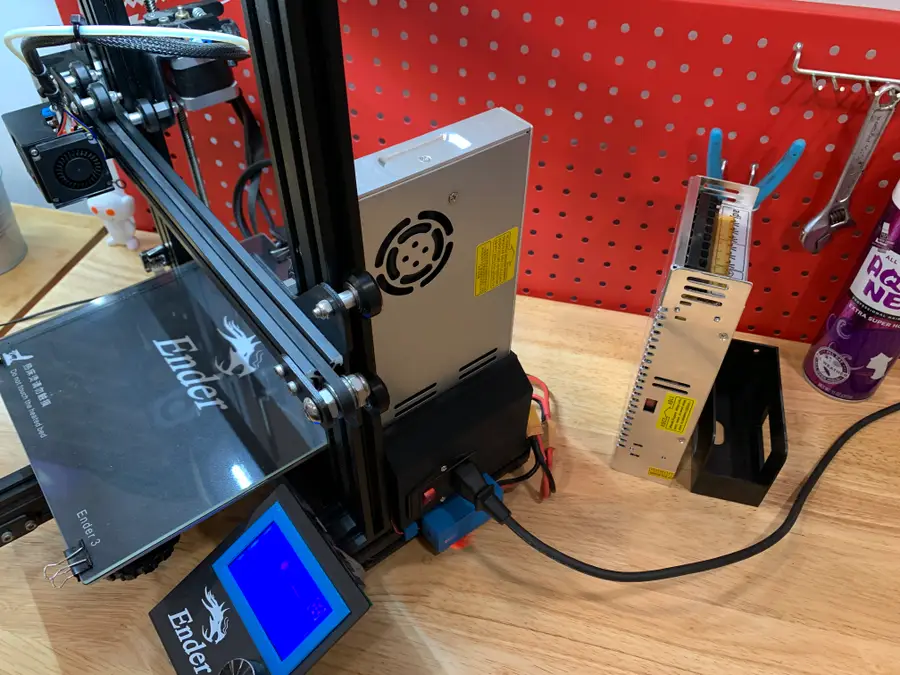
Reconnect your power and data cables to the Pi. If you’re powering your Pi from your 3D printer, you’ll probably need to solder a longer Micro USB cable to your buck converter or run a micro USB extension cable such as this one.

How to Power a Raspberry Pi from a 3D Printer Using Your Printer’s Power Supply Unit (PSU)
Who needs more power bricks?
| 🛈 Make sure the power cable routers downward and doesn’t obstruct the Z-axis limit switch! |
14 – Add the optional screen surround
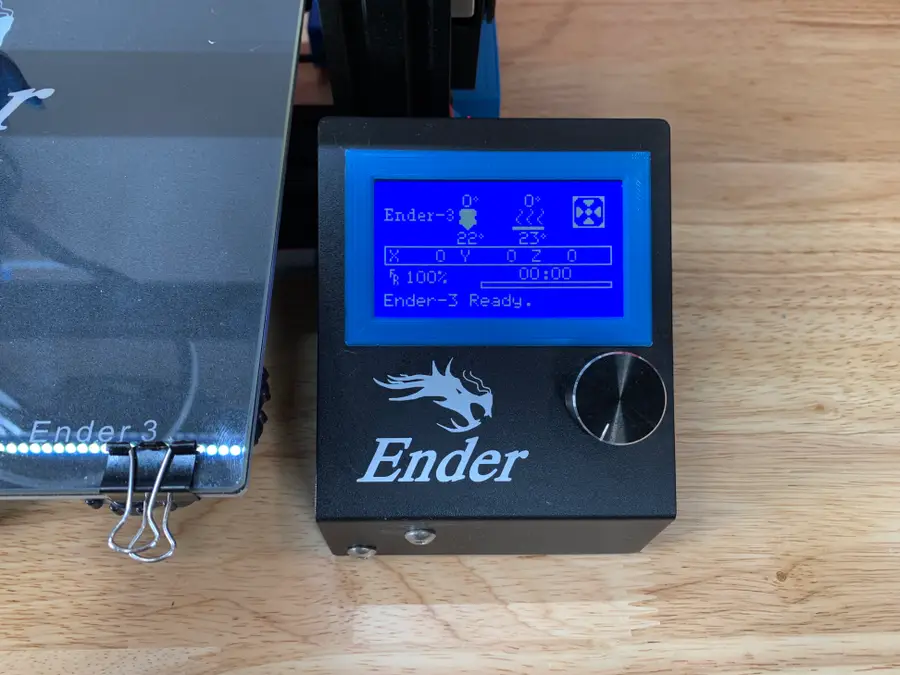
If you printed the optional screen surround for the original screen, mount it around the original Ender 3 using a bit of hot glue or foam tape. This makes things look a bit nicer and adds additional symmetry!
15 – You’re all done!
Your Ender 3 now has an awesome touchscreen that you can use to control your printer.
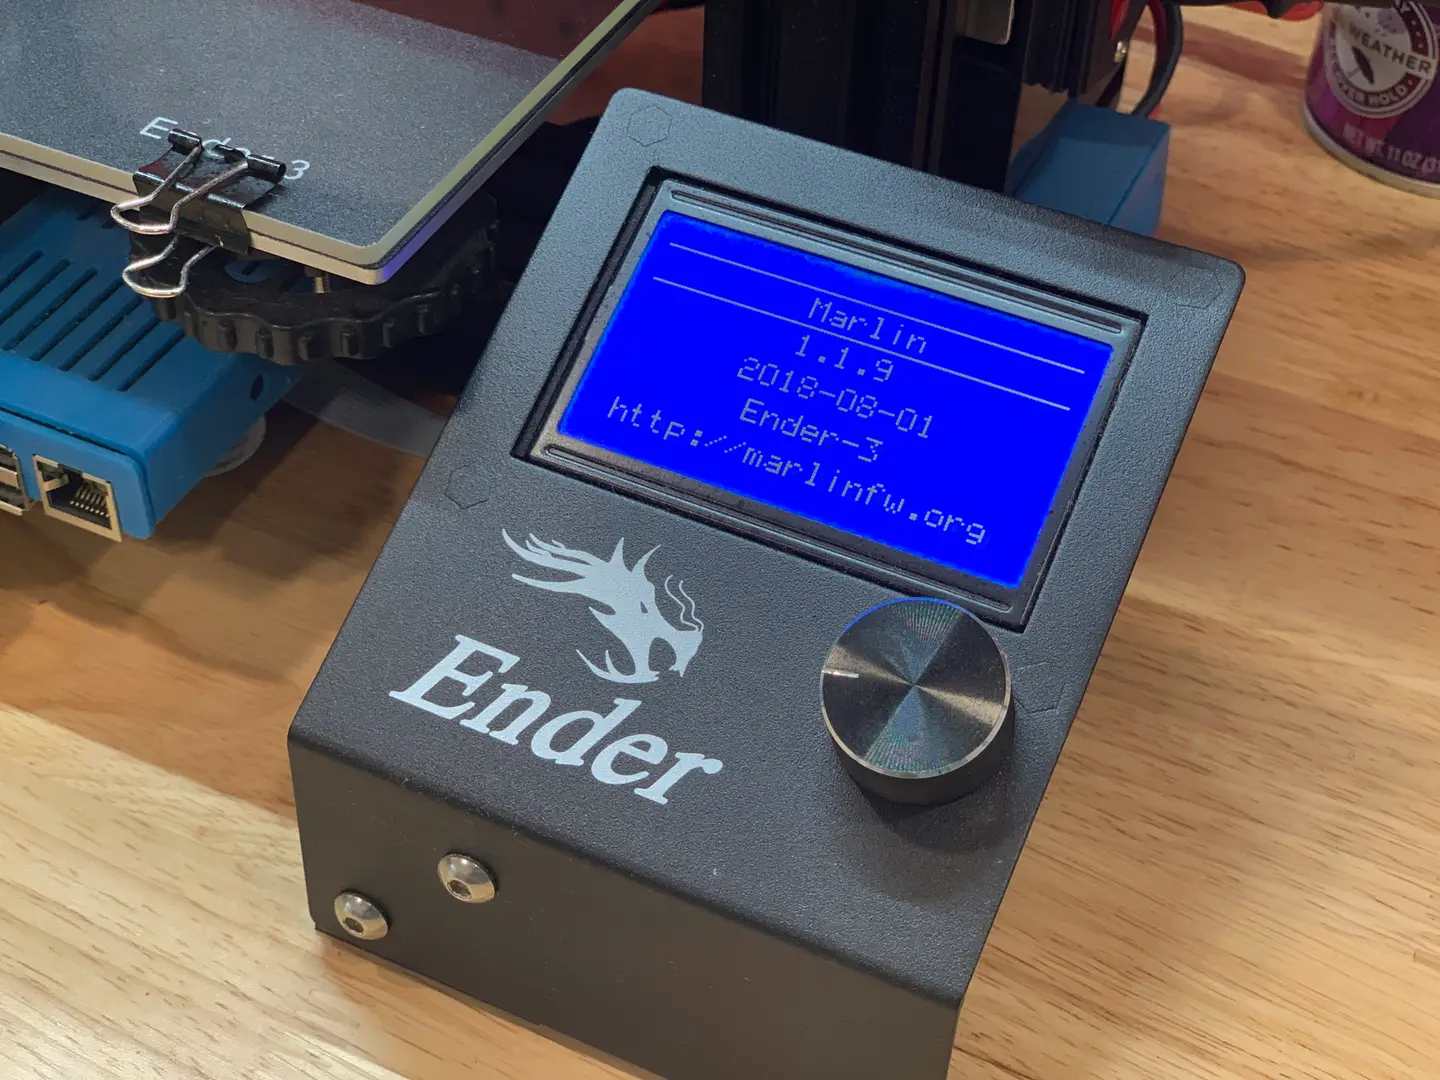
Next, update your Ender 3 firmware. Many Ender 3s shipped with unsafe, outdated firmware that lacks thermal runaway protection; thermal runaway is a leading cause of 3D printer fires. Updating your firmware only takes a few minutes and is an important safety upgrade!

Ender 3: How to Install a Bootloader and Update Marlin Firmware
Update your 3D printer’s firmware and add thermal runaway protection.