Ender 3 V2 Bed Spring Upgrade: A Necessary Mod for the V2
Share
What you'll need
Interests
Series
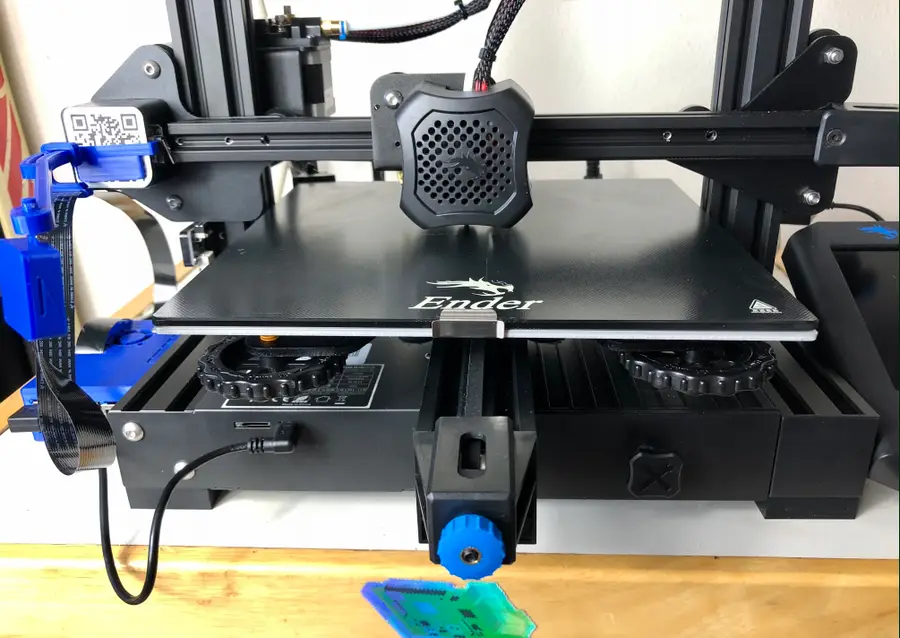
When I first received Creality’s new Ender 3 V2, fellow Howchooer and author of the previous Ender 3 and Ender 3 Pro springs upgrade guide, Zach, told me that the first thing I should probably do is upgrade the stock springs that come with the V2.
After about a month of using the Ender 3 V2’s stock springs, I wish I had heeded his advice and switched out the springs right away. The stock Ender 3 V2 springs are really bad. Since upgrading to the new springs, the bed stays much more level between prints. Even more importantly—the overall print quality is much better because the bed stays level during printing as well.
So now I’m asking you to heed my advice and upgrade your Ender 3 V2 springs ASAP. It’s inexpensive to get new springs and the upgrade itself only takes 5 minutes.
1 – Choosing springs
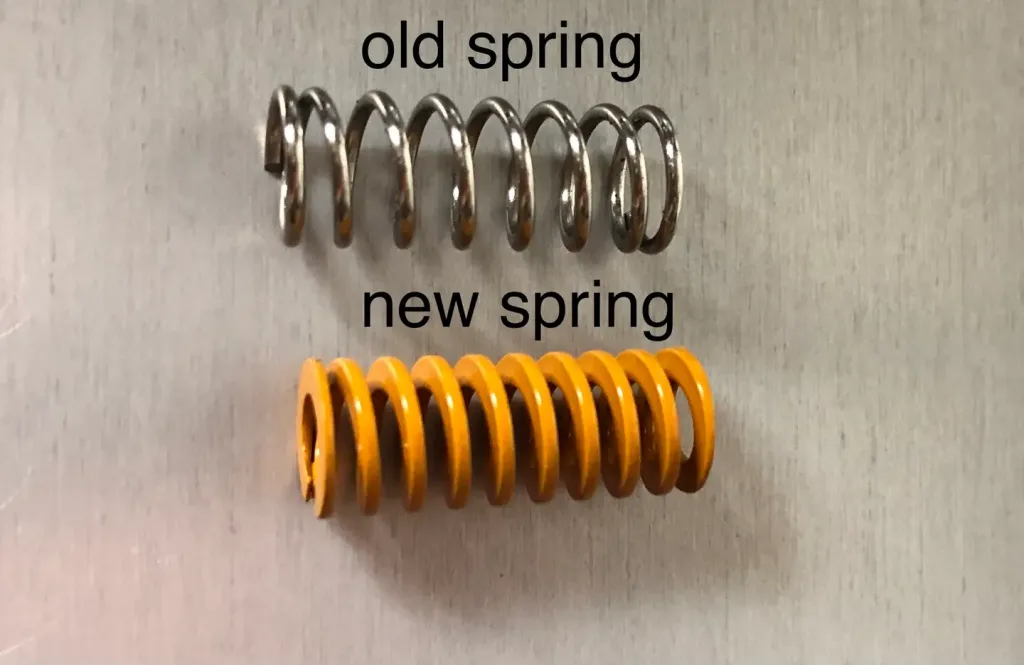
While we’ve done most of the work for you and selected an inexpensive, yet quality set of springs that you can choose, we’ll detail generally what’s being upgraded with the new Ender 3 V2 springs.
Length
The upgraded springs should be the same length as your previous springs, so you do not need to adjust the Z-axis limiter switch after installing them. For the Ender 3 V2, they should be 20mm.
Rigidity
The upgraded springs need to be more rigid than the originals so that they reduce the vibration during printing and increase the overall consistency of your prints.
Shape
The shape of the springs makes a huge difference when it comes to shifting during printing and spring movement. The springs we selected have a flat top and bottom versus the stock Ender 3 V2 springs rounded top and bottom. This greatly reduces the springs’ movement during printing.
Our choice
Again, here are the springs we’ve tested and recommend for the Ender 3 V2.
2 – Remove the old springs
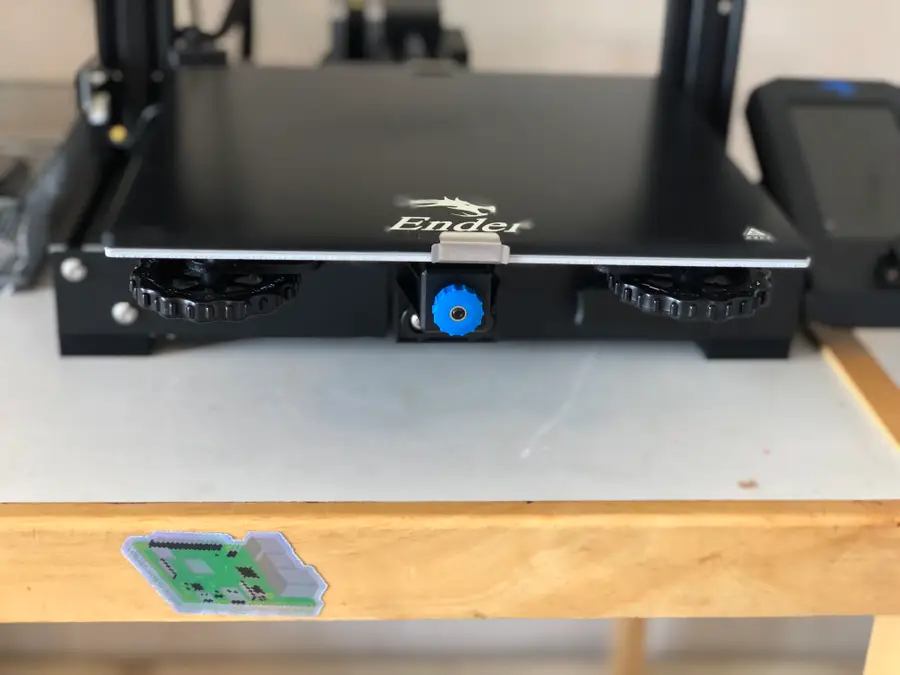
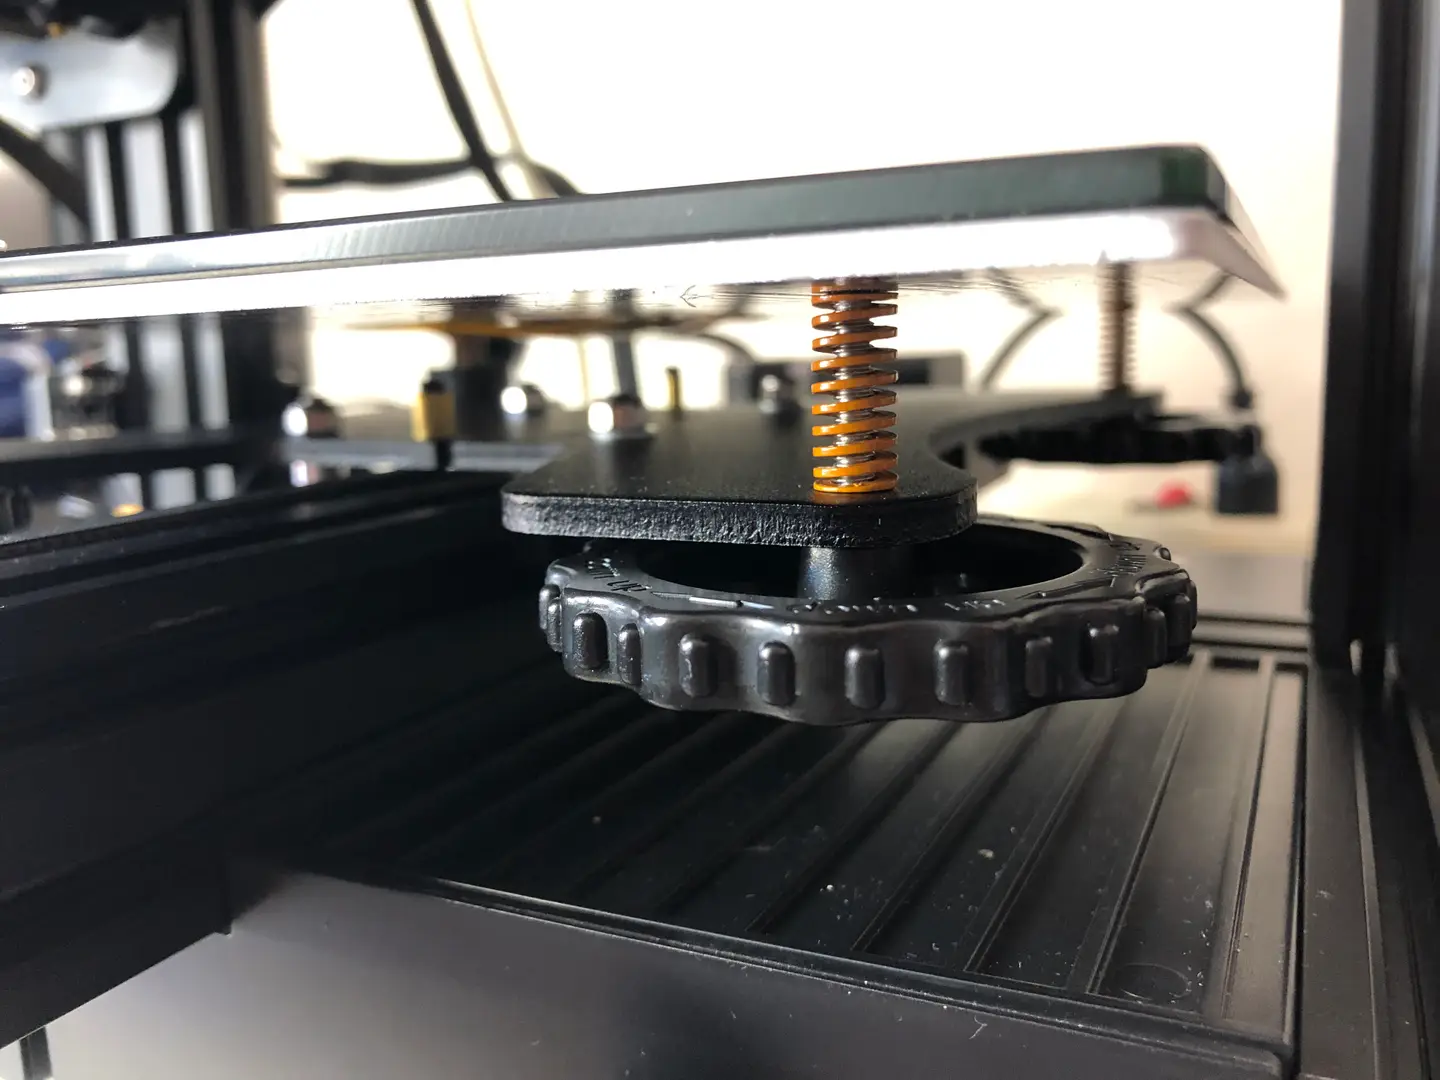
Turn each bed adjustment wheel clockwise until they are fully removed. Set the wheels aside.
3 – Install the new springs
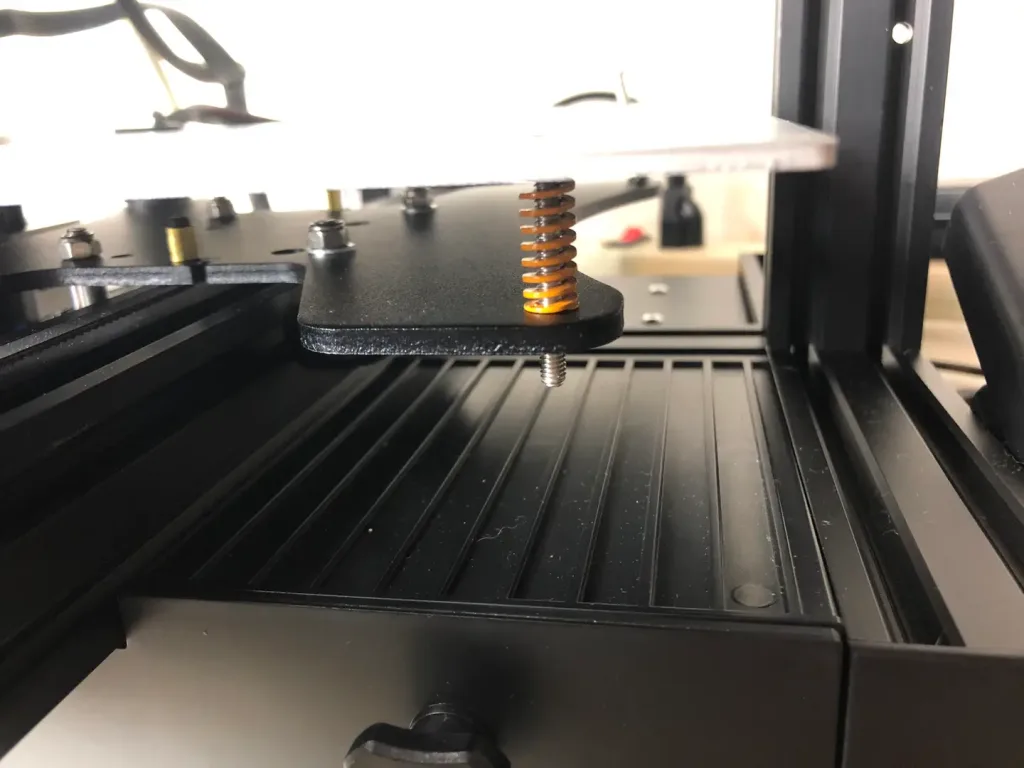
Do not remove the entire build plate so that you can avoid harming the heating element wiring at the back-left.
I recommend starting at the back-left for this.
Carefully, lift each corner enough to replace all four springs individually.
| 🛈 The back-left corner will prove tricky. Just take your time. Hold the new spring in place while re-inserting the bed screw. |
4 – Attach the knobs
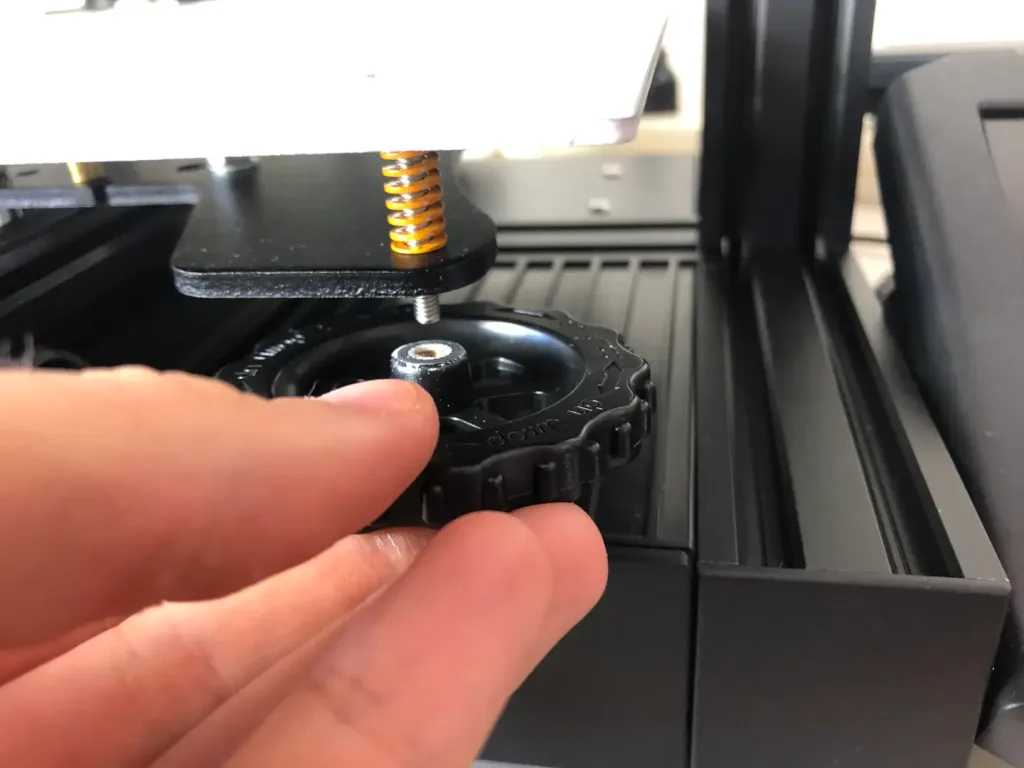
Only after you’ve replaced all 4 springs, should you reattach each knob to the bed screw. This time you will turn the knobs counter-clockwise to tighten them.
The new springs for your Ender 3 V2 will be much stiffer, which should be immediately noticeable upon tightening.
5 – Level the bed
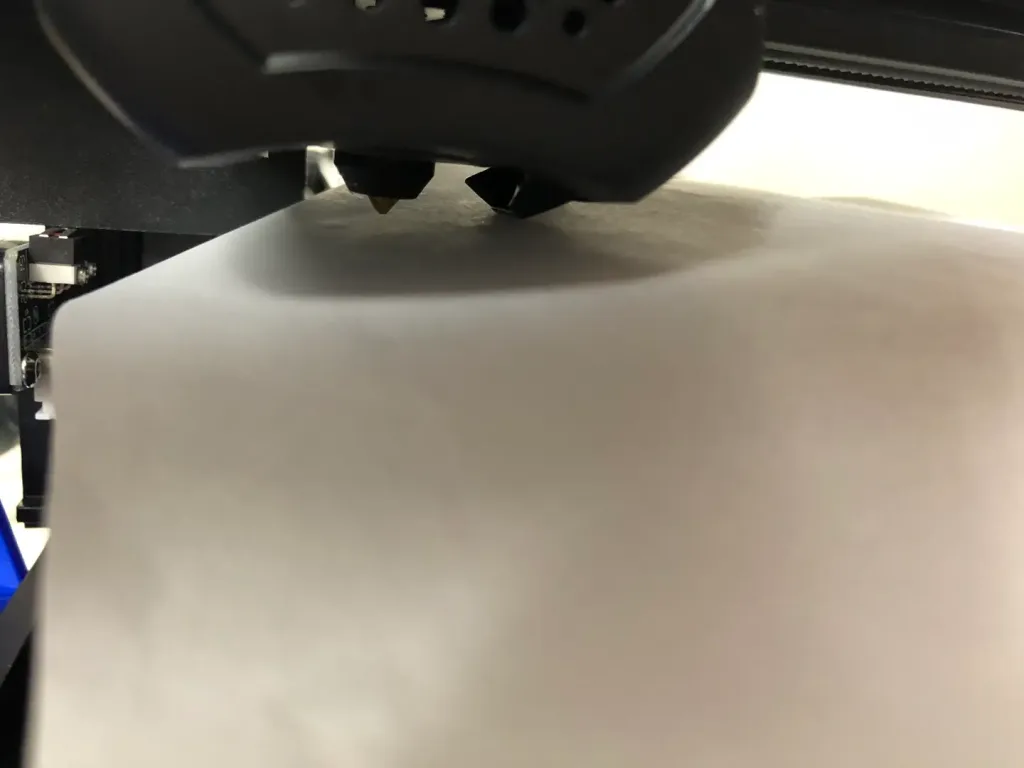
If you’ve been using the stock springs for any length of time, then you should know how to level your bed by now. Lucky for you, now you won’t need to level your bed between prints nearly as often!
Check out our guide on the best way to level the bed on the Ender 3 V2 if you’re relatively new to all of this!

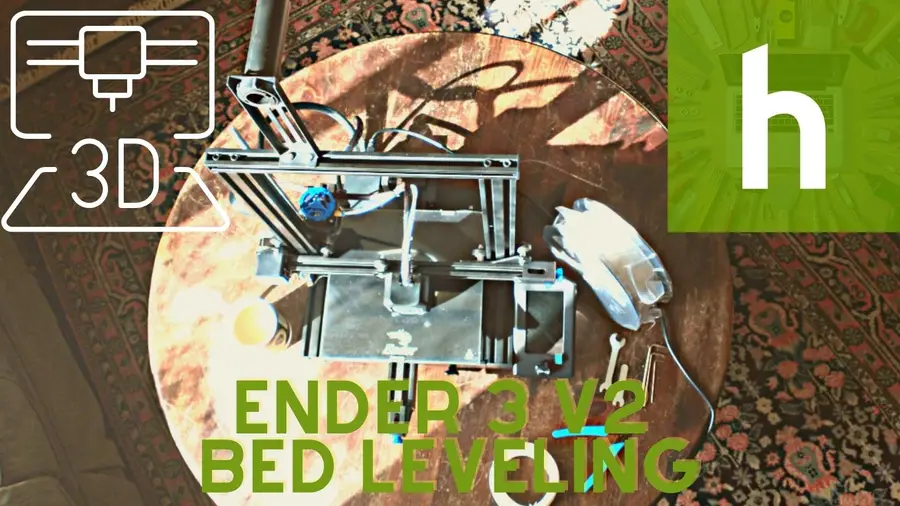
How to Level the Bed on Your Ender 3 V2
The first thing you need to learn how to do is level the bed.


