How to Install BLTouch on the Creality Ender 3, Ender 3 V2, and Ender 3 Pro

Share
What you'll need
Interests
Series


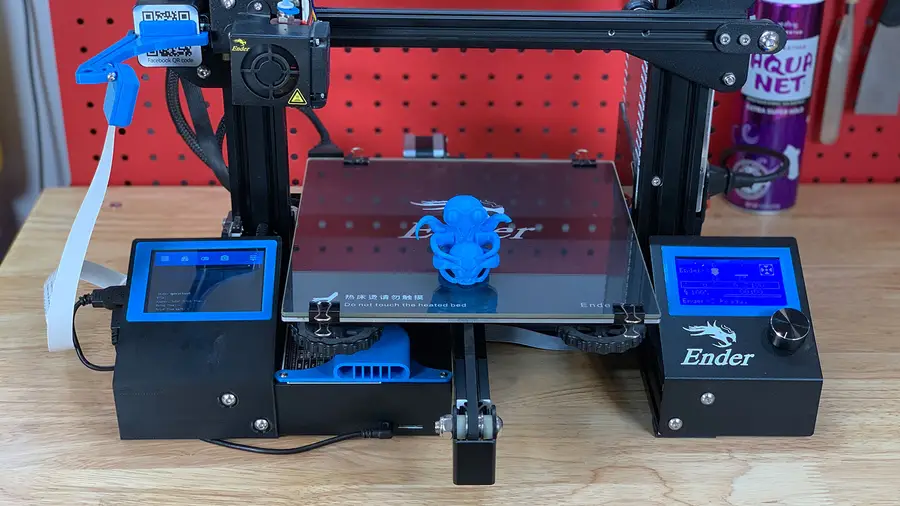
Remember the days when you found yourself hunkered down over your Ender 3, Ender 3 V2, or Ender 3 Pro with a sheet of paper in your hand, literally spinning your wheels? Was that yesterday? Well, with a BLTouch installed, it doesn’t have to be tomorrow! Forget about leveling your Ender 3 bed or adjusting a Z-offset ever again.
Setting up and installing the BLTouch on the Ender 3 V2 is made easier due to the ability to flash firmware onto the Ender 3 V2 via an SD card and the added support that Creality gives to the BLTouch now. But we’ll also show you how to set up the BLTouch on the Ender 3 and Ender 3 Pro.
Still, we found the process to be not-so-straightforward and a bit frustrating at times. (What serious upgrade for the Ender 3 isn’t?!) Because the V2 is so new, there’s very little information available on how to properly set up the BLTouch on the Ender 3 V2, and what is available is often so slight that it really wasn’t helpful at all.
That’s where we come in! In this guide, we’ll walk you through the process of installing and setting up your BLTouch auto-bed leveling sensor on your Ender 3-series printer, as well as anticipate any issues that may arise for you.
Ready to get started? Skip ahead to begin your BLTouch setup.
A note on the product used
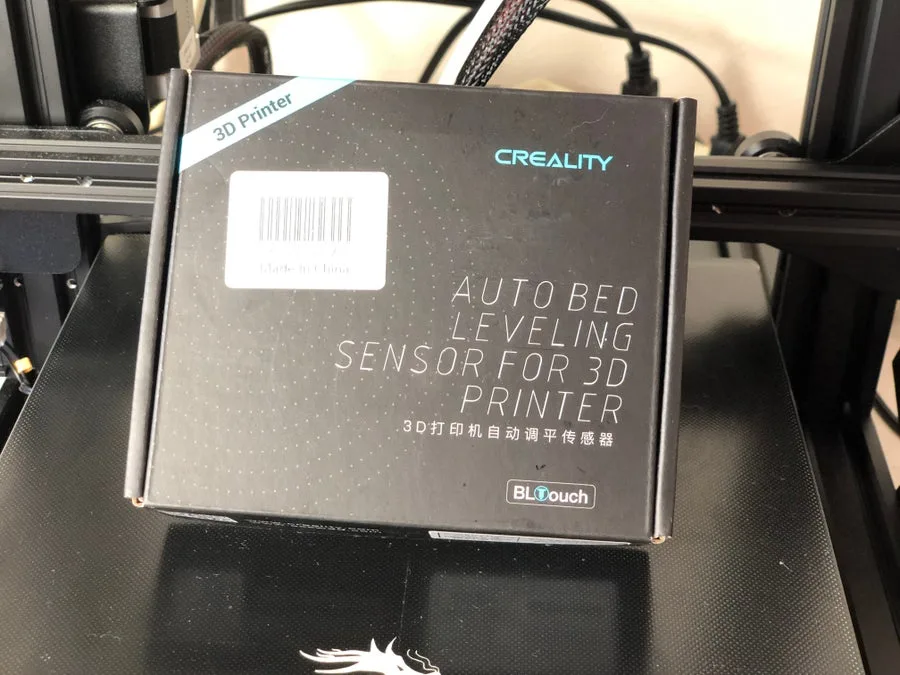
The BLTouch kit we used comes with EVERYTHING you need to install and set up the BLTouch on your Ender 3, Ender 3 V2, or Ender 3 Pro. It has a different bracket for each of the printers, so make sure to select the right printer on Creality’s website. You’re welcome to save a little money and buy everything separately, as well as 3D print the BLtouch mount—but, honestly, for the extra cost, it’s just easier to get the official Creality kit.
Will this guide work with different hardware?
Sure! If you already have your hardware, then the instructions below will absolutely still work. We’ll simply note slight changes if you’re using something different.
1 – How does BLTouch work?
It’s important to know a little about how the BLTouch auto-bed leveling sensor works with 3D printers like the Ender 3 V2 to understand the small adjustments you’ll need to make later on.
What is BLTouch?
First appearing in 2015, the BLTouch by Antclabs is an add-on electrical component for a 3D printer that uses a sensor stem to detect any tilt in the bed surface. It’s built to use very little power at idle and use so that it can be installed directly in the Ender 3’s motherboard, without any heat issues.
If you want to learn more about the BLTouch, here’s a nifty video from the creators themselves. This isn’t specific to the Ender 3 or Ender 3 V2.
What types of surfaces will it work for?
Any! The latest version of the BLTouch does not use any optical sensors or proximity sensors. Instead, it uses a plastic sensor stem that makes physical contact with the build surface so that any surface can be used.
BLTouch versus other auto-bed leveling methods
The main difference between BLTouch and other auto-leveling methods has to do with the kind of sensor used.
Other sensor methods
Other auto-leveling methods use an optical or proximity sensor to determine any inaccuracies in the slope of the build surface. Those methods have the benefit of being able to adjust while the printing is happening. But have the downsides of not working with certain bed materials and being expensive to repair.
BLTouch
With the BLTouch, you can use any type of bed and need only swap out the plastic nozzle if it’s damaged. There’s also a ton of support and articles that can help you if you run into trouble using your BLTouch.
2 – Choose your BLTouch and accessories
As stated above, we highly recommend you save yourself some hassle and go with the BLTouch kit we used for the install.
If using the BLTouch kit
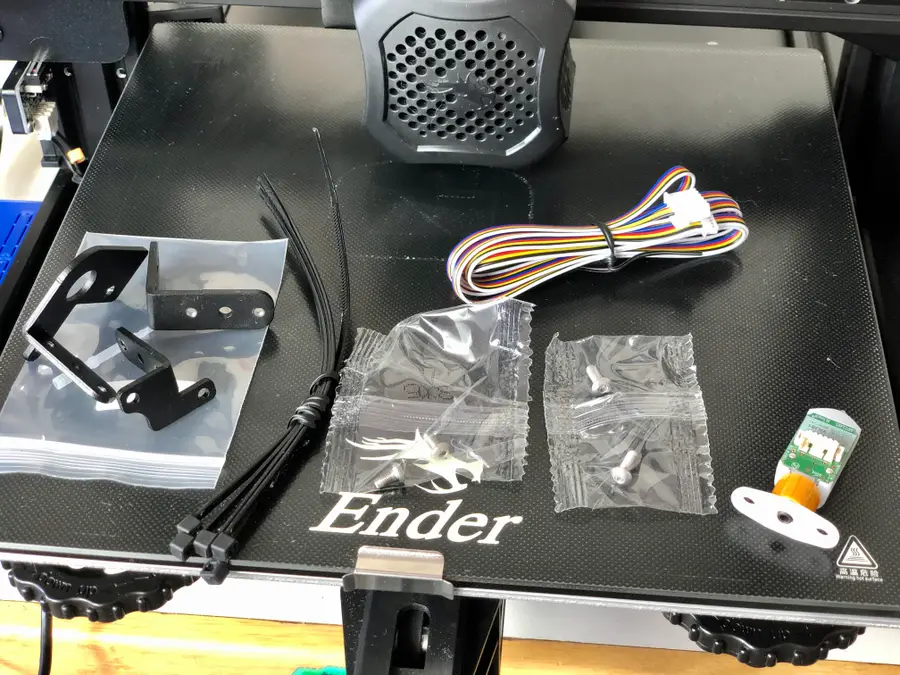
Again, it has everything you need to install the BLTouch on the Ender 3 V2, original Ender 3, or Ender 3 Pro. It includes:
- The BLTouch
- Extension cable
- Bolts
- Mounting bracket (for Ender 3 V2, Ender 3, and Ender 3 Pro)
- Zip ties for wires
- Replacement sensor stem for the BLTouch
If buying pieces separately
Below you’ll find links to each product you’ll need if you’re buying pieces separately.
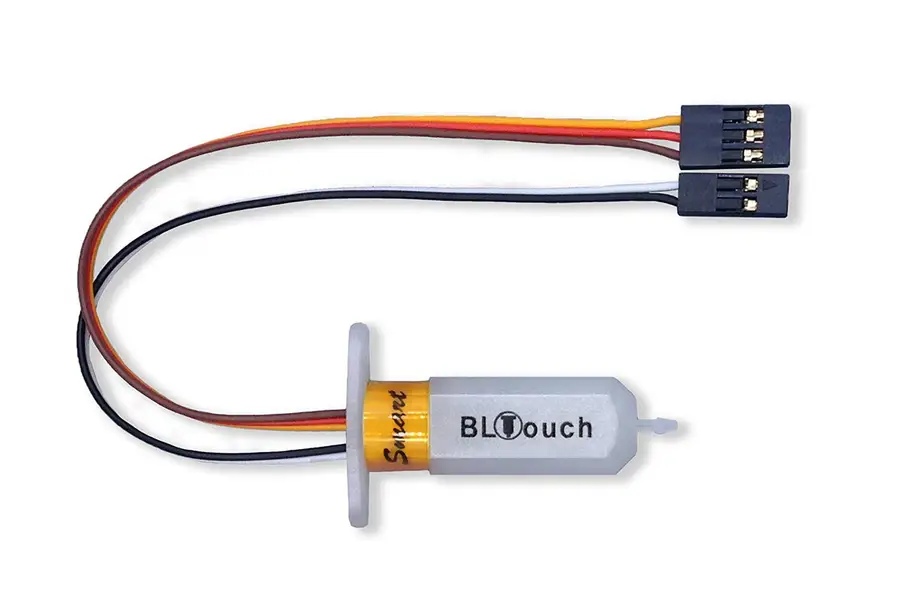
- BLTouch with extension cable (We use the latest version (V 2.0), which Creality supports directly with its firmware update.)
- Mounting bracket As of this writing, you can’t purchase a separate bracket for the Ender 3 V2, but you can 3D print one! (Make sure it’s the correct bracket for the Ender 3 V2! You’ll need different brackets for the Ender 3 or Ender 3 Pro.)
- 2 M2 x 6 + 2 M2 x 8 bolts (We linked to a small kit that includes the required bolt sizes.)
- Zip ties
3 – Unplug your printer
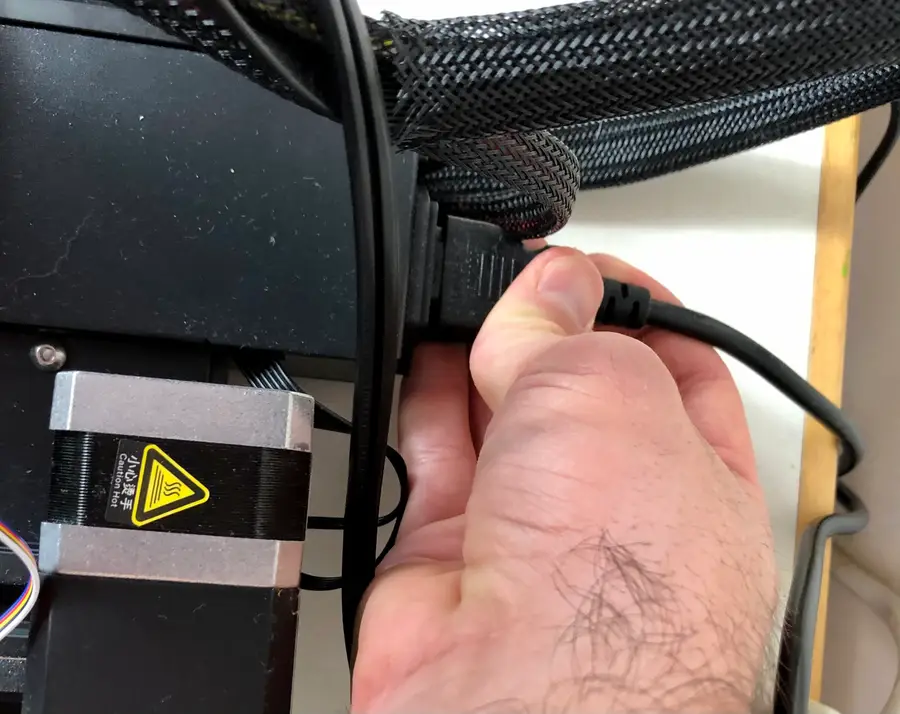
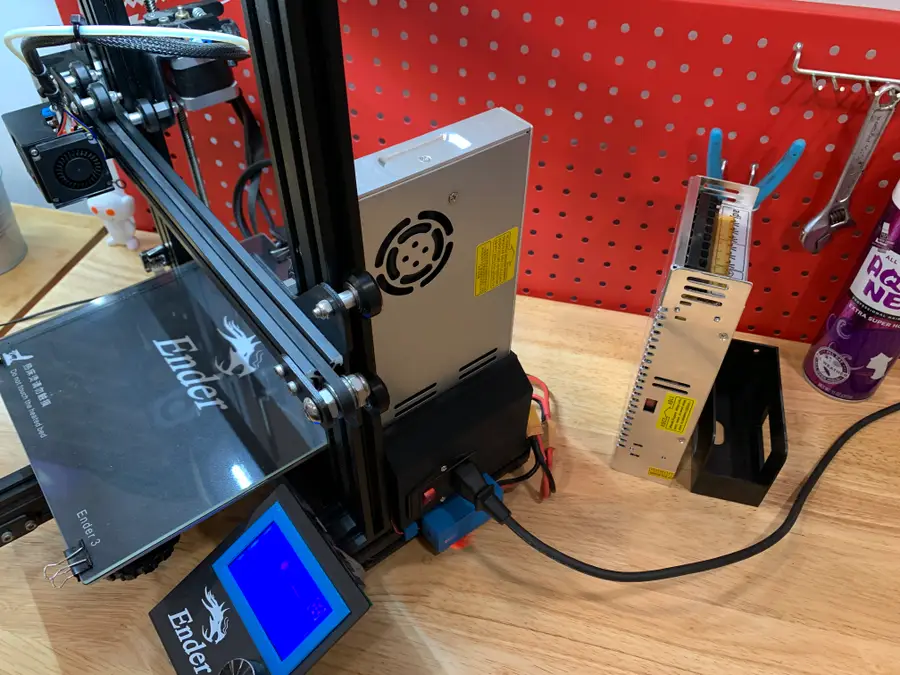
Because you’ll be working with the Ender 3, Ender 3 V2, Ender 3 Pro motherboard to install the BLTouch, you definitely want to unplug the wire from the printer’s power supply.
It’s located at the back of all of the Ender 3-series units.
4 – Remove the Z-axis limiter
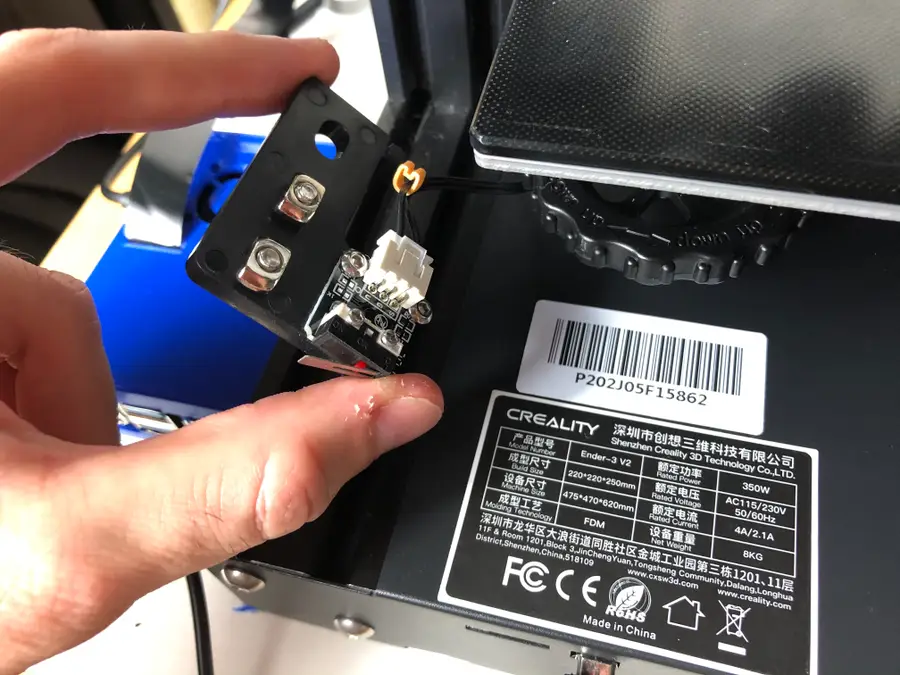
Because you’ll be using the BLTouch to level your Ender 3 V2’s bed and setting the Z-axis manually, you won’t need the limiter switch.
- Using your hex key, unscrew the two bolts attached to your Z-axis limiter to the Ender 3 V2.
- You can either remove the wire from the mainboard when you open it up later on, or you can simply zip-tie the wire behind the frame.
5 – Wire and mount the BLTouch
Wire
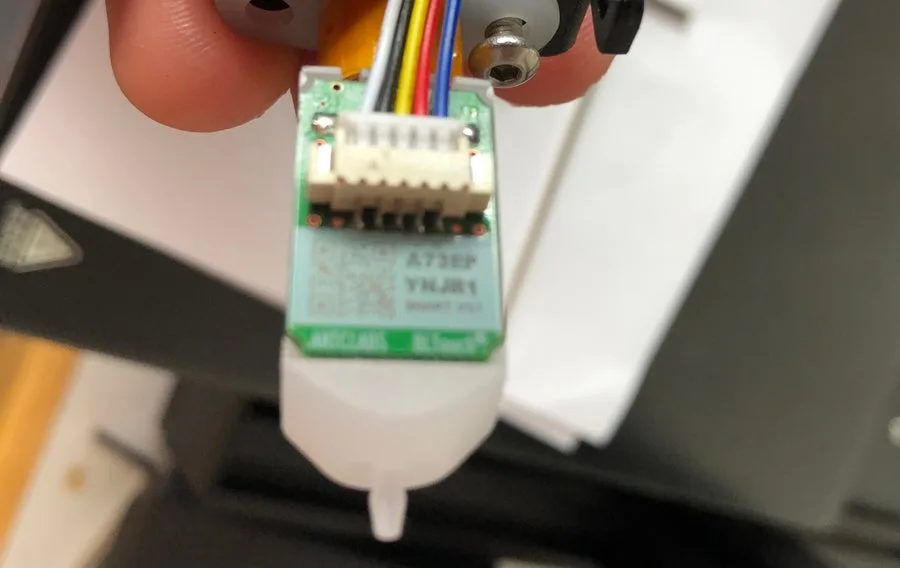
Insert the small end of your extension cable into the back of the BLTouch. We recommend you do this step first, as it will be harder to insert once it’s been mounted. Below you’ll find the order of the wires, in case you have to solder.
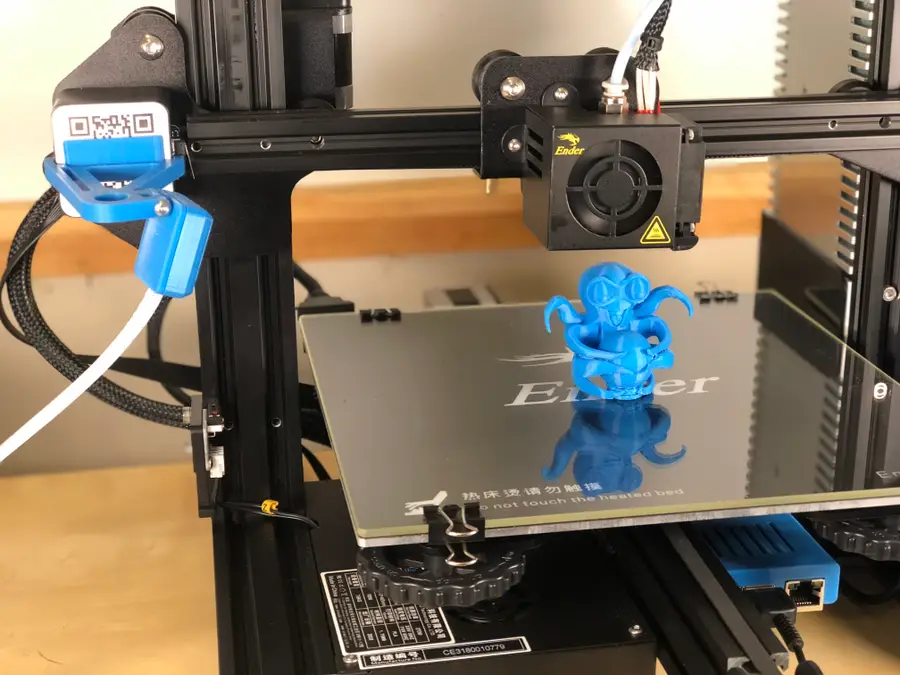
Mount
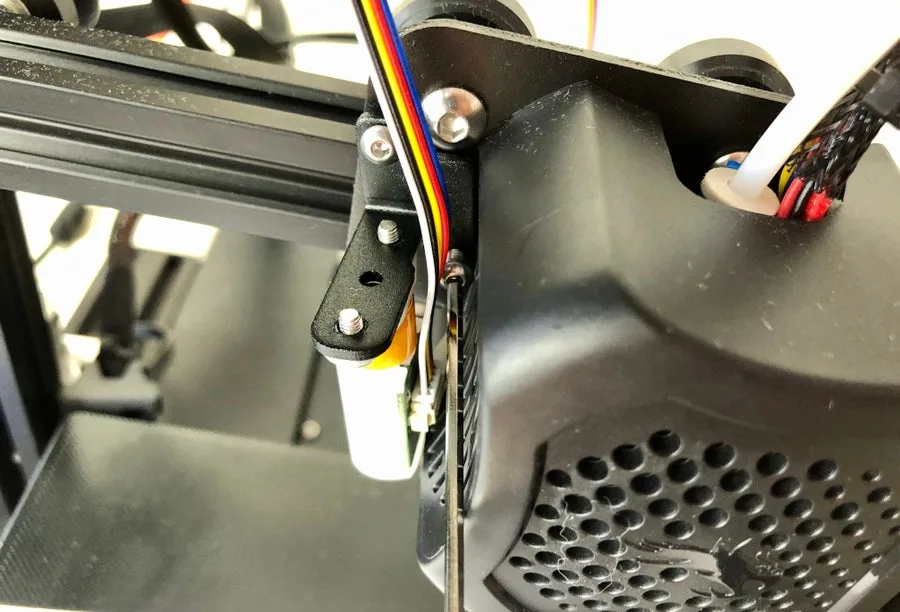
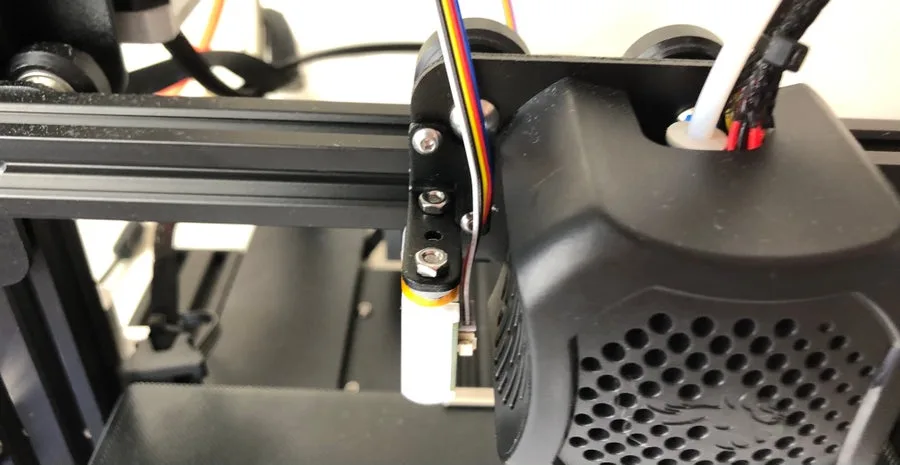
- Using your hex key and the two M3 x 8 bolts, screw the BLTouch into your mounting bracket so that it will face towards the build surface.
- Next, using the remaining two bolts, mount the mounting bracket just to the left of your Ender 3 V2’s fan. The holes should be predrilled.
Optional
If you have one of the nifty small nuts and bolts kit, then you can add two M3 nuts to further secure the BLTouch to the mounting bracket, as pictured below.
6 – Secure wires
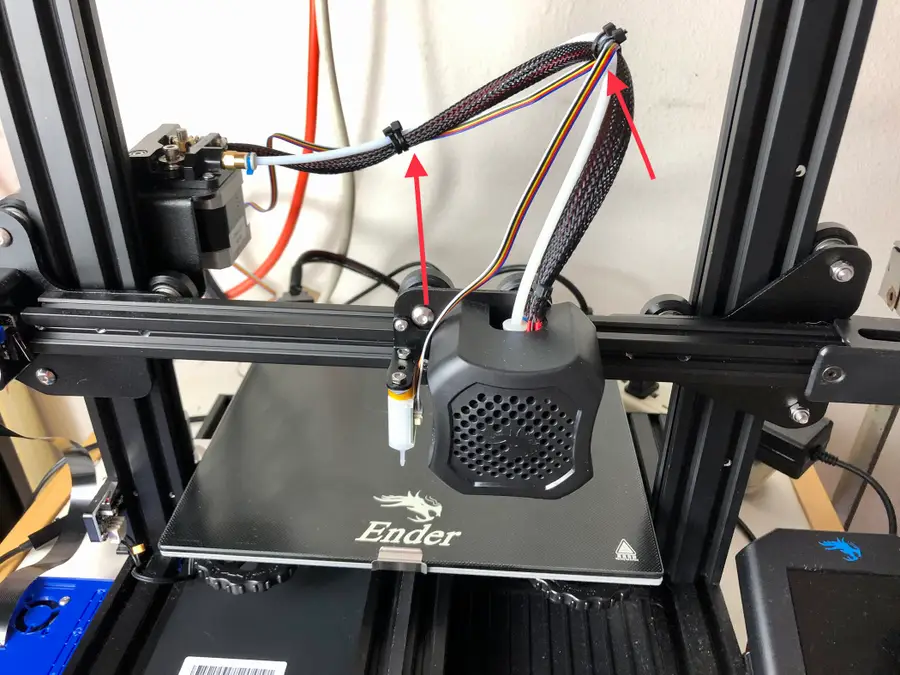
- String your extension cable to the fan’s wiring harness, which extends out of the fan and along the back of your Ender 3 V2.
- Continue to string the extension cable, following the main wire harness path around the back of the unit to the motherboard.
- Secure with zip ties at key locations to keep the wire secure.
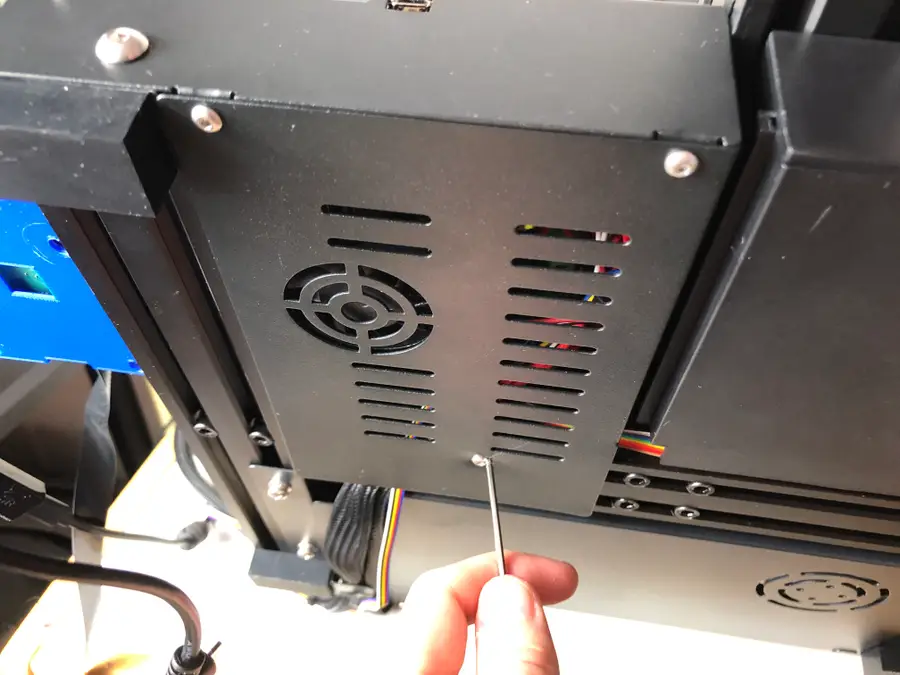
7 – Open the control box
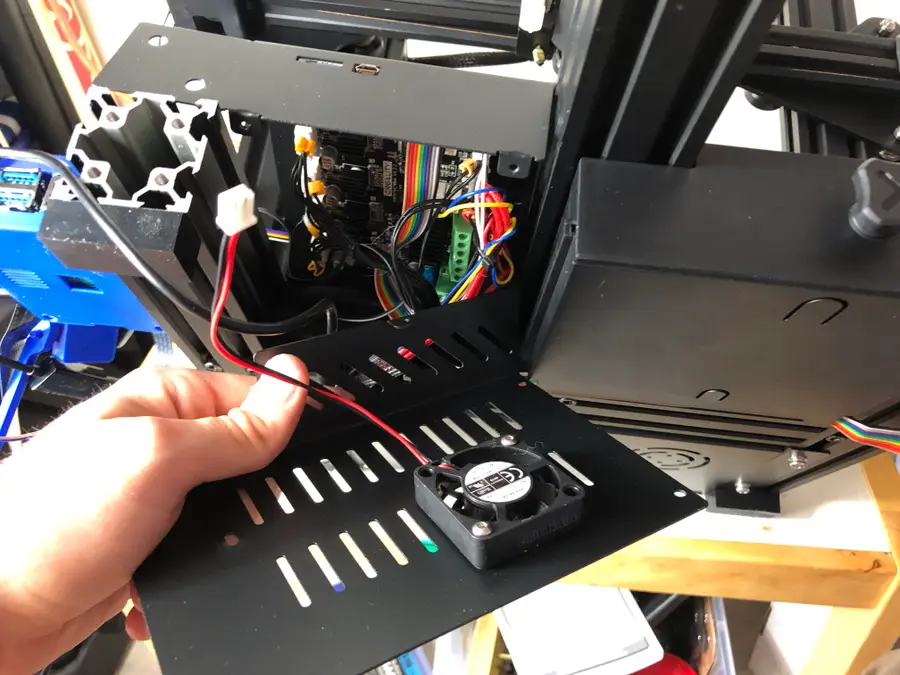
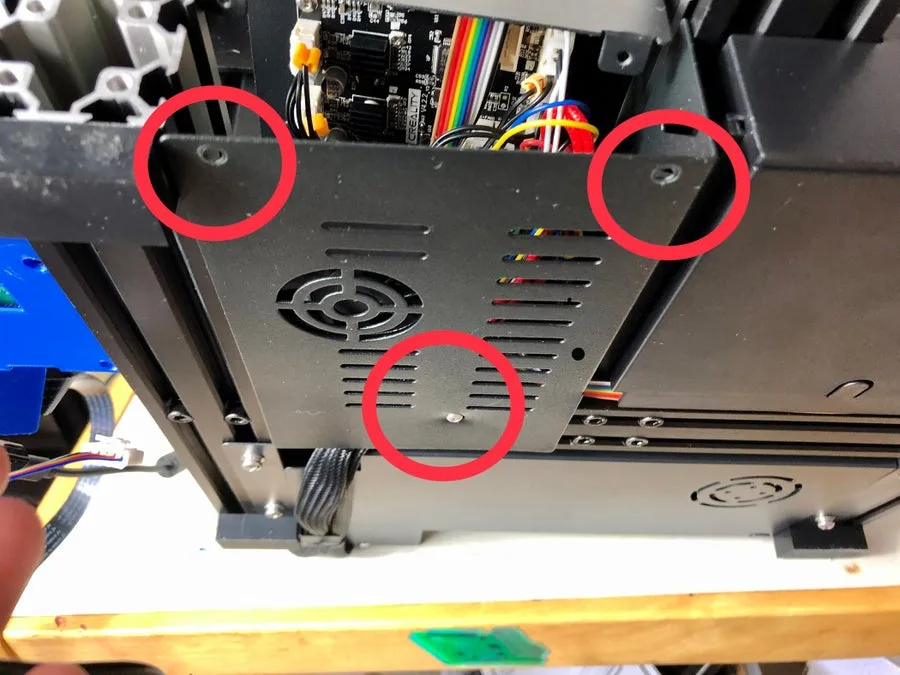
- Using your M2 hex key, unscrew the bolts from the bottom of the control box (located on the front-left of your Ender 3 V2). (See below.)
- And unscrew the bolt on top, as well.
- Carefully remove the control box enough to access the motherboard, paying special attention to the fan.
- Note the wiring location of the fan and unplug the fan from the motherboard. (This will ensure you don’t break the wire as you install the BLTouch.)
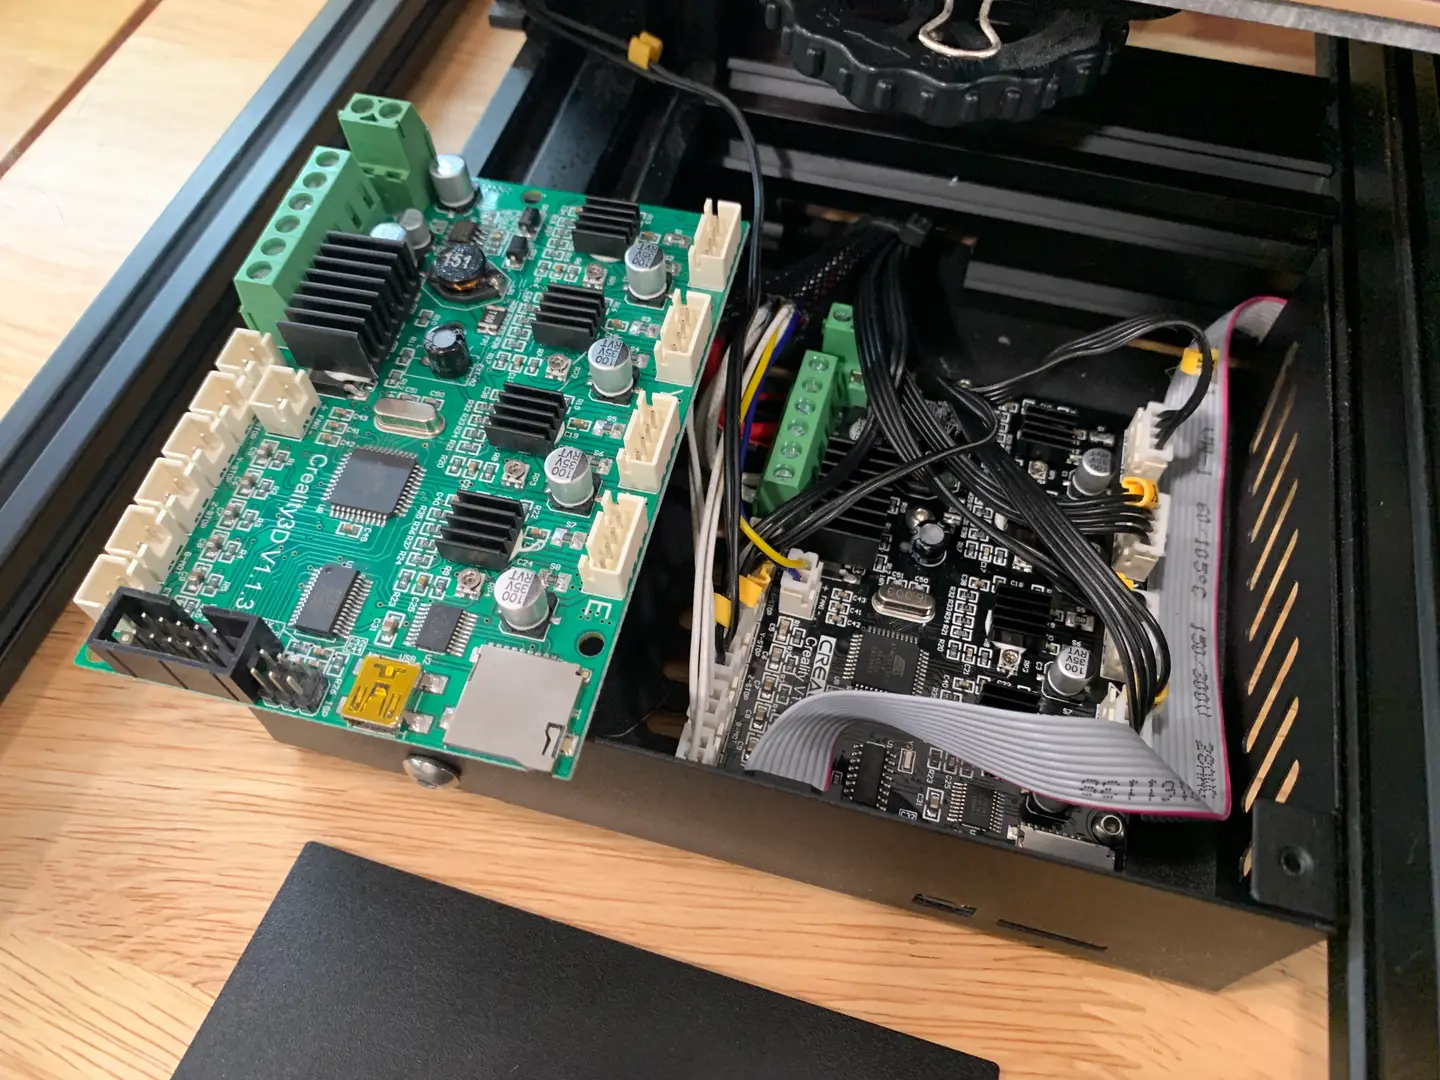
8 – Wire BLTouch to the mainboard
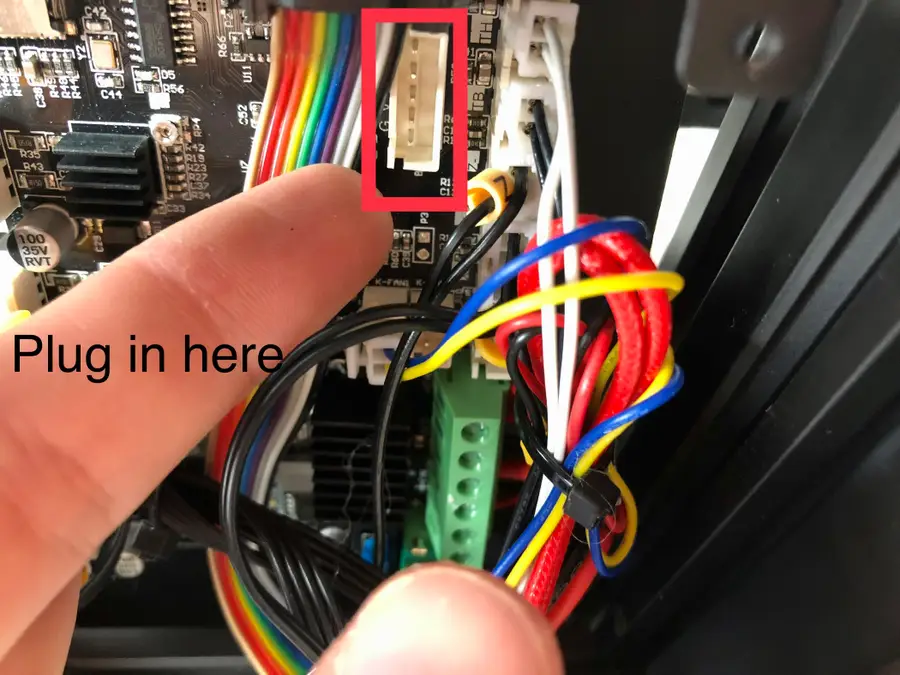
For Ender 3 V2
If you’re using the BLTouch kit, then you should be able to just plug the connector in the slot labeled “BLTouch” on the mainboard. (See image above for its location.)
If soldering
If you’re needing to solder, then I would remove some of the wires from the mainboard to give you some space. Here’s the ordering of the wires from top to bottom:
- Blue
- Red
- Yellow
- Black
- White
For Ender 3 and Ender 3 Pro
The BLTouch wiring connects to the Ender 3 mainboard by splicing into the Z Endstop connector. This connector is labeled with a small yellow label that reads “Z”.
There are two options for connecting the BLTouch to your Ender 3’s existing wiring: if you have a soldering iron, you can splice a wire in. If you don’t, you may want to purchase this extension board so that you can connect it without soldering.
Breakout board
I recommend using the breakout board as it’s simpler and saves a lot of time. Most BLTouch kits for the Ender 3 come with this now.
- Remove the LCD connector out of its housing to gain access to the pins next to it. The LCD connector is the wide strip of gray wires.
- Remove the Z-endstop plug (labeled with a “Z”).
- Carefully switch the wires out of the Z-endstop plug with the black and white wires from the BLTouch (White on left; Black on right).
- Plug it back in the same slot with the BLTouch wires installed.
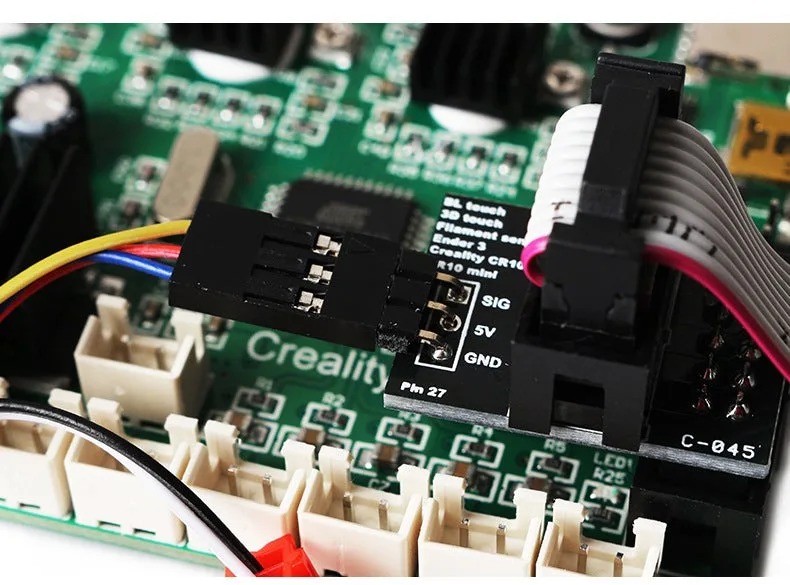
- If you’re using the adapter board, place the adapter board into the connector where the LCD ribbon cable used to be. (It will only fit one way.)
- The remaining three wires should fit in the plug on the adapter.
- Before you do this make sure the wires are in the correct order. (Shown below.) You may need to reverse wires in the plug itself.
- Reattach the LCD ribbon cable.
- Close the control box up.
| 🛈 Before you close it up, note the version of your mainboard (4.2.2 or 4.2.7). It’s written in the center of your mainboard. |
9 – Close control box
- Plug the fan back into the correct slot on the motherboard.
- Use your hex key to screw back in the bolts to the Ender 3’s control box.
| 🛈 It’s easiest if you start with the two bolts nearest the front of the printer. |
10 – Update your Ender’s firmware
Because Creality now supports BLTouch directly in its firmware, it makes installing and using the BLTouch with the Ender 3 V2 and Ender 3 Pro super easy!
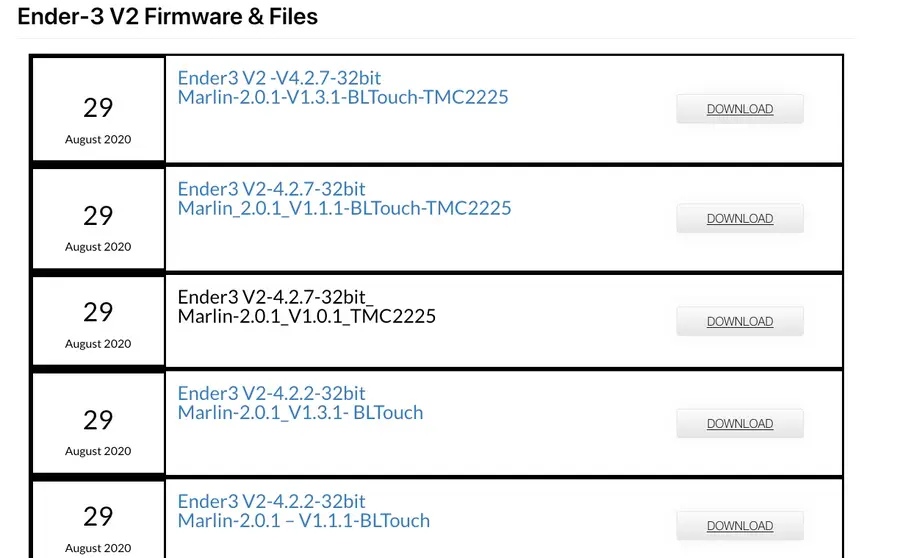
Ender 3 V2 Firmware —Fetch the correct firmware from the Creality Ender 3 V2 downloads page and install it on your printer.
Ender 3 Pro Firmware— Here you can find the official BLTouch firmware for the Ender 3 Pro.
Check out our guide on installing firmware on the Ender 3 V2 to see how to update your firmware. (The same guide works for the Ender 3 Pro.)
How to Update the Firmware on the Ender 3 V2
Check for new firmware regularly.
For Ender 3
It’s a bit trickier to update the firmware on the original Ender 3, but not a big deal. You’ll need to modify your printer’s firmware to add a few lines that BLTouch needs in order to function. I wrote a separate Ender 3 bootloader/firmware update guide; use that guide to get started.

Ender 3: How to Install a Bootloader and Update Marlin Firmware
Update your 3D printer’s firmware and add thermal runaway protection.
Ender 3 Firmware— You can find the official Creality Ender 3 source code and files on the Creality firmware page. Just make sure you download the correct package (saying BLTouch).
Language reset
In some cases, you may find that your language resets to Chinese by default. If this happens, follow our guide to change the language back to English on the Ender 3 V2.
How to Change the Language on Your Ender 3 V2
Because maybe you can’t read the default Chinese Ender 3 menu.
Which is the correct firmware for Ender 3 V2?
You may notice a variety of options for the new Ender 3 V2 firmware. Here’s what you need to figure out.
Motherboard type
The first thing you need to know is which mainboard you’re running for your Ender 3 V2. Hopefully, you noted this earlier when opening your control box. If you don’t know, then here’s a little table to help you figure it out.
| 4.2.2 | 4.2.7 |
|---|---|
| On some pre-2021 Ender 3 V2s | On ALL 2021 + Ender 3 V2s |
| Louder operation | Quiter operation |
Listening to the operation should tell you. If it’s operating loudly, you likely have the 4.2.2. Otherwise, you’ll have to look on the motherboard itself.
BLTouch
Make sure the firmware you select says BLTouch.
Version
The last thing you’ll need to figure out is which version you need V1.3.1- BLTouch or V1.1.1- BLTouch. The easiest way is to try the latest version. If that does not work, then repeat the firmware install with V1.1.1. (V1.1.1 is the version that worked for our Ender 3 V2.)
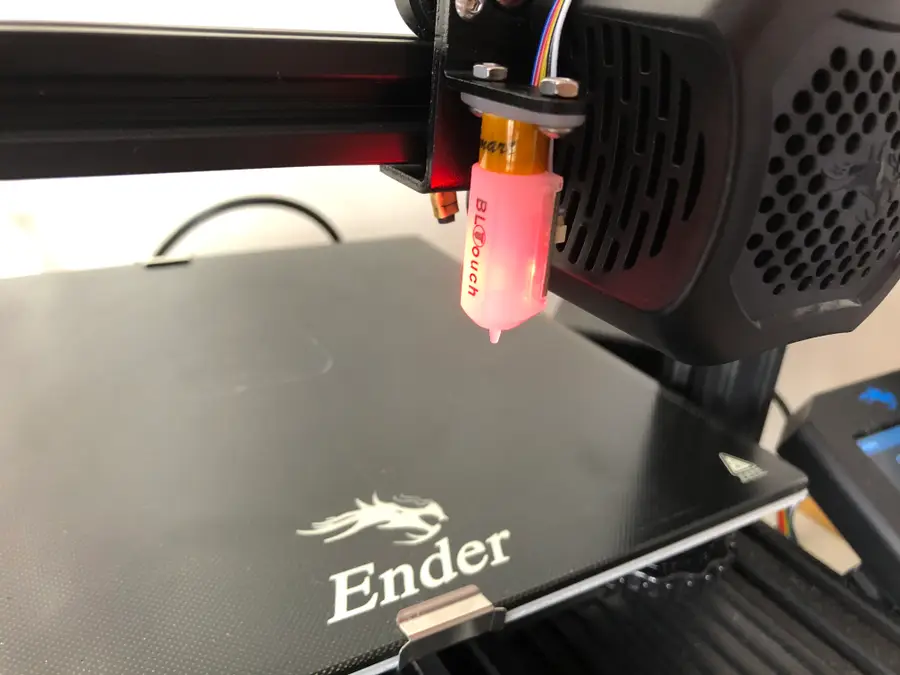
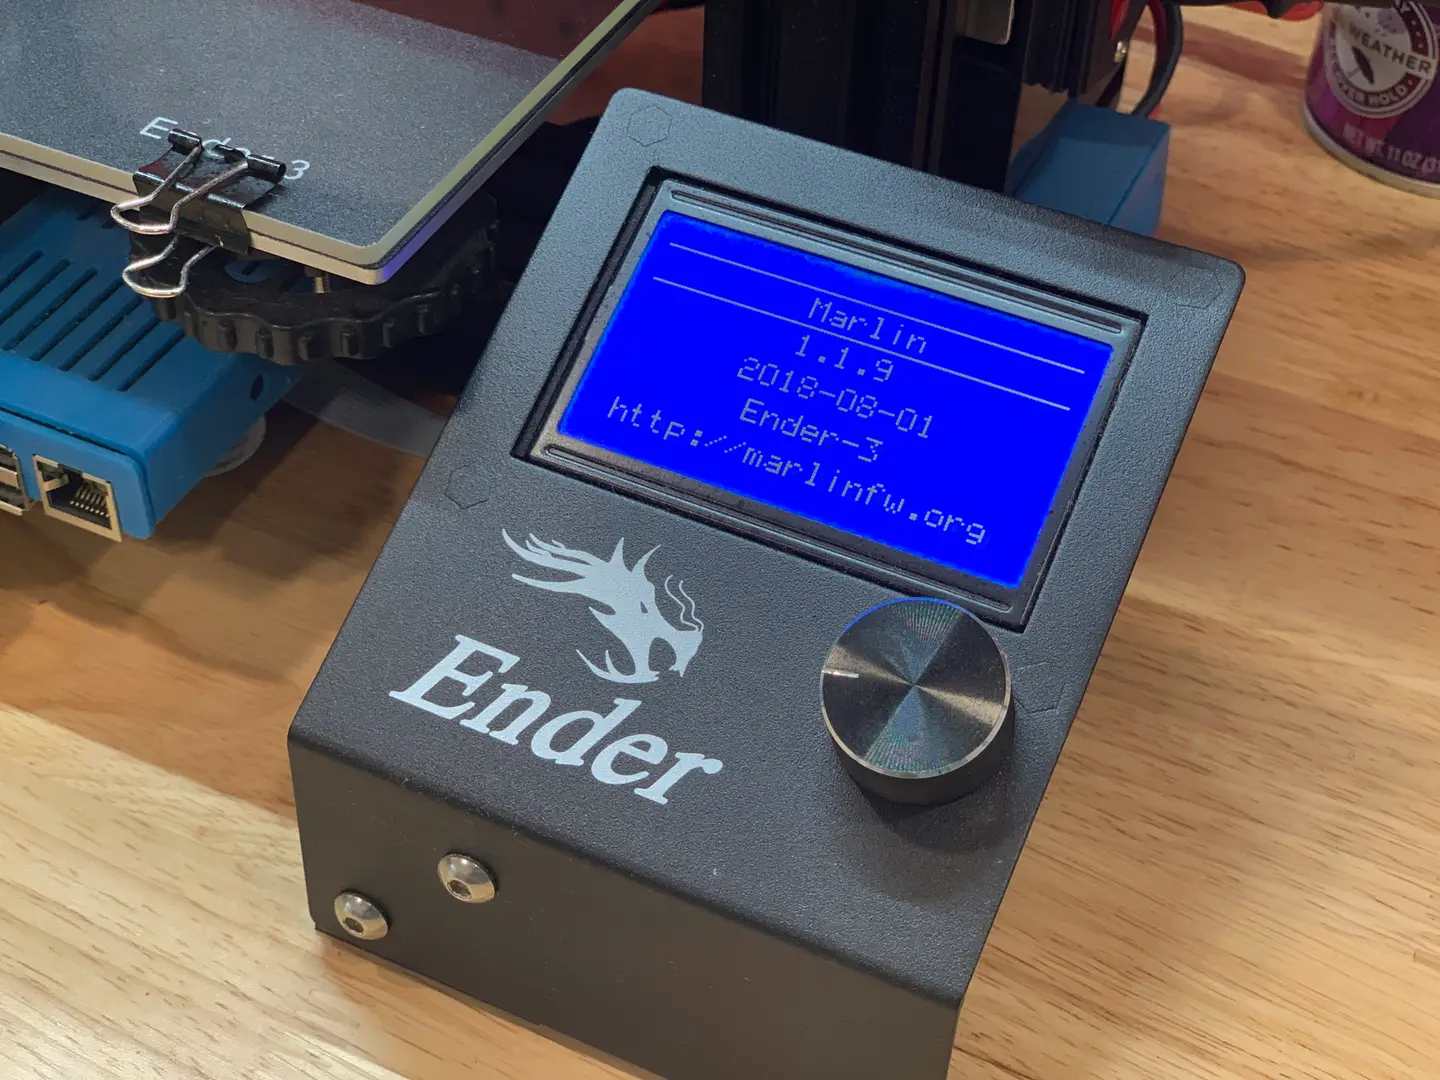
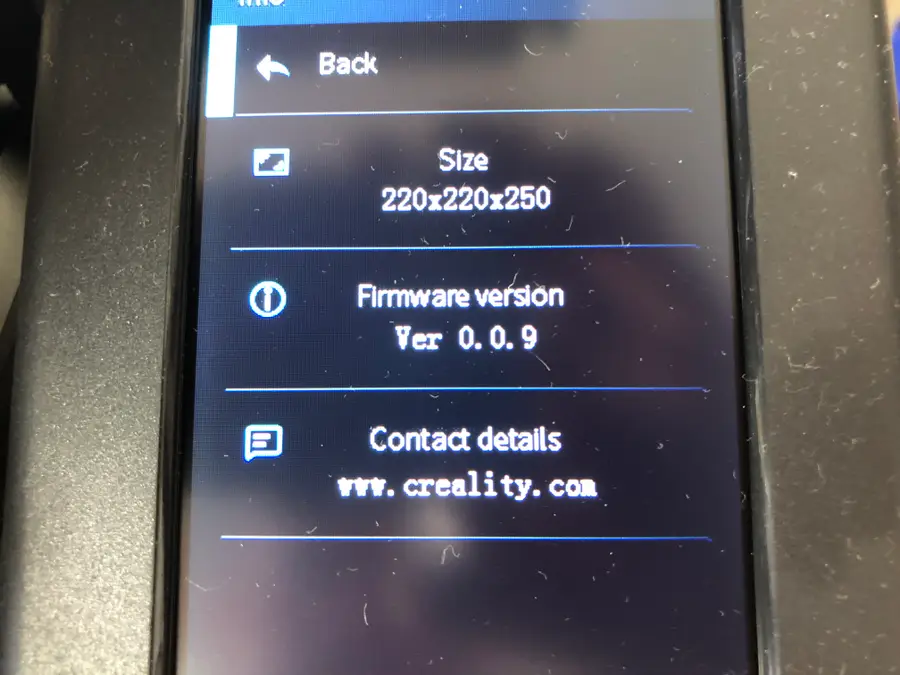
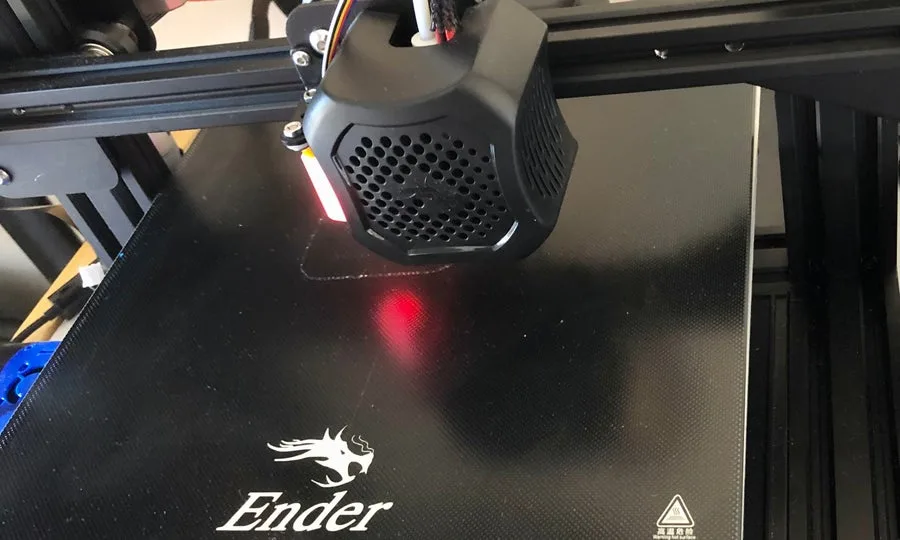
Is BLTouch working?
Once you update your firmware, you should see the BLTouch light-up red after turning the printer on. If it is, then it’s working thus far! Congrats!
11 – Change Z-axis location
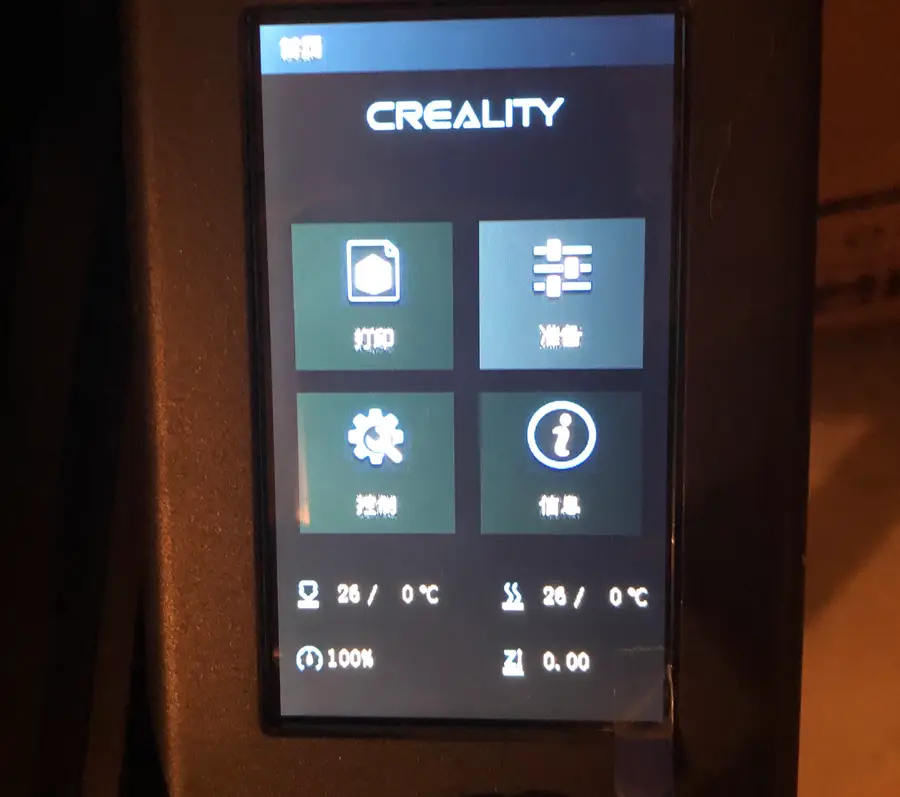
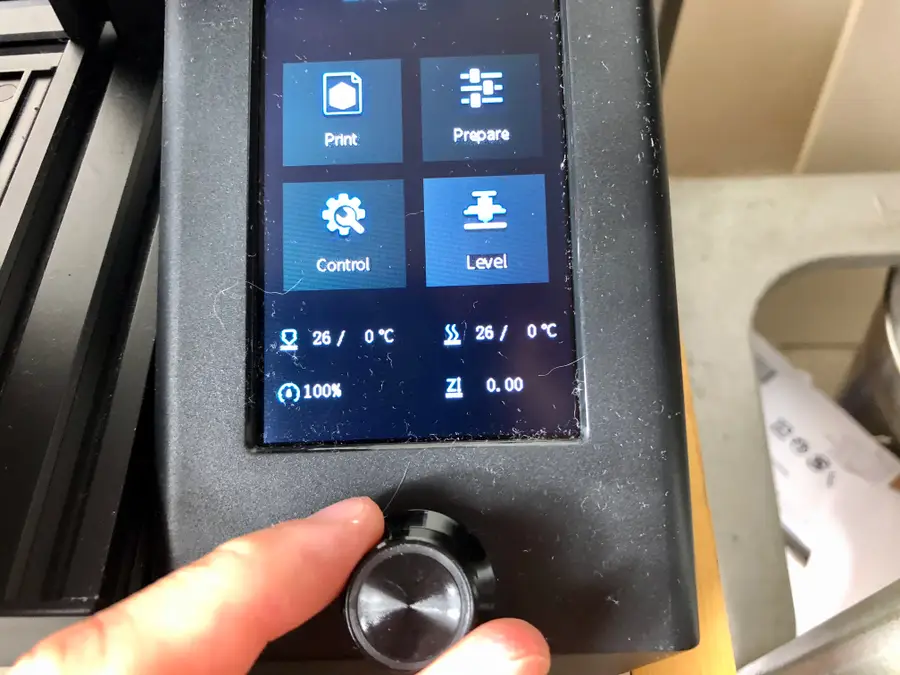
- “Auto home” the nozzle by going to Prepare > Auto home.
- Change the Z-axis by going to Move > Move Z and rotating the knob to turn the Z-axis to Ø.
12 – Configure the Z-offset
Now, you’re going to adjust the Z-offset on your Ender 3 V2 so that it’s flush with the print bed.
Adjust the Z-offset down a little at a time to avoid running the nozzle into your print bed and damaging it.
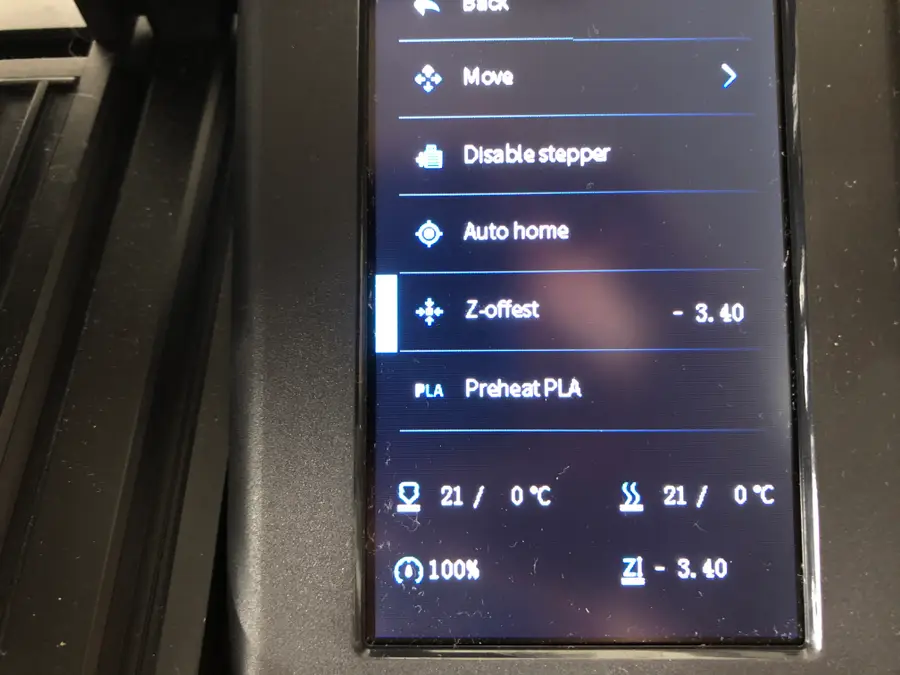
- In the Prepare screen, select Z-offset (misspelled in our firmware version as “Z-offest”).
- Turn the knob, adjusting the Z-offset a little at a time until the nozzle just begins to touch the print bed. Use a piece of paper, like you do when you manually level the Ender 3 V2 print bed.
- Continue to adjust the Z-offset negatively until the paper is hard to move.
Ender 3 Pro Adjustment
The process is essentially the same on the Ender 3 Pro, except that you need to save your settings after adjusting the Z-offset properly.
After you auto-home with the Ender 3 Pro:
- Go to Motion > Move Axis > Move Z.
- Now, you’re going to move the Z-axis down by small increments until the nozzle just grips a piece of paper you place underneath.
- Note the value of the Z-offset!
- Go back to the main screen on the Ender 3 Pro.
- Go to Prove Z-offset.
- Put in the value you recorded earlier (ex. -2.4).
- Go back to the main screen.
- Go to Configuration and click Store Settings.
And now you’re ready to begin leveling!
| 🛈 Don’t worry if you don’t get this perfect the first time. We’ll show you how to adjust this later on. |
13 – Level the printer
Now for the fun part! Select Level on the Ender 3, Ender 3 V2, or Ender 3 Pro screen to run the BLTouch’s auto-leveling program. You should see the BLTouch measure 12 different points on the print bed to determine its slope.
It takes about 2-3 minutes and will return to the center when it’s complete.
14 – Update your slicer settings
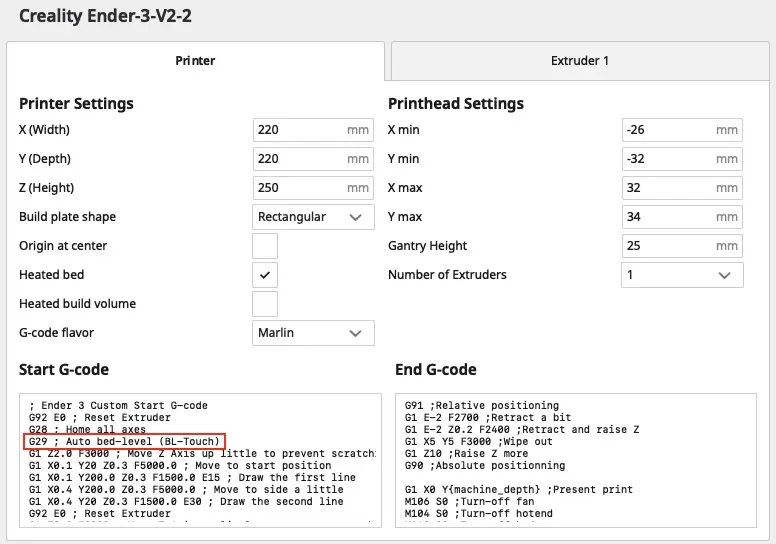
Now, you’ll need to update the G-code settings of whatever slicing program you use, such as Cura or Simplify3D. We use Cura as our slicer, so we’ll show you how to update the settings there. But whichever slicer program you’re using, you’ll need to add just one line right below G28:
G29 ; Auto bed-level (BL-Touch)Changing Cura settings
- In Cura, click on Ultimaker Cura at the very top-left of your screen.
- Go to Preferences > Printers > [Name of your Ender 3 V2 Printer]
- Click Machine Settings
- Under “Start G-code,” add
G29 ; Auto bed-level (BL-Touch)below lineG28.
Now, every time you print something you’ve sliced, the printer will automatically level and use the settings to print the object.
15 – Optional: Octoprint with the BLTouch
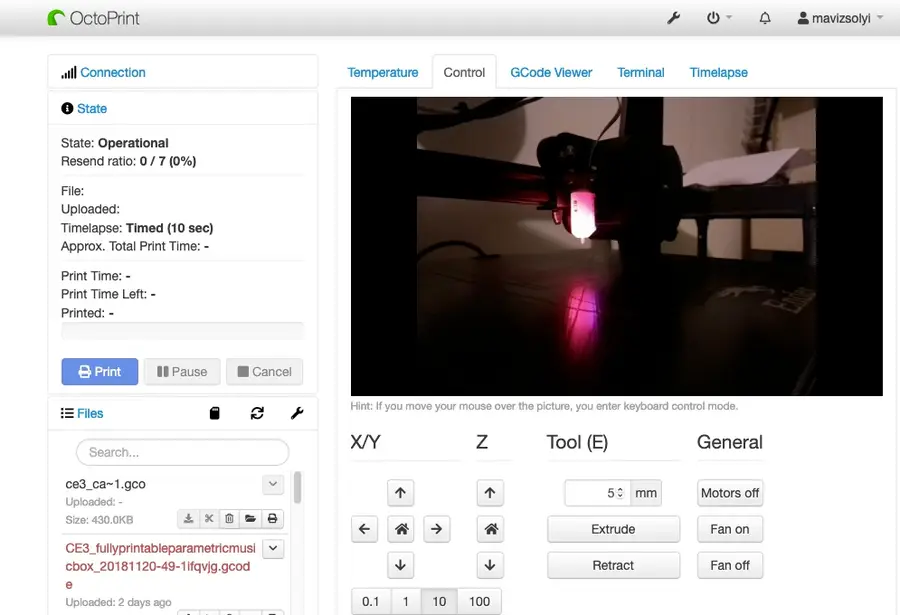
If you’re using the official firmware supporting BLTouch from Creality, you shouldn’t have any issues using Octoprint with the BLTouch. It should work just fine, so long as you update the slicer settings with the G29 code.
However, you may run into trouble when using a 3rd-party firmware for the BLTouch, such as the Smith3D firmware for the Ender 3 V2, which doesn’t natively support Octoprint. In those cases, you’ll need to customize the Marlin code in the firmware to run with Octoprint.
BLTouch plugin for Octoprint
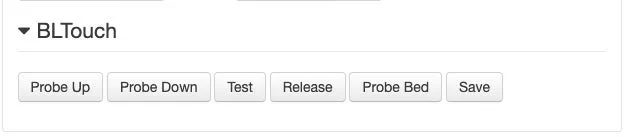
The BLTouch plugin can be installed in Octoprint to give you some nifty features so that you can control the BLTouch remotely from the Octoprint server. It can be found in the Plugin Repository in Octoprint. Check out our guide on finding and installing Octoprint plugins if you need help. You can also install it manually, using the Github link.

The Most Popular OctoPrint Plugins (And How to Install Them)
Wrap your tentacles around these sweet plugins!
16 – Test BLTouch and adjust if needed
Run a test print to ensure that your BLTouch is auto-leveling before the print and that the filament is adhering perfectly to the print bed. You may need to slightly adjust the Z-offset in either direction, depending on the issue you’re having.
Adjusting after a test print
You may find you need to adjust this slightly if your filament either doesn’t stick the bed or the nozzle is too close to the bed. Here’s what you do.
If the filament doesn’t stick (nozzle too far away from bed)
Adjust the Z-offset just a bit (0.01) in the negative direction. This will bring the extruder closer to the print bed.
If the filament is too close to bed (nozzle too close to bed)
Adjust the Z-offset a bit (0.01) in the positive direction. This will move the extruder further from the print bed.