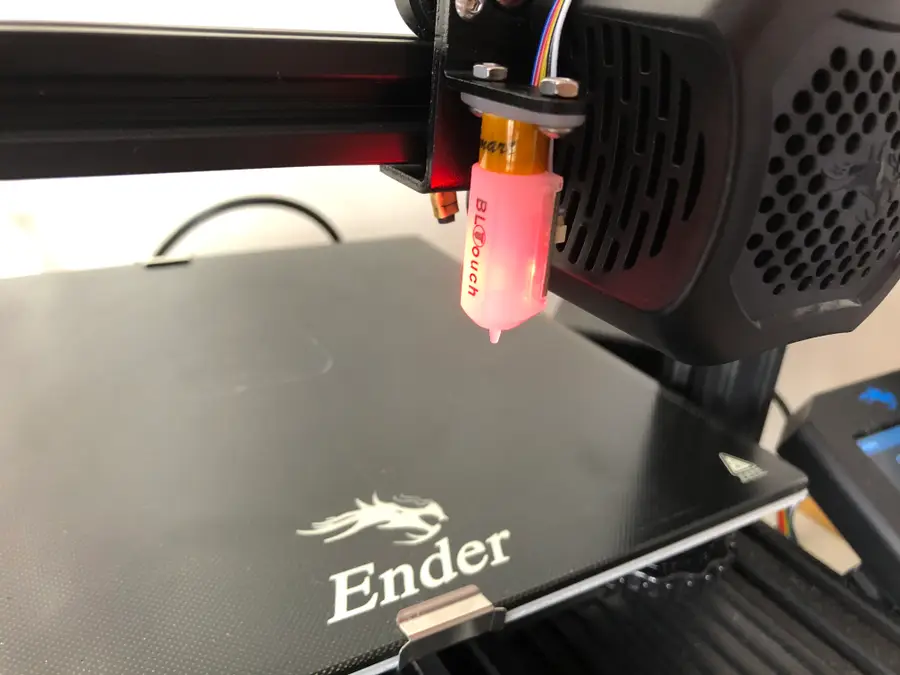
Ender 3: How to Install a Bootloader and Update Marlin Firmware

Share
What you'll need
Interests
Series


Posted in these interests:

This guide will show you how to install a bootloader and update the Marlin firmware on your Ender 3 or Ender 3 Pro. If you’re using an Ender 3 V2, then there’s a different guide for updating firmware on the Ender 3 V2.
Why update your Ender 3’s firmware?
Most Ender 3s ship with a customized, outdated Marlin firmware version that lacks thermal runaway protection and other safety features.
If you use OctoPrint, you may even have seen the following error message: “Warning! Your printer’s firmware is known to lack mandatory safety features (e.g. thermal runaway protection). This is a fire risk.” Many 3D printer fires happen as a result of thermal runaway.

OctoPrint: Control Your 3D Printer Remotely with Raspberry Pi and OctoPi
Untether your printer!
What is thermal runaway?
In a nutshell, your printer contains both a temperature sensor, or “thermocouple”, and a heating element. When you start a print, your heating element reads data from the thermocouple and continues to heat until reaching the predefined print temperature. Thermal runaway is a condition that exists when the thermocouple becomes dislodged or damaged and your printer continues heating, forever, until something like this happens (read: 🔥🔥🔥):
What is thermal runaway protection?
Thermal runaway protection is a feature of most modern firmware that shuts down the heating element if the thermocouple isn’t responding properly. To get technical, it generally polls for a temperature change every N seconds and expects an increase. No increase? Shut it down.
Guide overview
Before updating the Creality Ender 3 firmware, we’ll load a custom bootloader onto the Ender 3 using a cheap Arduino Uno or Arduino Uno clone. You can pick an Uno up for about $15 on Amazon.
What’s a bootloader?
A bootloader is a program that loads an operating system when a computer (in this case, the printer) is turned on. Because the Ender 3 doesn’t come with a bootloader, we’ll need to install one. This will allow the printer to boot using a newer version of the Marlin firmware. After installing the bootloader, we’ll be able to easily update the firmware in the future, too.
This guide will work for Mac, Windows, and Linux!
Let’s get started!
1 – Download and install the Arduino IDE
Download and install the Arduino IDE for Mac, Windows, or Linux.
2 – Add the U8glib library
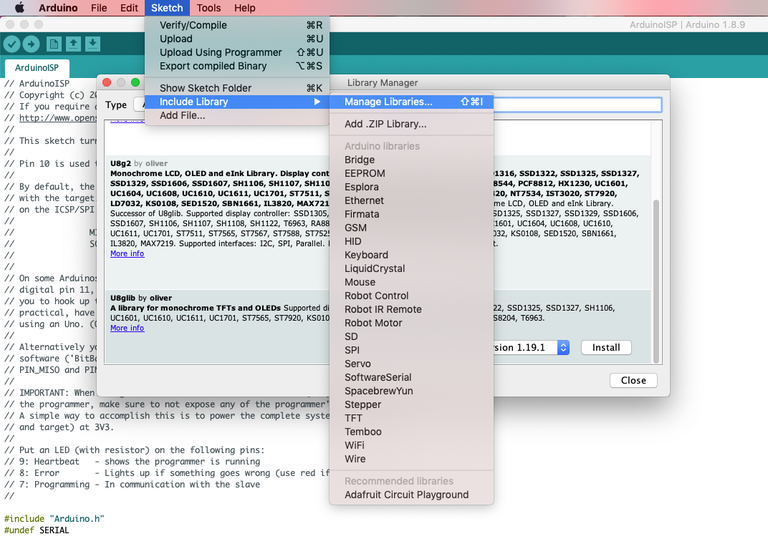
In the main menu, navigate to File > Examples or Example Sketches and select Arduino ISP.
Then, navigate to Manage Libraries and install the U8glib library.
3 – Install the Sanguino board
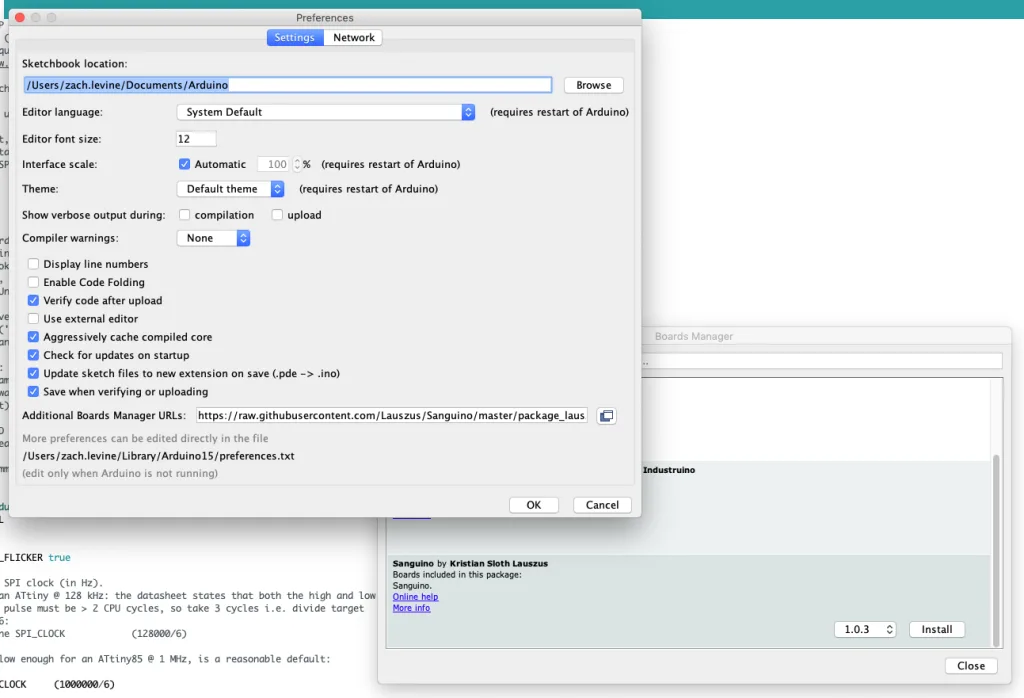
Next, we’ll need to install the Sanguino board.
Open Arduino Preferences and paste the following under Additional Boards Manager URLs:
https://raw.githubusercontent.com/Lauszus/Sanguino/master/package_lauszus_sanguino_index.jsonThen, navigate to the Boards Manager and install Sanguino.
4 – Upload the sketch to your Arduino Uno

Connect your Arduino Uno (or Arduino Uno clone) to your computer using a USB cable.
Under Tools, select Arduino Uno as the board.
Then, select either Arduino Uno or COM as the port, depending on your computer.
Finally, click Upload to upload the Arduino ISP sketch. After uploading, keep the Uno connected to your computer.
| 🛈 The Arduino will need to remain connected to your computer for the entire process. Therefore, you’ll need to move your computer to wherever your printer is (or vice-versa). |
5 – Connect the Arduino to your Ender 3
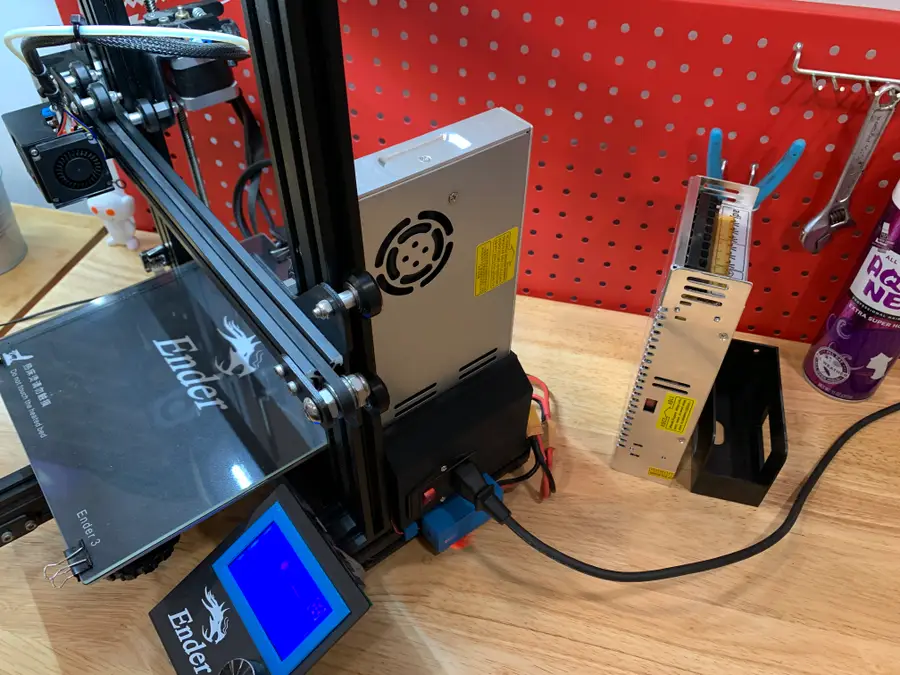
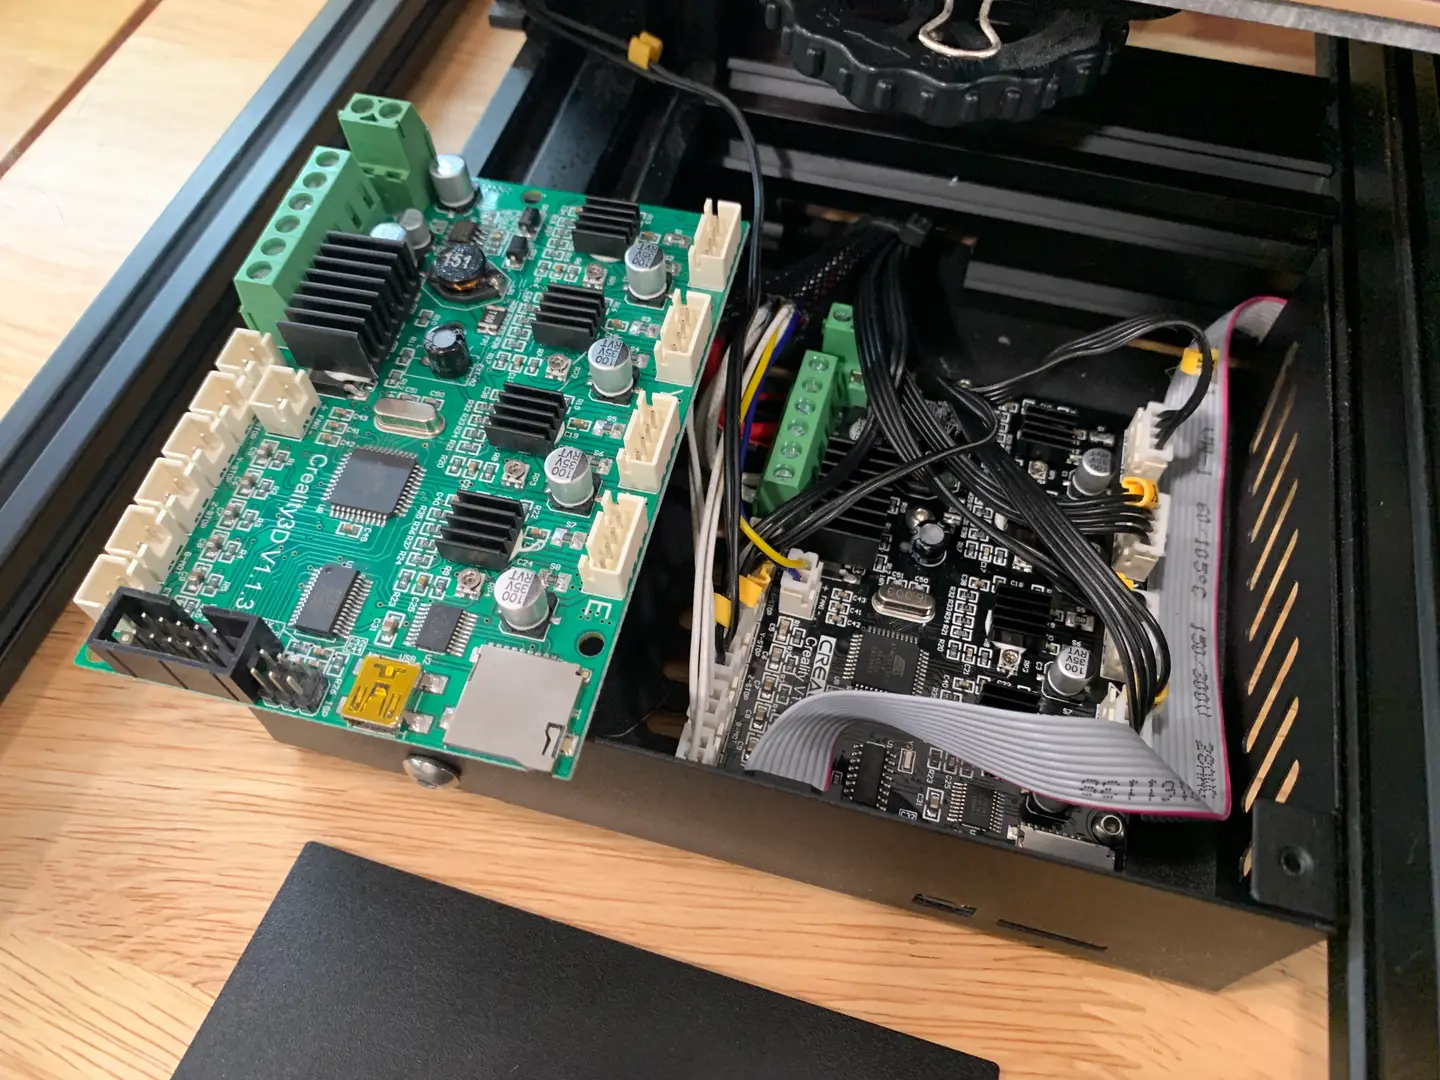
Turn your printer OFF. Then, use the small hex key that came with your printer to remove the 3 screws from the Ender 3 control box—this is the box located beneath your bed.
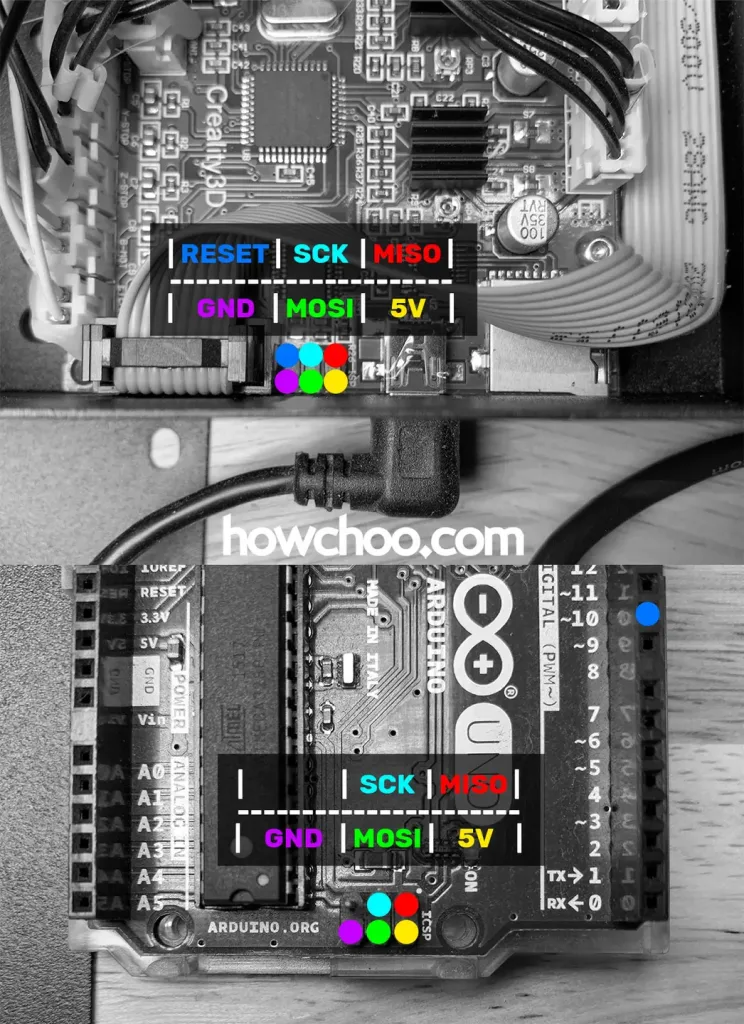
Finally, use your “Dupont” jumper wires to connect your Arduino to your printer as follows:
Arduino Ender 3 bootloader connections
| Ender 3 Pin | Arduino Uno Pin |
|---|---|
| MISO | MISO |
| 5V | 5V |
| SCK | SCK |
| MOSI | MOSI |
| RESET | ~10 |
| GND | GND |
Matching up the pins
You may have noticed these pins aren’t labeled on either the Ender 3 or Arduino Uno. No worries—you might also have noticed there’s an identical small 2×3 header (2 rows of 3 pins in each row) on both the Arduino and Ender 3. We basically want to “match up” the two headers, with the exception of the RESET pin.
Use the attached Ender 3 Arduino wiring diagram to connect the two headers properly.
| 🛈 Your Ender 3’s screen will light up as you connect things and it begins to draw power from your USB port. |
6 – Burn the bootloader

Select the Sanguino board from the Tools menu. Then, change the Programmer from AVRISP mkII to Arduino as ISP. Finally, click Burn bootloader.
When the process is finished, you’ll see a message stating “Output bootloader burned successfully”.
Troubleshooting
If you run into issues, try the following:
- Double-check your settings and connections
- Swap out your jumper wires in case yours are defective
- Make sure you downloaded the Arduino IDE directly from the Arduino website (not the Windows store)
- If you see an error such as the one below (especially if you’re running macOS), try installing the TH3D United Firmware Package and running the included preconfigured Arduino IDE instead of the normal Arduino IDE. Then, select Sanguino (1284P Boards) as the board. If you’re using a Mac, don’t forget to follow the Mac setup instructions for the TH3D Arduino IDE.
avrdude: stk500_getparm(): (a) protocol error, expect=0x14, resp=0x14

avrdude: stk500_getparm(): (a) protocol error, expect=0x14, resp=0x01
avrdude: stk500_initialize(): (a) protocol error, expect=0x14, resp=0x10
avrdude: initialization failed, rc=-1
         Double check connections and try again, or use -F to override
         this check.

avrdude: stk500_disable(): unknown response=0x12
Error while burning bootloader.
When the bootloader is done burning, carefully disconnect the jumper wires from your Ender 3, secure the control box cover, and unplug the Arduino from your computer.
7 – Download and prepare the latest Marlin firmware
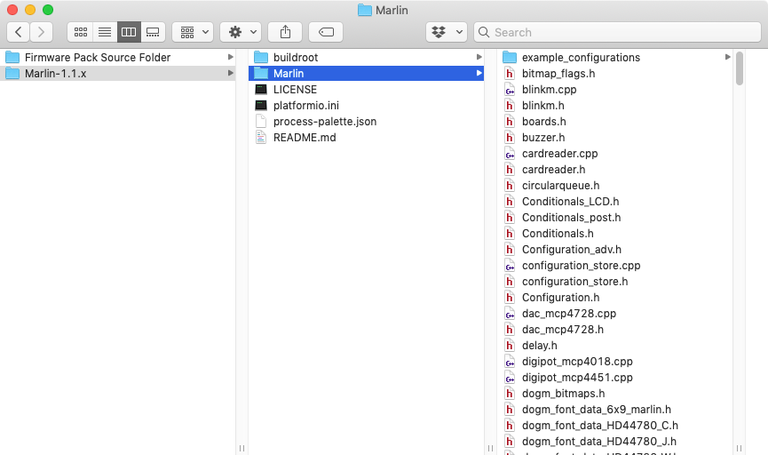
Download the latest Marlin release to your computer and unzip it.
Then, navigate to Marlin/example_configurations/Creality/Ender-3 and copy all those files into the Marlin directory, replacing all files when prompted.
8 – Connect and transfer the firmware
Connect a mini USB to USB cable between your computer and the Ender 3’s front USB port. If you’re already using OctoPrint with the Ender 3, simply move the USB cable from the Raspberry Pi to your computer. 🙂
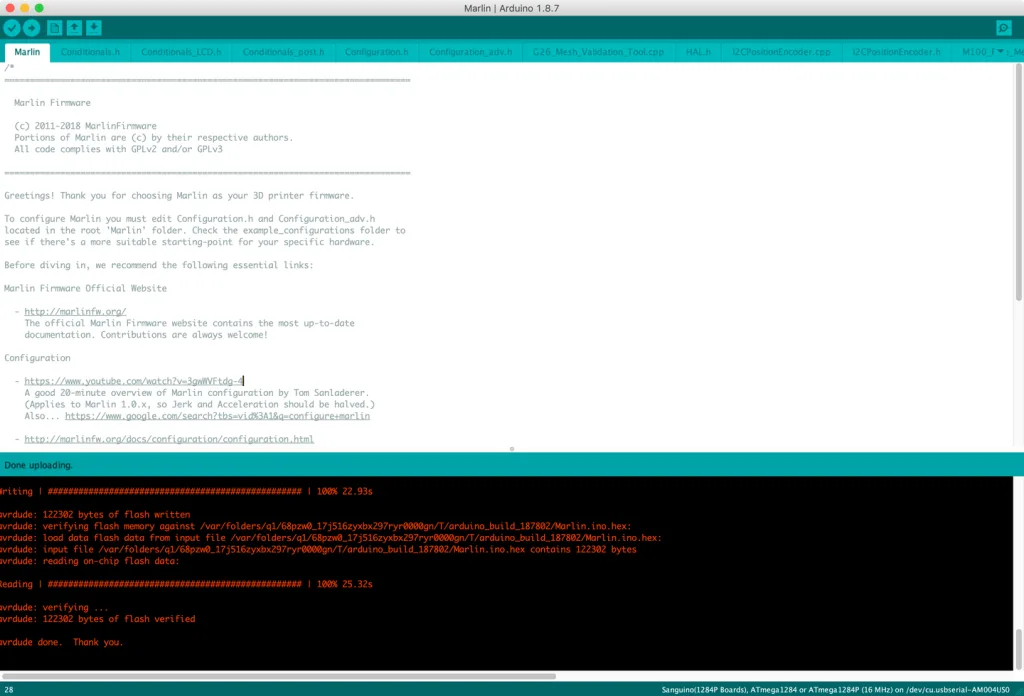
Back in the Arduino IDE, select File > Open and locate the Marlin.ino file from the Marlin directory you unzipped early.
Then, make sure the port is still selected as Sanguino or Sanguino (1284P Boards), the programmer is Arduino as ISP, and the proper serial port is selected.
Finally, click the Upload button. The firmware transfer process should take about a minute.
9 – Wrapping up

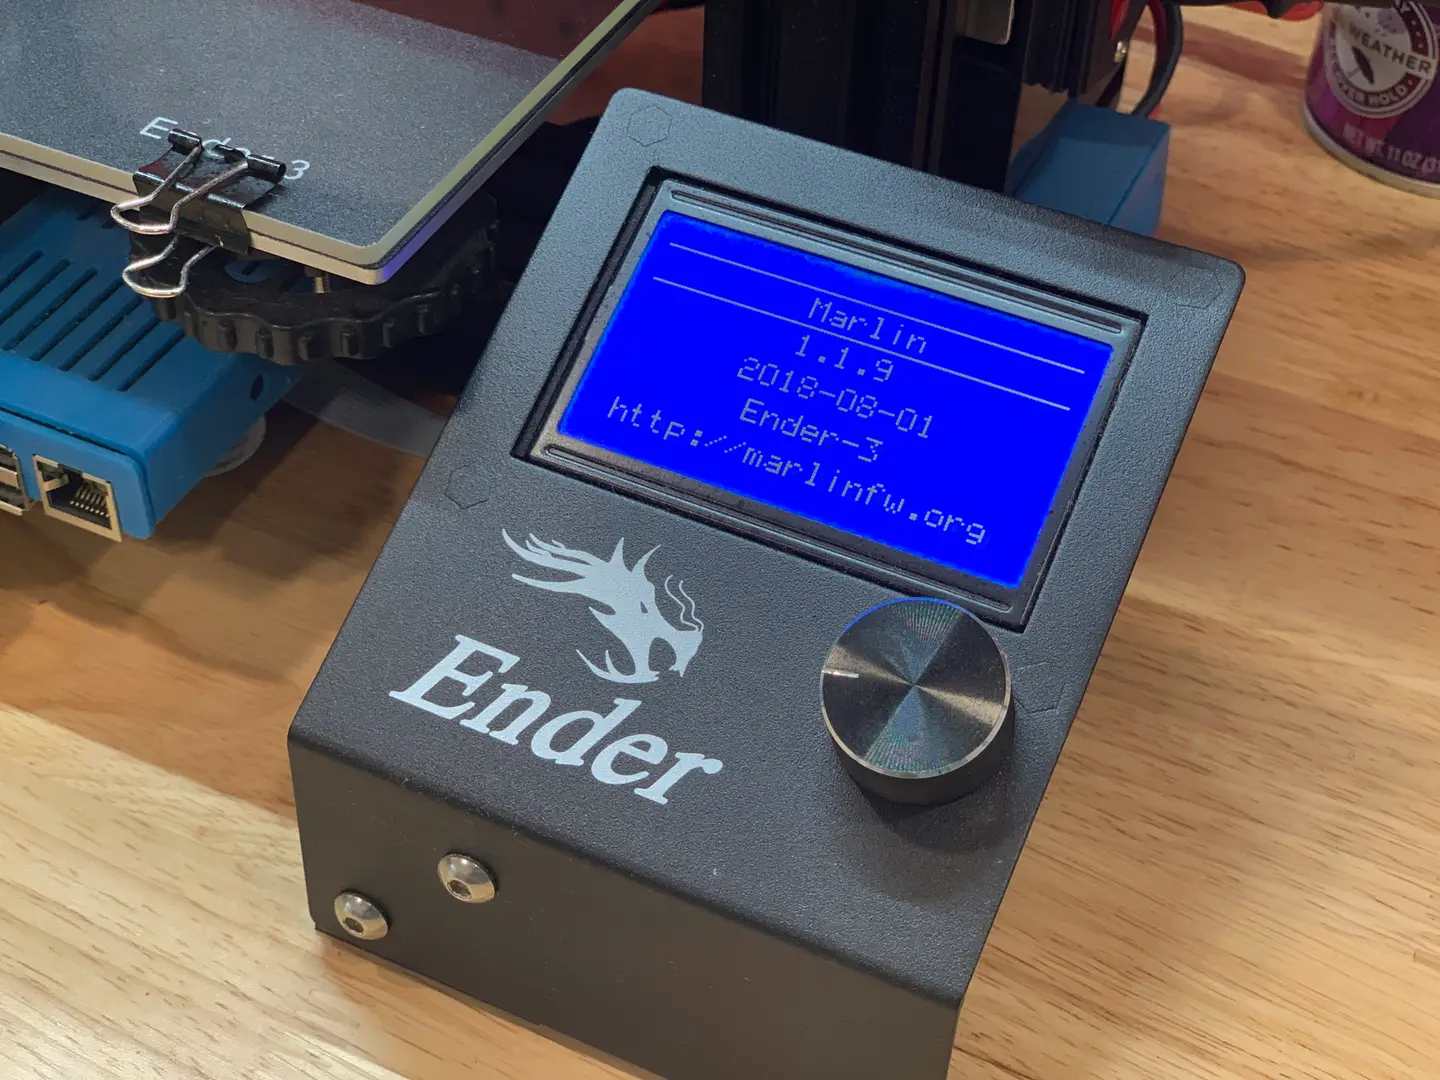
Disconnect your computer and power on your printer. Your printer will take a bit longer than normal to start up. You should now see a different boot screen since your firmware has been updated.
Up next
Next, set up OctoPrint on your Ender 3 and improve your printing experience!

How to Set Up and Use OctoPrint on the Creality Ender 3
Control your Ender 3 remotely.