How to 3D print custom rubber stamps


Share
What you'll need
Interests


Let’s make some stamps! Why bother buying a pre-made design when you can create one yourself? In this guide, we’ll be creating our own howchoo logo stamp using a 3D printer.
I’ve designed a couple of handles to 3D print for my stamps. You can download them from Thingiverse to use yourself. I’ve created a wide rectangle and square shaped designs.
For the actual stamp part, we’ll be designing our own mold to 3D print and filling it with silicone rubber.
1 – Create the stamp design using an image or logo
You can use any 3D design software you like, I’ll be using Blender. The idea is to trace the logo and create a 3D shape from the outline. If you’d like to follow along with me, download a copy of Blender and keep reading.
Upload the design as a background image
To open the sidebar we need, press N. Under the Background Images section, upload the stamp design. Press 5 on the numpad to orient the camera and expose the background image. If it’s missing, try pressing 5 again.
Outline the design
Create a plane and delete three of the vertices, this will leave you with a single point. Position this point over the edge of your stamp design. Press e to generate a new point and draw a line from this one. Using this technique, outline the design of your stamp, merging the final points together.
Make a 3D shape from the outline
To create a face from the new outline, press A. This will highlight all of the points around the design. Press F to turn the selected points into a face. Select the new face and press E + Z to extrude the face up. This will turn the design into a 3D shape.
2 – Make a base for the stamp design
We’ll need a base for our stamp design. This base will fit inside our 3D printed handle. After creating the base, we’ll punch a hole out in the shape of our design. This will make an empty cavity that can be filled with silicone. Follow the steps below to create your own, or download the one I created from Thingiverse.
Design the stamp base
The design I made will need to fit on a 4cm x 9cm base. To create the base, I’ll create a 4cm x 9cm plane and extrude the top face up.
Punch the base out of the mold block
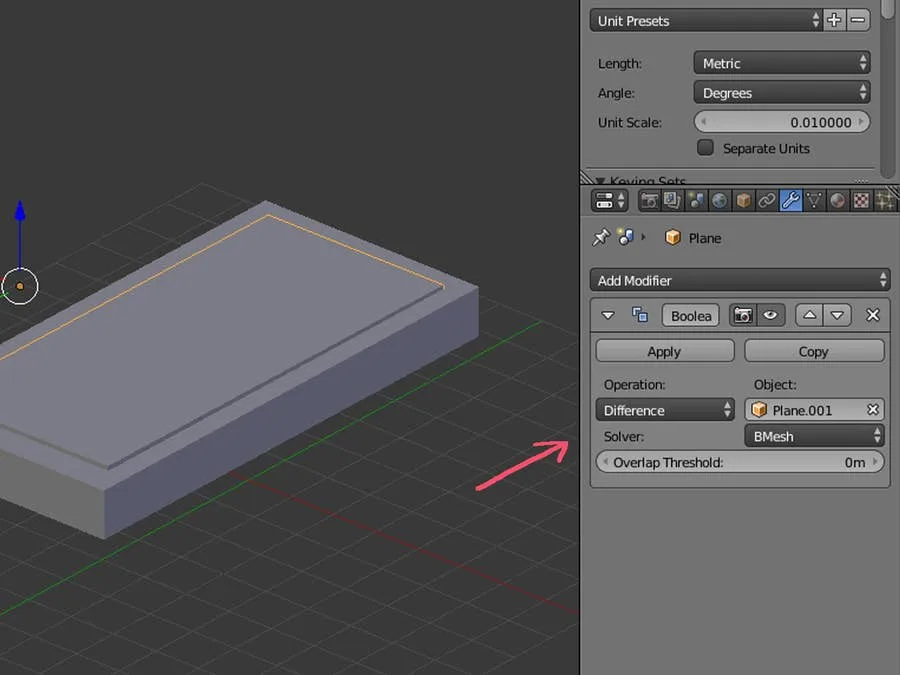
This prism will need to be punched out of our mold block. We’ll do this using a boolean modifier. Overlap the 3D base with the silicone mold block until it’s lined up as desired. I’m leaving enough room for the edges to retain some stability so I don’t break the mold when removing the silicone.
Once the base object is overlapping the mold block, apply a Difference boolean modifier to the block. The modifier should be set to use the base object.
3 – Punch out the stamp design
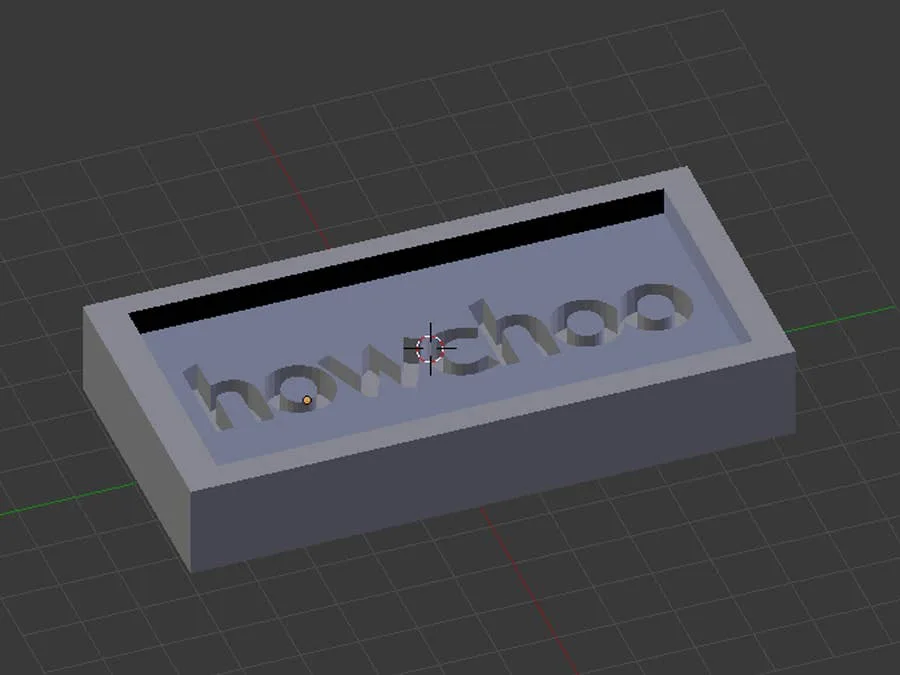
Just like the base for our stamp, we’ll be using a boolean modifier to punch out a shape with our 3D design. Overlap the stamp design object with the mold block and apply the difference modifier.
4 – Print the mold
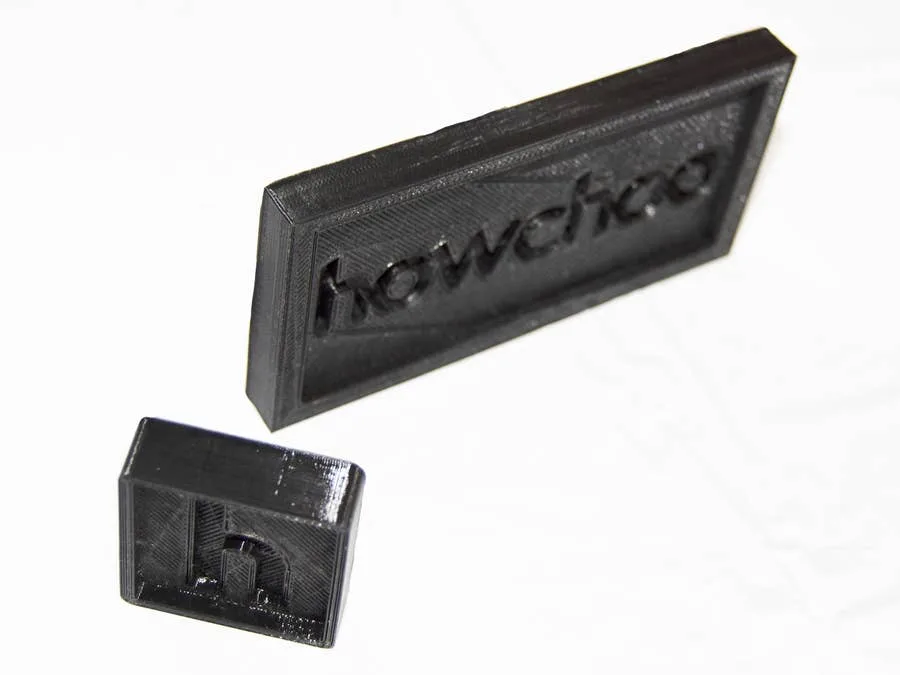
Export the final mode to an stl and prepare it for printing with your favorite slicer. I’ll be using Cura to prepare my printer file. You will need to experiment with your 3D printer to find the most ideal settings to print your mold with. I’m using PLA filament at 240° with a .2mm layer height. Smoothing out your molds or printing them with fine lines can help preserve design quality. As with any project, you’ll need to experiment to find the most desirable results.
5 – Fill the mold with silicone rubber
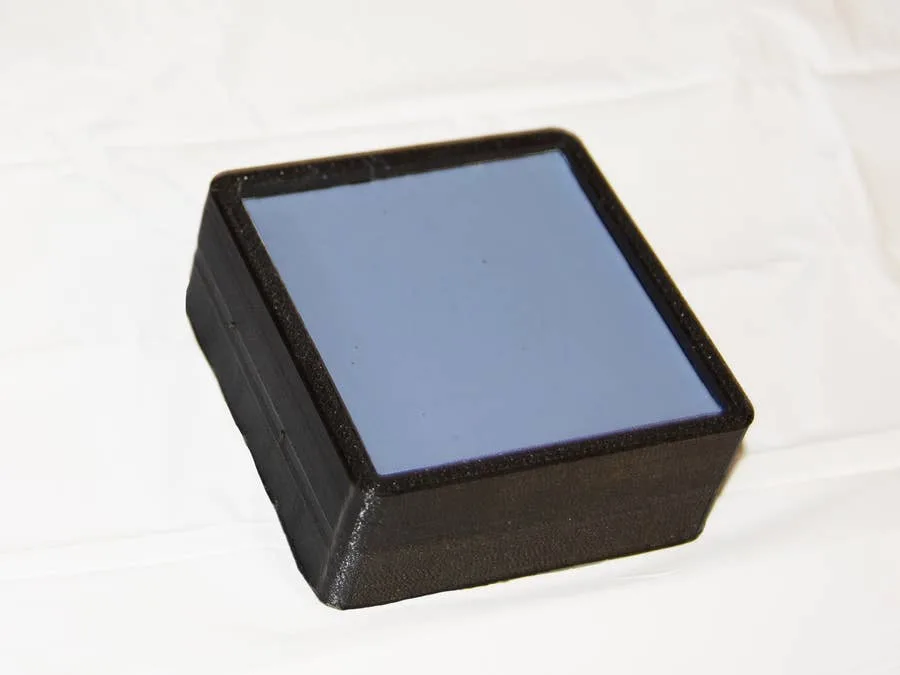
Now that everything is printed, it’s time to fill them with silicone. I’ll be using Oomoo for my project, but you can experiment with other materials. You’ll find that certain materials work better than others depending on the design and filament used.
6 – Time to stamp!
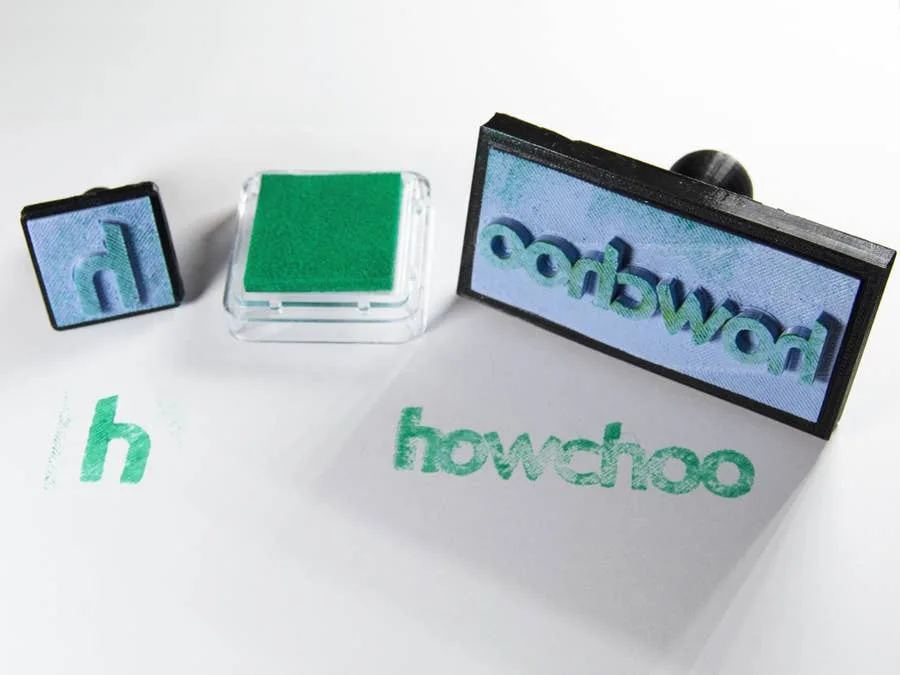
Once enough time has passed to cure your molds, it’s time for a test stamp. Just glue the stamp, base, and handle pieces together. Congratulations—your stamps are ready to go. Find an ink pad and get stamping!