How to Set Up and Use OctoPrint on the Creality Ender 3

Share
What you'll need
Interests
Series


Posted in these interests:


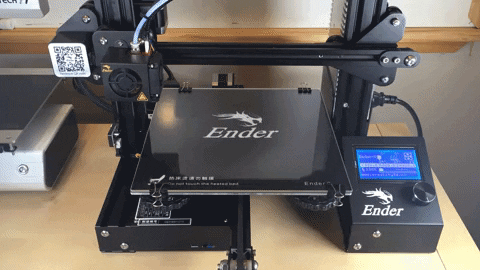
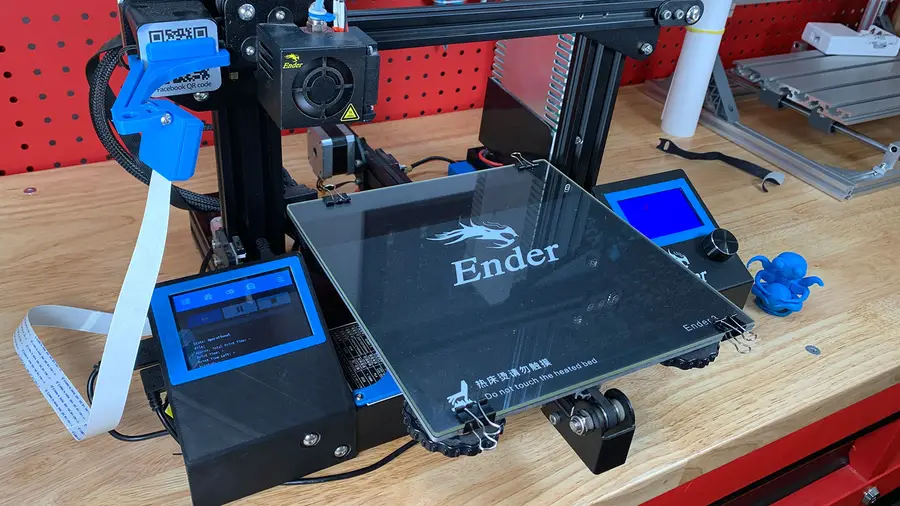
The Creality Ender 3 is amazing. The only thing that could make it more amazing is modding it so that you can control it remotely.
Well, now you can. This guide will show you everything you need to know about using OctoPrint (AKA OctoPi) with your Ender 3 or Ender 3 Pro, enabling you to start and view prints as well as view a whole host of data about your printer.
OctoPrint: Control Your 3D Printer Remotely with Raspberry Pi and OctoPi
Untether your printer!
Have the newer Ender 3 V2? Check out our complete Ender 3 V2 OctoPrint guide instead!

How to Set Up and Use OctoPrint on the Creality Ender 3 V2
Remotely control your Ender 3 V2 with OctoPrint.
Let’s get started!
1 – Ender 3 OctoPrint settings
While you’re setting up OctoPrint, use the following settings for your Ender 3:
Printer settings
Form factor: Rectangular
Origin: Lower Left
Heated Bed: Yes (checked)
Heated Chamber: No (unchecked)
Width: 220mm
Depth: 220mm
Height: 250mm
Axes: Default**
Custom Bounding Box: No (unchecked)
Nozzle Diameter: 0.4mm
Number of Extruders: 1
Connection settings
Serial Port: /dev/ttyUSB0
Baudrate: AUTO| 🛈 You’ll need to connect your Pi to the Ender 3 via USB before you can change the Connection Settings. |
2 – Print the Ender 3 OctoPrint parts
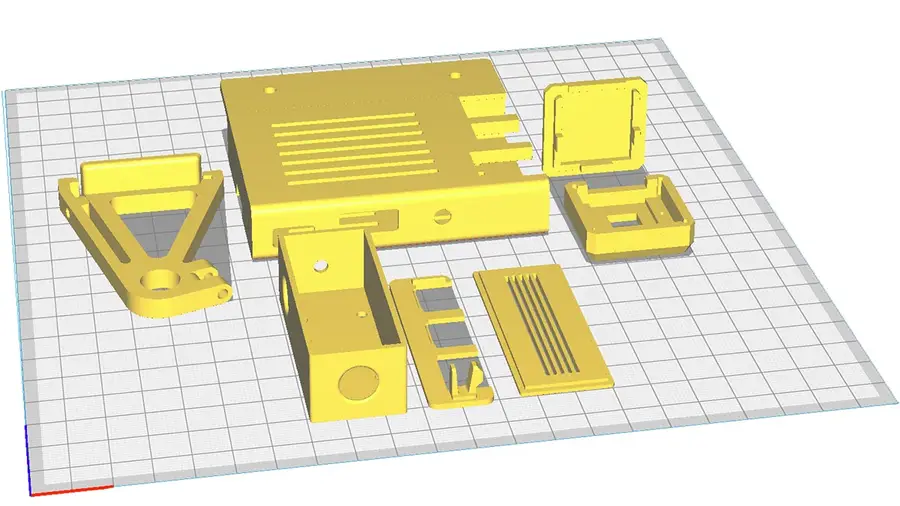
You’ll want to print a few components to mount everything to your Pi. Some of these are optional—for example, you don’t have to mount the Pi to your printer (you can keep it separate). Anyways, I recommend printing all of these for a cleaner, more organized setup.
Ender 3 camera mount
This component mounts your Raspberry Pi’s camera to the Z-axis stepper motor. This will give you a nice view of your extruder and print.
First, print this bracket/arm. If you’re using the Raspberry Pi camera v1, also print the included camera holder. If you’re using the Pi camera v2, I recommend printing this camera holder instead, as it’s much easier to work with.
Ender 3 Raspberry Pi enclosure
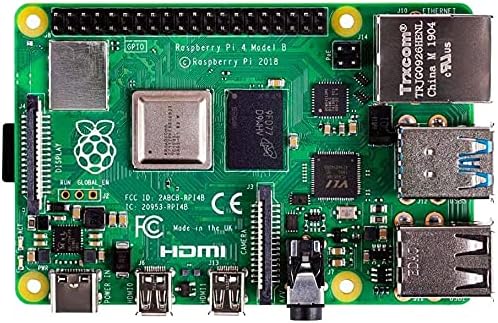
This component mounts the Raspberry Pi itself to the Ender 3’s extruded aluminum rails and can also be found on Thingiverse. There are two versions: one for the Raspberry Pi 3, and one for the Raspberry Pi 4. I’m using a Raspberry Pi 3 for OctoPrint, but the 4 will work fine too. If you decide to use a Raspberry Pi 4 for OctoPrint, I recommend adding a Raspberry Pi 4 fan to the case since things can get a bit hot.
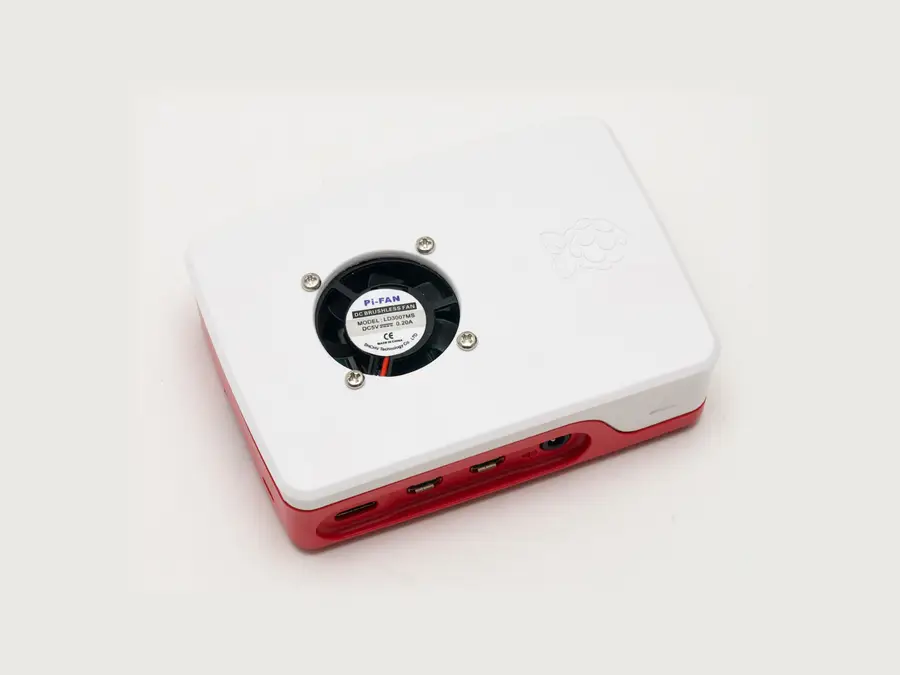
How to Add a Fan to the Raspberry Pi 4 for Proper Cooling (You Need One)
It’s getting hot in here, a fan will cool your Pi.
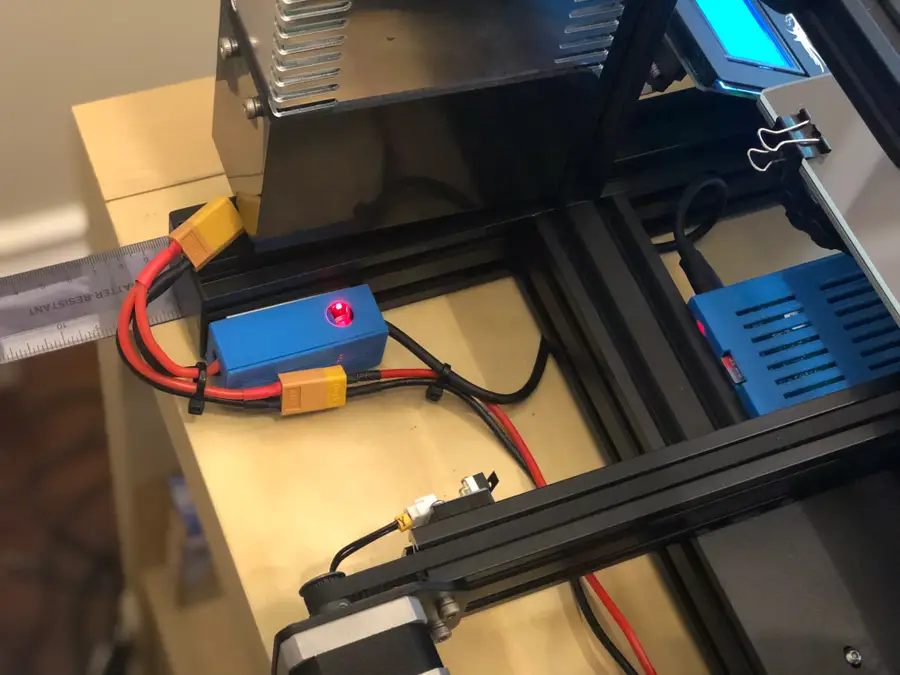
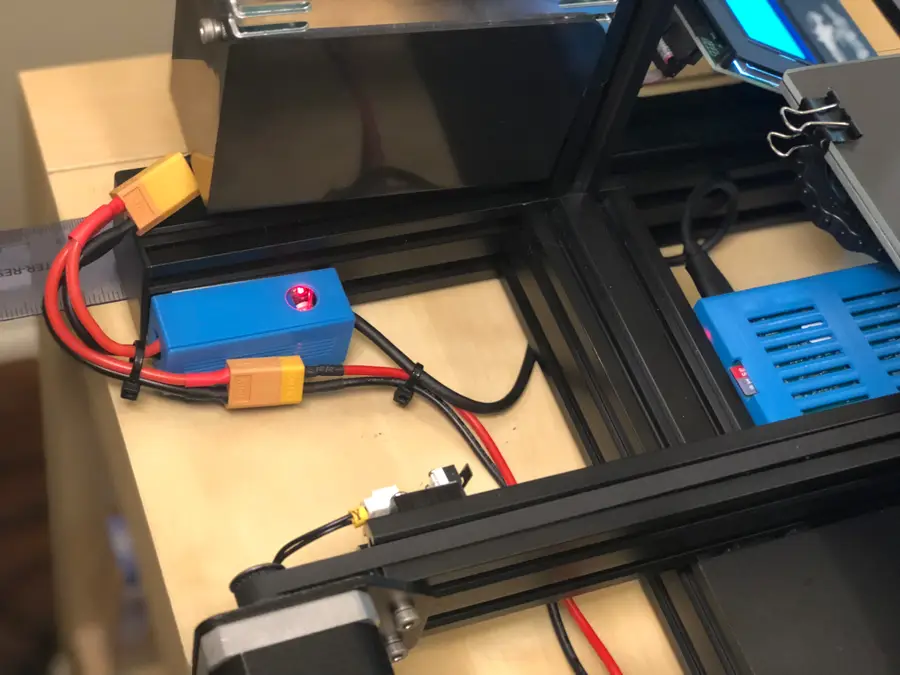
Buck converter enclosure
If you plan on powering your Pi directly from the Ender 3, be sure to print out the included LM2596S buck converter enclosure as well.
Later on, I’ll show you how to connect your Pi to your Ender 3’s power supply.
3 – Mount the Raspberry Pi camera
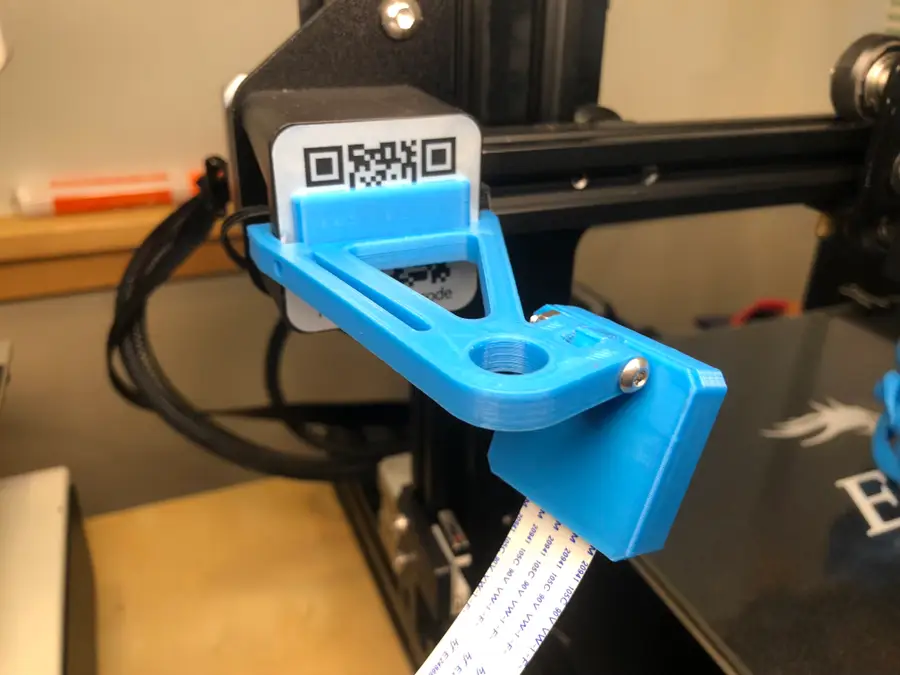
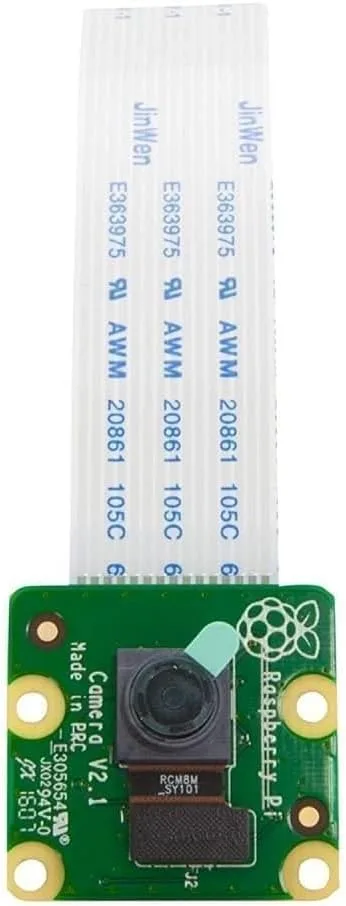
Use an M3 x 20mm bolt and nut to connect the two pieces of the Pi mount. Then, connect the Raspberry Pi ribbon cable to the camera, click the camera into place and slide the camera cover back on.
How to Connect a Camera to the Raspberry Pi
Get ready to record!
Ender 3 Raspberry Pi camera cable length
To mount the camera, you’ll need to use this Pi camera extension ribbon cable since the cable that came with your camera isn’t long enough. I’ve found the 610mm cable works perfectly.
It’s a tight fit. Be patient so that you don’t break your camera. 🙂 You might need to file some edges down. If you have no camera feed later, check and make sure the tiny connector that presses onto the camera itself hasn’t come loose.
It’s also possible to use other OctoPrint cameras and webcams rather than the official Raspberry Pi camera, though you’ll need a different mount to do this.
How to Choose the Best Camera for OctoPrint (including USB)
Keep an eye on your prints!
| 🛈 Before mounting everything to your printer, I recommend testing your connections in place. It’s easier to troubleshoot things without needing to connect and disconnect your mounts. |
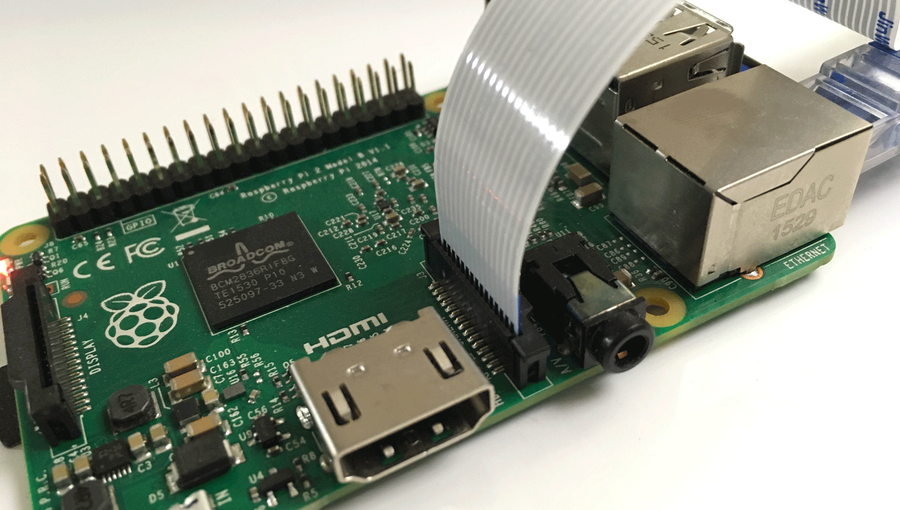
4 – Put the Pi into its case
The 3D-printed Raspberry Pi case is comprised of two pieces: a port faceplate and the case itself. Attach the faceplate first.
The case I linked to above is a bit of a tight fit and doesn’t have a slot for the camera cable (as I learned while writing this guide). If you don’t want to print a different one, simply cut a small slot above the camera port, slide the Pi into its case, and then attach the camera cable.
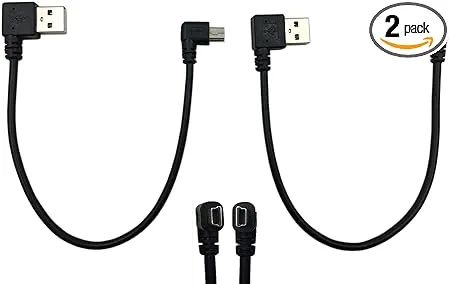
Finally, connect your Pi to your Ender 3’s USB port using a short Mini-USB cable.
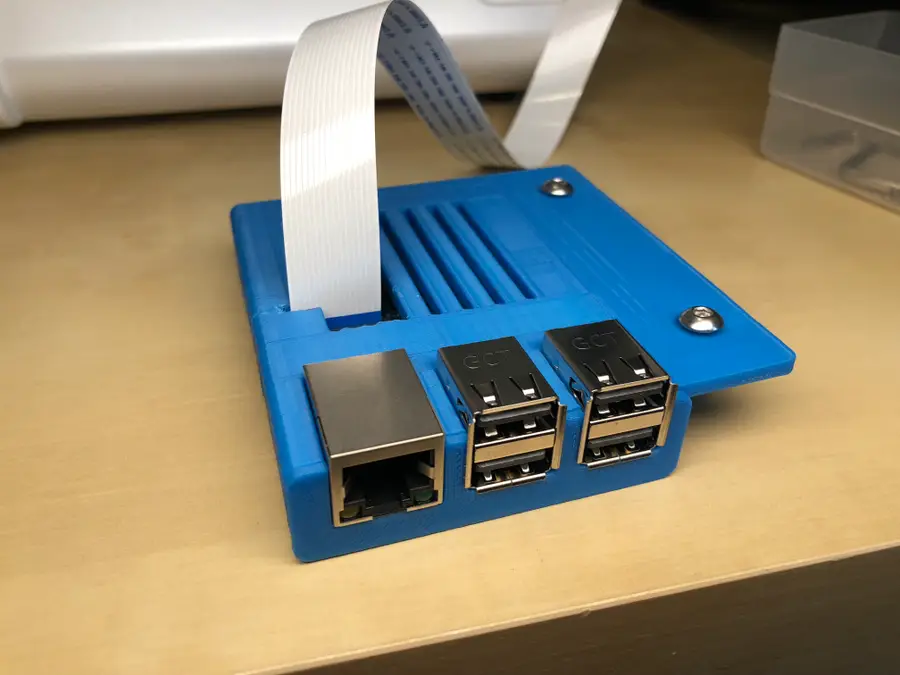
5 – Mount the Raspberry Pi
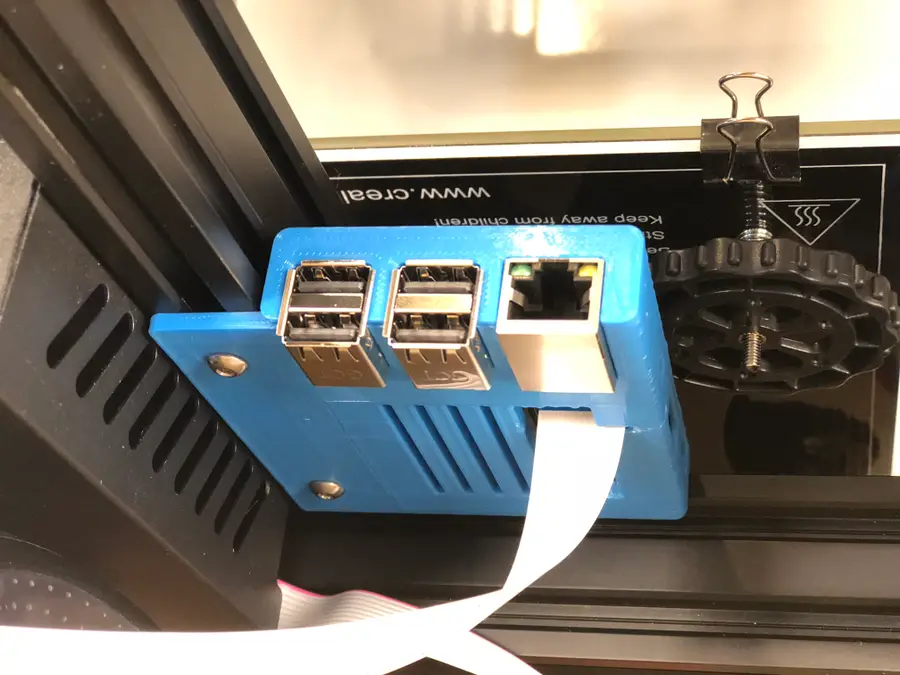
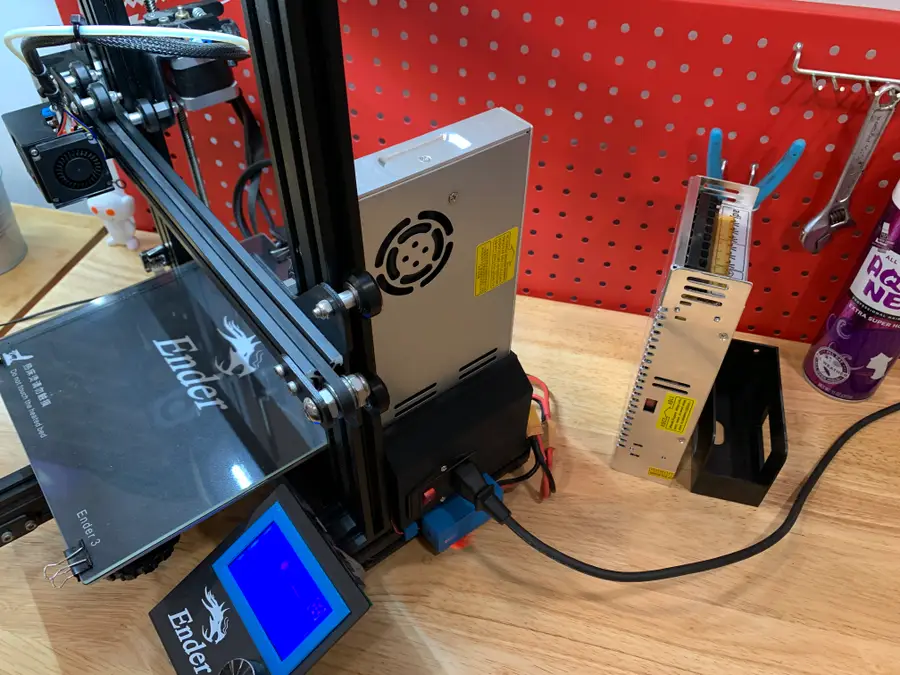
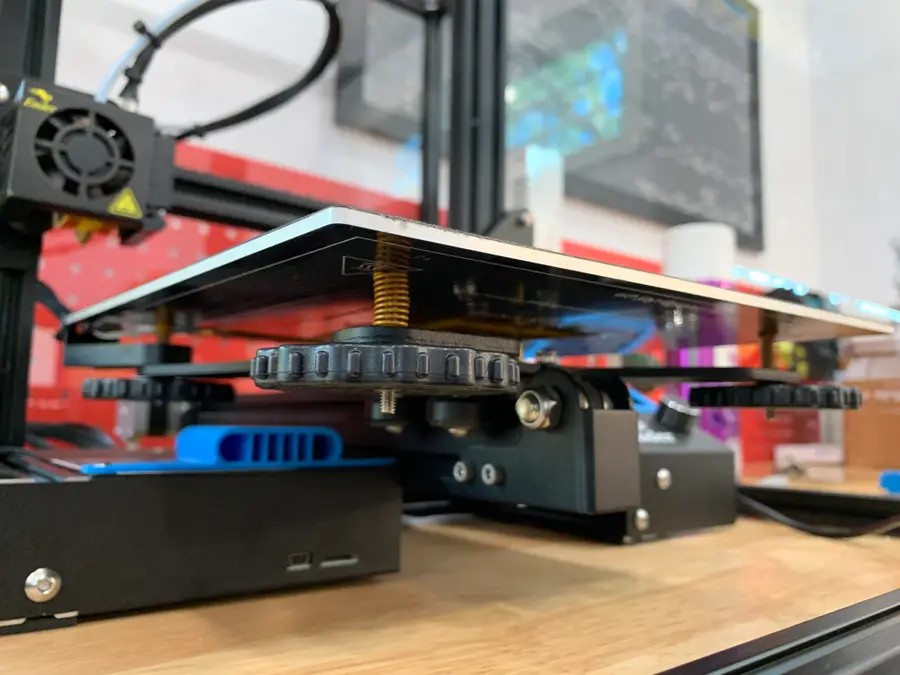
I chose to mount my Pi in the opening in the empty cavity directly beneath the bed. To do this, use two M4 x 8mm bolts and two M4 aluminum channel “T-nuts”. I reused two extra T-nuts that came with the printer.
Attach the bolts and nuts to the Pi case first (with the nuts facing up) and then slide the nut end of the bolts into the bottom piece of extruded aluminum. Finally, tighten the two screws from beneath.
Route the camera cable under the bottom of your printer, between the printer and your table. The printer’s rubber feet will allow it some freedom of movement.
| 🛈 You’ll need to tilt your printer back or move it to the edge of your desk to reach and tighten the bolts. |
6 – Power the Pi from the Ender 3
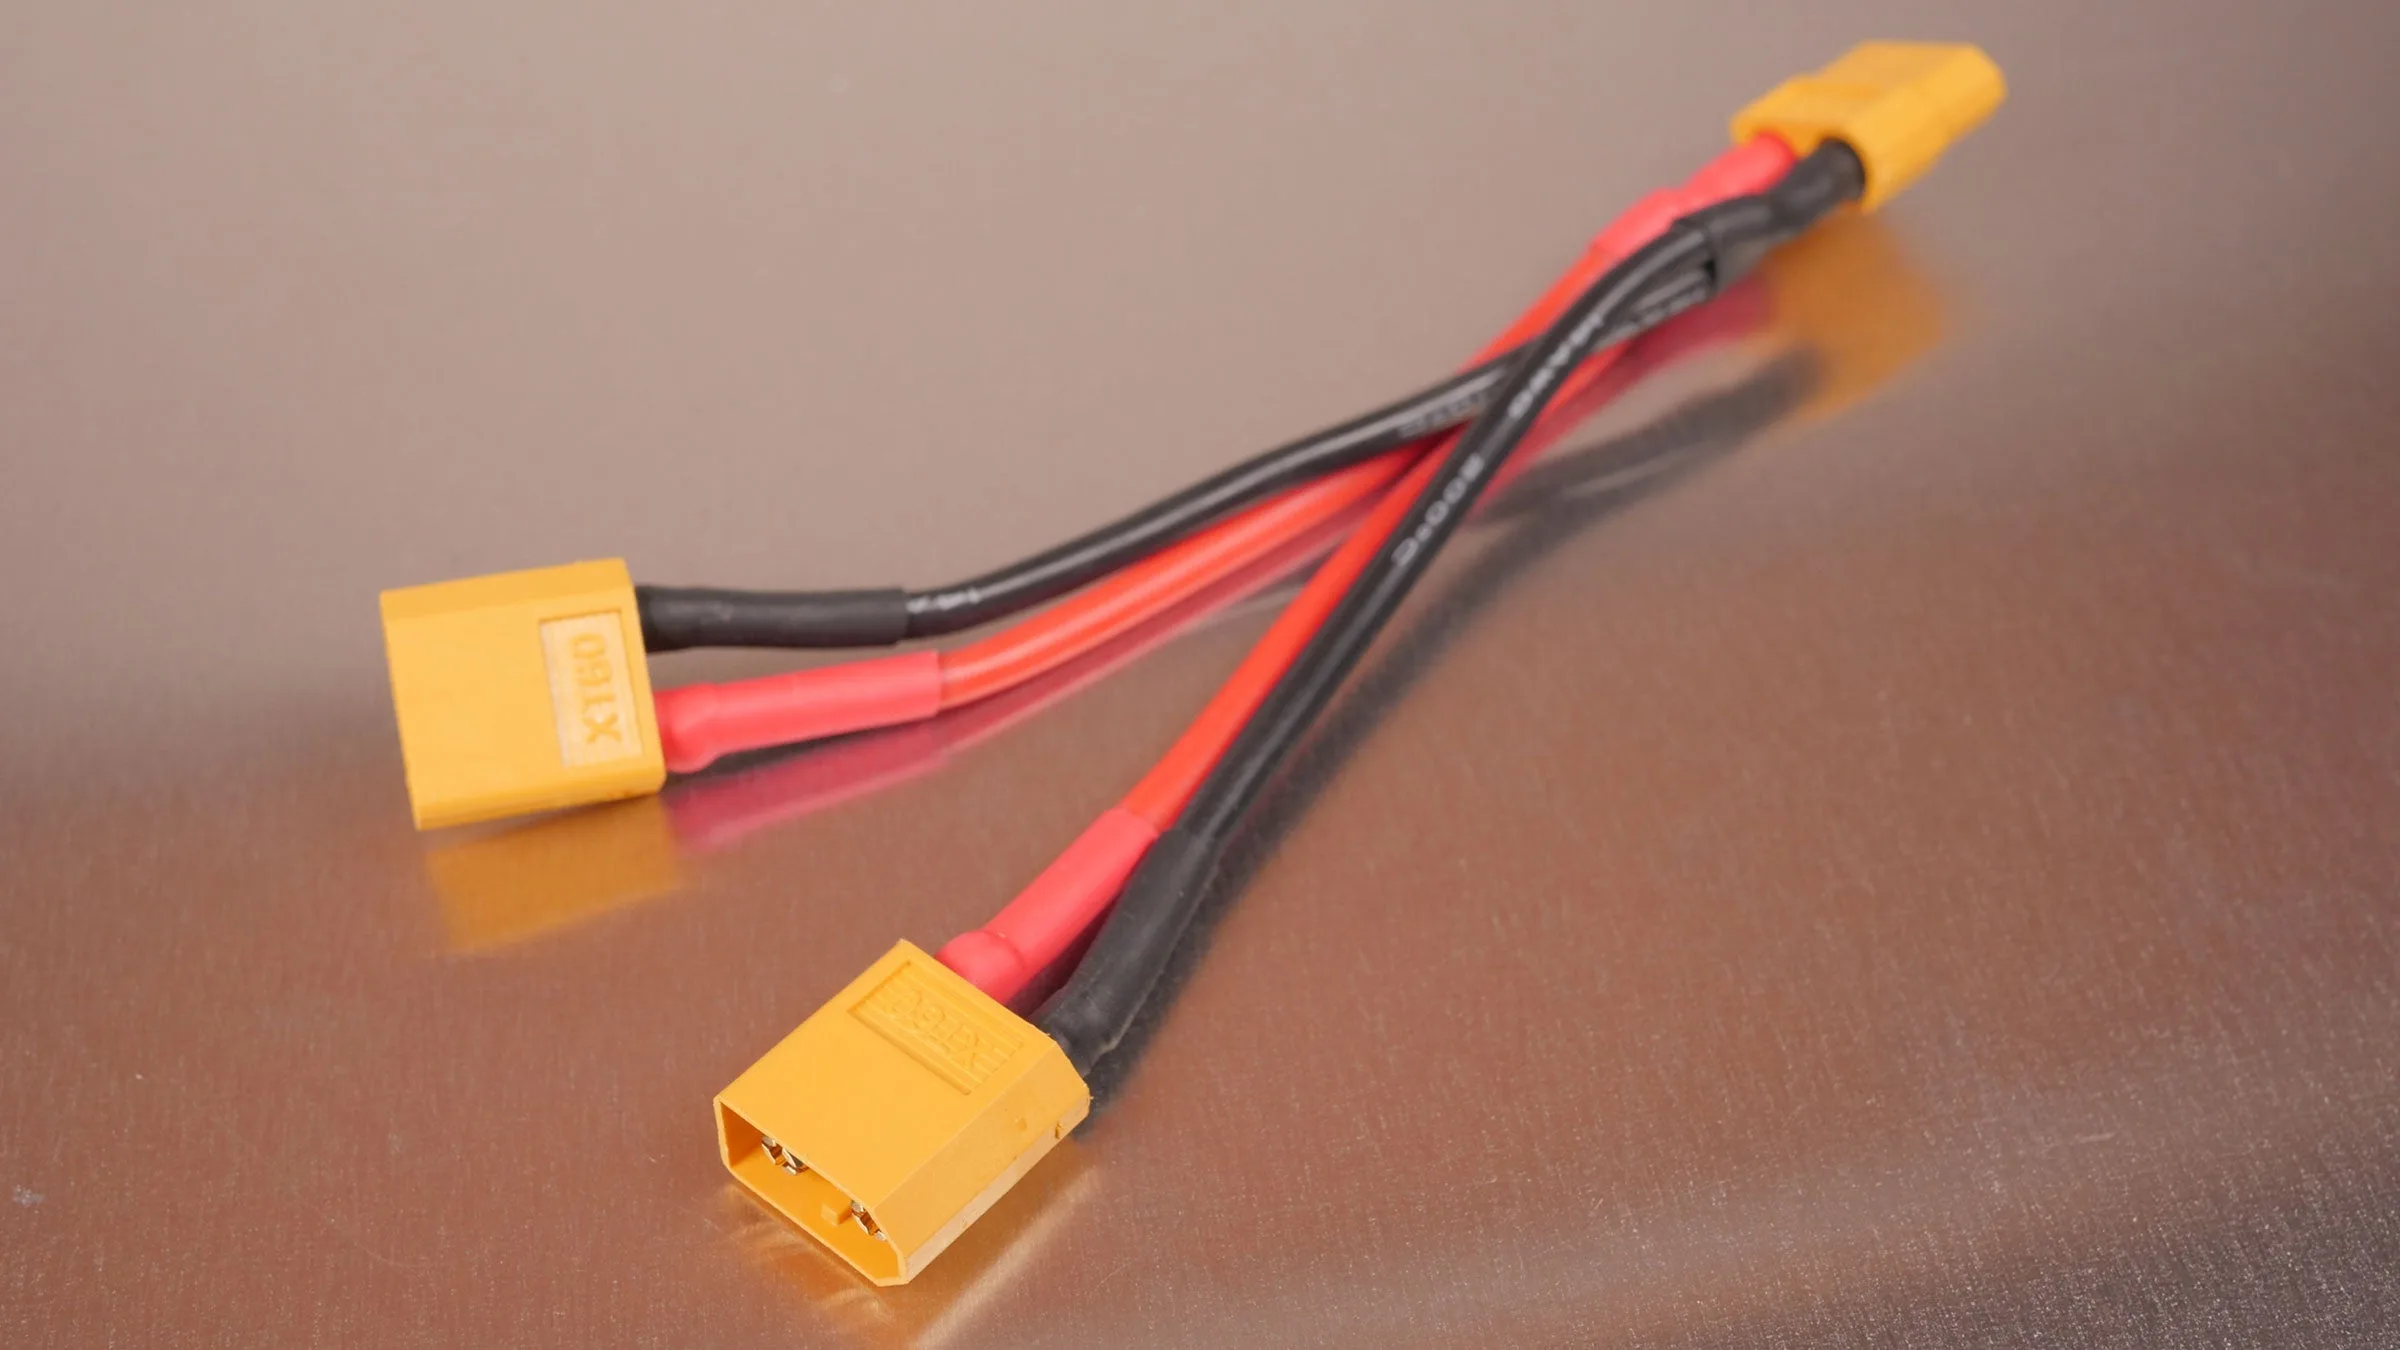
If you’d like, you can power your Raspberry Pi directly from your 3D printer’s power supply! This can be done easily by tapping into the cable coming out of the back of the Ender 3 using a Y-splitter, then reducing the voltage to 5V with a buck converter. I wrote a separate guide to show you how to power the Raspberry Pi using the 3D printer PSU if you’re interested.
How to Power a Raspberry Pi from a 3D Printer Using Your Printer’s Power Supply Unit (PSU)
Who needs more power bricks?
This step is optional: if you just want to plug your Pi into the wall, that’s ok too.
If you already completed that guide, now is a good time to mount your buck converter enclosure to the back of your Ender 3 using foam tape.
7 – Focus the Pi camera
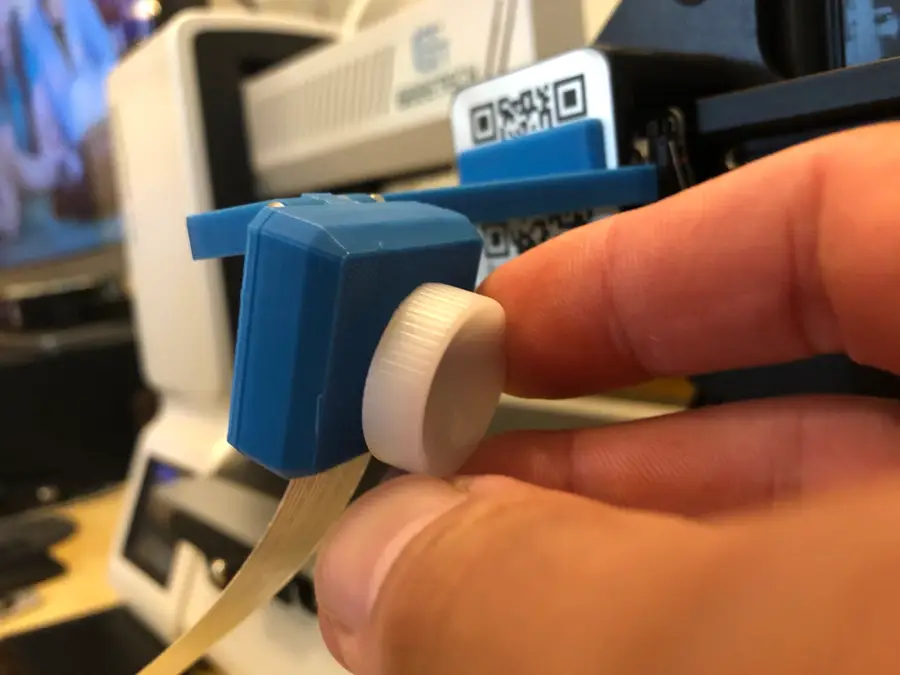
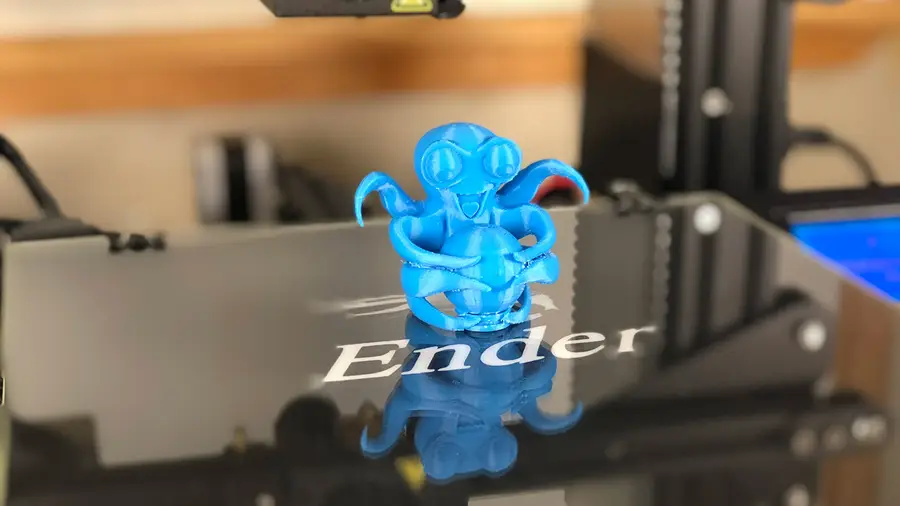
View the camera feed in the OctoPrint/OctoPi interface. Center the bed and place a small object in the middle of it. Then, use the small white wheel that came with your camera to turn the lens of the Pi camera, thus focusing it. Turn it just a tiny amount at a time (maybe 1/16 of a turn) and check the feed periodically until it’s nice and focused!
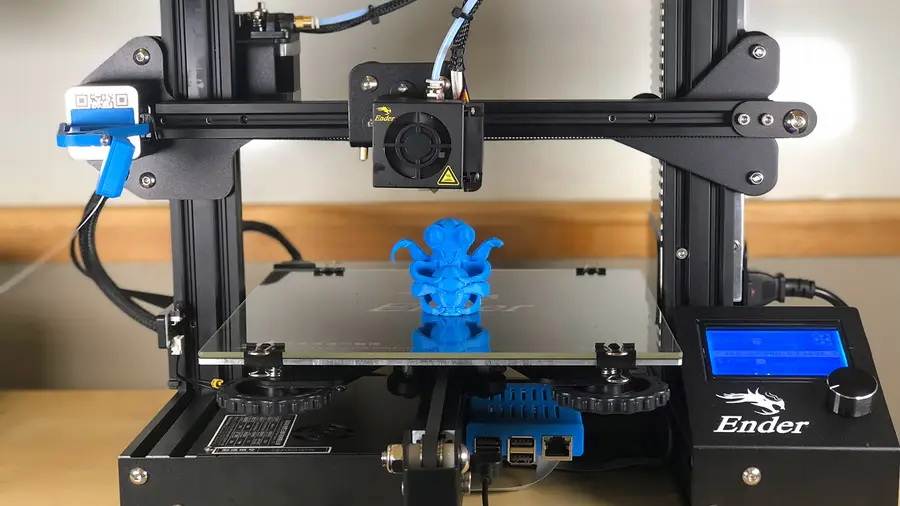
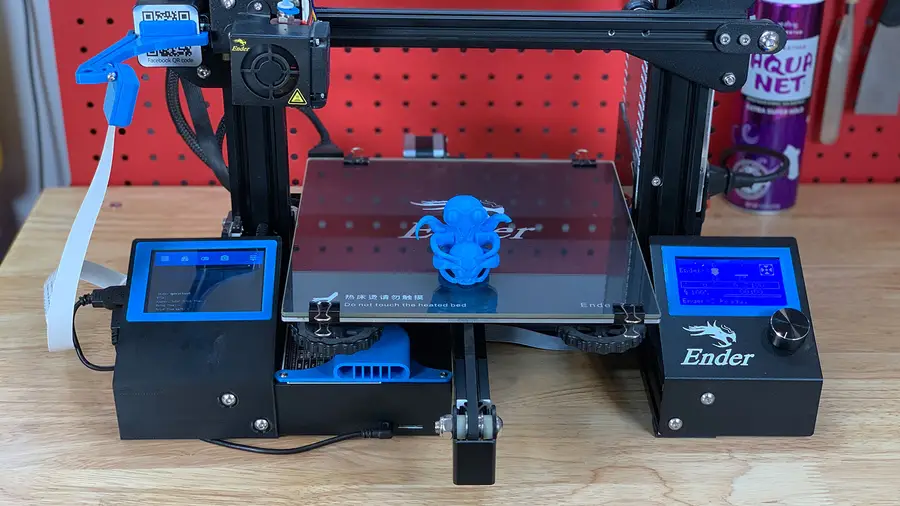
8 – Final setup!
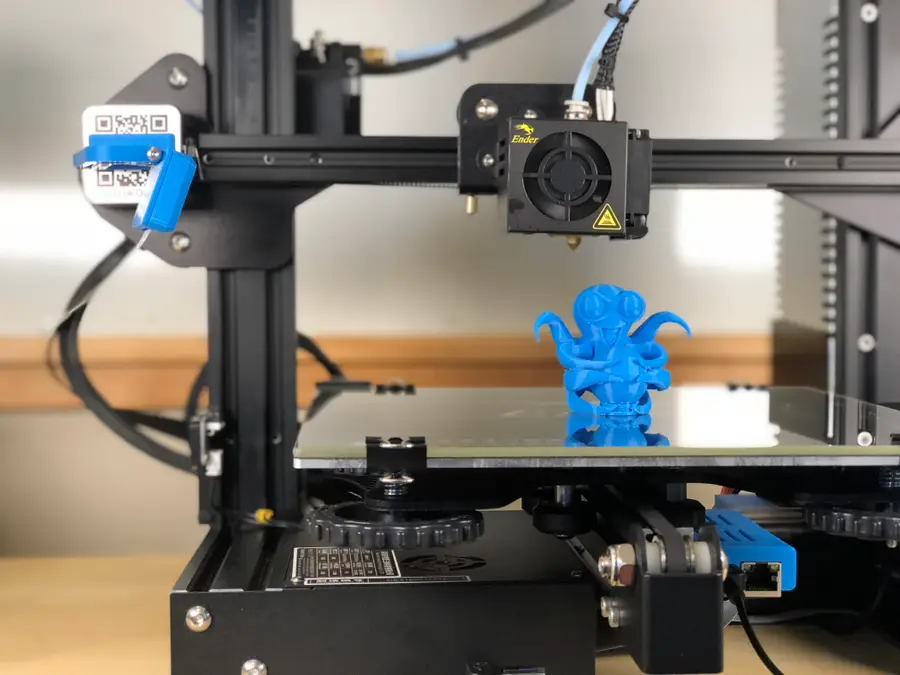
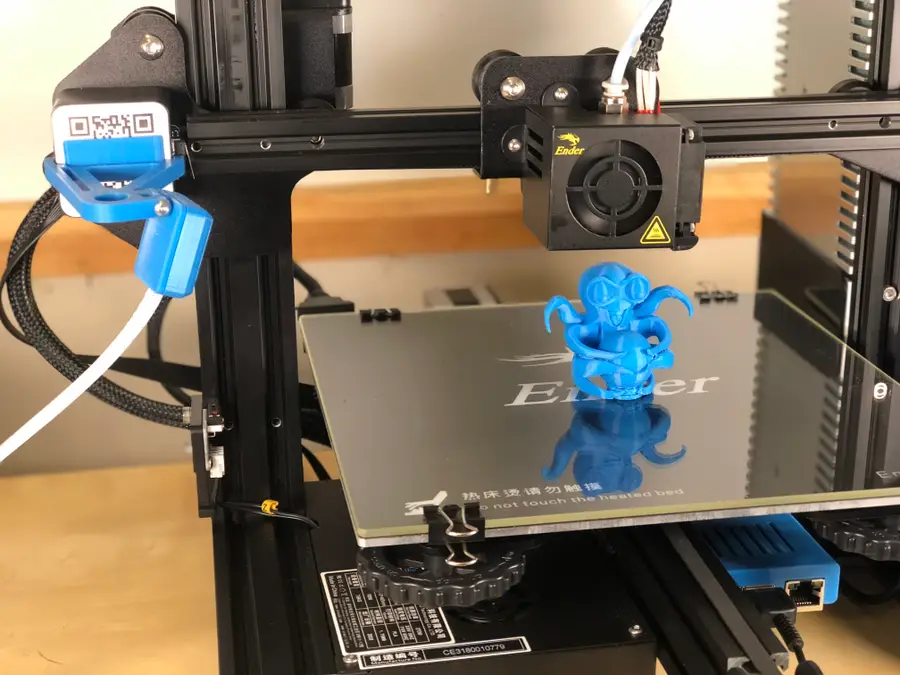
This photo shows everything fully mounted and running.
You’re all done! Be sure to check out my full OctoPrint guide if you’re still fine-tuning your OctoPrint setup. I also wrote a guide on adding an OctoPrint touchscreen to the Ender 3 if you’d like to check it out!
How to Add an OctoPrint Touchscreen to Your Ender 3
An inexpensive upgrade to make your Ender 3 even better!
OctoPrint: Control Your 3D Printer Remotely with Raspberry Pi and OctoPi
Untether your printer!
9 – Recommended: Update Your Firmware
Now that you’ve gotten OctoPrint up and running, I highly recommend updating your Ender 3’s firmware. Why? The newer versions of Marlin add thermal runaway protection, which helps to prevent 3D printer fires. Also, be sure to check out my full Ender 3 upgrades and mods guide!
The Best Creality Ender 3 (and Pro) Upgrades and Mods (2022)
Improve your overall printing experience—and quality.

Ender 3: How to Install a Bootloader and Update Marlin Firmware
Update your 3D printer’s firmware and add thermal runaway protection.