How to Embed Images in Illustrator
Share
What you'll need
Interests
Series
Embedding an image in Illustrator will store a copy of the image file within the AI project. This will make the project size bigger, as it now accommodates the whole image rather than linking to it.
Any version of Illustrator will work, but I’ll be using Illustrator 2020 for this guide.
1 – Start a new project
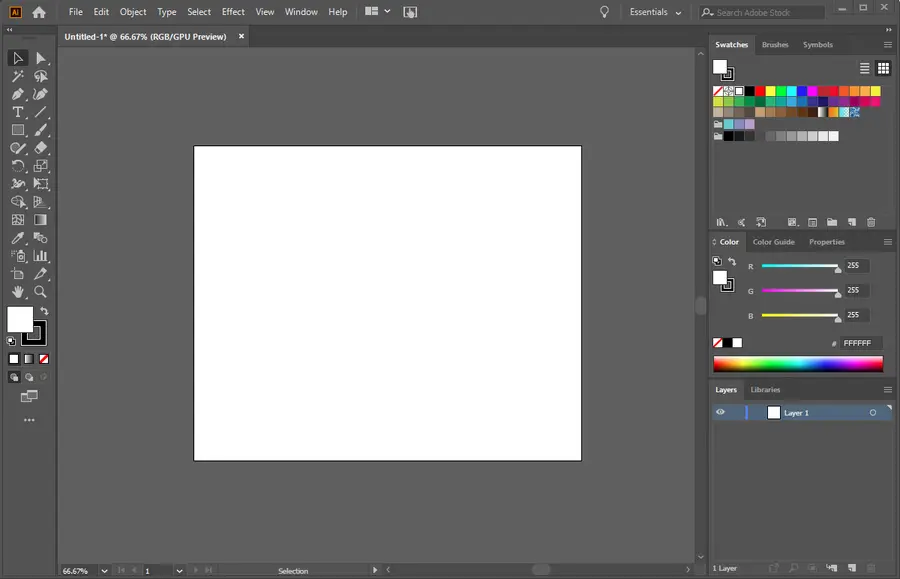
Open the project you need to embed an image in, or start a new project in Illustrator.
You can import an image by dragging and dropping an image file on to the workspace or using the File > Open menu. Place the image inside the artboard.
How to Add and Use an Artboard in Illustrator
Everything you need to master artboards in Illustrator.
2 – Open the links window
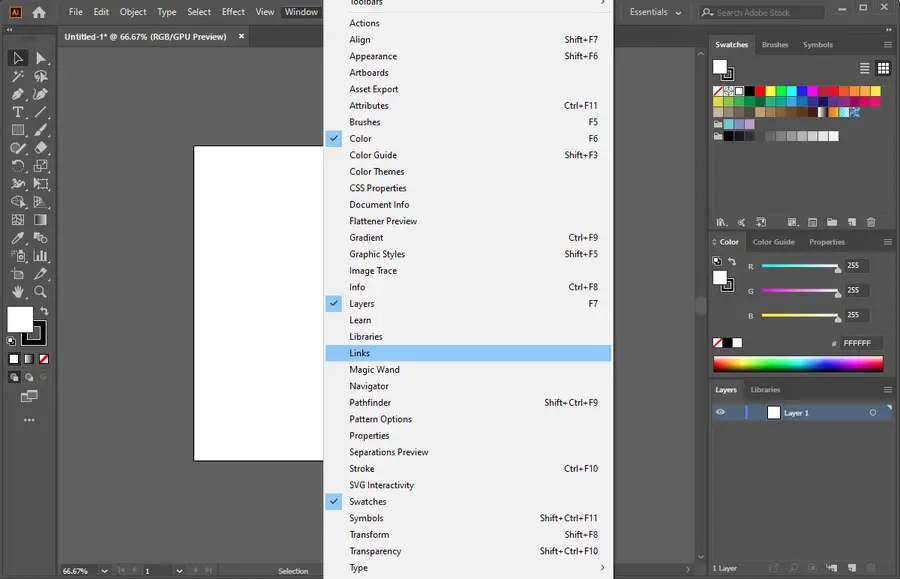
To embed an image, we need to use the Links window. To access it, open the Window tab, and select Links.
3 – Select an image to embed
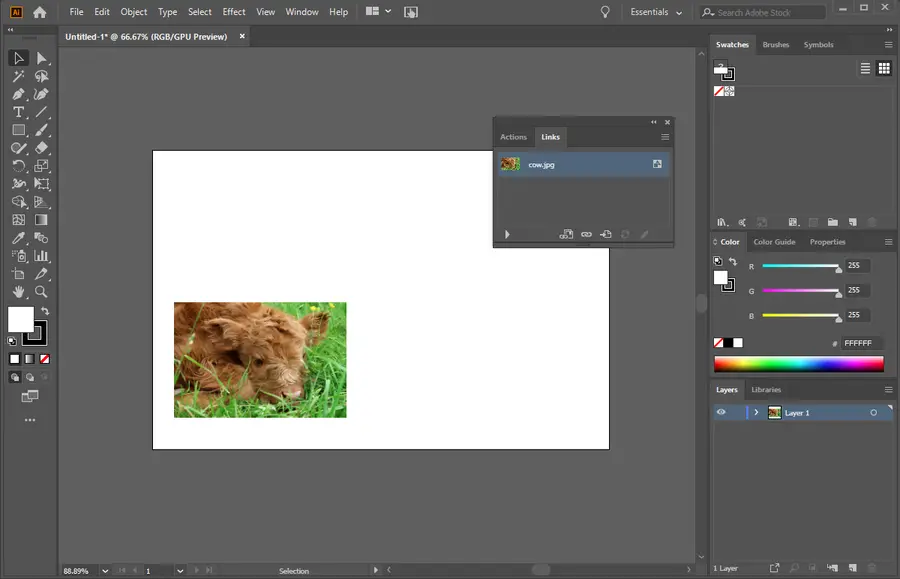
This window will show a list of images used in your Adobe Illustrator document. Select the image you want to embed by clicking on it in this list.
4 – Embed the image
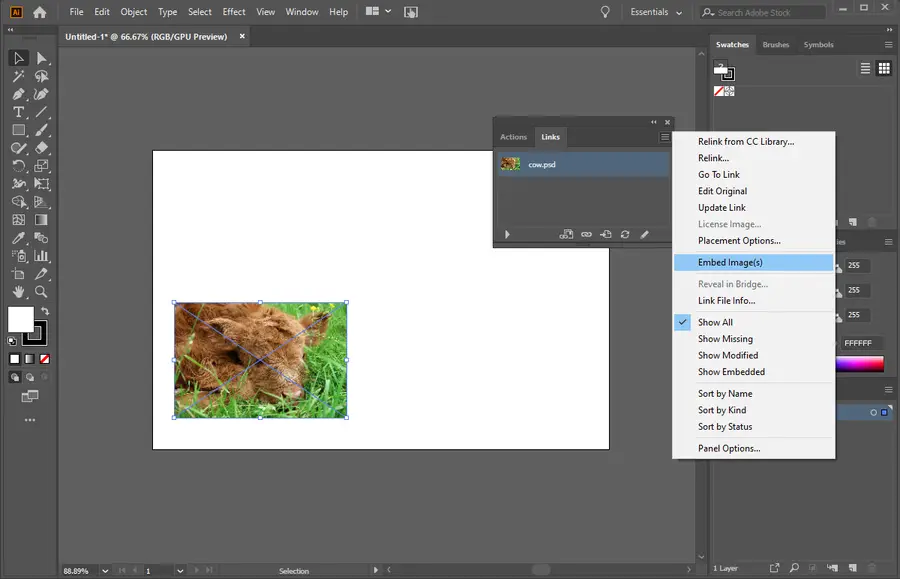
There is a drop-down menu in the Links window that can be accessed in the upper right-hand corner. Open this menu and choose Embed Image(s). Congratulations! The image is now embedded.
5 – How to unembed an image
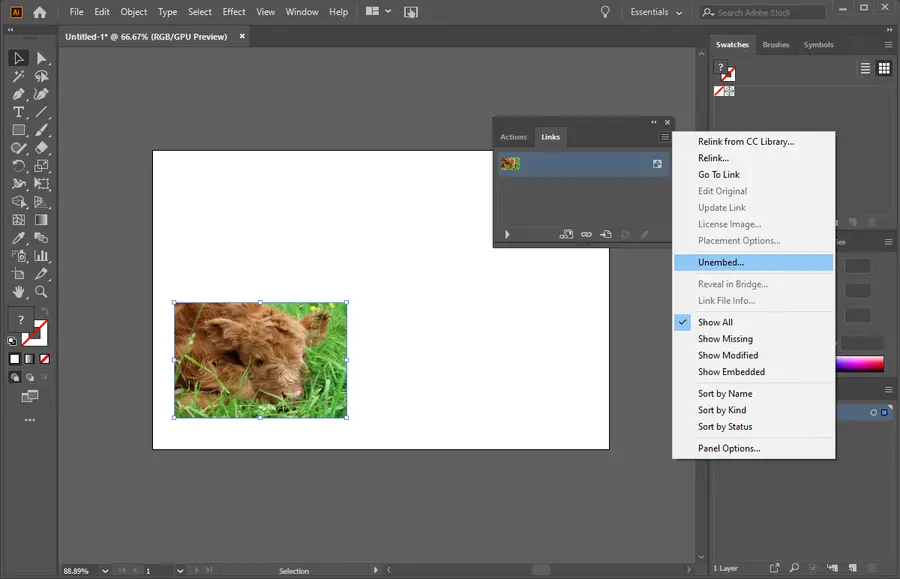
Select the embedded image in the Links Window. Open the drop-down menu and choose Unembed.
You may also be interested in our guide on how to disable the start screen in Illustrator.
How to Disable the Start Screen in Adobe Illustrator
Get rid of that annoying screen!


