The Best Creality Ender 3 (and Pro) Upgrades and Mods (2022)

Share
What you'll need
Interests
Series


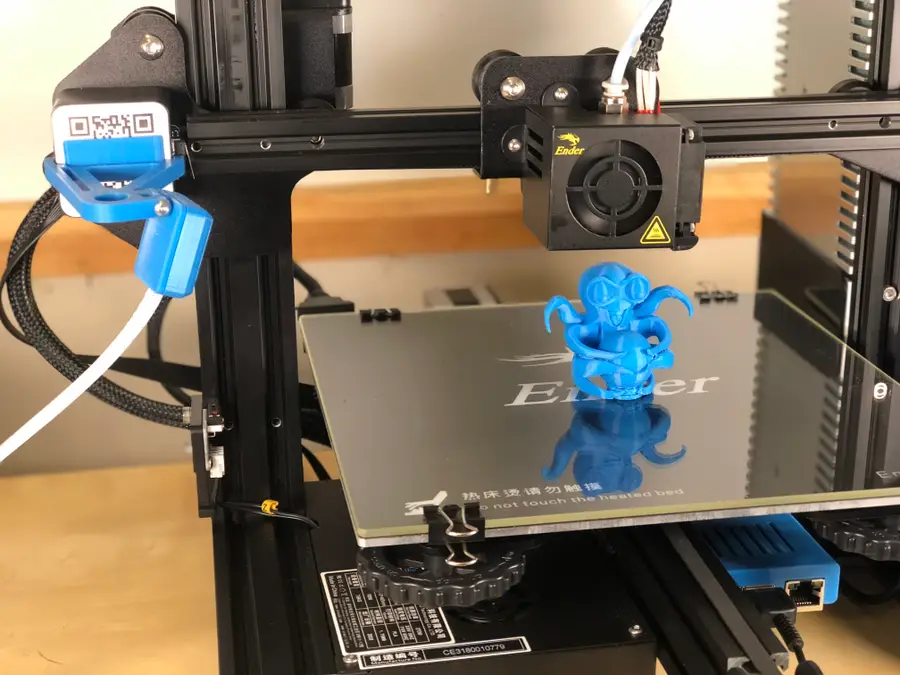

The Ender 3 is an amazing 3D printer. For the money, it’s hard to find one that will give you better prints right out of the box. However, it’s far from perfect.
Creality Ender 3 Review: The Best 3D Printer Under $200
Behold the Anet A8 slayer.
In this guide, I’ll show you the top must-have upgrades and mods for the Ender 3 and Ender 3 Pro—both 3D-printable and purchased upgrades/mods.
A note on this guide:
In researching this guide, I found a lot of others with massive lists containing every upgrade and mod under the sun—unfortunately, many of those upgrades are pointless wastes of time and money. So, in this guide, I’ll cut through the BS and cover the most impactful items that will give you better prints while also improving your overall printing experience.
1 – Upgrades and mods to 3D print
Below are the top 3D-printable Ender 3 mods and upgrades you can perform. Tons of other printable mods exist, but this is the core list that will give you the best bang for your print time.
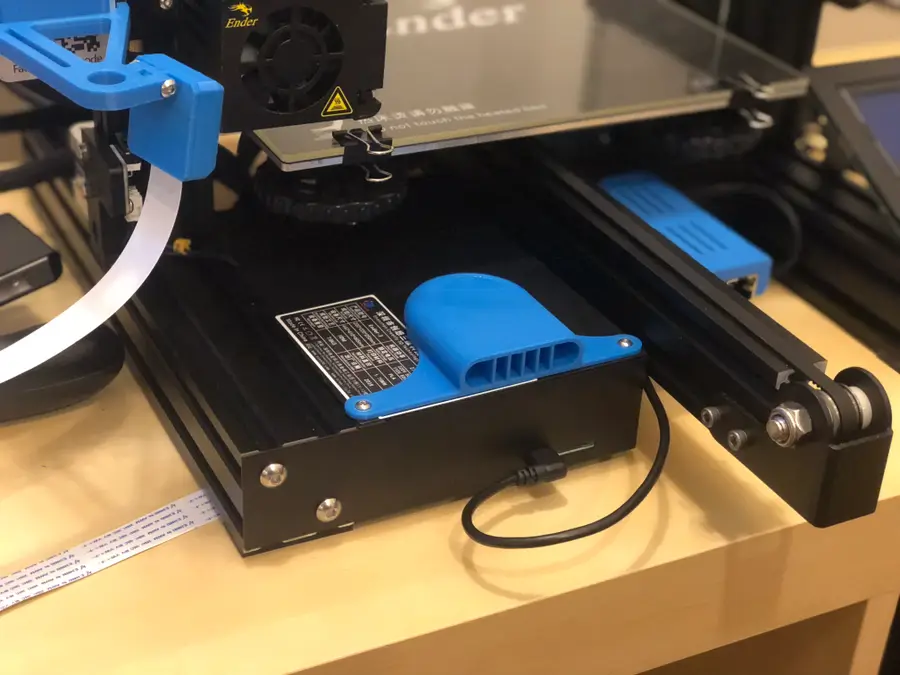
Board fan guard
Before you print anything else, print this mod. The location of the mainboard fan is directly beneath the build plate, meaning bits of filament can fall in and damage the fan or board. The model is available on Thingiverse.
Filament guide
This filament guide holds the filament away from the feeder, allowing for a more consistent feed rate and less skipping. It snaps directly into the side of the upper support.
Cable chain
This cable chain is a must-have for preventing dangerous cable snags when the bed moves along the Y-axis.
Display PCB cover
This simple screen cover protects your Ender 3 display’s PCB (printed circuit board) from damage.
Bowden tube fitting fix
If your Bowden tube has popped out of place or if you’re having print quality issues, you might want to print these pressure fitting shims that will prevent your Bowden tubes from shifting or popping out during printing.
Beeper silencer
You’ve probably noticed how loud the Ender 3 beeps when navigating the menu interface. This beep can level villages and knock satellites out of orbit. This 10-minute print mutes the beep quite a bit, getting rid of that annoyance and protecting our countrysides and space assets.
| 🛈 If you’re using a 3D printer enclosure, I recommend printing these mods using ABS or PETG filament; ambient enclosure temperatures can cause PLA to warp and deform over time. |
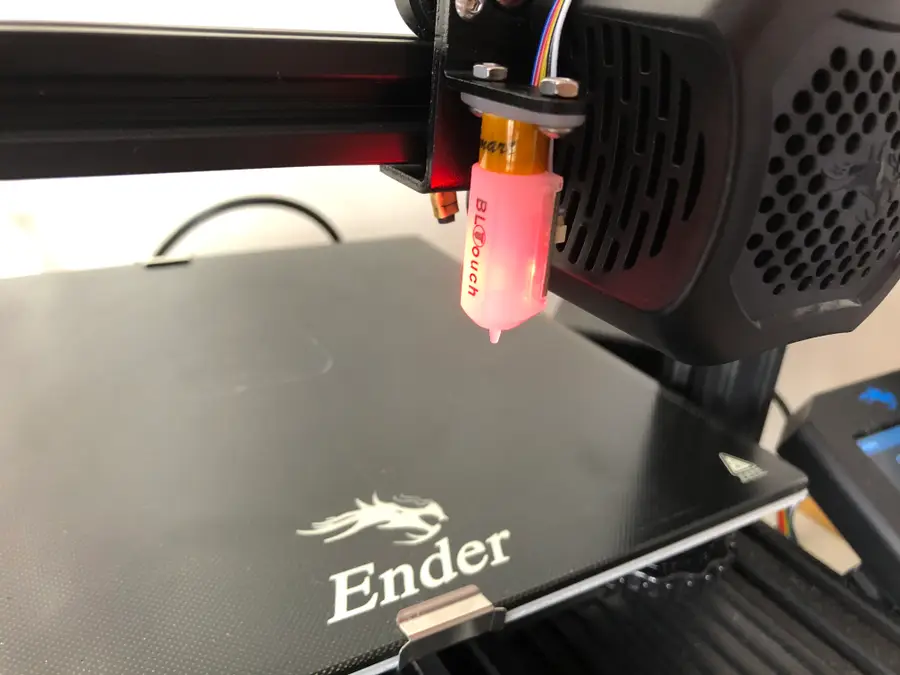
2 – BLTouch auto bed leveling
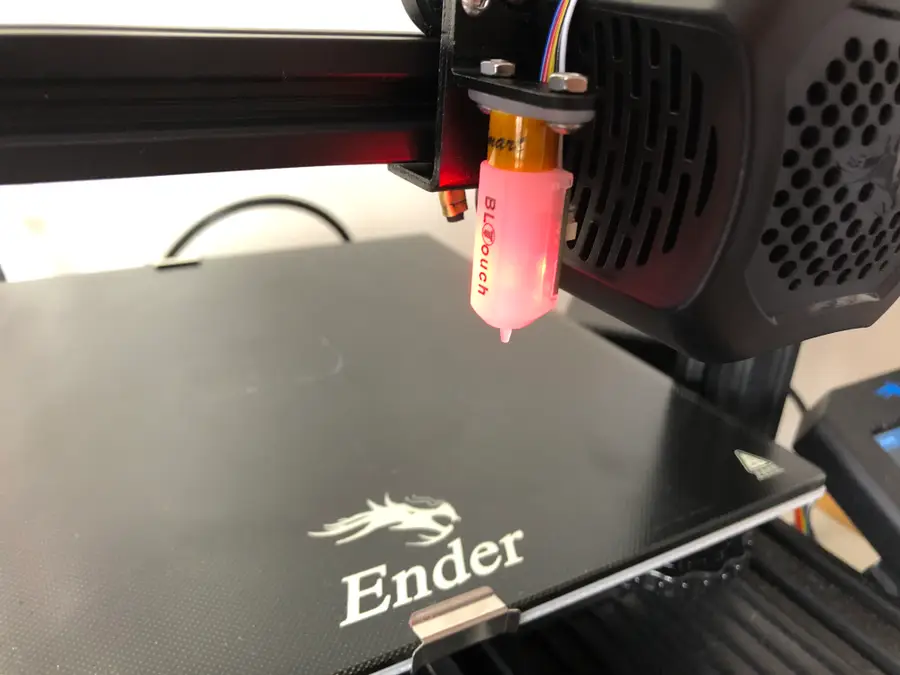
How many times have you grabbed a piece of paper and slid it back and forth between your print bed and the extruder? Is it more than a hundred? What if I was to tell you that one upgrade could make it so you’d never have to manually level the bed again? Sound good to be true?!
With a BLTouch kit specifically for the Ender 3, Ender 3 V2 or Ender 3 Pro, you can have a perfectly level print each time without having to manually level the bed. Because it’s supported directly by Creality, installing the BLTouch is a fairly easy process, even for 3D printing novices.
What is BLTouch?
The BLTouch by Antclabs is an add-on electrical component for a 3D printer that uses a sensor stem to detect any tilt in the bed surface. It’s built to use very little power at idle and use so that it can be installed directly in the Ender 3’s mainboard, without any heat issues.
What about other auto-leveling sensors?
Other sensors like optical or proximity sensors do have some upsides, but we’ve found them to be expensive to repair and not compatible with certain print bed surfaces.
With the BLTouch, you can use any type of bed and need only swap out the plastic nozzle if it’s damaged. There’s also a ton of support and articles that can help you if you run into trouble using your BLTouch.
Installing the BLTouch
Check out our complete guide to install and set up the BLTouch on any Ender 3-series printer.
How to Install BLTouch on the Creality Ender 3, Ender 3 V2, and Ender 3 Pro
This upgrade is going to level the playing field!
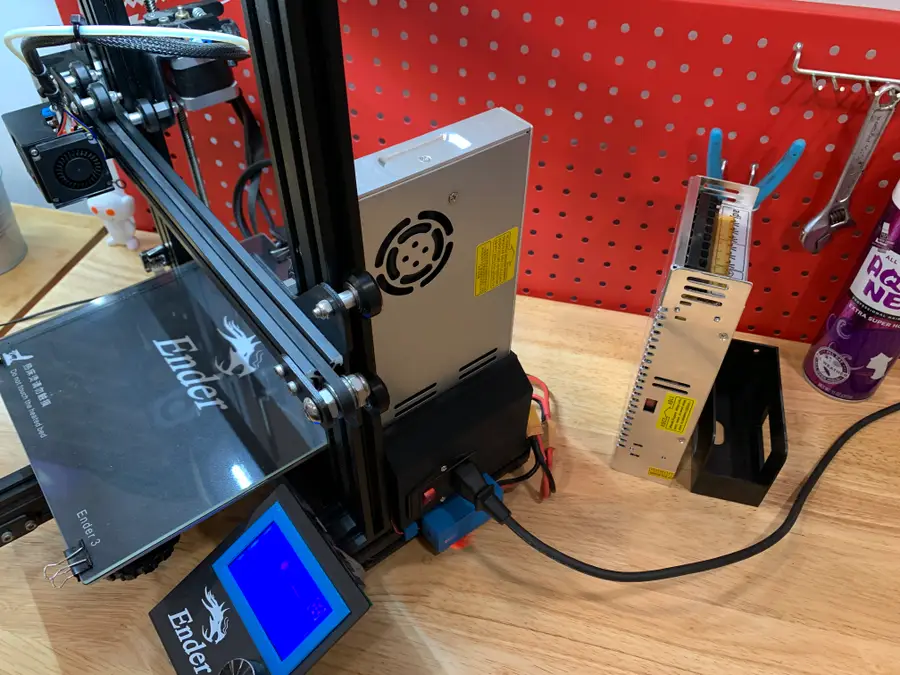
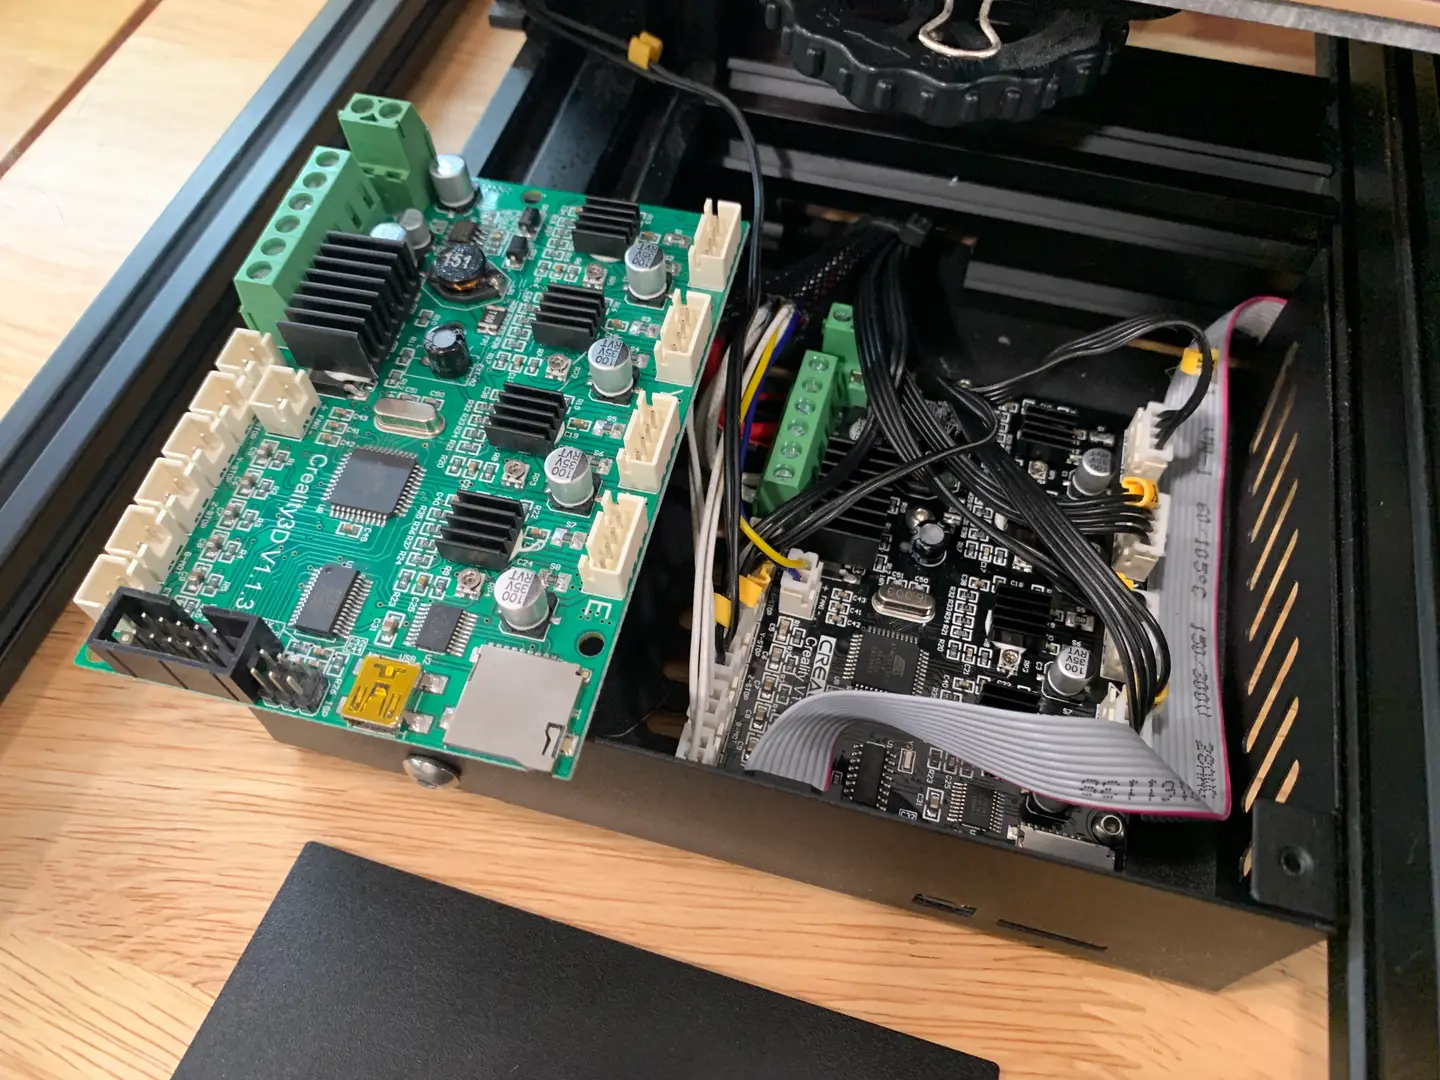
3 – Silent mainboard v1.1.5
There are two main sources of noise on your printer: 1) fans, and 2) the drivers (chips) that run your stepper motors. The “whirring” noise you associate with printing is caused by the cheap stepper motor drivers used on the stock Ender 3 board.
Enter the Creality Silent Mainboard (v1.1.5). This board directly replaces your existing Ender 3 mainboard, upgrading your printer to the silent TMC2208 stepper motor drivers. This is the biggest “sound” upgrade you can make. It reduces your printer’s noise from approximately 48dB to 36dB, with the remaining sound coming from the Ender 3’s fans (which can also be upgraded to quieter fans).

Creality Ender 3 Silent Mainboard Upgrade: Better Prints with Less Noise!
Make your Ender 3 quieter and improve your prints with this board upgrade.
If I had to choose a single upgrade from this guide (other than OctoPrint), it would be this one. Combined with the MeanWell PSU upgrade also mentioned in this guide, I often forget my printer is running since it now generates so little noise.
Of course, in addition to decreasing noise, this board and its upgraded stepper motor drivers improve the quality of your prints.
4 – OctoPrint
OctoPrint is the #1 upgrade for making the overall 3D-printing experience easier and more enjoyable. While this upgrade doesn’t relate directly to print quality, it will save you a ton of time and headaches. With OctoPrint, you won’t need to load and start prints from an SD card ever again.
OctoPrint: Control Your 3D Printer Remotely with Raspberry Pi and OctoPi
Untether your printer!
In a nutshell, OctoPrint is a library that runs on the small Raspberry Pi computer. When you want to print something, you’ll log into a slick interface from your computer. This interface will allow you to control your printer, start and stop prints, and more. You can even monitor your printer remotely using a small camera!
I wrote a full guide on installing and using OctoPrint on the Ender 3, as well as a video:
How to Set Up and Use OctoPrint on the Creality Ender 3
Control your Ender 3 remotely.
If you’re using the newer Ender 3 V2, check out our Ender 3 V2 OctoPrint setup guide.
6 – OctoPrint touchscreen

If you’re already using OctoPrint, why not add a nice touchscreen to your Ender 3? Check out my full guide on this, as well as my video:
How to Add an OctoPrint Touchscreen to Your Ender 3
An inexpensive upgrade to make your Ender 3 even better!
For this project, I used the Adafruit 3.5″ PiTFT Plus—but other touchscreens will work as well.
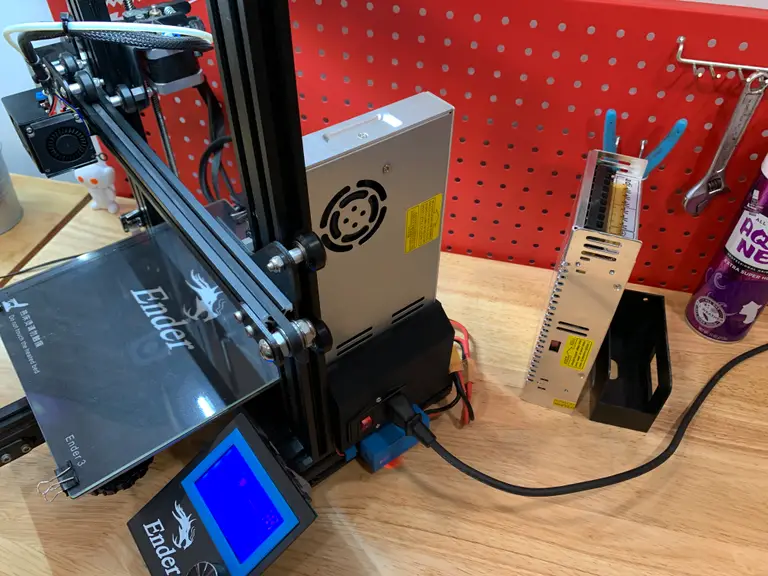
6 – MeanWell power supply (PSU) upgrade
There are several reasons to upgrade your Ender 3 to a MeanWell PSU including noise, safety, and even reducing bed-leveling issues.
How to Upgrade Your Ender 3 Power Supply to a MeanWell PSU
An inexpensive upgrade to make your Ender 3 quieter and safer
Noise
Compared to the stock PSU whose fan runs continuously, the MeanWell PSU only runs when it needs to—usually less than 20% of the time. This means a much quieter printer, especially when paired with the silent board upgrade. This reason alone made the upgrade worth it to me. I work in the same room as my printer, so noise is a huge issue.
Safety
MeanWell PSUs use higher quality components than the cheap stock unit, providing cleaner power with fewer of the electrical spikes and sags that could pose a safety hazard.
Reduce auto-bed-leveling issues
If you’re using an auto-leveling sensor such as the BLTouch or EZABL, the MeanWell PSU’s consistent, clean power reduces issues related to power ripples and grounding.
Form factor
The MeanWell PSU is noticeably thinner than the stock unit, which is handy if you’re using an enclosure and need to relocate it.
Which one to buy (and where)
The MeanWell LRS-3500-25 PSU is the correct 24V MeanWell power supply for the Ender 3, and this upgrade takes about 20 minutes to perform, excluding PSU housing print time.
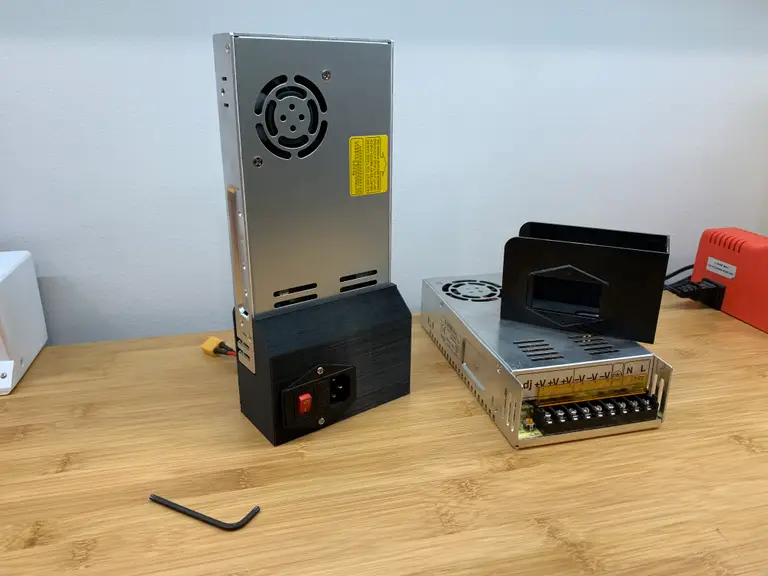
| 🛈 The Ender 3 Pro already ships with this upgrade. |
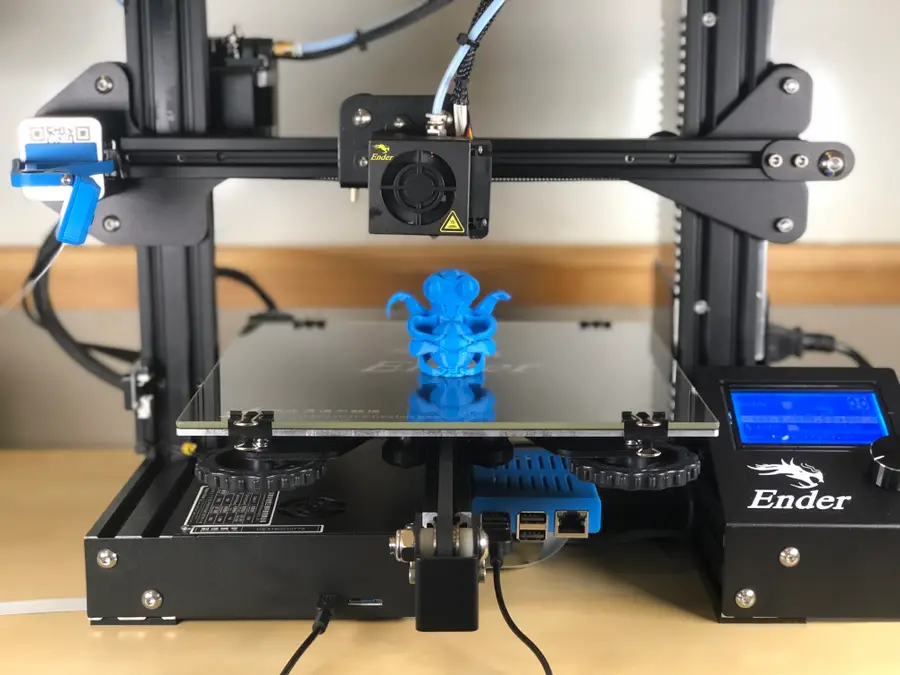
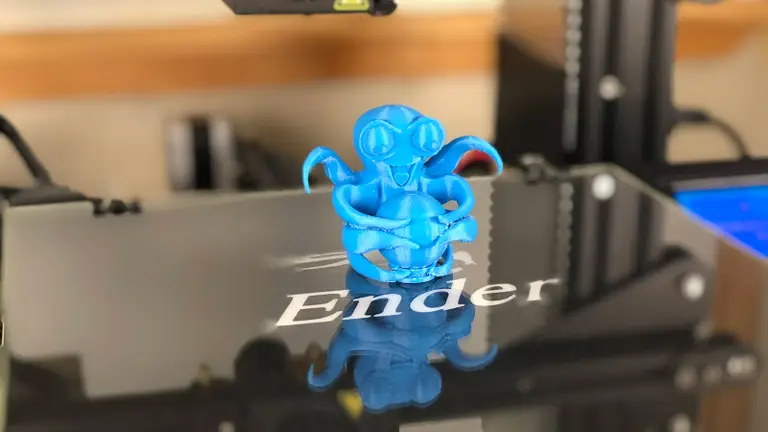
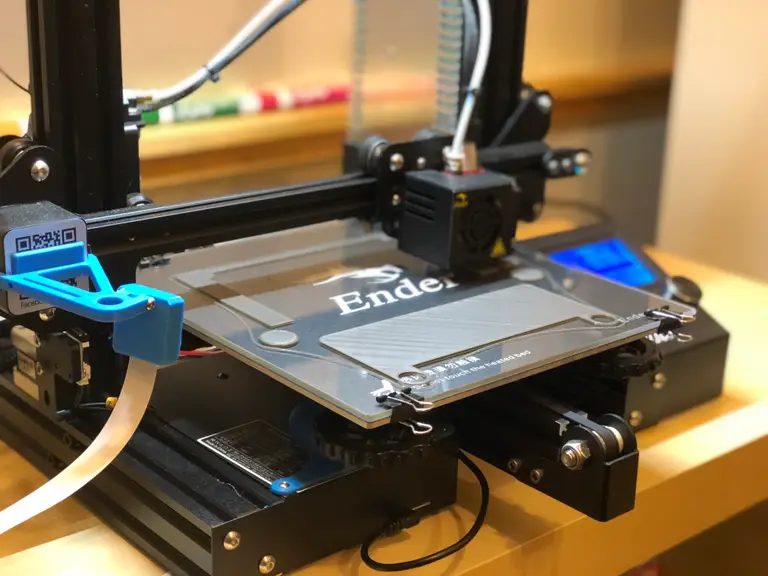
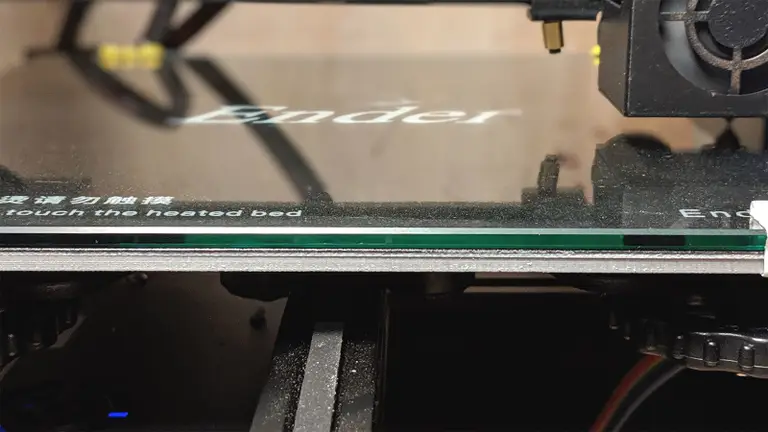
7 – Glass print bed
There are tons of different build plate surfaces out there: metal, magnetic, BuildTak, painter’s tape, and tons more. But after printing for many years on several different printers, I’ve always had the best experience with glass.
Glass beds are supremely flat, fixing the all-too-common “warped Ender 3 bed” issue that many of us experience. Glass beds also save on prep time, are easy to clean, and offer effortless print removal with a semi-glossy print finish.
Choosing a bed
I wrote a comprehensive guide to 3D printing on a glass bed if you’d like to dive into the details. tl;dr; Choose a thin borosilicate glass bed, and adhere it directly to the existing build plate using small binder clips. This 235x235mm glass bed is the one I recommend for the Ender 3.
3D Printer Glass Beds: Why You Should Be Printing on Glass
How to choose, install, and use a glass bed with your printer.
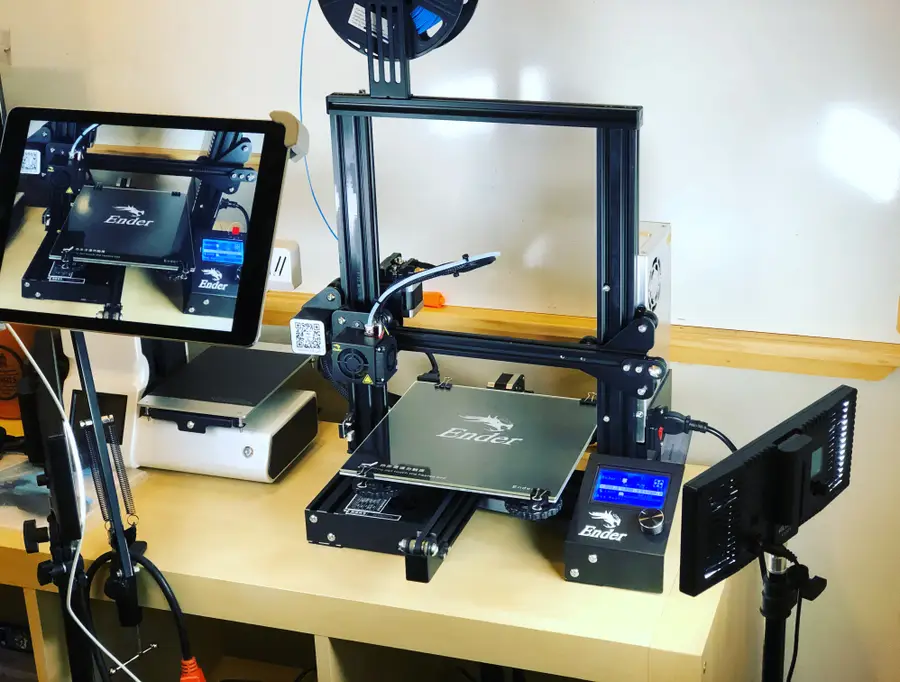
8 – LED strip
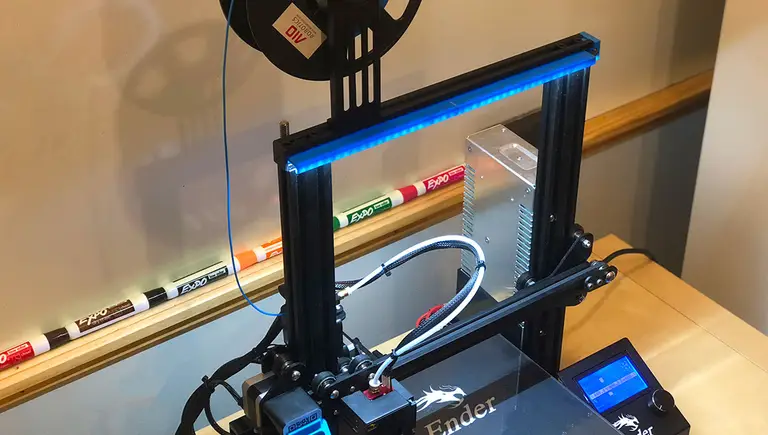
Proper print illumination allows you to identify issues with your prints early—it’s also nice to be able to see what’s happening clearly. There are tons of methods for adding an LED strip to your 3D printer. I prefer one that places the light source as high as possible in order to illuminate the entire print bed, not just the current print area.
I wrote a comprehensive guide on adding an LED strip to your 3D printer, featuring the Ender 3 specifically. Using the method outlined there, you can even power your LED strip directly from your Ender 3 by regulating the voltage using this buck converter in conjunction with this XT60 splitter cable.
How to Add an LED Strip to Your 3D Printer to Light up Your Prints
LED there be light!
Check out that guide for step-by-step instructions on what to print and how to wire everything up!
Easy LED version
If you’d prefer an easy-version LED strip, Creality makes an official LED strip kit, as well.
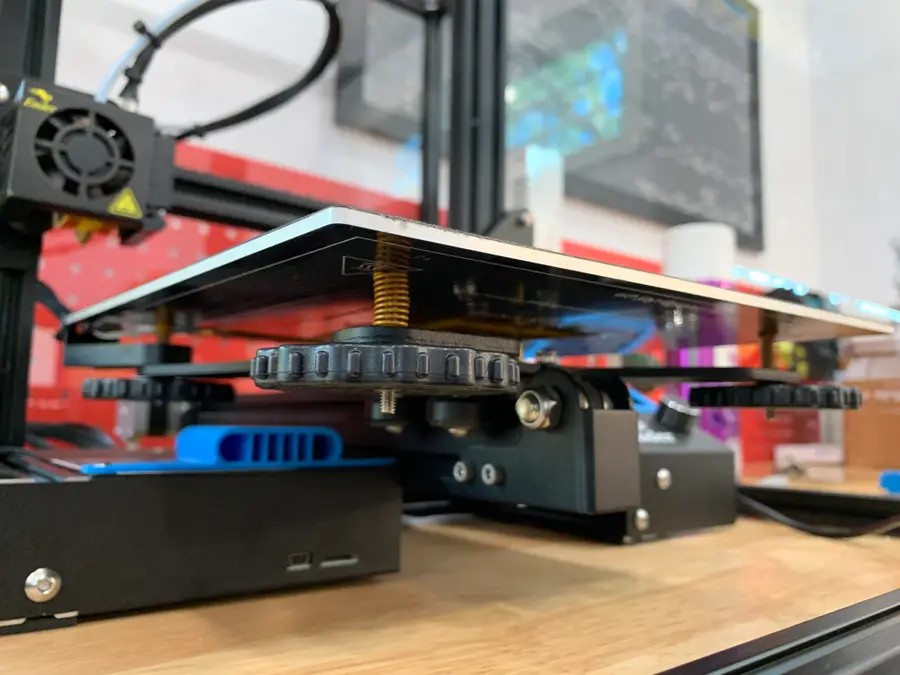
9 – Bed springs
Your bed springs might seem like an insignificant part of your 3D printer, but they’re actually quite important to bed leveling and stability.
The stock Ender 3 bed springs are terrible and can lead to print issues and frequent bed leveling. These issues are largely caused by:
- The cheap metal used to manufacture the springs, and
- The rounded design of the springs themselves
In fact, if you compare the stock and upgraded springs side by side, you can see only the upgraded ones feature a flat surface on the top and bottom. This leads to less shifting compared to the stock springs.
Upgraded Ender 3 springs take minutes to install and mean less frequent bed leveling between prints. This upgrade costs about $10, making it one of the least expensive Ender 3 upgrades out there.

Ender 3 Spring Upgrade: Choosing and Installing New Bed Springs
An inexpensive upgrade that greatly reduces bed leveling frequency!

10 – Metal feeder assembly
The plastic metal feeder assembly on the Ender 3 leaves something to be desired, and improper tension can even cause feeder gear skips, leaving gaps in the layers of your print. Installing an all-metal feeder assembly such as this one will add durability and stability to your printer.
11 – Stepper motor dampers
Yet another noise mod—adding these dampers to your X- and Y-axis stepper motors decreases the noise they generate by 5-10dB. This is a simple, inexpensive mod with a measurable noise reduction impact.
12 – Firmware upgrade

Most Ender 3s ship with an outdated version of the Marlin firmware, which lacks mandatory safety features such as thermal runaway protection. Thermal runaway is a condition where a failure in the thermocouple (temperature sensor) can cause your extruder to continue heating, forever, until your extruder block melts and a fire occurs.
Here’s a video demonstrating thermal runaway in action:
Thankfully, newer versions of Marlin have thermal runaway protection, a software-level safeguard that polls periodically for an increase in temperature and shuts things down if something isn’t right.
I wrote an in-depth guide to updating your Ender 3 firmware that you can follow to perform this mod. You’ll need any kind of Arduino to perform the firmware update, such as this inexpensive Arduino clone. This is a safety upgrade that you shouldn’t skip.
Ender 3: How to Install a Bootloader and Update Marlin Firmware
Update your 3D printer’s firmware and add thermal runaway protection.
| 🛈 If you’re using Octoprint, you should see a warning appear upon logging in if your printer’s firmware lacks mandatory thermal runaway protection. This is an easy way to check. |
13 – Other mods and upgrades
Did I miss a mod or upgrade that you think is a must-have? Let me know in the comments section below!