
This guide will show you how to install SSHFS on various operating systems. 1 – On macOS Using
Sendmail is an open source smtp server. Many different languages and frameworks interface with sendm

This guide will show you how to connect to your Raspberry Pi remotely via SSH from your laptop or de
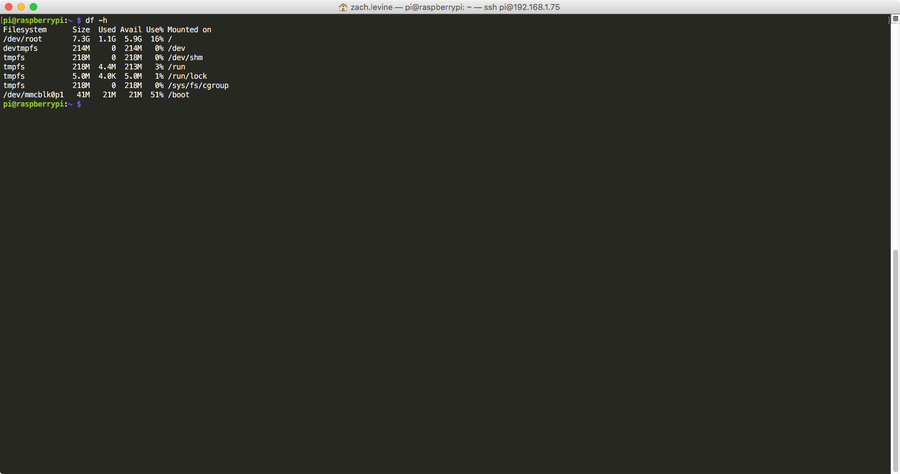
This short guide will show you how to check how much free space your Raspberry Pi has. 1 – Get
Proceed with caution Some users have reported that these settings have messed up their trackpads. We
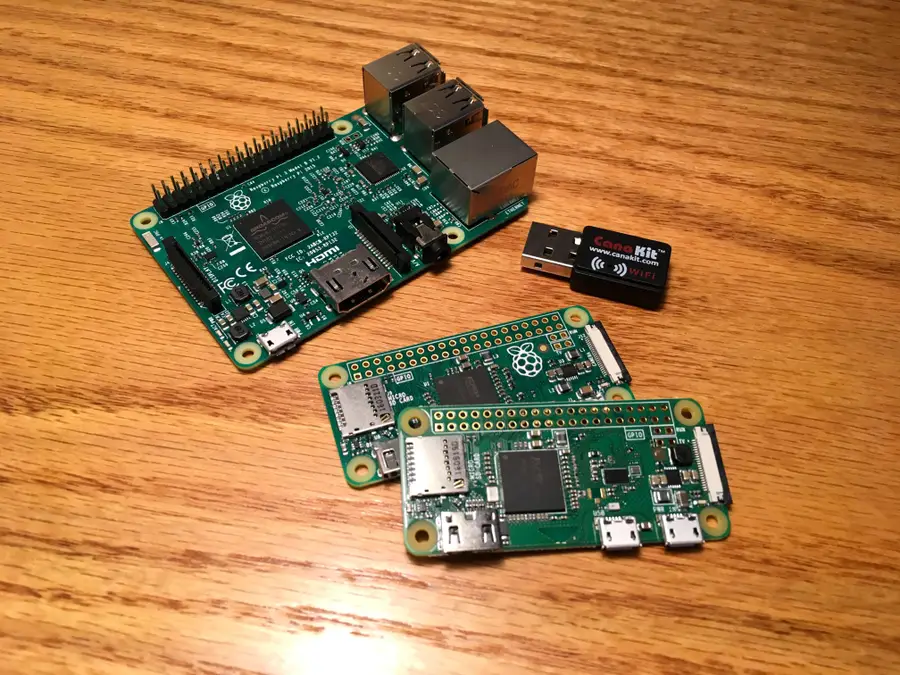
When you’ve got so many Raspberry Pi’s laying around, it’s easy to forget which ve
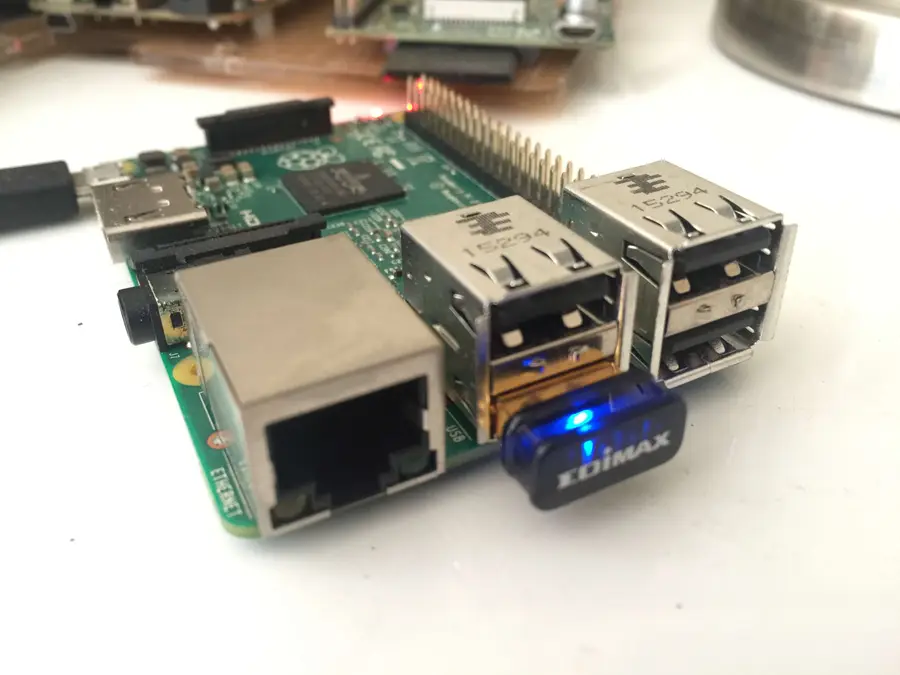
The Edimax WiFi adapter is popular because it’s small, cheap, and most common pi distros come
For a few years now, I’ve been using iTerm 2 and tmux. But only recently did I find out about
If you’ve ever tried running a shell script, only to get a command not found error,
This guide will show you how to set up a LAMP environment in macOS and OS X. 1 – L is for Linu
I’m one of the rare software developers that doesn’t have an extra HDMI monitor, keyboar
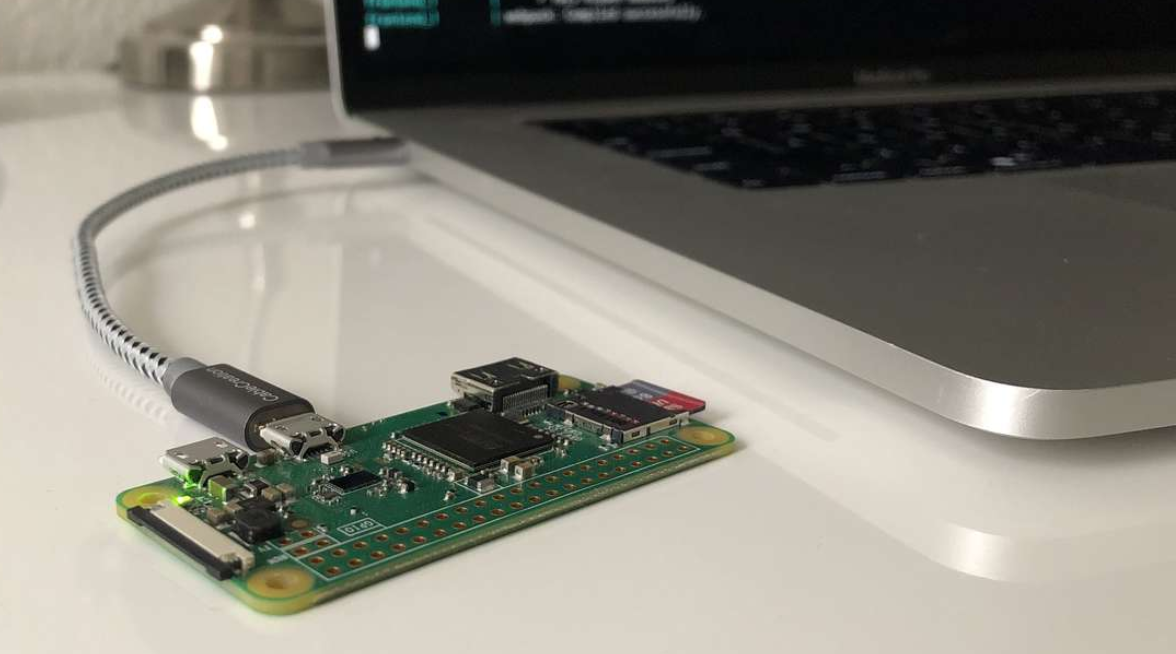
Program your Pi without a keyboard, monitor, or network connection We’ve written previously ab
