How to Set Up and Use OctoPrint on the Creality Ender 3 V2

Share
What you'll need
Interests
Series

Posted in these interests:

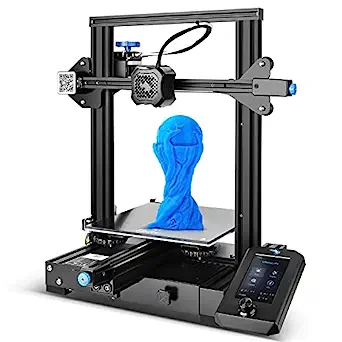
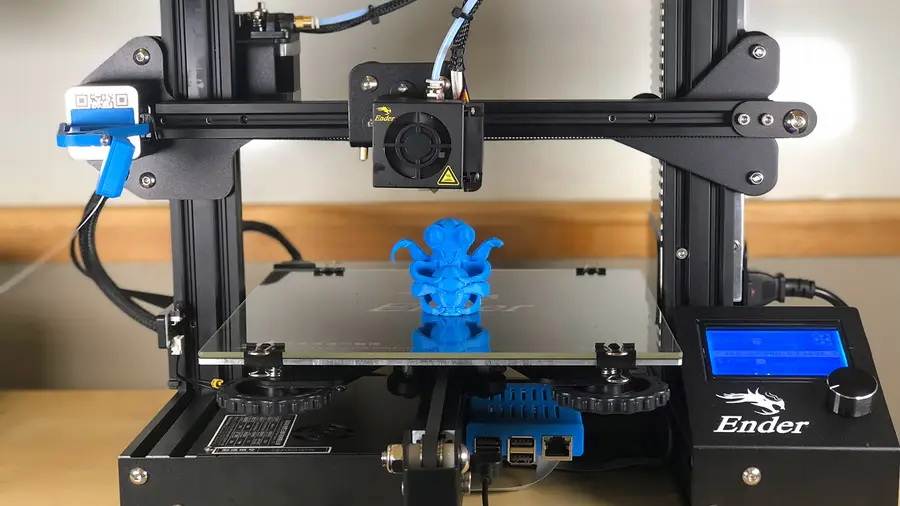
With the release of the Creality Ender 3 V2, many of the Ender’s biggest fans who upgraded to the latest version are noticing many small differences in setting up mods like OctoPrint. While we have a great guide on the original Ender 3 OctoPrint, the differences are substantial enough to warrant a completely new guide on setting up OctoPrint specifically on the Ender 3 V2.
While making this guide I ran into many Ender 3 V2-specific bumps and stops, and I’ve worked through them all so you don’t have to spend the time.
Let’s get you set up with OctoPrint on your Ender 3 V2!
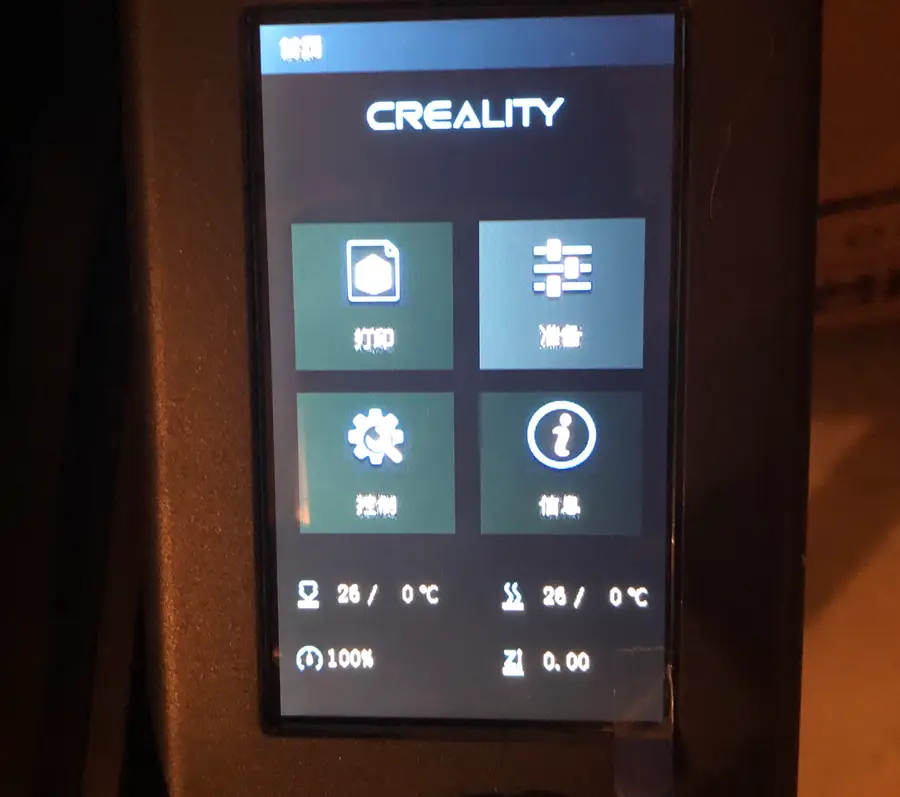
1 – Ender 3 V2 OctoPrint settings
Setup OctoPrint on Raspberry Pi
First, you should follow our full guide to learn how to set up OctoPrint on your Raspberry Pi. Then hop back over this guide for the Ender 3 V2 specifics.
OctoPrint: Control Your 3D Printer Remotely with Raspberry Pi and OctoPi
Untether your printer!
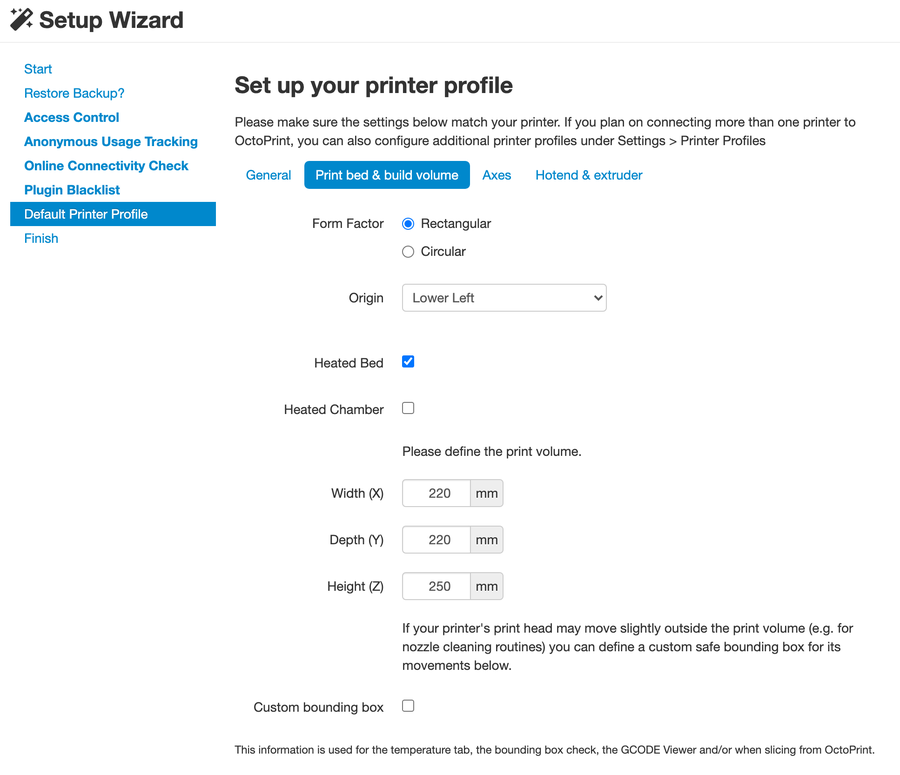
Printer Settings
Form factor: Rectangular
Origin: Lower Left
Heated Bed: Yes (checked)
Heated Chamber: No (unchecked)
Width: 220mm
Depth: 220mm
Height: 250mm
Axes: Default**
Custom Bounding Box: No (unchecked)
Nozzle Diameter: 0.4mm
Number of Extruders: 1
** The Axes setting is only used for manually controlling the printer — as I slice my models before putting them into OctoPrint, I didn’t bother filling this out. However, you can if you choose; remember the Axes speed settings are per minute, whereas the settings in most slicing programs are per second.
Connection settings
Serial Port: AUTO
Baudrate: AUTO
Most of the settings are the same as with the original Ender 3, with the noticeable difference being that OctoPi can now detect the serial port automatically.
Download Ender 3 V2 OctoPrint Plugins
As of the writing of this guide (Nov. 2020), there are two mandatory plugins you need to install for the Ender 3 V2 in OctoPrint:
Check out our guide on installing OctoPrint plugins to see how to find and install these.

The Most Popular OctoPrint Plugins (And How to Install Them)
Wrap your tentacles around these sweet plugins!
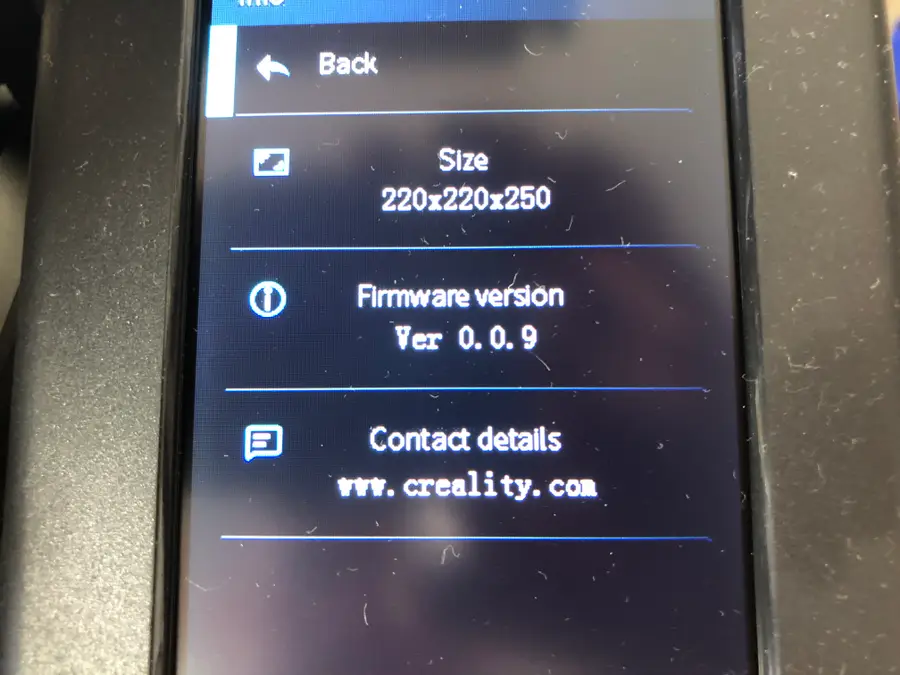
Update your Firmware
Updating your firmware may be required when using the Ender 3 V2 with OctoPrint. After connecting to the printer inside of OctoPrint, you might see the following message: “Warning: Firmware Broken”. In this case, you’ll need to have the latest firmware version to print remotely from your Raspberry Pi.
Even without this warning, OctoPrint caused my print speed to max out, no matter what setting I used. When I updated the firmware, however, this issue disappeared. So I recommend updating the firmware either way.
Thankfully, updating the firmware on the Ender 3 V2 is much easier than it was on V1.

How to Update the Firmware on the Ender 3 V2
Check for new firmware regularly.
If you update your firmware and still get the “Warning: Firmware Broken” message, install this plugin to solve the issue until Creality can fix it in an upcoming firmware version (the message will persist but the underlying issue will be fixed).
| 🛈 Make sure your Pi is connected to the Ender 3 V2 when trying to change the connection settings. |
2 – Print the Ender 3 V2 OctoPrint parts
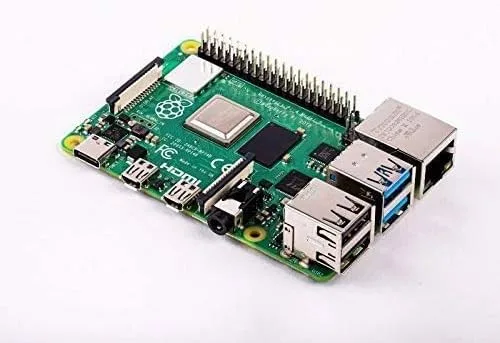
Before I begin, I should note that I had a heck of a time finding components on Thingiverse that would work for my Ender 3 V2 OctoPrint setup. With the Ender 3 V2 still being relatively new (as of November 2020), there aren’t as many specific models for the printer. I am also using a Raspberry Pi 4, which needs a fan, so I needed to find a case specifically with a fan.
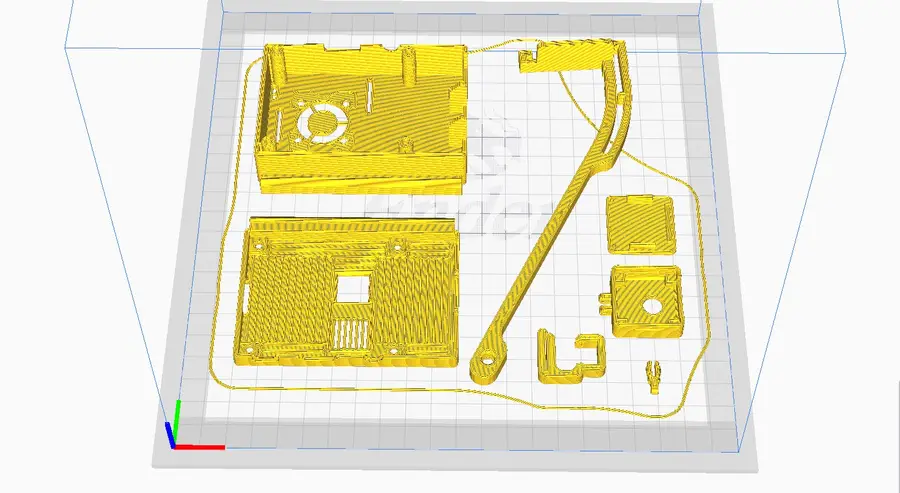
That said, here are the Ender 3 V2 components that I used for setting up OctoPrint. Depending on what Pi and fan you’re using, you’ll likely need to adjust these parts as noted below.
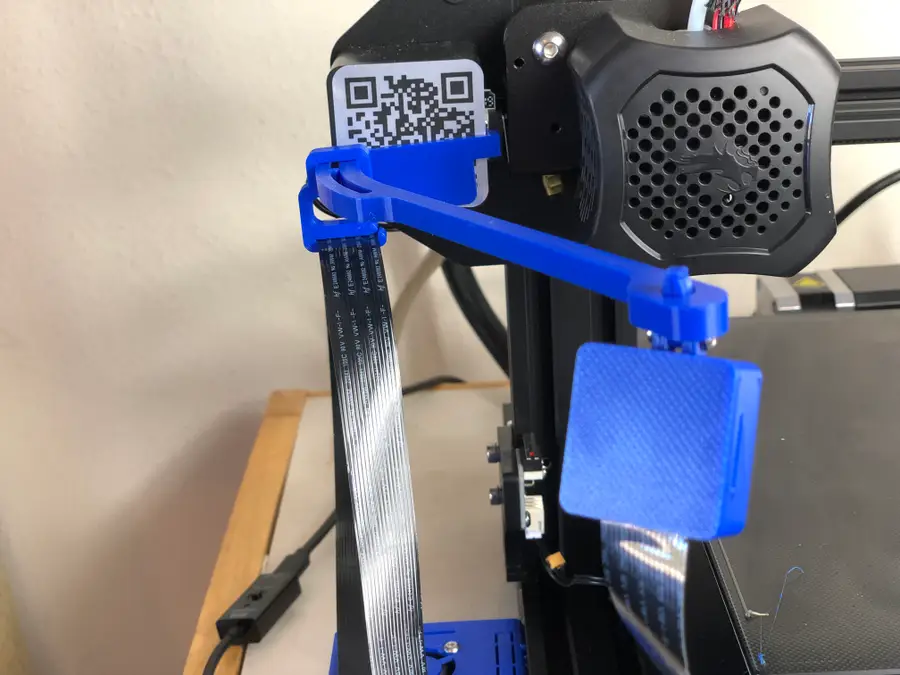
Ender 3 V2 Camera Mount
Mounting a camera to your Ender 3 V2 really turns the OctoPrint experience from “this is pretty cool” to “this is freakin’ awesome!” As the Z-axis stepper motor travels up during your 3D printing, the camera follows it. You get to watch the whole print take place remotely on your computer or anywhere—if you want to use our guide to access OctoPrint from anywhere. You can even record the entire print as a time-lapse if you choose.
Print out the camera case and camera mount. If you’re using my components, you should have no trouble. Do note that the case attaches to the mount very tightly. You need a tight fit so the camera does not shake when the printer is on.
There are two additional options for a shorter boom-arm and a bolt-less installation. I like the long boom arm personally because of the low angle it allows while viewing the print.
Ender 3 V2 Raspberry Pi Enclosure
The case I linked to earlier is for the Raspberry Pi 3 with a 25mm fan. You likely aren’t using the exact same fan, so here’s the same case for the 30mm fan. It does fit the Ender 3 V2 and attaches to the side 80/20 aluminum rail. By the time you read this, there may be even more available on Thingiverse, so feel free to browse around.
Notes
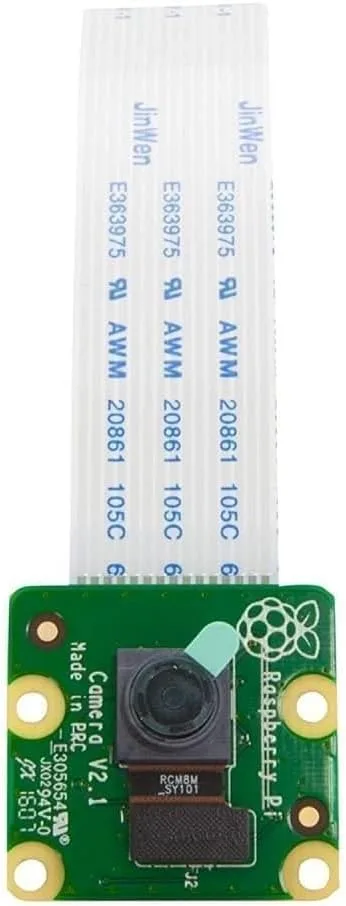
The camera I used was the official Raspberry Pi Camera Module V2.
You’re looking for a camera mount that attaches across the front Ender 3 V2 Z-axis motor, as that has the same specs as the Ender 3. Do not use an original Ender 3 camera mount that attaches to the side of the motor, as it might not fit properly.
The camera mount and case I used do fit easily and even have an option for installation without the recommended 2mm bolt/nut.
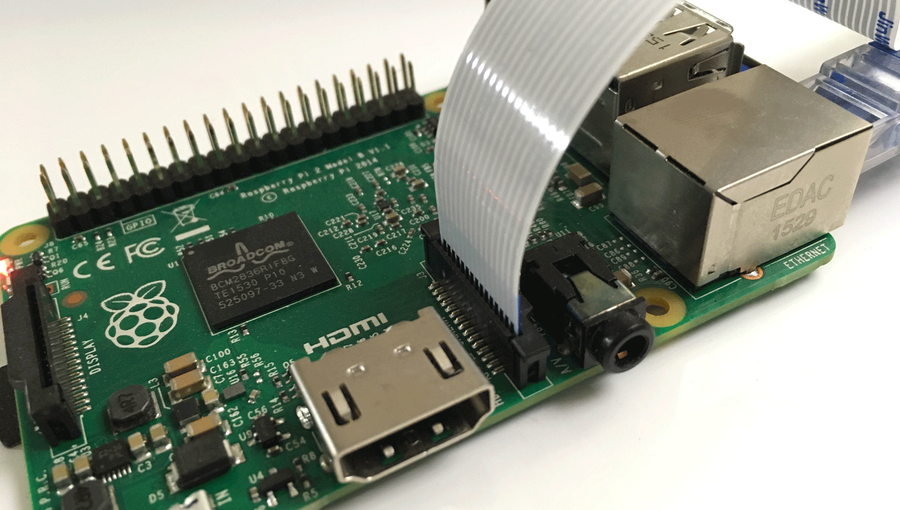
3 – Mount the Raspberry Pi Camera on the Ender 3 V2
Do this step prior to putting your Raspberry Pi into its case so you can more easily connect the ribbon cable to it.
- Decide if you want to mount the camera above the boom-arm or below. (I mounted mine below, as I think it gives a better view of the print.)
- Insert your printed swivel pin accordingly, until it snaps in place.
- Use an
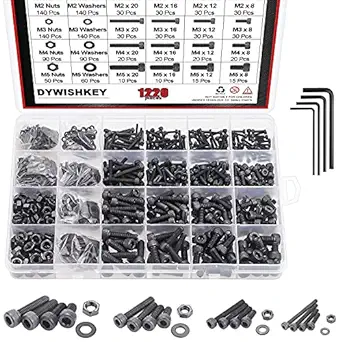
M2 x 20mmbolt to connect the camera case to the mount.
Note: If you’re using the mount I selected, it will be difficult to get the bolt through. This is intentional, as everything needs to be tight so the camera holds its position. Just take your time. – Connect the Raspberry Pi ribbon cable to the camera. – Carefully click the camera into place. – Snap the back of the camera case into place.
How to Connect a Camera to the Raspberry Pi
Get ready to record!
Ender 3 V2 Raspberry Pi camera cable length
You’re absolutely going to need to use this extension cable when connecting your camera to your Raspberry Pi. The cable that comes with the Pi camera is not long enough and will break if you try to use it.
As with anything you do, when connecting the ribbon cable—take your time and be careful not to break the camera.
We like using the official Raspberry Pi camera for OctoPrint, but there are other OctoPrint cameras and webcams that you can use too.

How to Choose the Best Camera for OctoPrint (including USB)
Keep an eye on your prints!
Optional ribbon clip
If you printed the optional ribbon clip that comes with the camera mount, then you can use this to guide your extension cable some. Don’t loop it on the clip. Only put it through once, leaving plenty of slack for when the Z-axis motor raises up on high prints.
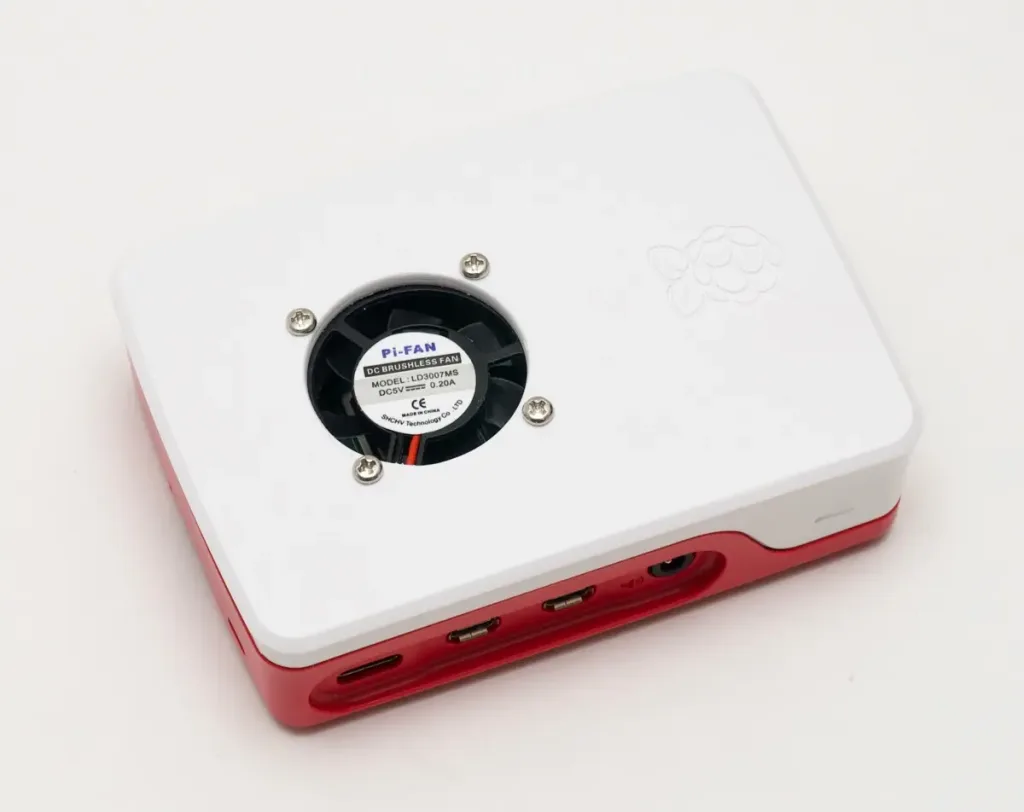
4 – Put the Raspberry Pi into the case
You should have two 3D-printed pieces—a faceplate (with the fan opening) and the case itself.
Fan installation
If your case fits the fan size properly, then simply bolt the fan to the case using 4 M3 x 12mm bolts/nuts.
If it doesn’t work perfectly or you need help installing a fan on the case, head over to our guide on adding a Raspberry Pi 4 fan to a case.
How to Add a Fan to the Raspberry Pi 4 for Proper Cooling (You Need One)
It’s getting hot in here, a fan will cool your Pi.
Pi camera ribbon cable
You’ll need to slide your camera ribbon cable through the slot on your Raspberry Pi case. If your case does not have a slot, then you’ll need to manually cut one.
Bolt case together
Carefully add the four M3 x 16mm bolts to connect the case. Lightly tighten each bolt one at a time. Then, fully tighten each bolt.
| 🛈 If you’re using a Raspberry Pi 4, then you should definitely install the fan. |
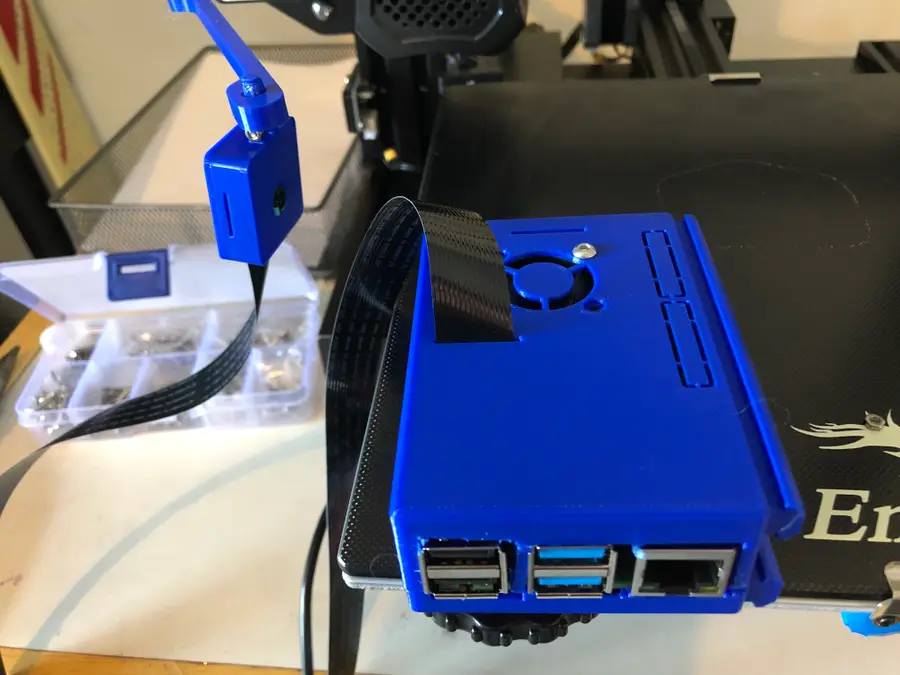
5 – Mount the Raspberry Pi
The case that I chose slides into the side rail of the Ender 3 V2, so you won’t need any nuts or bolts.
- Optional: file down the brackets on the case some to loosen the fit. It will be a very tight fit otherwise.
- Unbolt the front-left cover of the Ender 3 V2, so you can create room in which to slide the case. Make sure your MicroSD is removed.
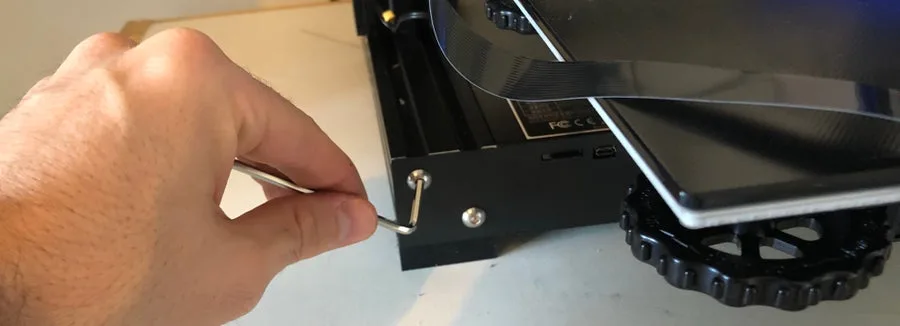
- Push the case brackets through the sidebar slowly. Don’t damage your Pi. If you need to, you can file down the brackets more.
- Reattach the front cover.
Route camera cable
Route the camera cable up through the cable clip (if using one), and into your camera. Make sure the ribbon cable is straight and not bent.
| 🛈 You may find you need to tilt/move your Ender 3 V2 some when sliding the case into the brackets. Just be careful when doing this. |
6 – Connect the Raspberry Pi to your Ender 3 V2
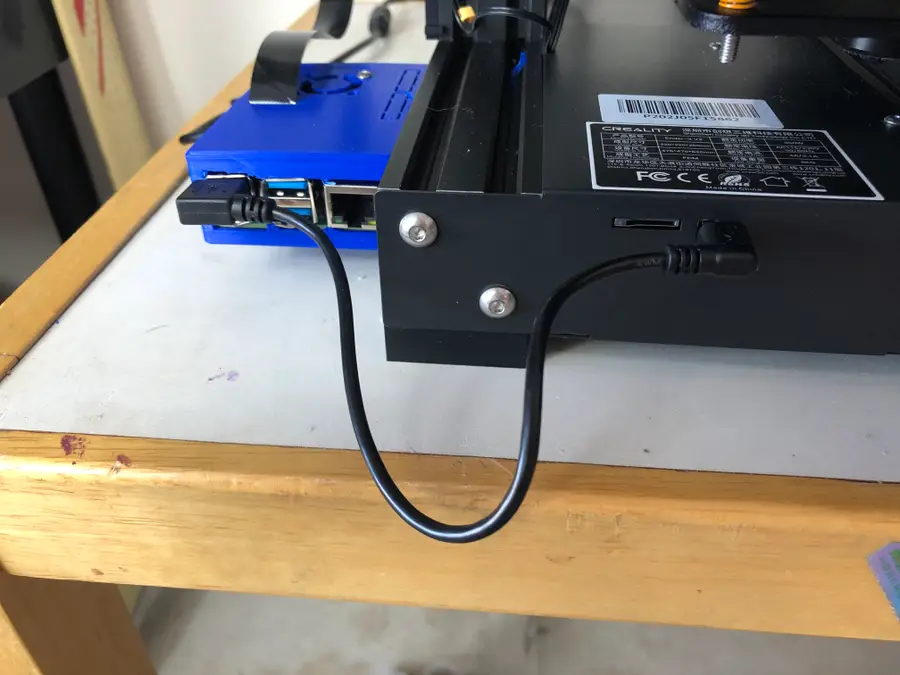
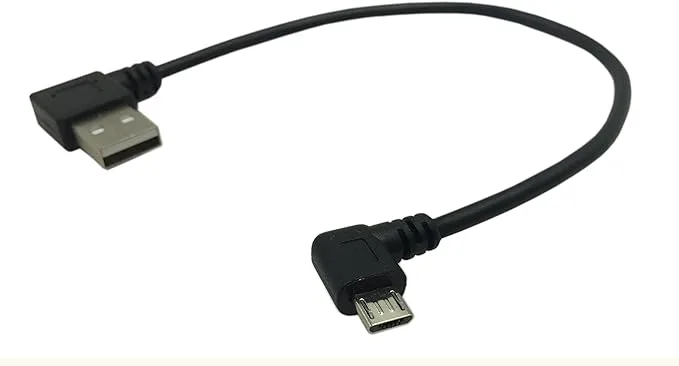
Lastly, use a short Micro-USB cable to connect the Raspberry Pi to your Ender 3 V2.
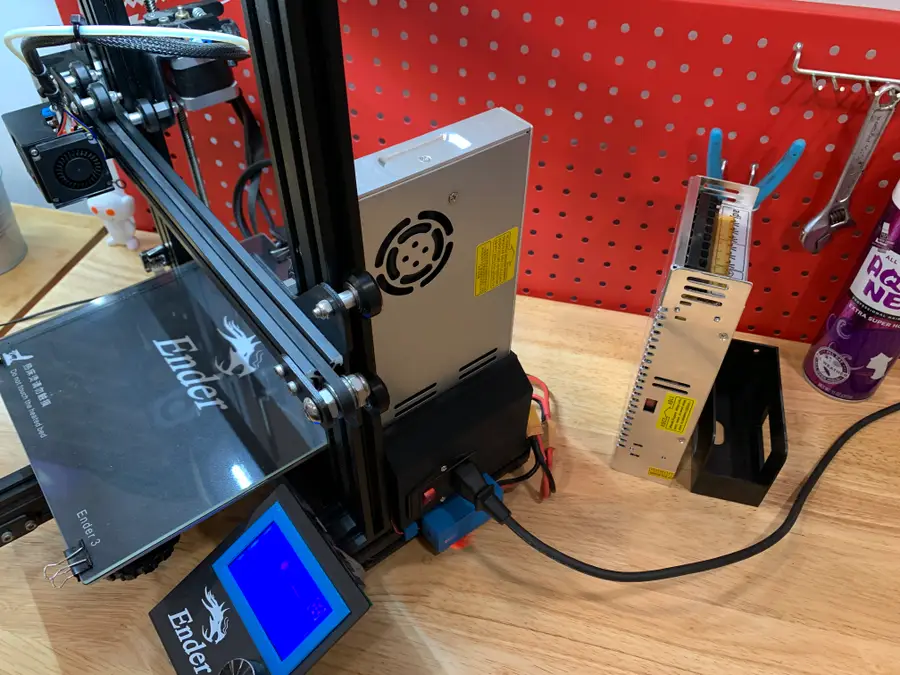
7 – Optional: Power the Pi from the Ender 3 V2
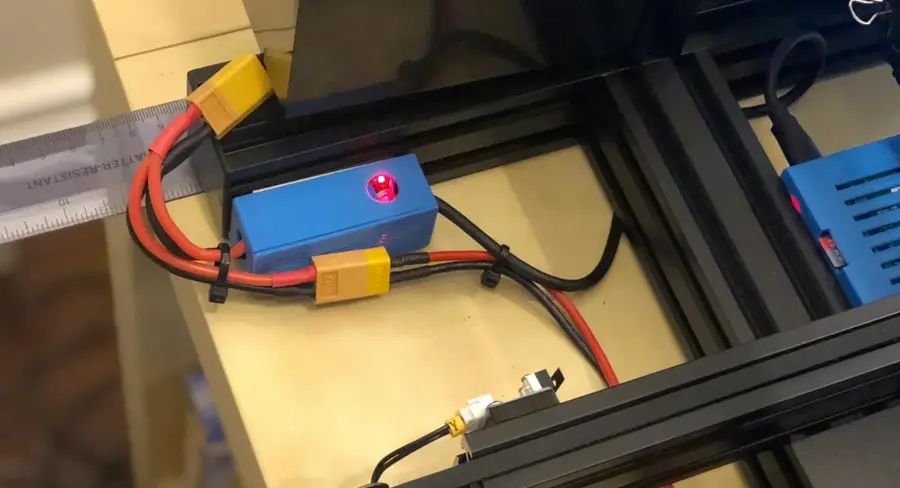
If you want to power your Raspberry Pi directly from your Ender 3 V2, then you’ll need to modify our guide on powering the pi from the original Ender 3. We only recommend you do this if you have enough knowledge of electronics and power supplies.
How to Power a Raspberry Pi from a 3D Printer Using Your Printer’s Power Supply Unit (PSU)
Who needs more power bricks?
I’m fine with my Raspberry Pi being plugged directly into the wall, so I did not do this.
8 – Focus the Pi Camera
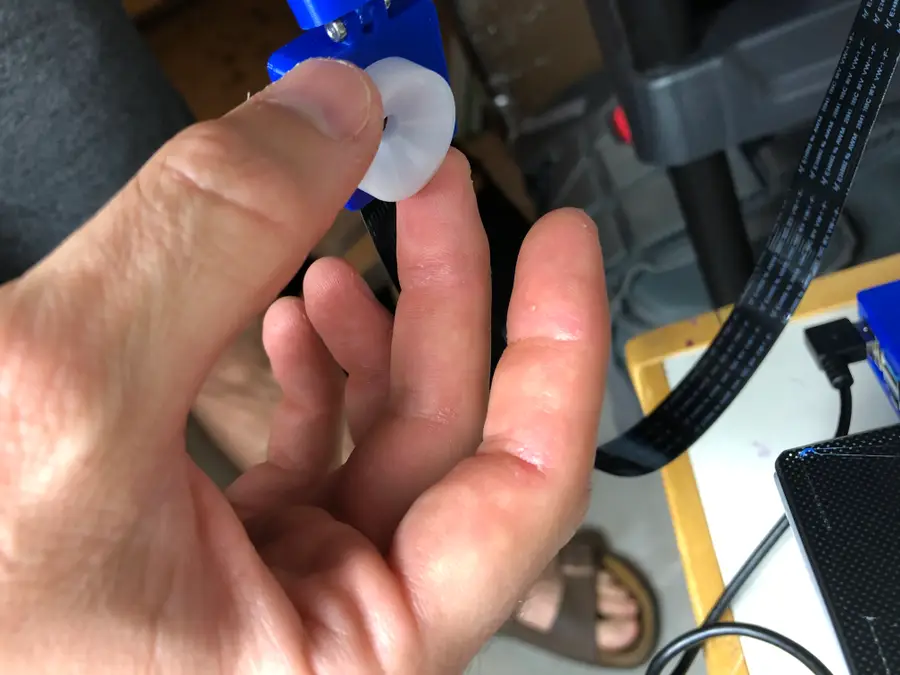
While viewing the camera feed in the OctoPi/OctoPrint interface:
- Slide your bed to center it.
- Place a small object in the center of the bed on which to focus the camera. (I chose a small bottle with some text, so I could easily focus the camera.)
- Use the small white wheel that came with your Raspberry Pi camera to turn the camera lens until the object is perfectly focused.
Now, make sure your Ender 3 V2 bed is leveled, and you’re ready to print.
| 🛈 Turn the wheel slowly, as it’s very sensitive. |
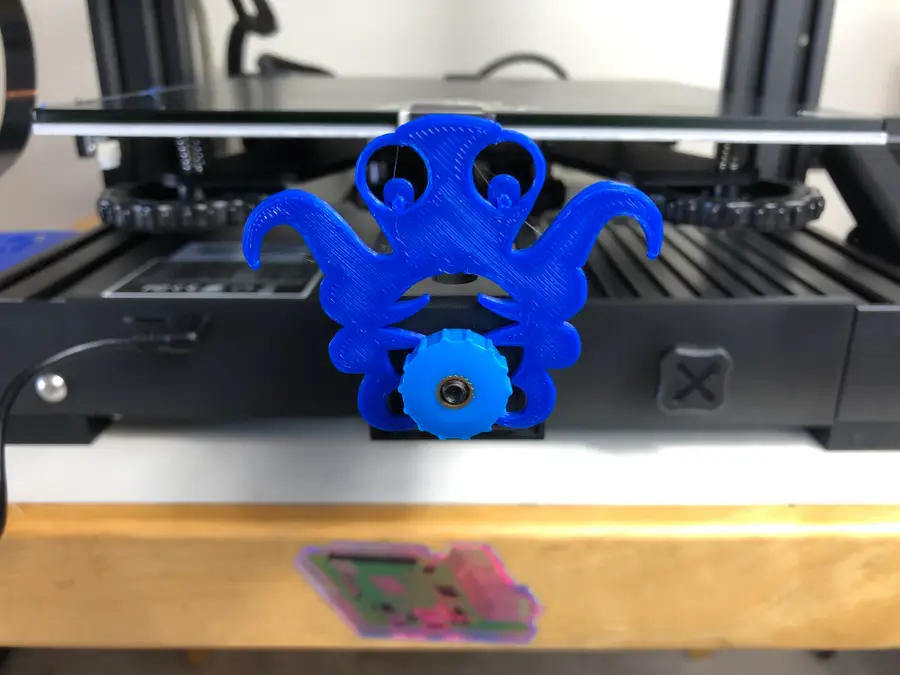
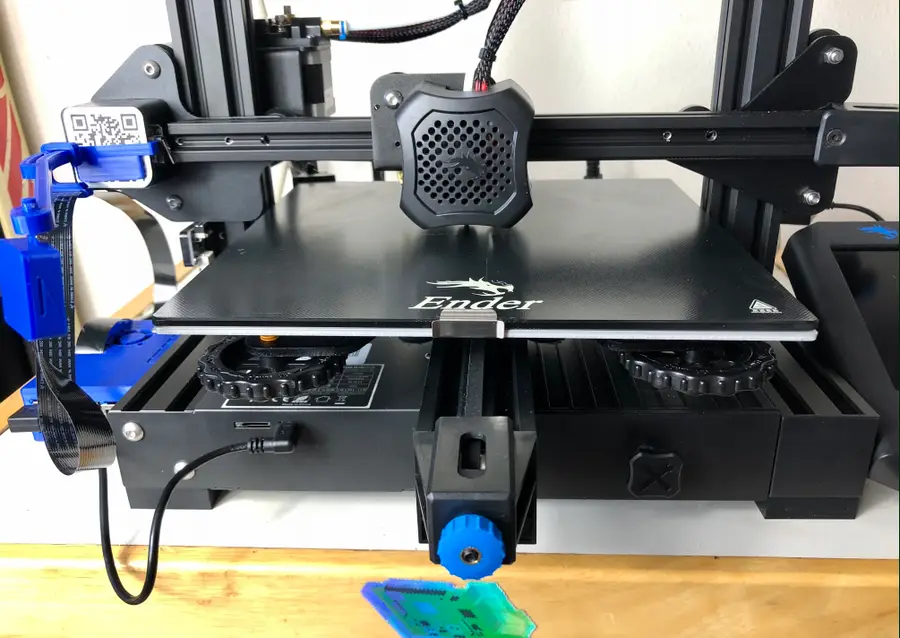
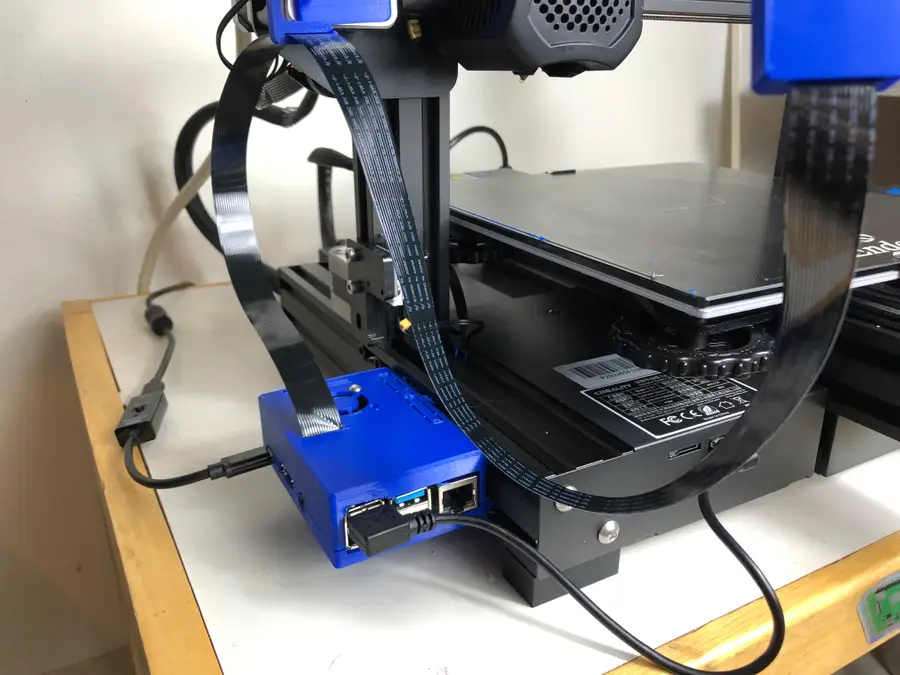
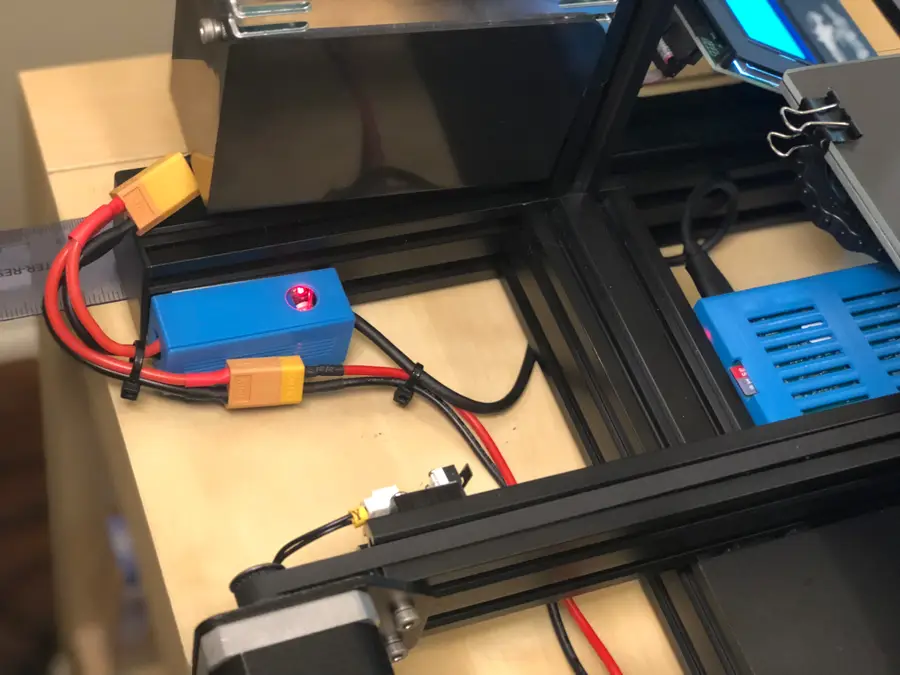
9 – Final setup
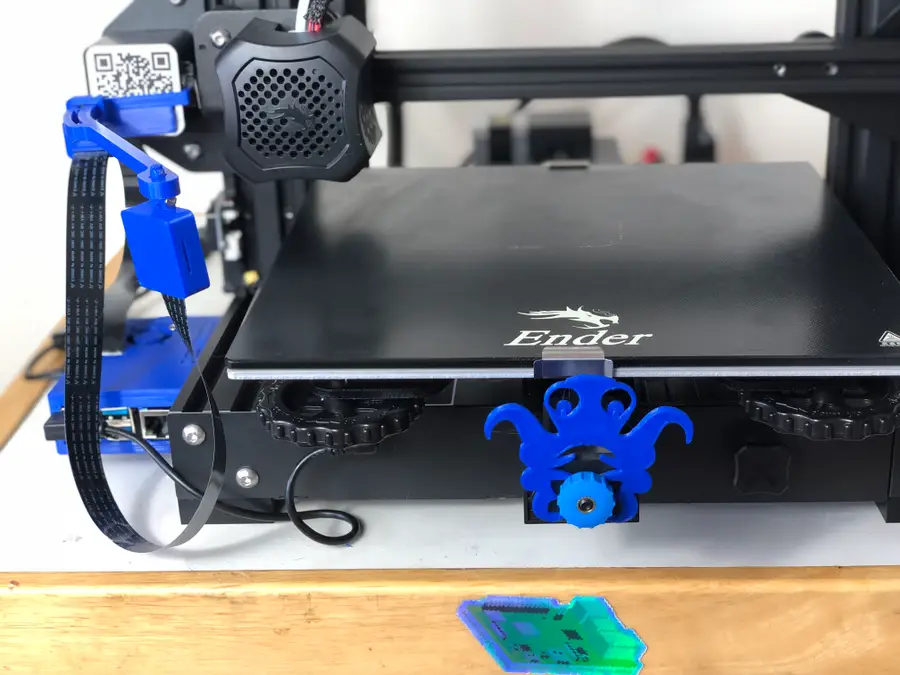
Here’s what your setup will look like when everything is set up and ready! (Minus the little OctoPrint figure on the front, of course!)
Again, I point you to my fellow Howchooer, Zach’s, wonderful OctoPrint setup guide to get the program up and running. It’s the guide that I used!
OctoPrint: Control Your 3D Printer Remotely with Raspberry Pi and OctoPi
Untether your printer!
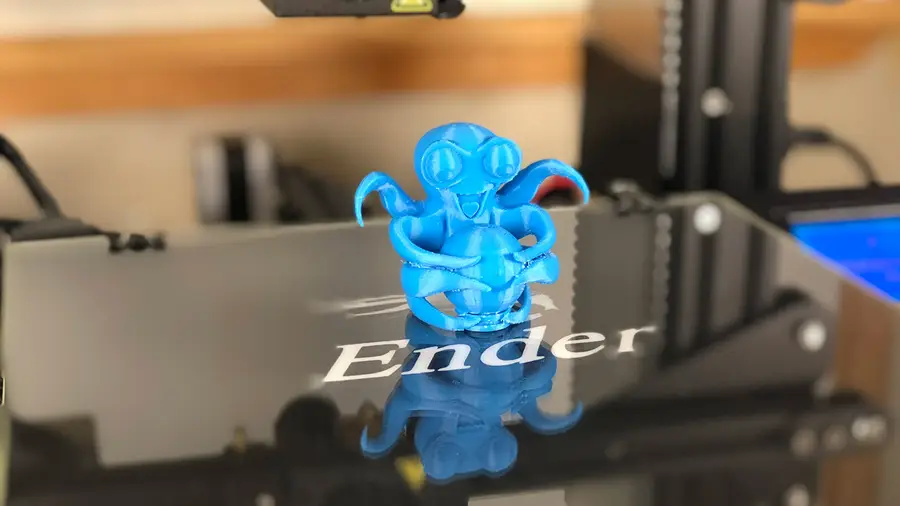
10 – My first Octolapse
Here’s my first Ender 3 V2 Octolapse time-lapse!
How did we do?
Feel free to comment below letting us know what worked for you and what did not. And share your own OctoPrint setup with us over at Facebook and Twitter.
Be sure to check out our OctoPrint FAQs if you have any questions about using OctoPrint. We also have a full OctoPrint interest!

OctoPrint FAQ – Everything You Need to Know About Octoprint
What’s got 8 legs and tons of questions?