

You’ve put so much work into setting up RetroPie or EmulationStation. You load it up
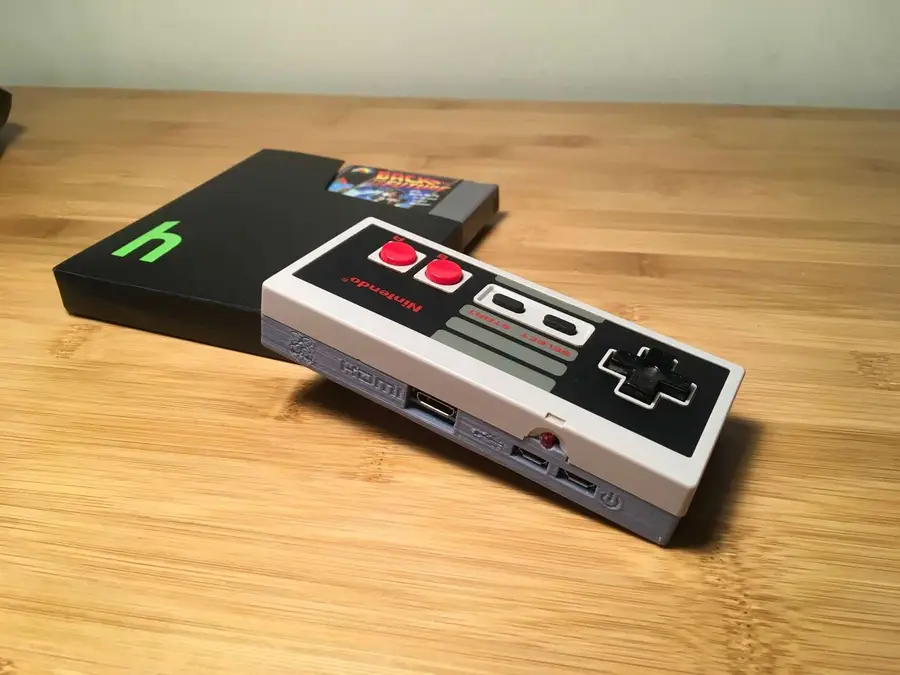
What’s cooler than running all your favorite emulated games on a $10 computer? Putting that co
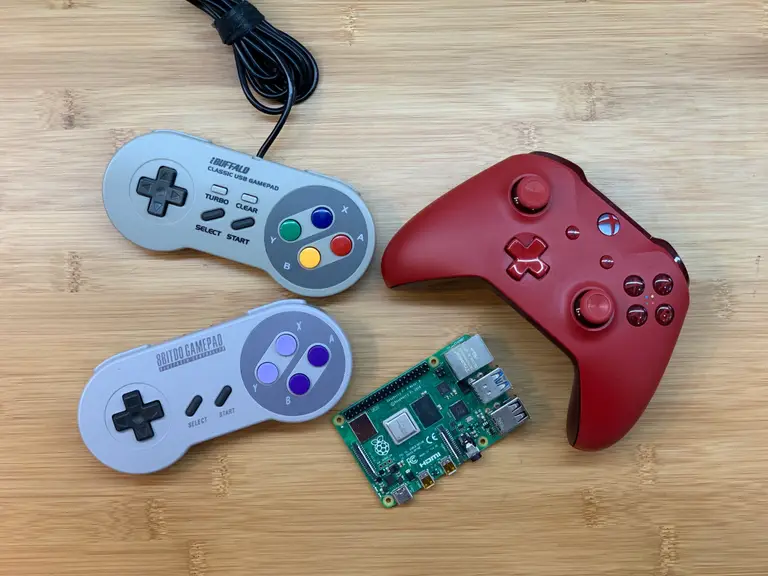
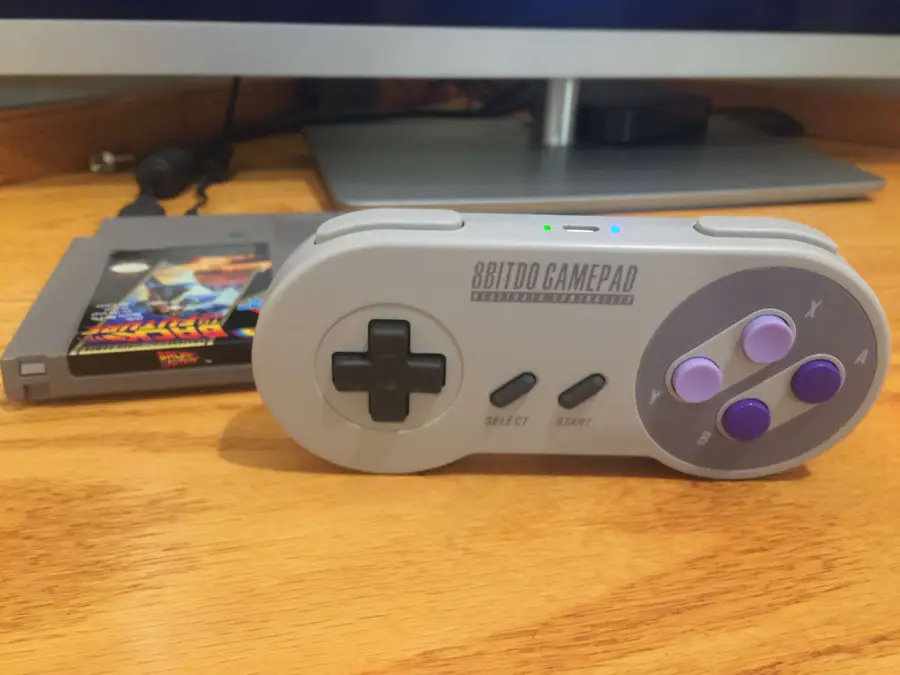
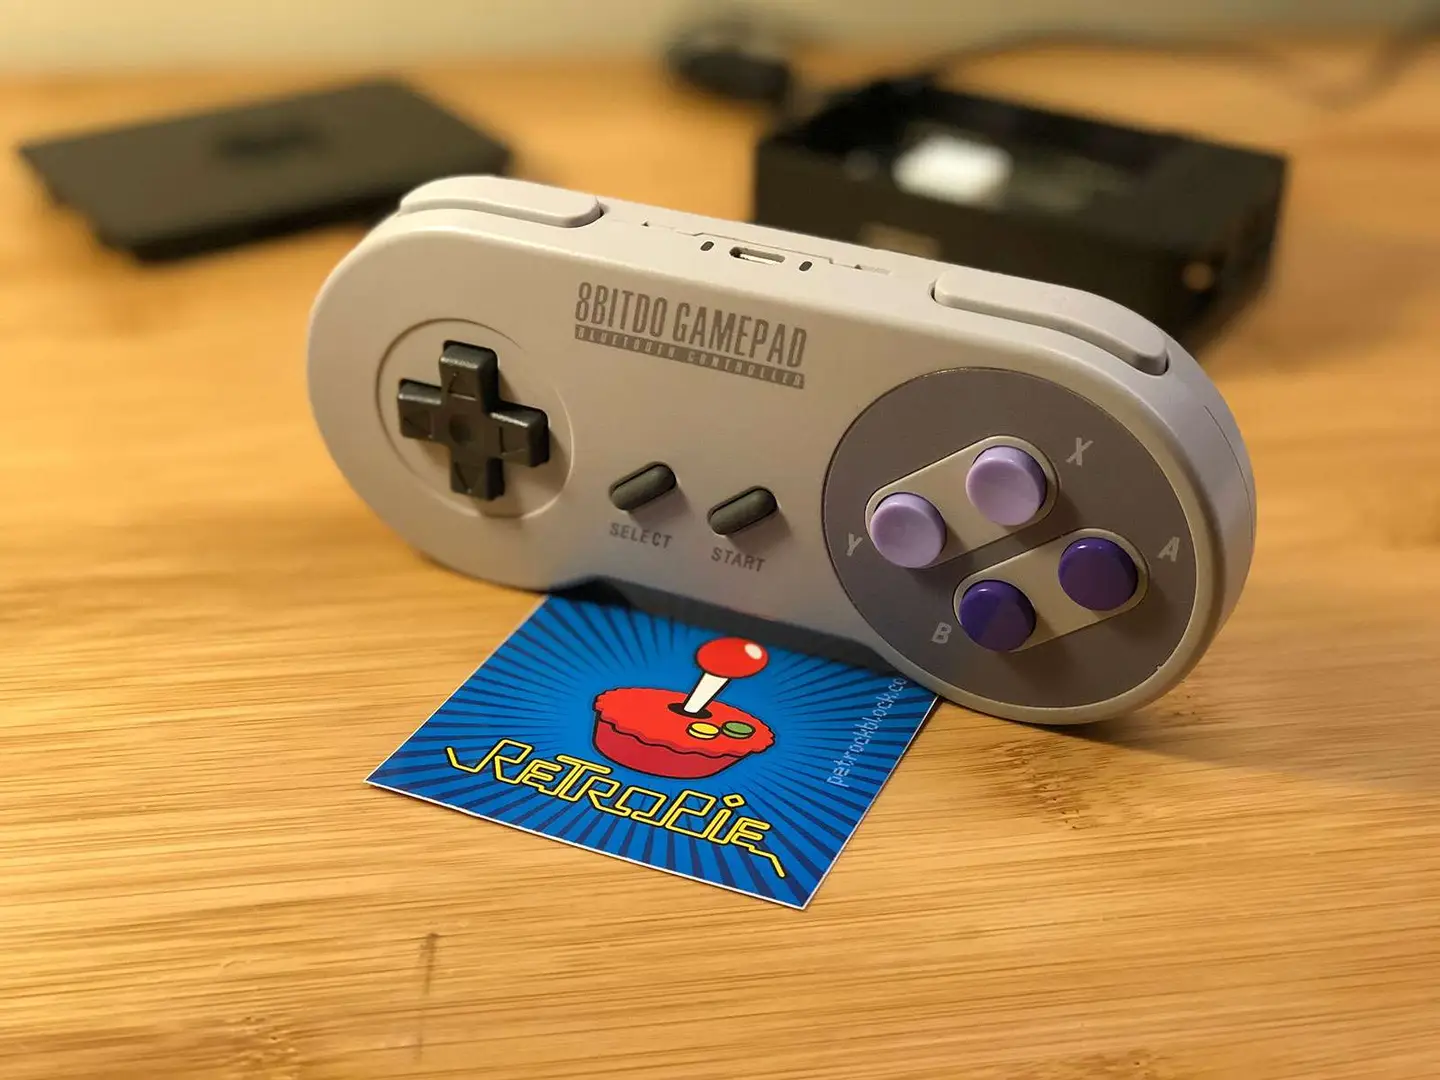
If you want to play retro games on RetroPie, you need a controller. But not all controllers are crea
Using a Bluetooth controller with RetroPie is a piece of cake — this guide will show

We’ve compiled the most common RetroPie questions and answers into a clear and conci
You’ve just set up your Raspberry Pi with RetroPie, it’s plugged into the TV, you&#

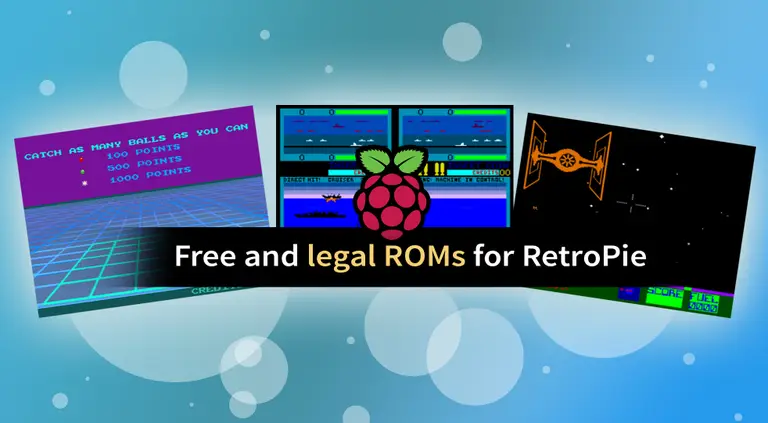
Ready to play? You’ll need some ROMs first! Today we’re going over the many different wa
It’s not super apparent how to save games in RetroPie. This short guide will show you how to
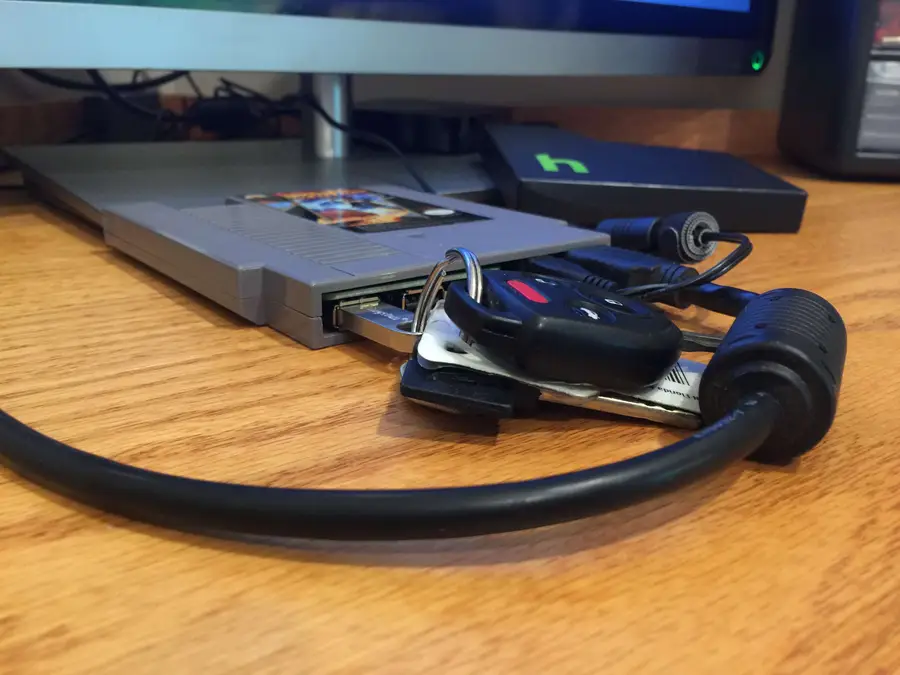
This short guide will show you how to quickly and easily add ROMs to RetroPie using the US
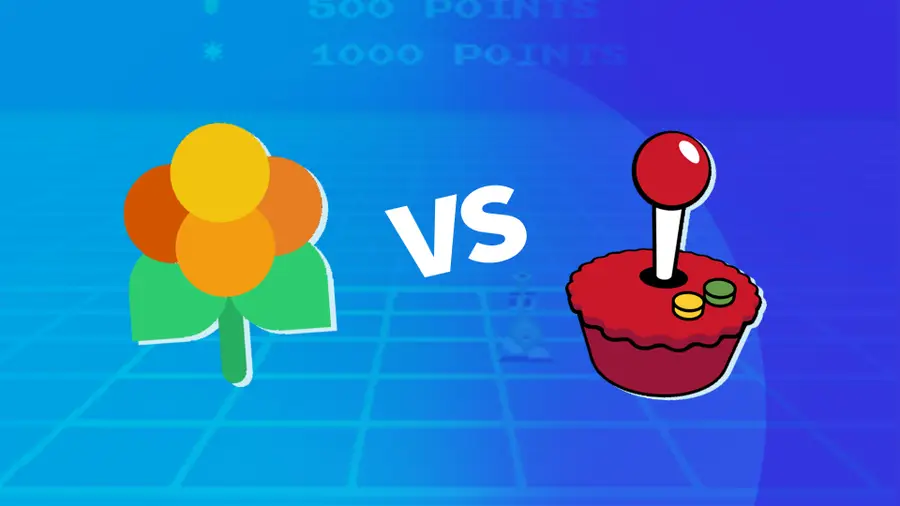
RetroPie and Lakka are two of the most popular retro gaming platforms for the Raspberry Pi. They bot
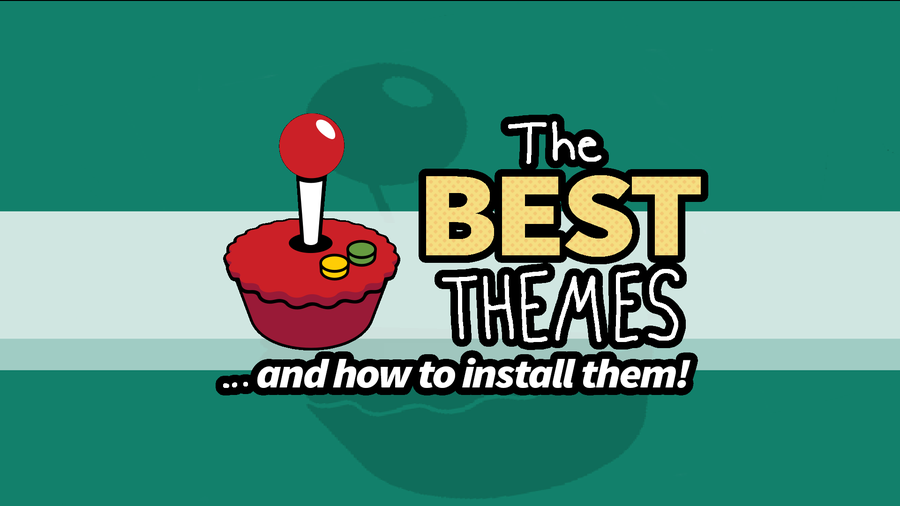
RetroPie is one of the coolest ways to turn your Pi into a mini gaming machine. But how can we give
Splash screens are an incredibly fun way to customize your RetroPie setup. If you need somethin
