How to Replace the Edge-Sweeping Brush on Your Roomba i7
Share
What you'll need
Interests
Your Edge-Sweeping Brush needs to be replaced about once a year. Use this guide to learn how to replace the Edge-Sweeping Brush on your Roomba i7.
What is the Edge-Sweeping Brush?
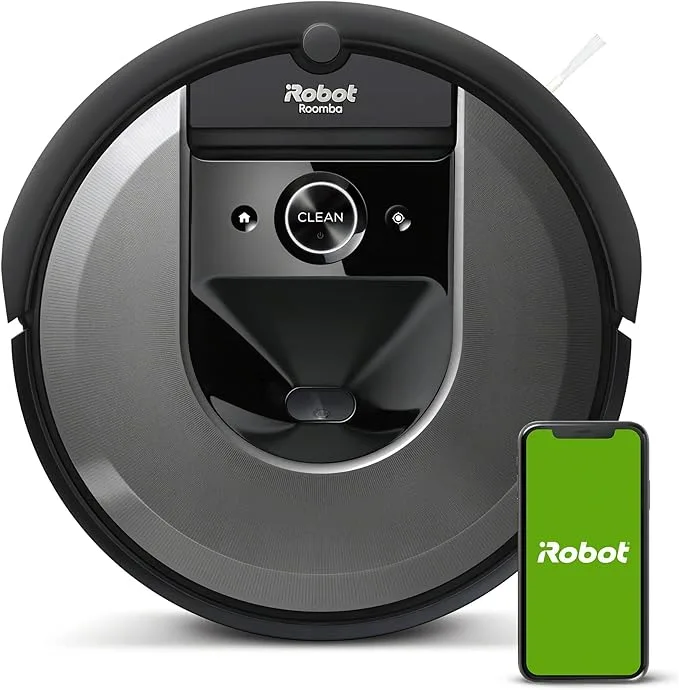
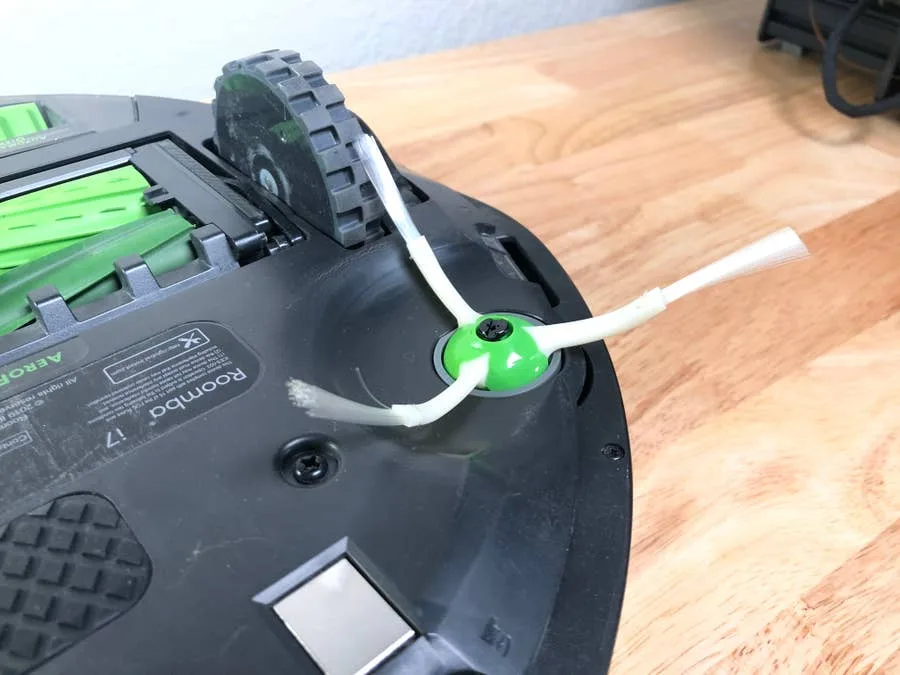
The Edge-Sweeping Brush is the spinning brush on the right side of the robot. The Roomba uses this brush to clean around the edges of your home and ensure dust and debris is cleared from the hard-to-reach corners and edges. It is designed to sweep the debris into the path of the vacuum.
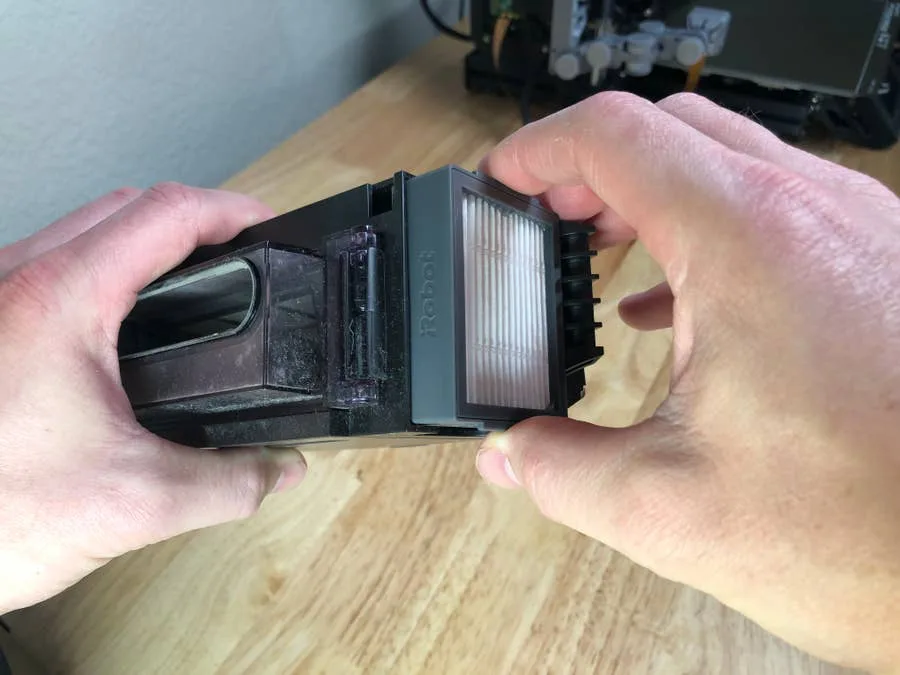
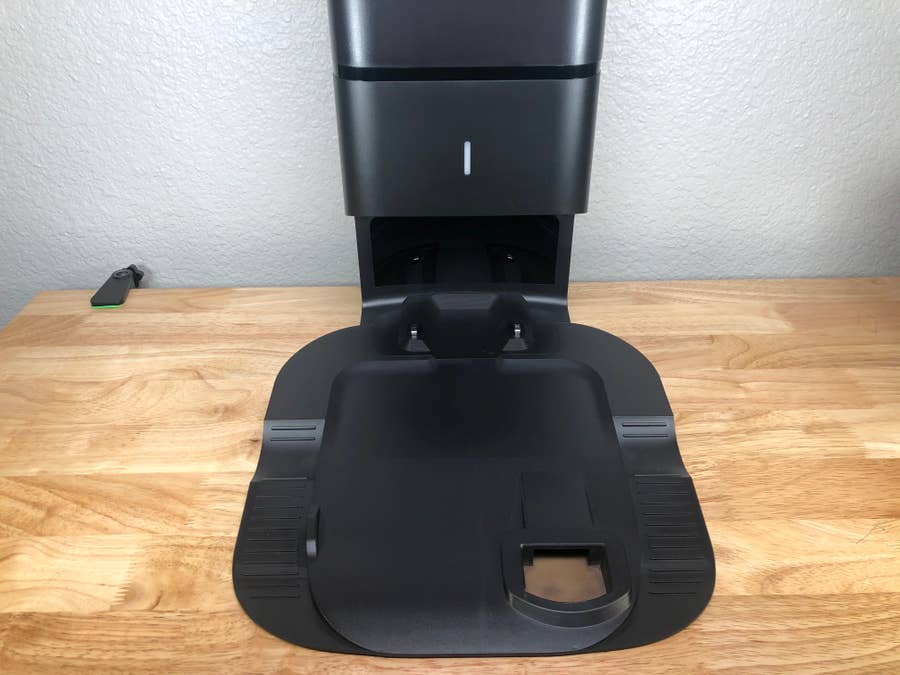
Along with unclogging the Roomba i7 Clean Base and replacing the Roomba i7 filter, replacing the Edge-Sweeping Brush is a part of routine Roomba maintenance.

1 – Turn your Roomba upside down
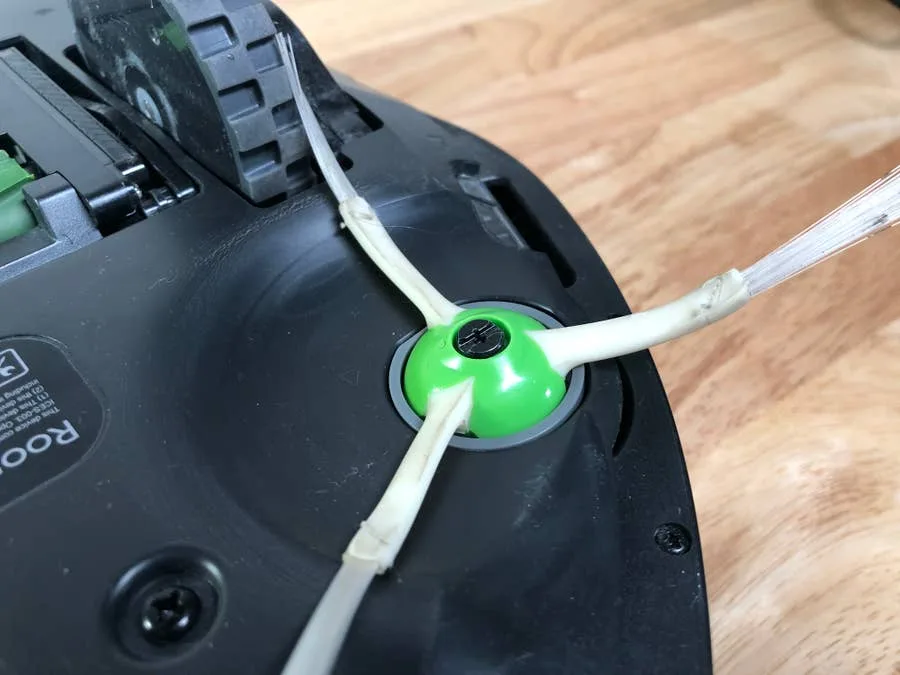
To replace the brush, you’ll need to turn the Roomba upside down.
2 – Unscrew the screw securing the Edge-Sweeping Brush
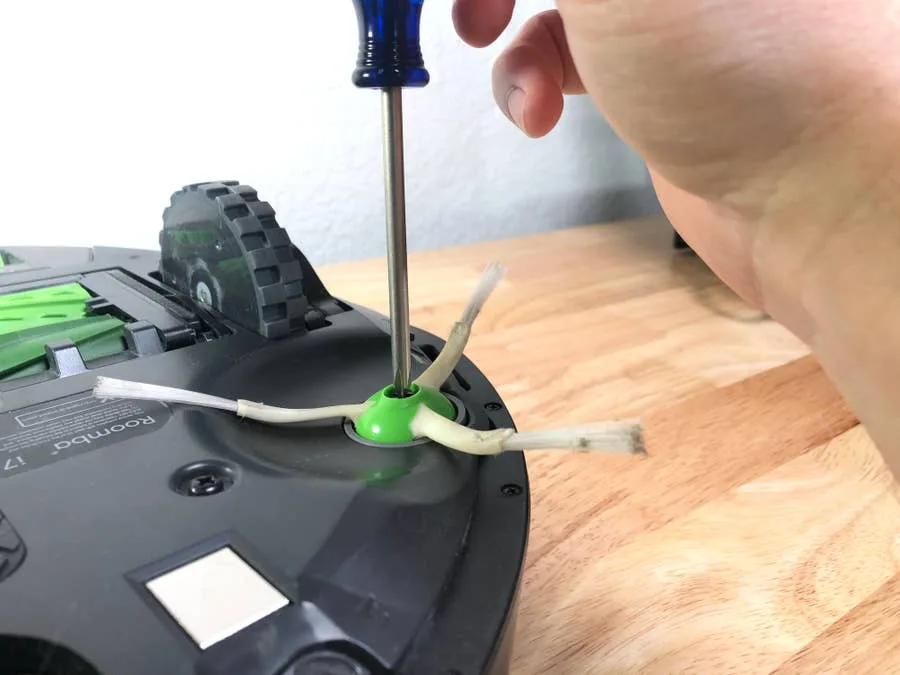
Use a flathead screw driver to unscrew the brush. You may need to hold the brush in place with one hand to keep it still.
Note: A phillips head screw driver can work as well.
With the brush unscrewed, pull the brush assembly away from the robot to remove it. The screw will remain attached to the robot.
3 – Screw in the new Edge-Sweeping Brush
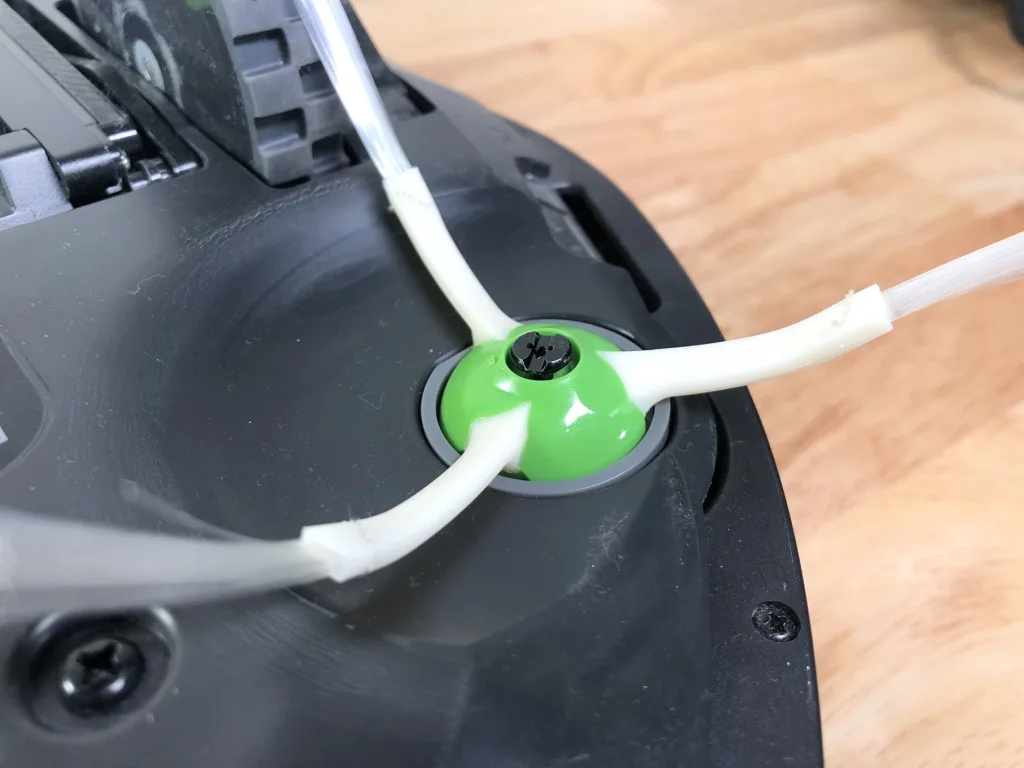
Grab your replacement brush, and screw it into place. Notice the new brush comes with its own screw. Don’t attempt to over-tighten. Once the screw is in properly, it will be very difficult to keep turning.
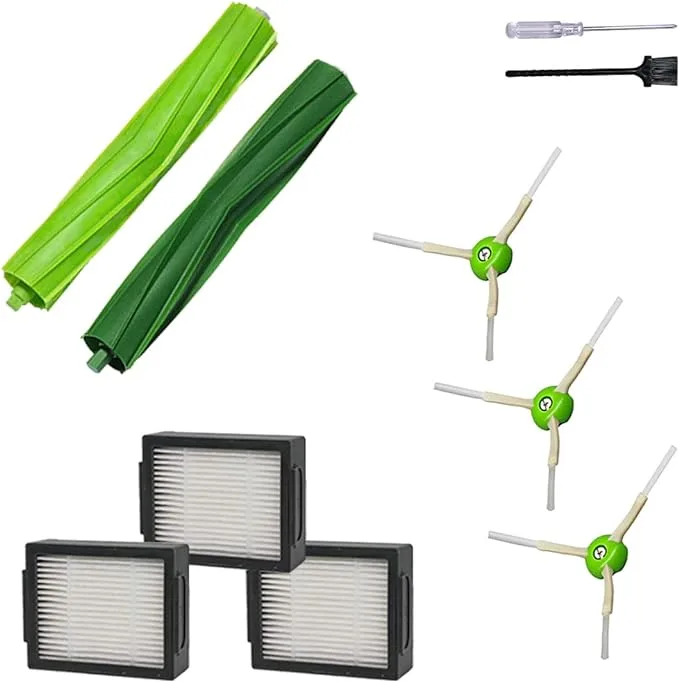
Quick tip! I’ve linked to the official replacement parts kit for this vacuum, but you can also try a much cheaper, off-brand kit as well.
4 – Back to work
Now you’re ready to put your Roomba i7 back to work!
If your Roomba doesn’t reach the charging dock at night, it’s probably time to change your Roomba’s batteries. Check out our guide for tips on replacing them with fresh ones.

