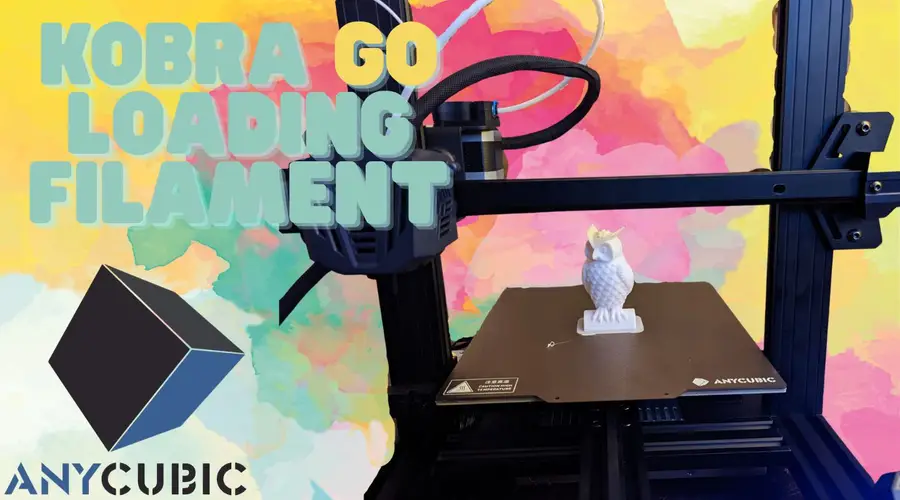
Anycubic Kobra Go: How to Load Filament

Share
What you'll need
Interests
Posted in these interests:

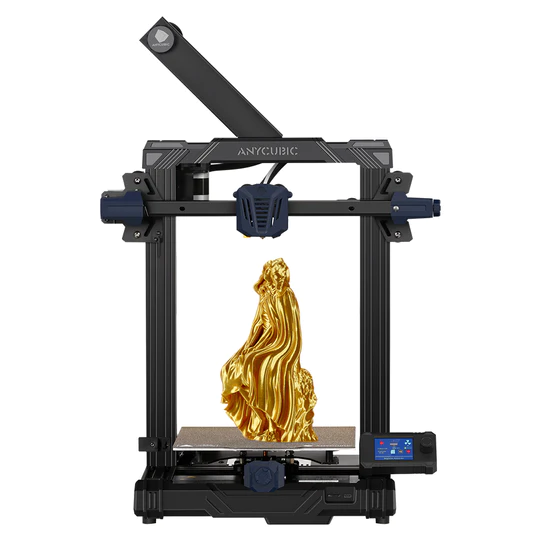
I dig the Anycubic line of Kobra printers in large part because of how many ease-of-use features they incorporate, from automatic leveling, to filament sensors (in some of their models). And that ease of use extends all the way to the humblest of tasks: loading filament.
The Kobra Go is a kit 3D printer that offers high quality in a DIY package that saves you a considerable wad of cash and lands you with a high-quality entry-level printer. As one would expect, it can handle all the common filament types, and loading them into the printer is a breeze.

Anycubic’s Kobra Go 3D Printer Hands-On Review
A detailed review on the Anycubic Kobra Go DIY 3D printer
1 – Turn the knob to Menu
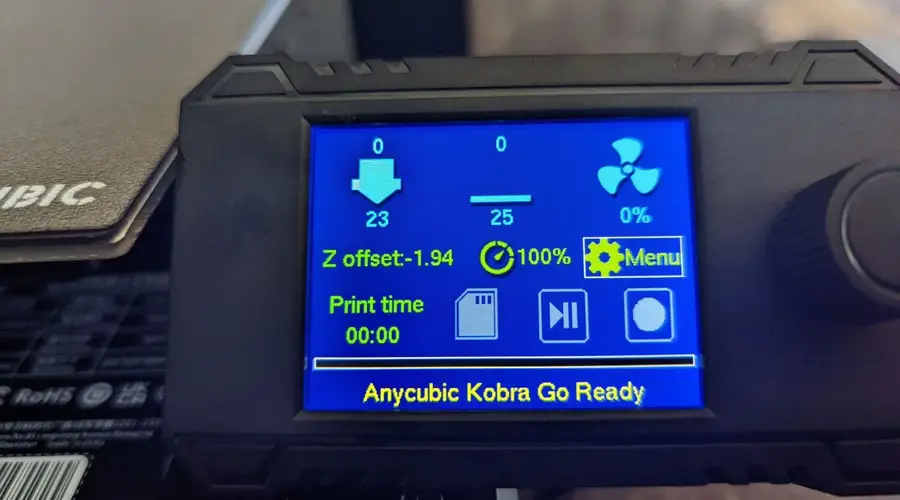
On the main screen, turn the knob to “Menu” and depress the button to select.
2 – Select “Prepare” from the menu
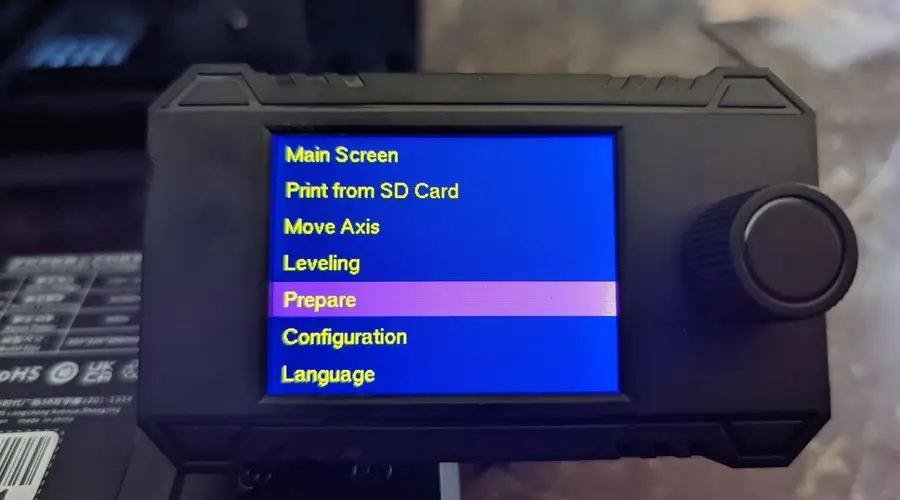
From the list of control options, select “Prepare”.
3 – Scroll down and select “Load Filament”
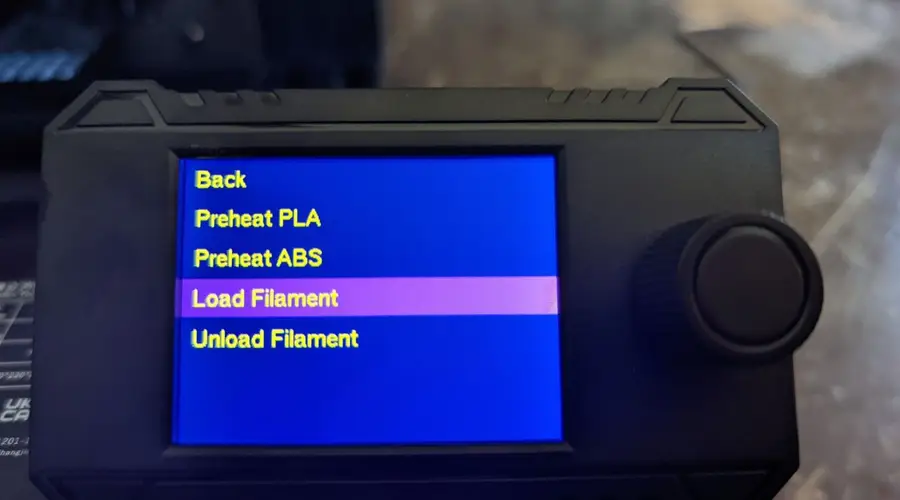
Since we want to load new filament, we’ll select this option.
4 – Select the checkmark to continue
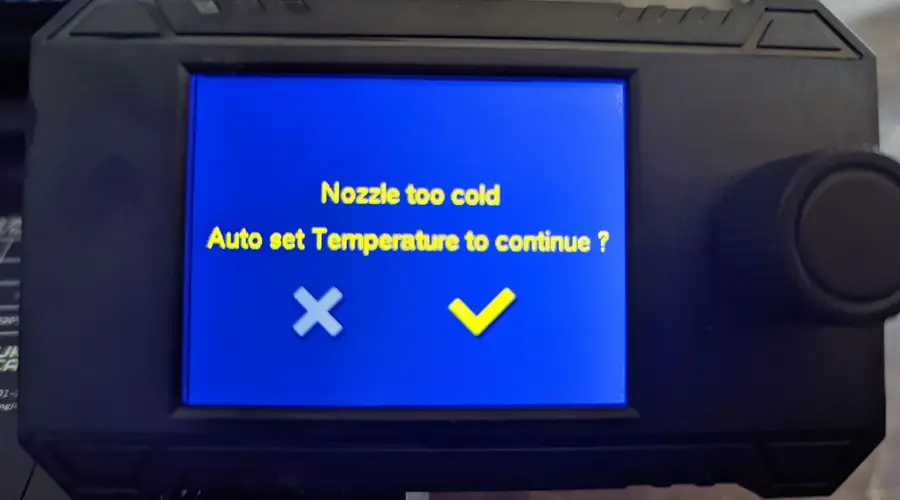
The Kobra Go will notify you that the nozzle is too cold to load new filament, so select the checkmark and allow the printer to bring itself to temperature.
5 – The Nozzle will bring itself to temperature automatically
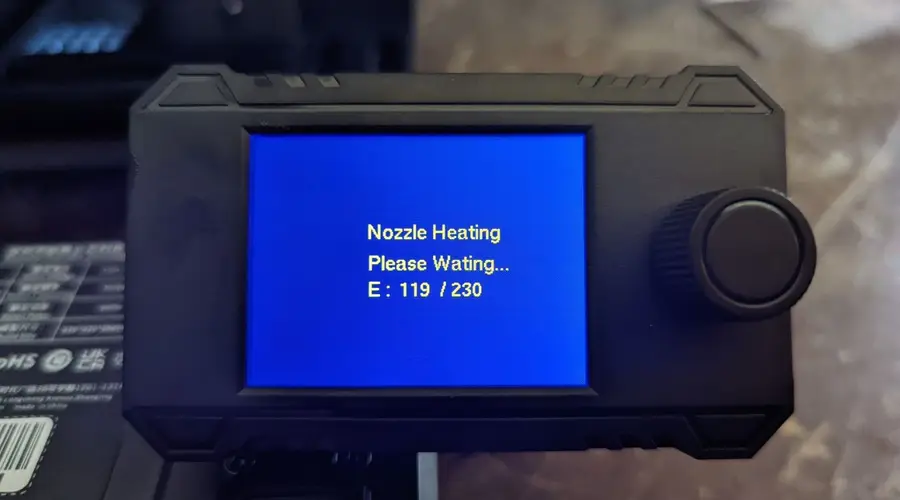
Just let the printer do its thing, this should only take a couple of minutes.
6 – When ready, load filament
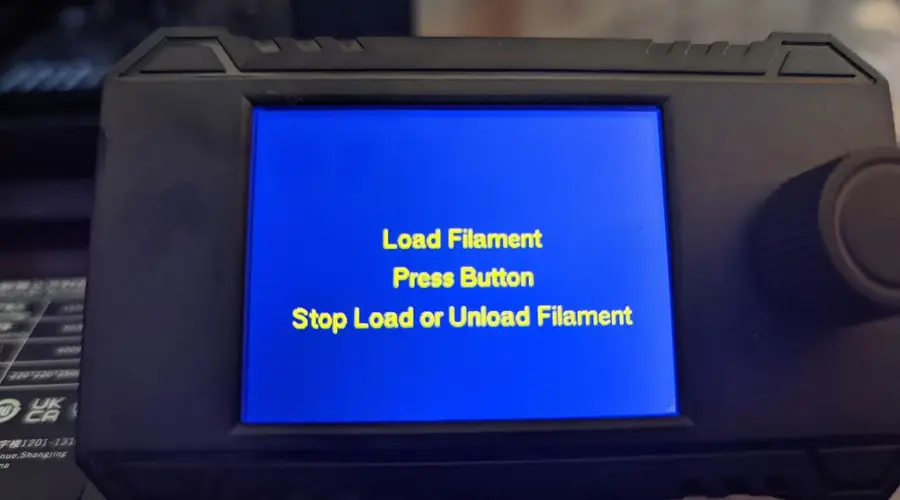
The screen will notify you when it’s time to load the filament.
7 – Press the filament into the short Teflon tube
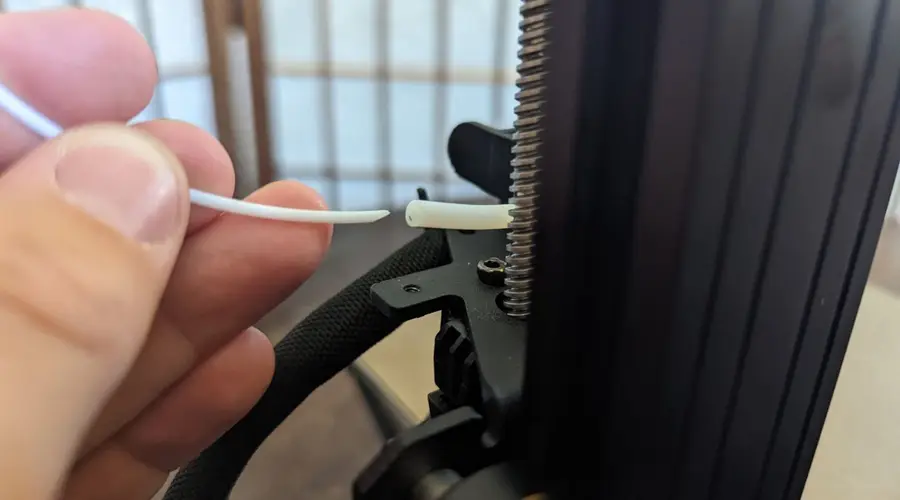
The tube acts as a handy guide. make sure that you use your wire cutters to snip the filament at a sharp angle, this makes it easier to slide it in. A little bit of pressure will be needed—you can depress the button on the side of the loader to allow the filament to more easily slide into place.
You’ll know you’re finished when the machine catches the filament, and it starts moving without you pressing it.
8 – Once the filament is loaded, insert your memory card.
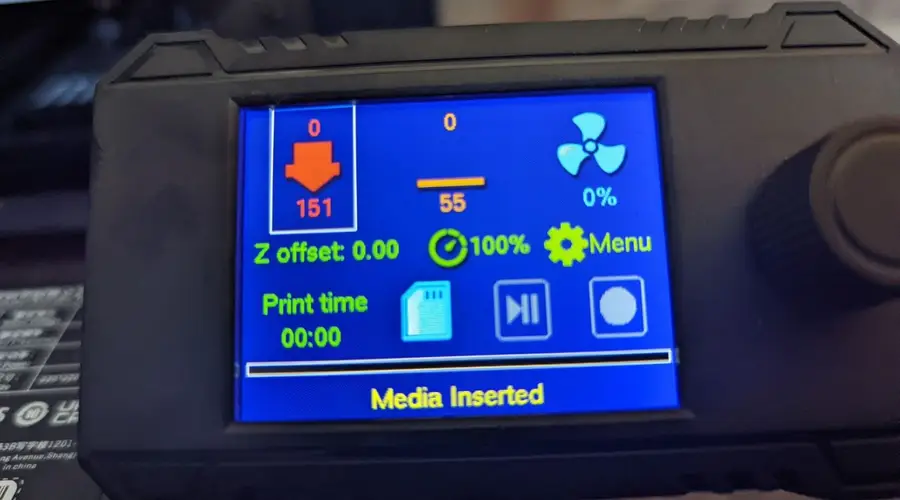
Insert your memory card that came with the Kobra Go.
9 – Select Menu and then scroll to “Print from SD Card”
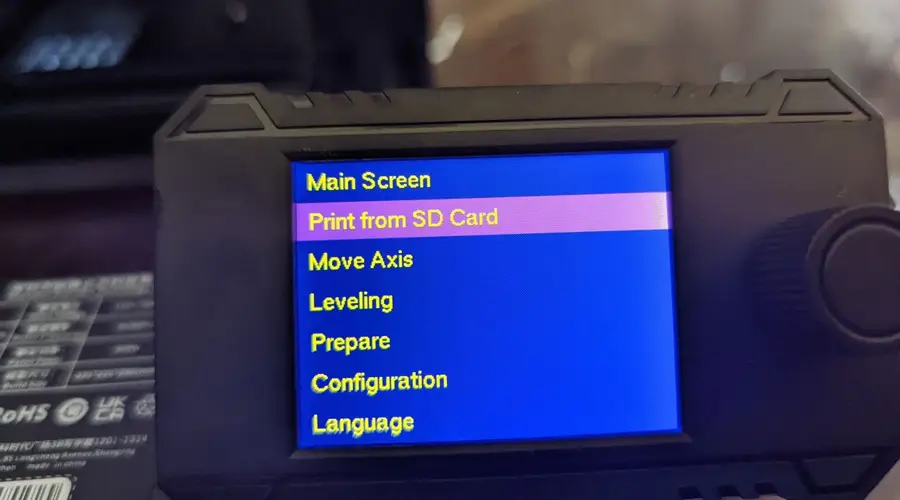
The card comes preloaded with an owl model to test things out on.
10 – If necessary, correct the Z offset
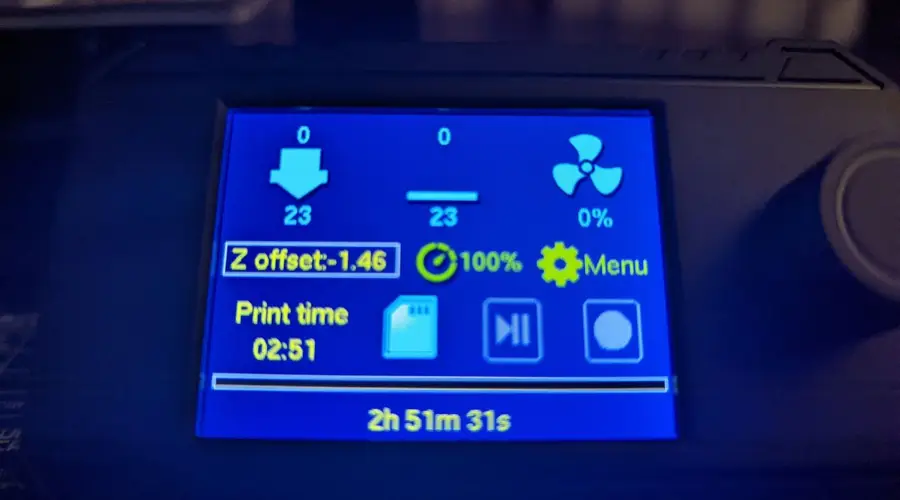
As the print begins, you can use the knob to select the Z offset control (depress the button to select and turn to either side to move the nozzle up or down). It’s easy to ensure that your nozzle is the perfect height from the printer bed.
11 – Enjoy your new print!
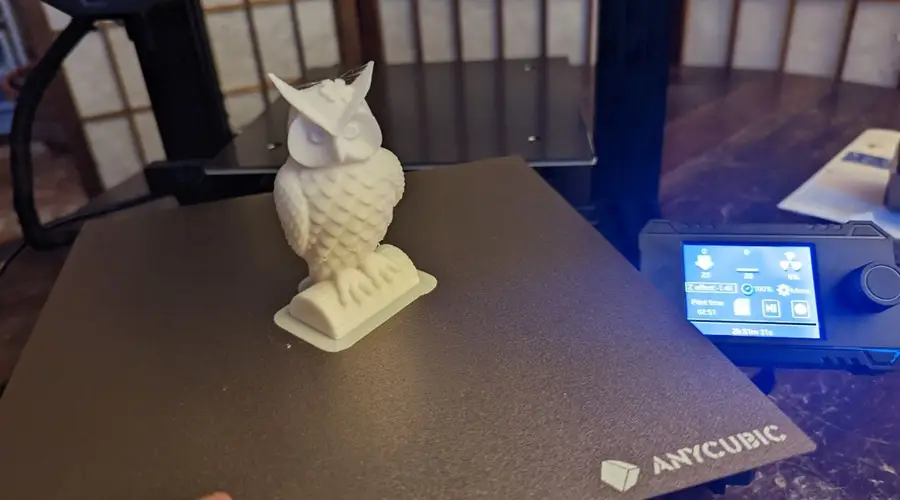
The Anycubic Kobra Go does a great job turning out models with all the most common filament types. Try it yourself now!