Ender 3 V2 – The Easiest Guide to Leveling and Test-Printing


Share
Interests
Posted in these interests:

If you’re like me and are just starting out on your 3D printing journey, there’s little doubt in my mind that you’re probably frustrated by the Ender 3’s terrible leveling. Doing this all by hand is an epic pain, and even if you’re experienced with the Ender 3, why would you want to risk uneven prints by basically eyeballing things?
There are some pretty radical upgrades you can do to make leveling the Ender 3 V2 essentially automatic, but if you’re just starting out, these are definitely a bit above your pay grade. My preference is to use some fancy g-code to make the Ender 3 assist you in the leveling process and provide some great starting test prints that will help you get the perfect print every time.
1 – Ender 3 V2 calibration testing
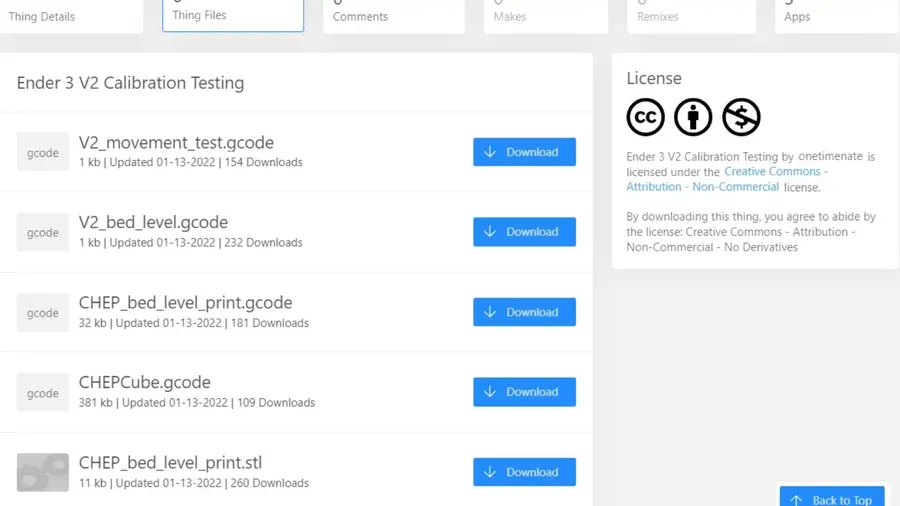
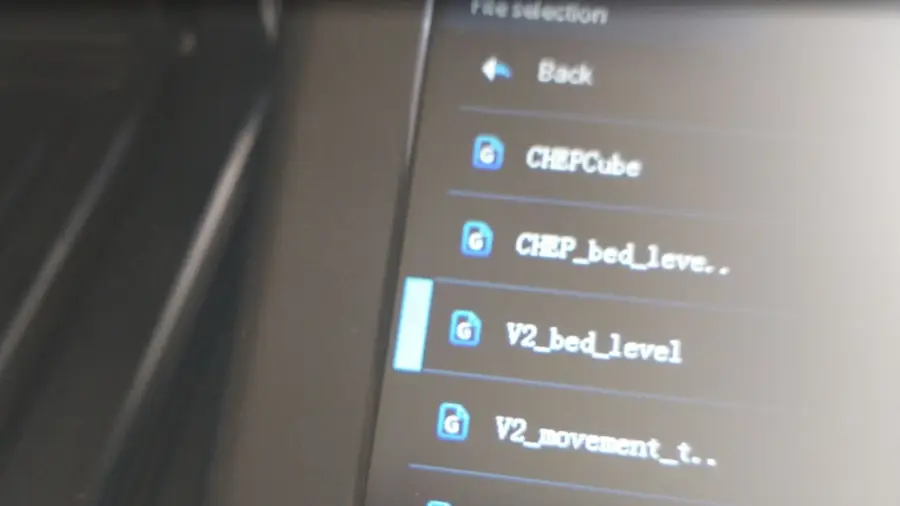
The first step is to head on over to Thingiverse and grab the awesome file package by onetimenate (a remix of an earlier calibration program for the original Ender 3).
Remember, the Ender 3 V2 will not work with all files intended for the original Ender 3 and Ender 3 pro! This package handles everything you need, however, and really ensures that you have your printer calibrated to its peak.
2 – Prepare to calibrate your Ender 3 V2
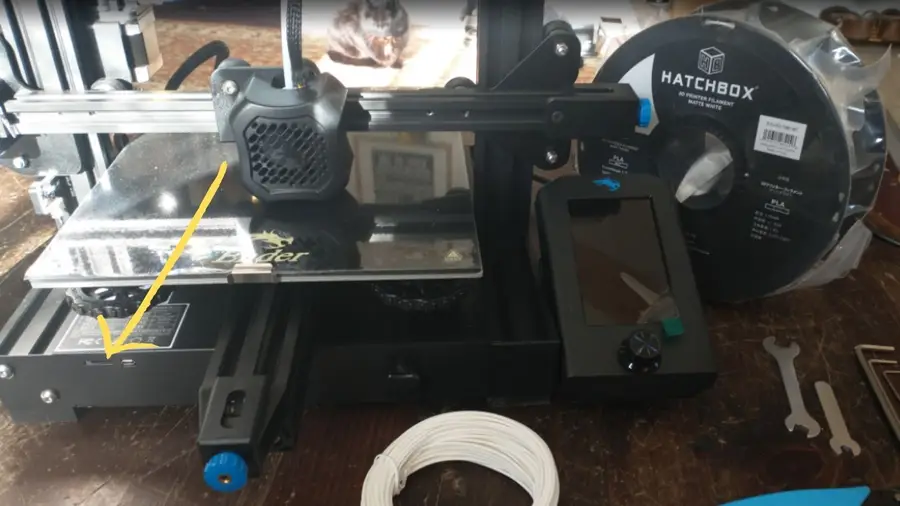
- Plug in your USB adapter with the micro-SD card (included with your Ender 3 V2) to your PC
- Download the four .gcode files directly onto your SD card.
- Use your PCs software eject to remove the USB adapter and SD card.
- Plug the SD card into your Ender 3 V2
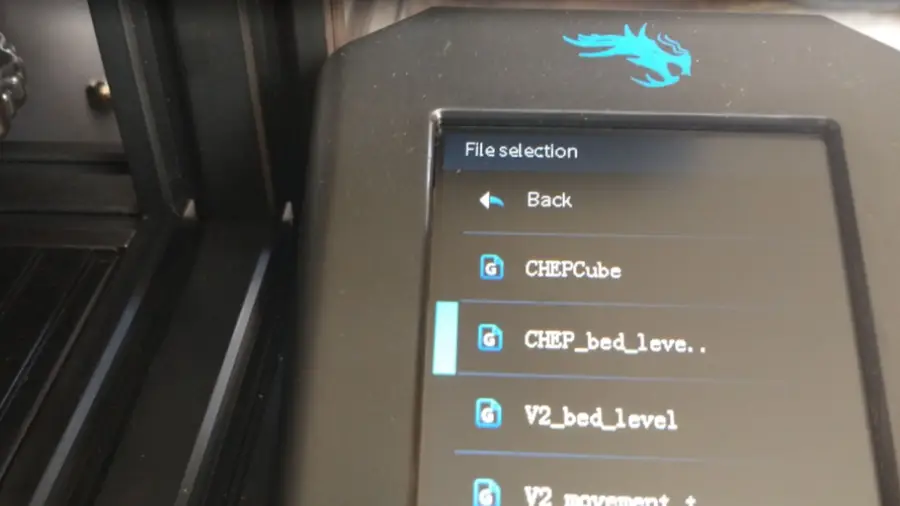
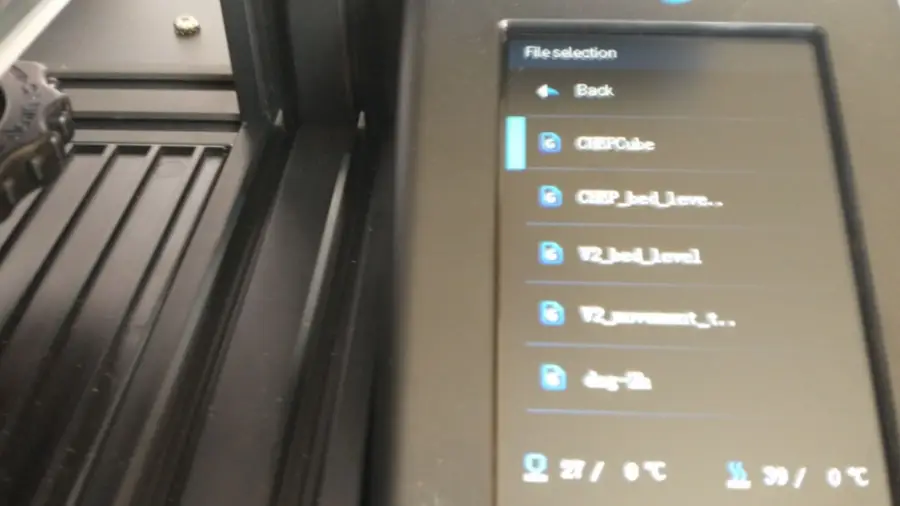
Sometimes, the Ender 3 V2 doesn’t seem to recognize the plugged in card. Wait a moment, remove it, then slot it back in, and it should be fine. My Ender 3 V2 screen momentarily freezes while it reads the SD card. Once the card is working, under the “Print” menu you’ll be able to see all your files.
Note: Don’t put files into subfolders, Ender can’t sort into those.
3 – Test your Ender 3 V2 for movement
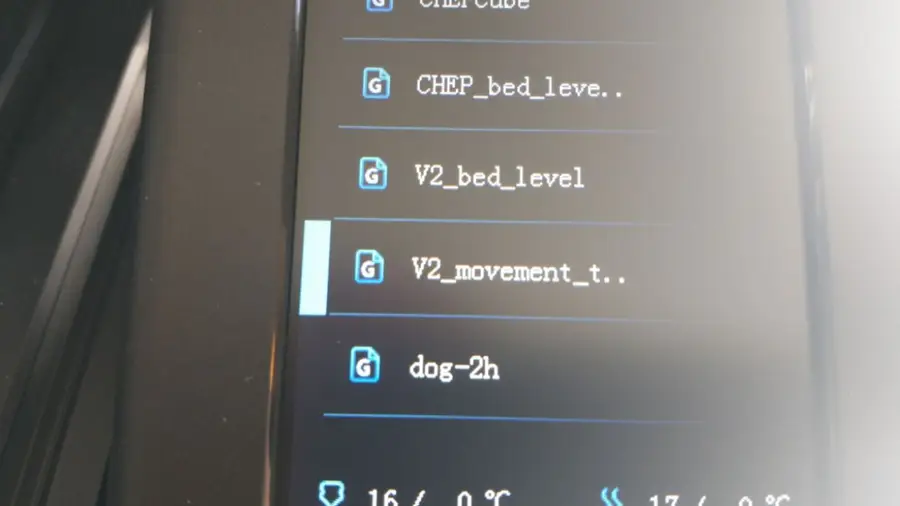
This file tests your Ender 3 V2’s Z-axis, X-axis, and Y-axis to ensure that there are no hangups, grinding issues, or binding when the extruder is moving. It will run your Ender 3 through its paces, but this only takes a few minutes to do its thing.
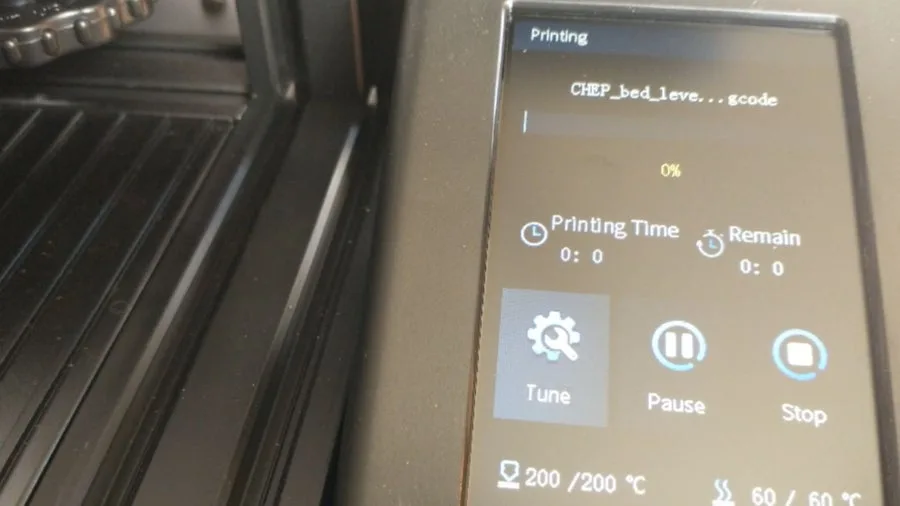
4 – Level the print bed on the Ender 3 V2
This code, when run, will guide you through the process of getting a near-perfect level on your Ender 3 V2’s print bed.
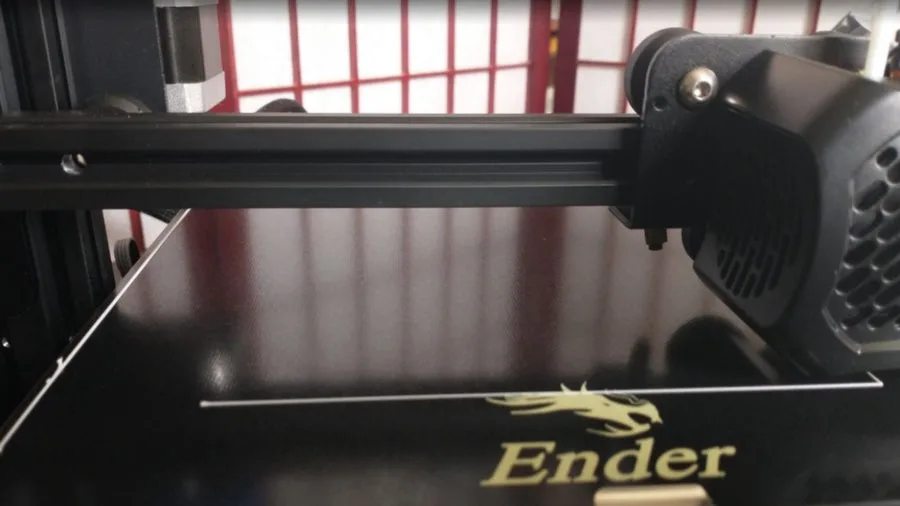
The goal is to be able to slide a piece of ordinary paper beneath the printer’s nozzle and the glass print bed. You want a little bit of resistance when you pull the paper: not a lot of resistance, or too little. You will be aiming to adjust the screws beneath the print bed plate until you are just barely able to feel some drag when you push/pull the sheet of paper through.
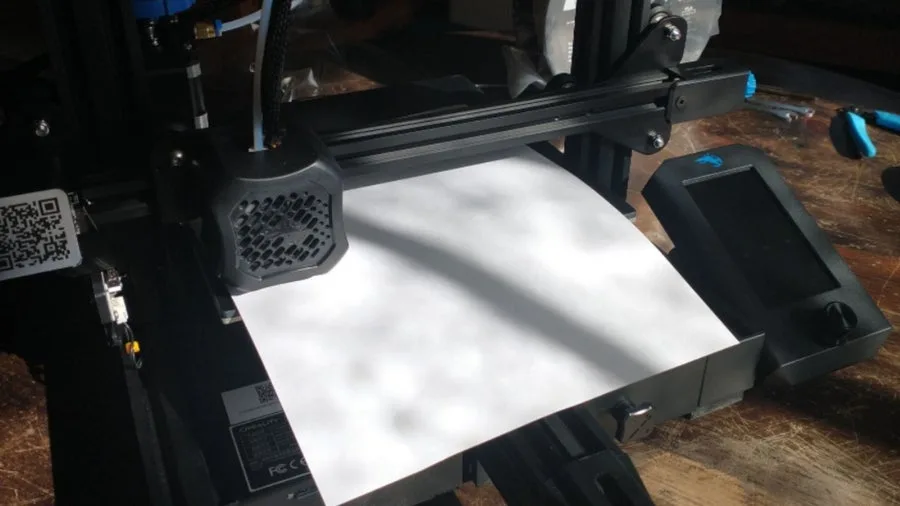
The code will move the print head to each of the print bed’s four corners, and the center, stopping at each point for you to test. Slide your sheet of paper in, use the adjustment wheels to move the plate up or down as needed (the knobs have arrows with “up” and “down” printed on them to help with this step).
Note: the code will halt the printer head at each test location. Once you have tested and adjusted at a stopping point, press down the Ender’s control knob. That will tell the code that you’re done leveling that point, so it can move onto the next.
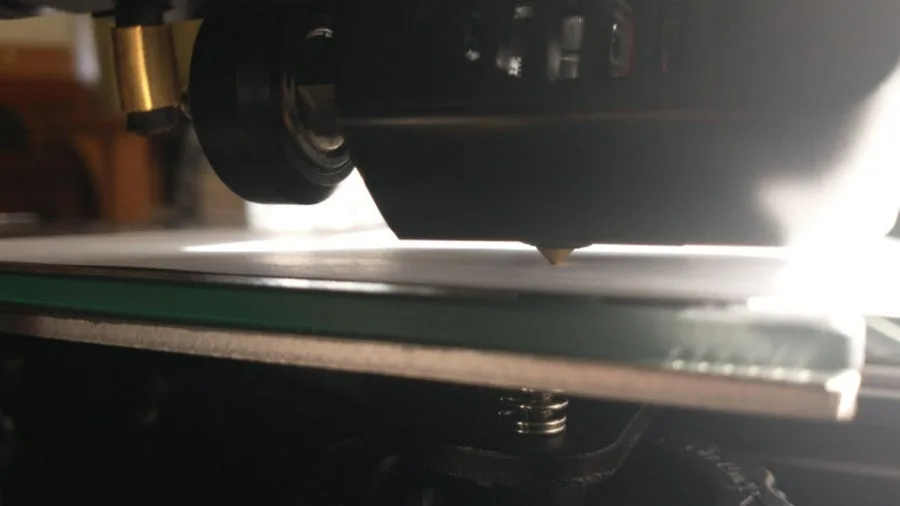
The code will guide you through this process twice, ensuring that you have the bed level. Don’t be surprised if, when you first adjust all four corners, sliding the paper under the nozzle in the center is impossible. Just slightly adjust all four corners until there’s room to slide the paper into the middle with just a tiny bit of drag.
5 – Preheat your nozzle for PLA
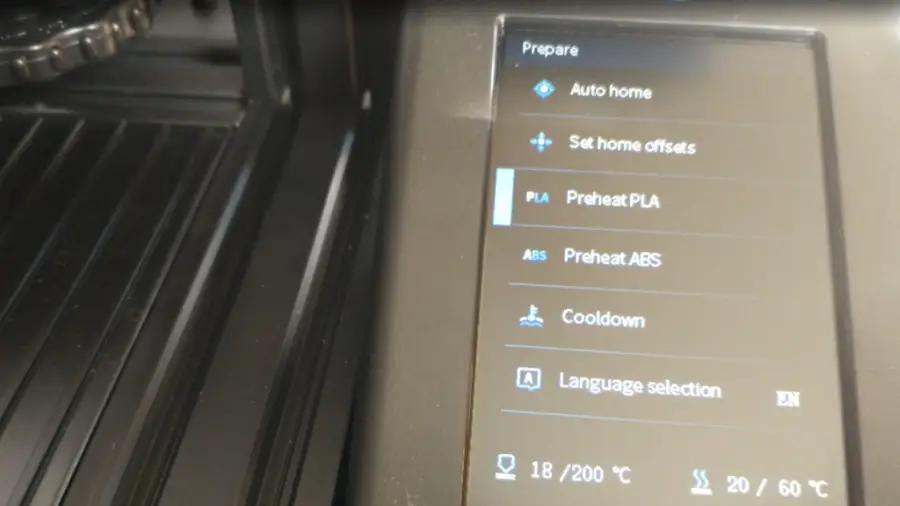
Get your Ender 3 V2’s nozzle preheated in preparation for slotting in the PLA line.
From the main menu:
- Navigate to and press on “Prepare”
- Navigate down to “Preheat PLA” and press
The printer will begin heating up the printer head automatically. The Ender 3 V2 is set for 200 degrees (C) which is the ideal average for most PLA needs.
6 – Prepare your PLA for your Ender 3 V2 print test
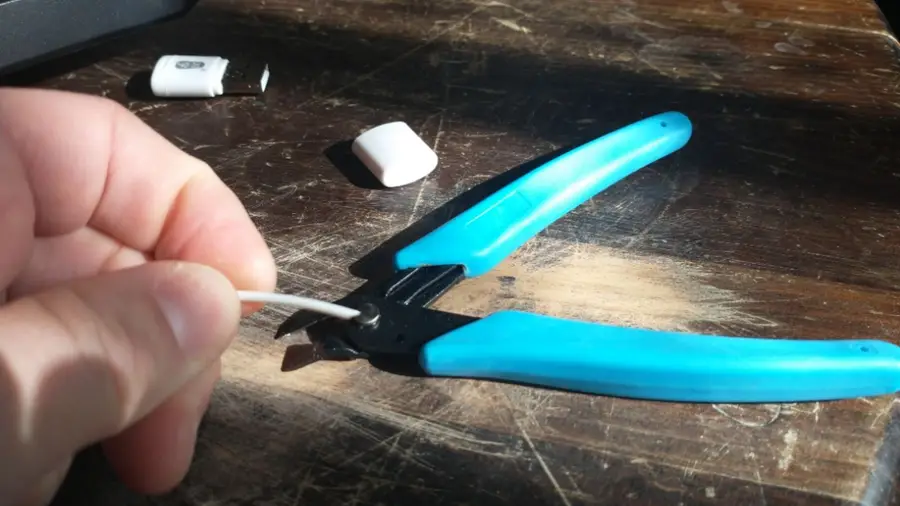
The Ender 3 V2 comes with a small spool of PLA to use for testing purposes and your first few prints. Because of the nature of 3D printing, this will likely last you a while as you play around with the basic prints available to you and get comfortable with your new printer. I do recommend getting more PLA in advance, though, as moving on to more complex prints will go through your small spool with surprising speed.
To prepare your PLA spool, carefully snip the end at an angle. This helps you feed it into the tube that leads to the nozzle head. If your PLA line is bent or kinked, I recommend just snipping off the bent section, as this can cause issues with the print. If it’s a mild bit of bending, you might be able to straighten it out, however.
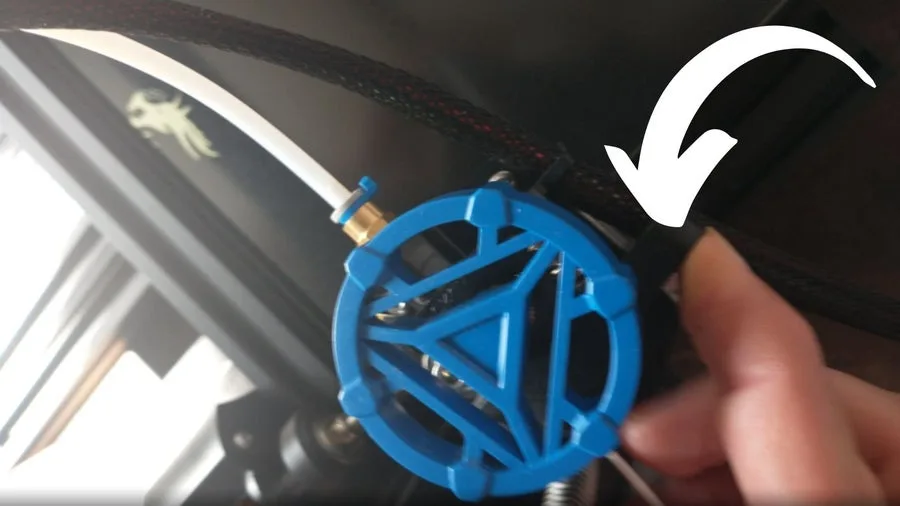
7 – Hang your PLA on the Ender 3 V2
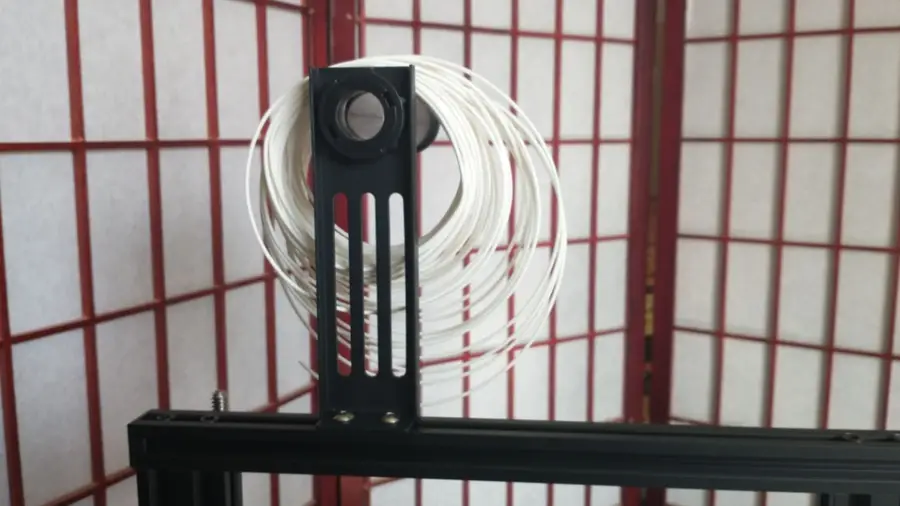
Now hang your spool on the Ender 3 V2’s hanger. Make sure it’s facing the right way to eliminate awkward bending as the printer draws the PLA into the print nozzle.
8 – Feed in your PLA to the Ender 3 V2
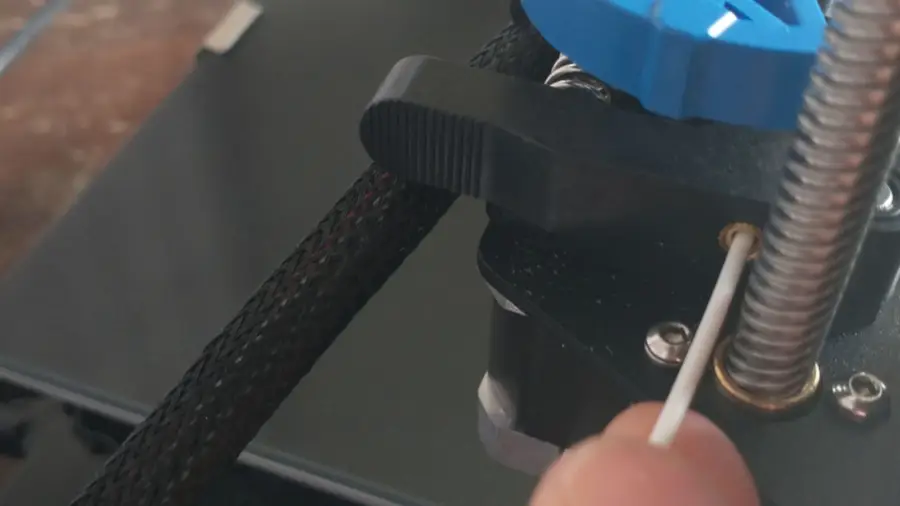
Gently push your fresh PLA string (diagonally-cut end first) into the little copper slot beneath the blue knob. You may feel a little resistance, that’s okay! Just give it a good little push, and it should start feeding through. You will be able to see it inside the tube.
You can also manually depress the idler arm and push the PLA line in further.
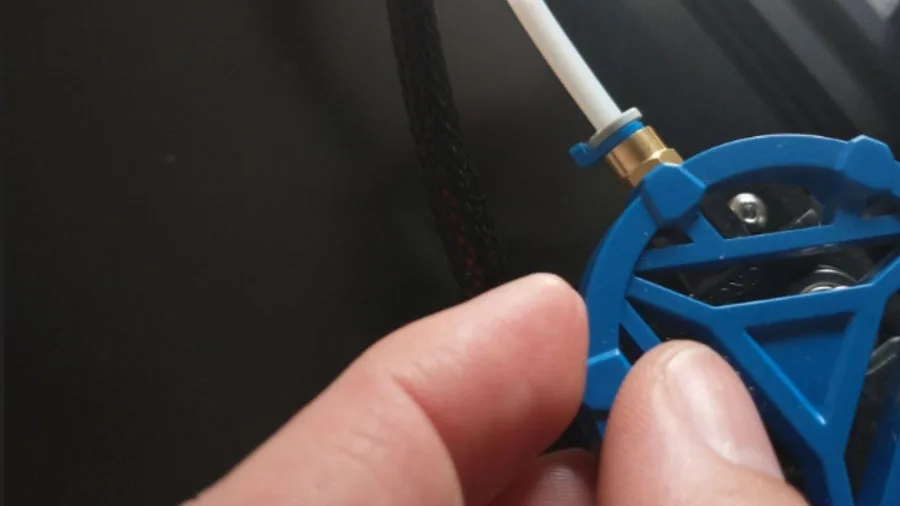
Now, use the idler arm and feeder knob to feed the PLA line into your Ender 3 V2. You want to feed the PLA line all the way through the tube until it reaches the nozzle. Keep turning the knob until a small amount of filament is extruded from the hot top of the nozzle onto the plate.
9 – Run the bed levelling test print for your Ender 3 V2
Running this next bit of code will help you ensure that your print bed is leveled correctly.
You want to have the squares printed so that you cannot easily smudge them during printing if you brush them with your thumb, nor so tight that they’re printing incorrectly.
The nozzle will repeat the square motion several times, building up the layers and giving you a chance to test and recalibrate (by pausing the print and turning the adjustment knobs on the bottom) as you go.
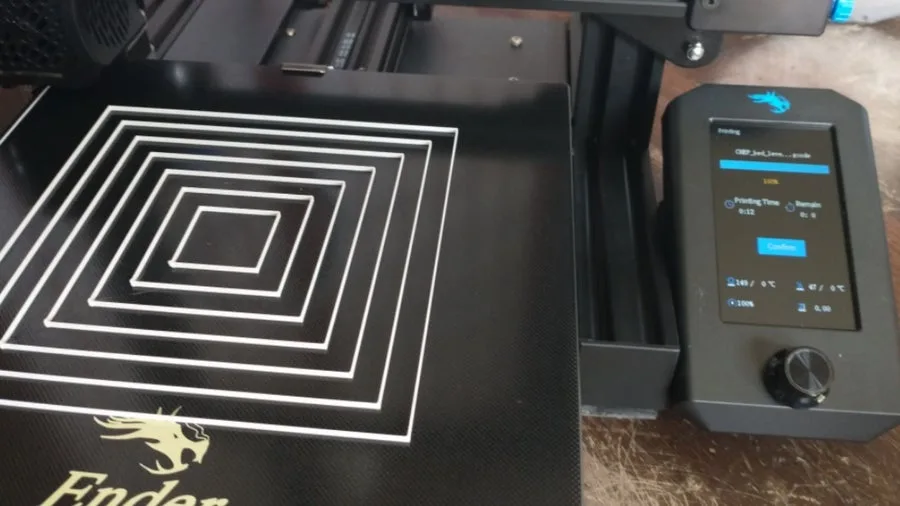
You can also let it complete and then recalibrate using the paper method.
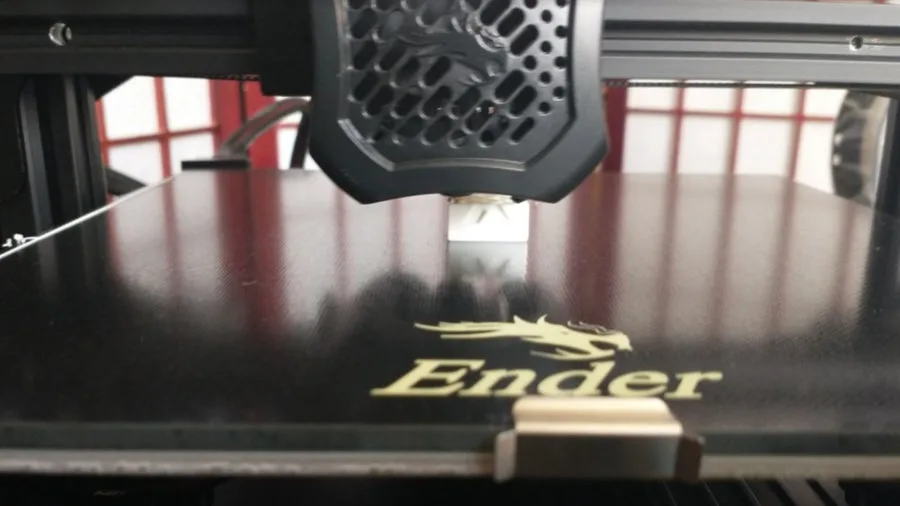
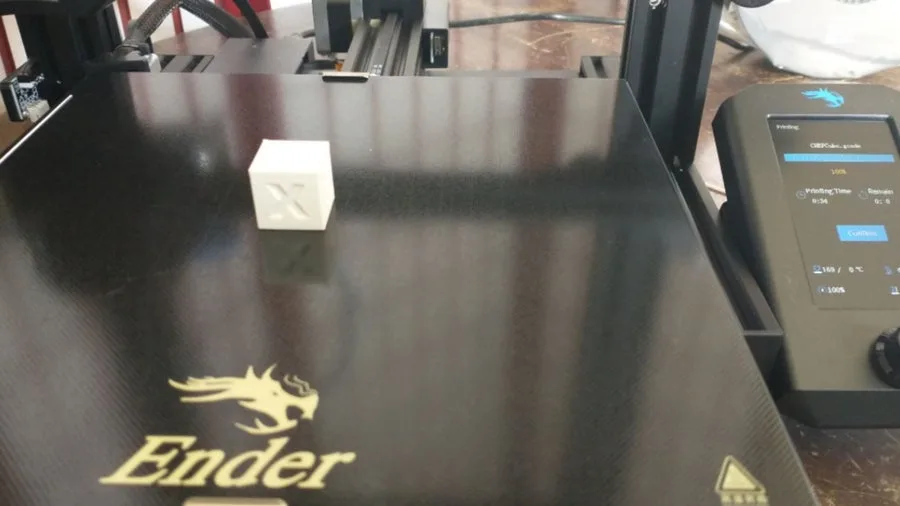
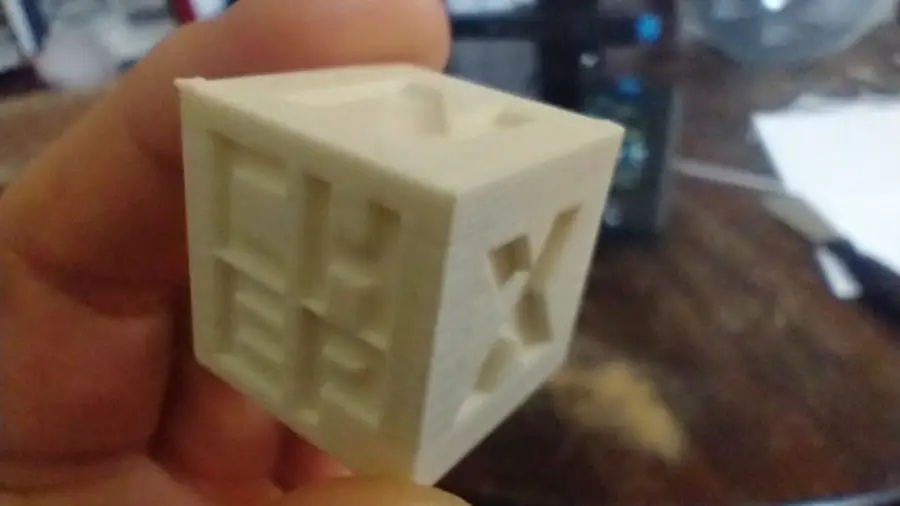
10 – Print the test cube to complete your Ender 3 V2 set-up
This final step will put your printer through its paces, producing a fully-functional test cube. If you notice any imperfections in the cube during the printing process, you’ll know that further adjustments need to be made before you begin your first big printing project.
Here is the test cube just starting out.

The test cube is about halfway done, now!
A completed test cube!
11 – Congratulations! Your Ender 3 V2 is ready to go.
And that’s all there is to it. Once you’ve run these test, your Ender 3 is as ready to go as it will ever be, and you can get on with all the fun printing projects you have planned. Just remember: your Ender 3 V2 will frequently need to have its bed re-leveled. I recommend doing this before every new print to ensure that your bed is level and to avoid problems arising during your real prints.