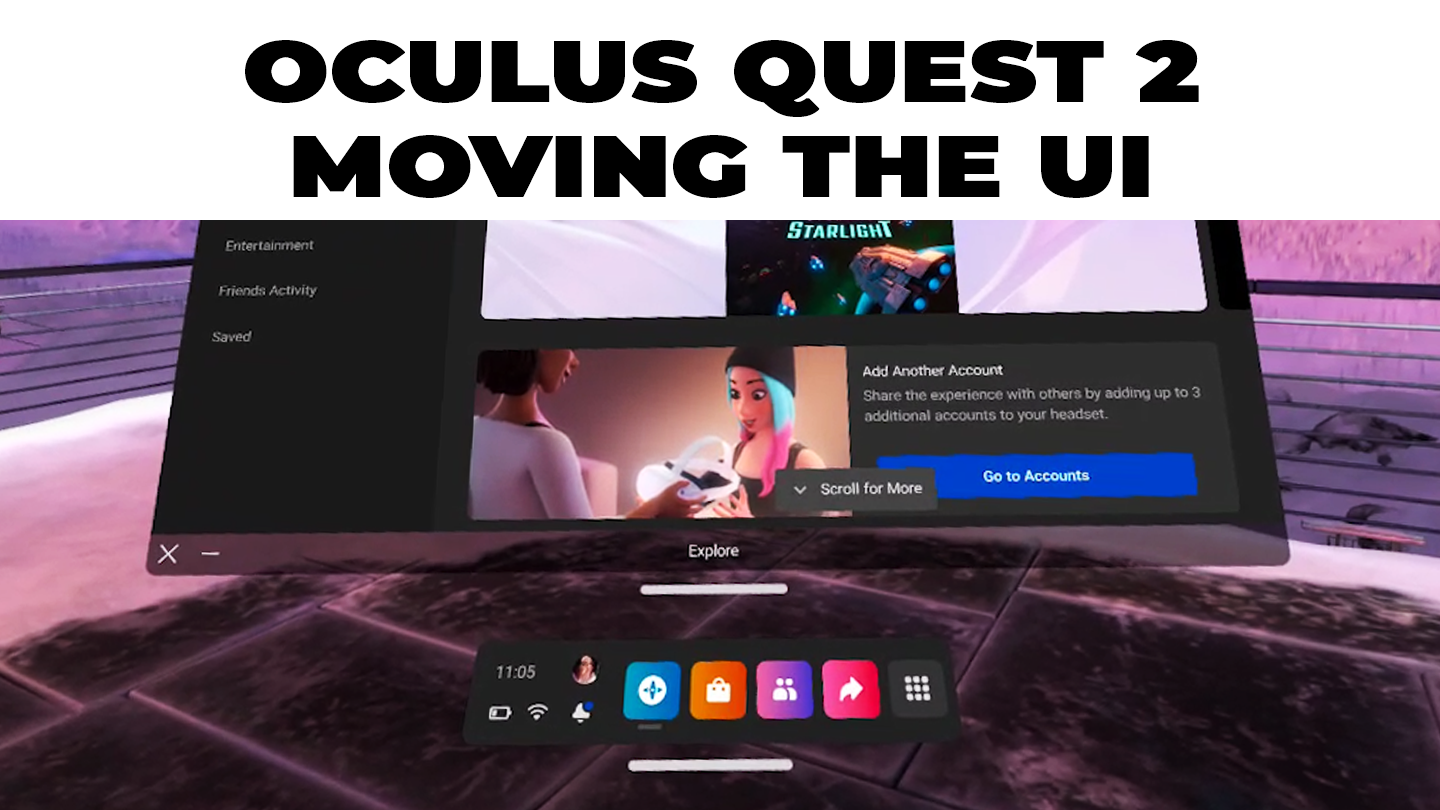
How To Move the UI on the Oculus Quest 2
Share
What you'll need
Interests
Posted in these interests:



The graphics of the Oculus Quest 2 are impressive, there’s no doubt. What makes VR so enticing to users is how unique their experience is compared to others! The Quest 2 enables users to choose not only their background scene, but also where the UI is positioned.
This guide will show you how to move both the bottom menu toolbar and the window that appears above it.
1 – Moving the menu toolbar
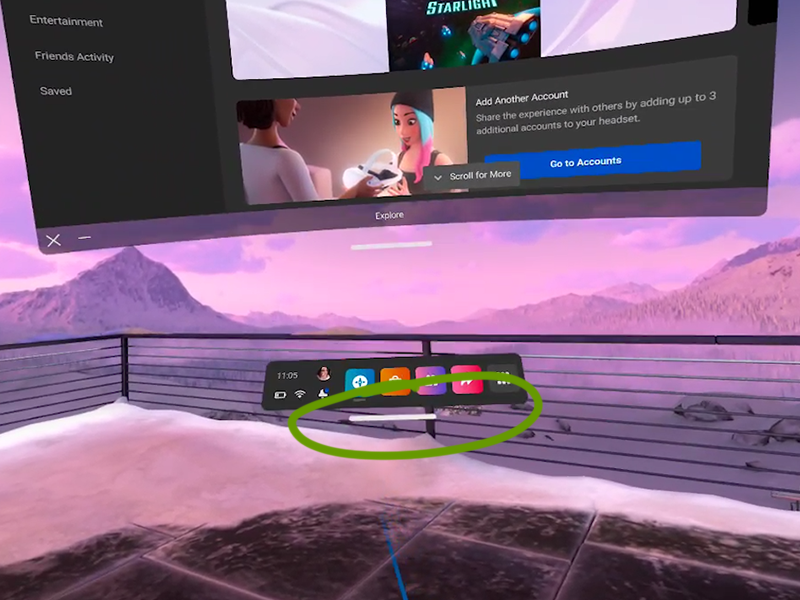
Keep in mind that moving the bottom UI will move the entire screen interface. A main reason to move the UI is so that it’s easier to see and at a proper viewing height. We already look down at our phones too much, it doesn’t need to be the same for a VR experience.
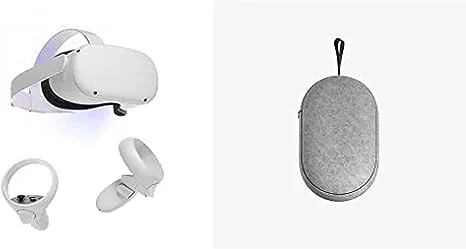
To move the UI, use the trigger button located at the back of the controller and grab the bar underneath the toolbar. Hold and drag the UI to wherever you want!
2 – Moving the top screen
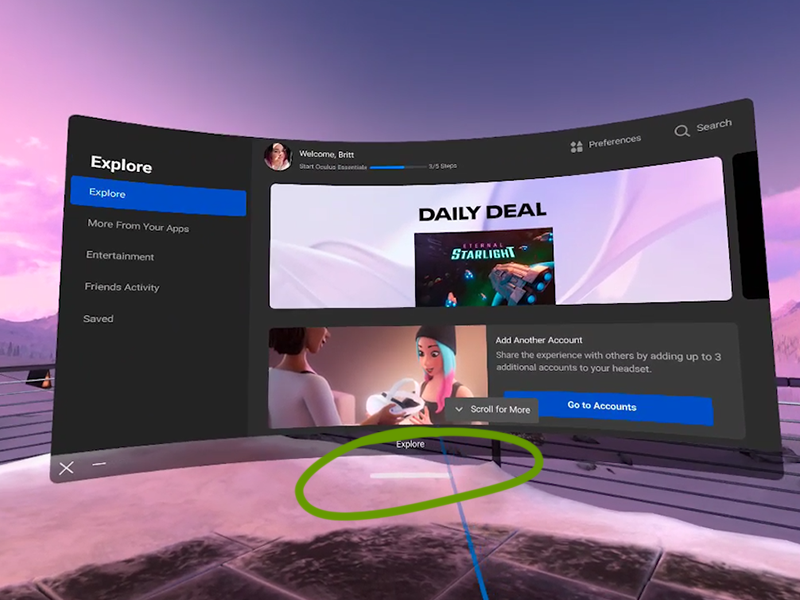
You can move the top screen vertically to position it better for viewing, separate from the menu toolbar.
To do this, hold and drag the bar underneath the window with the trigger button on the touch controller.
The screen will adjust its view automatically if you drag it to the highest point possible.
If you’d like to learn how to take photos or [videos] on the Oculus Quest 2, check out those respective guides!

