How To Publish a Modpack on CurseForge
Share
Interests
Posted in these interests:


Whenever you join a multiplayer server, chances are they’ve published a custom modpack through CurseForge. Overwolf’s CurseForge has become the first stop for most Minecraft players to download mods because of how easy they make it! It’s no wonder why CurseForge will be launching a $50 million Creator Fund to support mod authors, in-game app creators, and game studios.
So whether you’re creating a modpack for a server or just want to share it with friends, CurseForge is the platform to upload and publish your modpack!
In this guide, we’ll go through all the steps necessary to publish a modpack on CurseForge!
1 – Create a CurseForge account
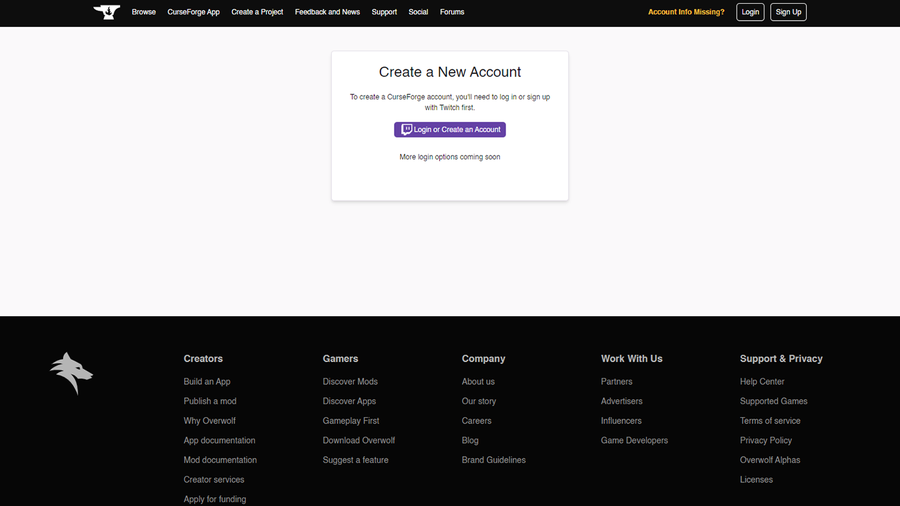
Before we do anything, create an account on CurseForge that you will be publishing with.
Unfortunately, because CurseForge was owned by Twitch until mid-2020, you will need a Twitch account to login. Currently, there are no other signup options.
2 – Download CurseForge
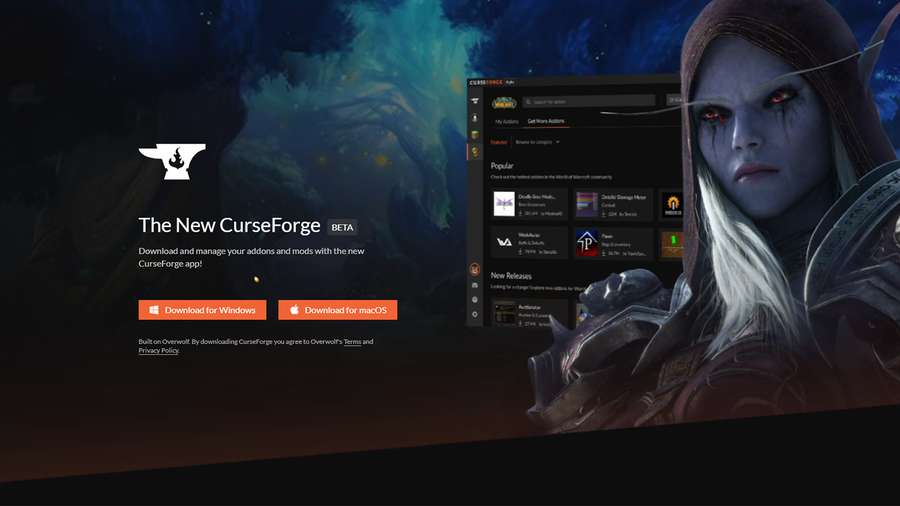
If you don’t already have CurseForge downloaded, you can do so through their website. Once the download is finished, move on to the next step.
3 – Create the modpack
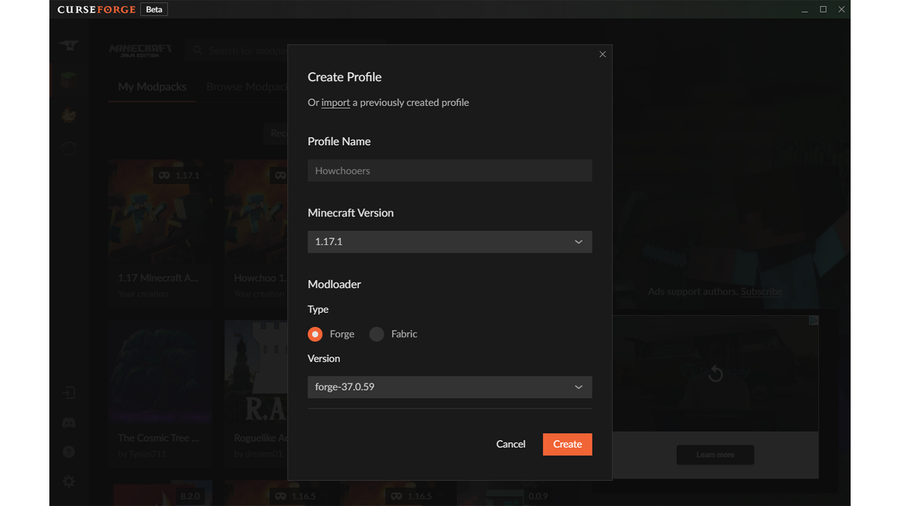
Now you’re ready to add mods to your modpack! The easiest process is through the CurseForge app. Below are the steps to creating a profile and adding mods:
- Upon first opening, you’ll need to choose Minecraft as a game and where you’d like the files to be saved.
- Click the
Create Custom Profilebutton at the top right of the window. - Fill in the name and correct Minecraft version. If you’re hosting a server, make sure the Fabric or Forge modloader versions in CurseForge match the version of the server.
- Click
Create. CurseForge will create the profile and once complete, click into the modpack.
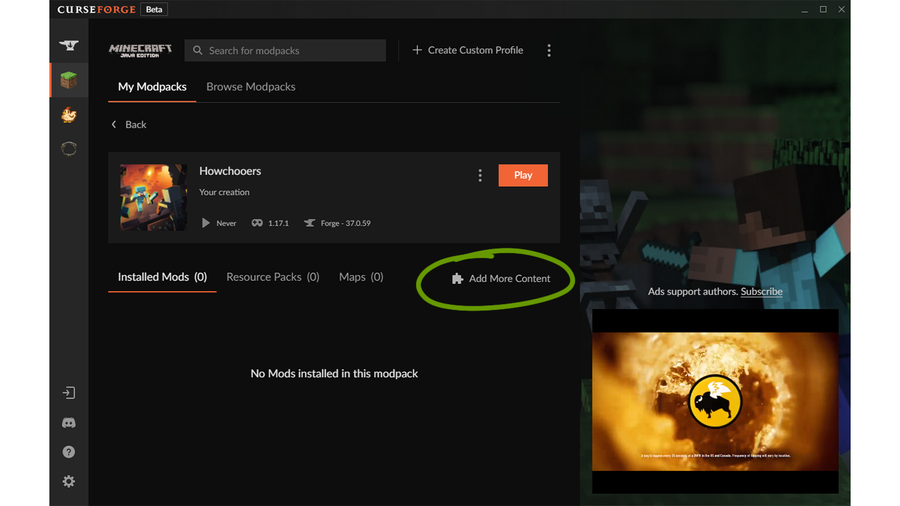
- Click
Add More Contentas shown in the image above. - Search and browse to find the mods you’d like to add. You can add mods to the modpack by clicking the
installbutton. If you need help deciding what mods to add, check out one of our Minecraft mod guides!
The average PC can handle up to 100 mods in a modpack, so try not to go much higher than that. Make sure you test out the modpack before exporting to make sure there are no mod conflicts or glitches!
Once you’re satisfied with your mod list, we’re ready to move on to the next step!
4 – Export the profile
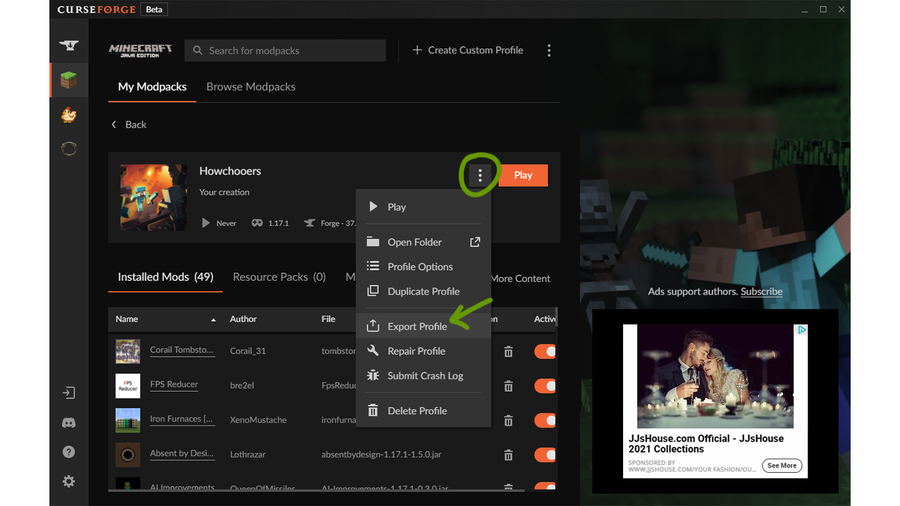
Click the triple dotted button beside the Play button to open up the modpack menu. In the drop-down, choose Export Profile.
- In the pop-up that appears, name your pack in a way that will make sense to you. For example, the first version of this modpack could be named “Howchooers 1.0”.
- Make sure the checkbox beside “Mods” is checked off and click
Export. - Download the file to wherever you’ll find it quickly later.
Note: If you include a mod that requires configuration before publishing the modpack, do so now. When you export the profile, be sure to check off the config file for that mod.
5 – Prepare upload requirements
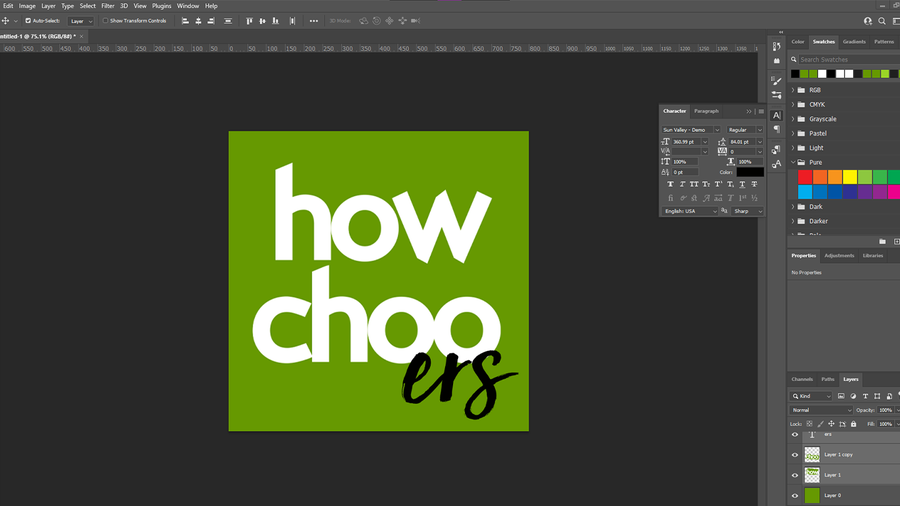
Contrary to what you might assume, the modpack file isn’t the only requirement to upload and publish to CurseForge.
In order for your modpack to be approved, you’ll need:
- Logo that is 400×400 pixels and cannot be a blank image or just the modpacks name.
- Written Description that details the modpack, its purpose, and anything else the players might need to know.
- A summary that is a one line explanation that offers a sense of what your modpack offers.
Take note that the modpack name cannot include the game name, game versions, or file versions.
6 – Start a CurseForge project
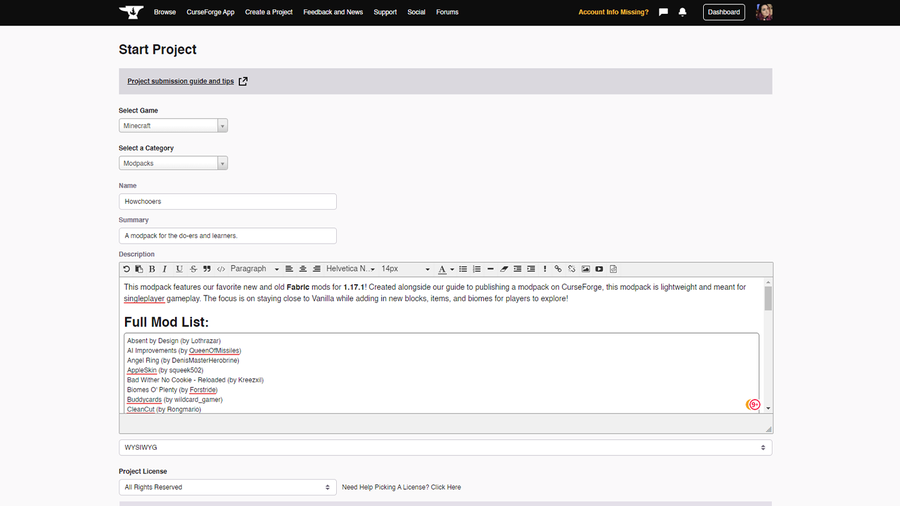
It’s finally time to begin uploading. Go to curseforge.com/minecraft/modpacks and click the Start Project button at the top of the page.
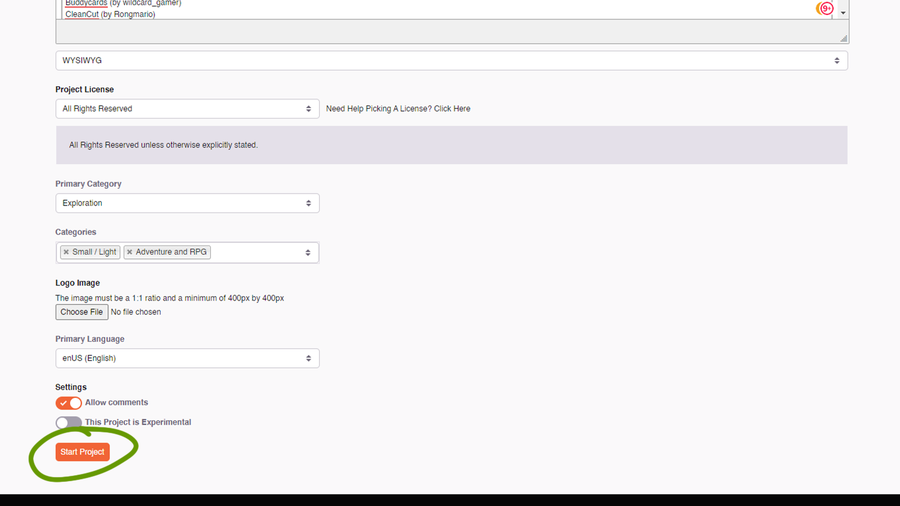
Fill in all the information you’ve already prepared! When choosing a main category, pick the one that has the most mods supported. You can choose up to five additional categories as well.
Once you’ve filled in all the required information, click Start Project at the bottom of the page.
7 – Revisions
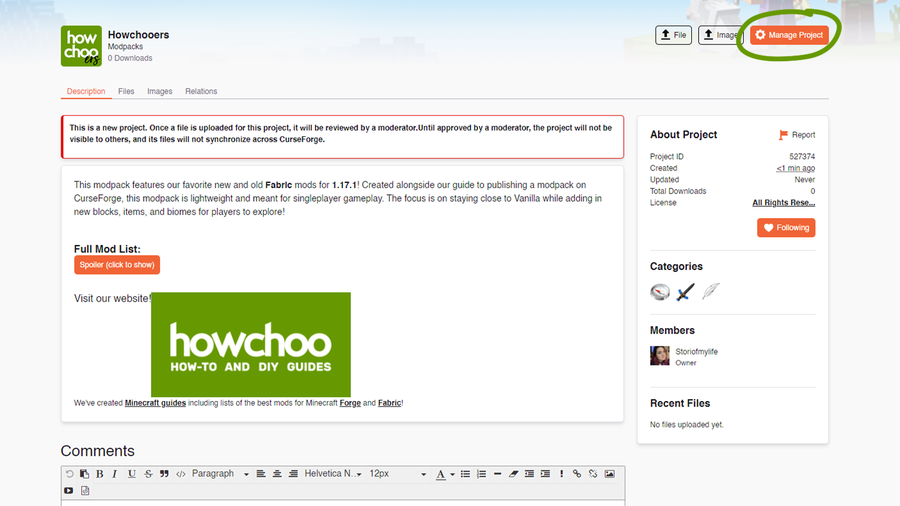
Now is a great time to see if your description needs any fixing. To do so, click the Manage Project button as shown in the image above.
On this page you can update the modpack’s description, logo, license, and more! Make sure to click Save Changes before leaving the page!
8 – Upload file
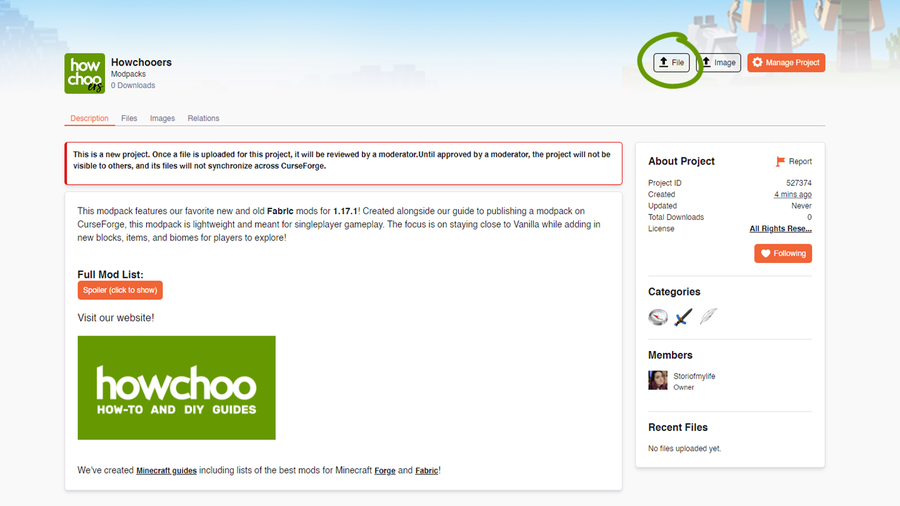
Now we have to upload our modpack ZIP file to CurseForge. Click the File button at the top of the page, as shown in the image above.
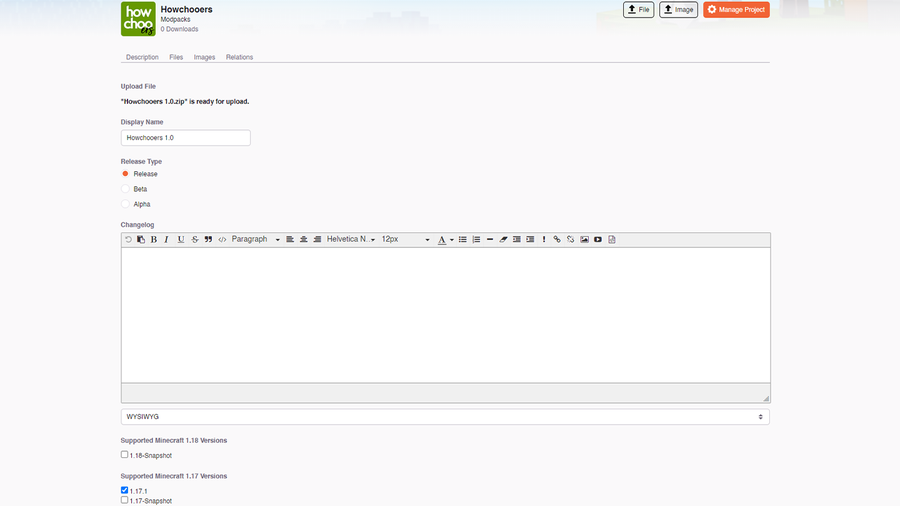
As shown in the image above, upload the modpack file you save in Step 4.
Choose a Release Type:
- Release: Syncs to the CurseForge App by Default. These are the files that will auto download when a user clicks the default download button on a project. You must have at least one of these files for the project to be available on the website and client.
- Beta: Will not sync to the CurseForge App unless the user chooses to receive Beta files.
- Alpha: Will not sync to the CurseForge App instances set to receive Alphas.
Make sure to choose the correct game version based on your modpack’s original profile. You don’t need to fill out the Related Projects section, as once your project is approved, it will automatically populate.
Click Submit when you’re done!
9 – Wait for approval
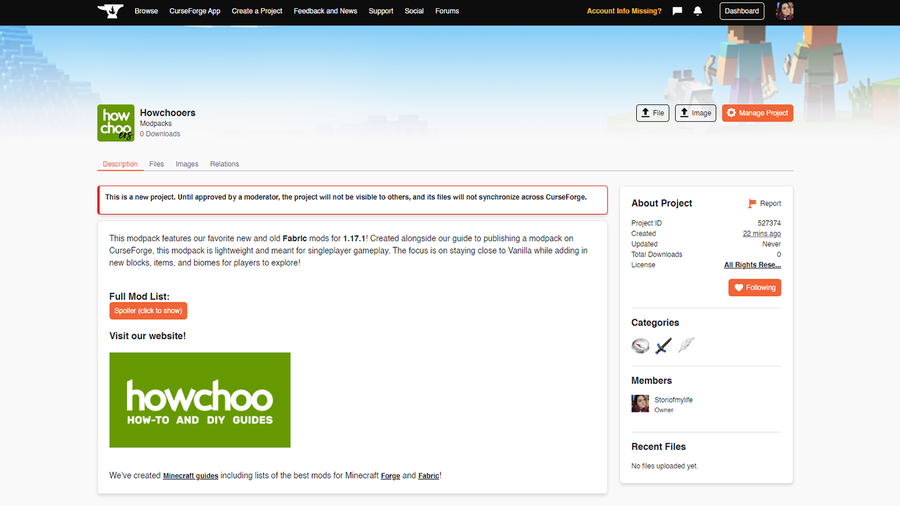
CurseForge staffers will now review your modpack. This process can take anywhere from a few minutes to a couple of days. If your modpack is approved or rejected, you’ll receive an email or notification on CurseForge’s website. You can view a full list of your projects here.
If your modpack is accepted, then you’re ready to share it with the world!
If your modpack is rejected, the team will let you know why and what changes need to be made. View their Moderation Policies for more explanation.
Check out our published modpack called Howchooers!
10 – Update the modpack
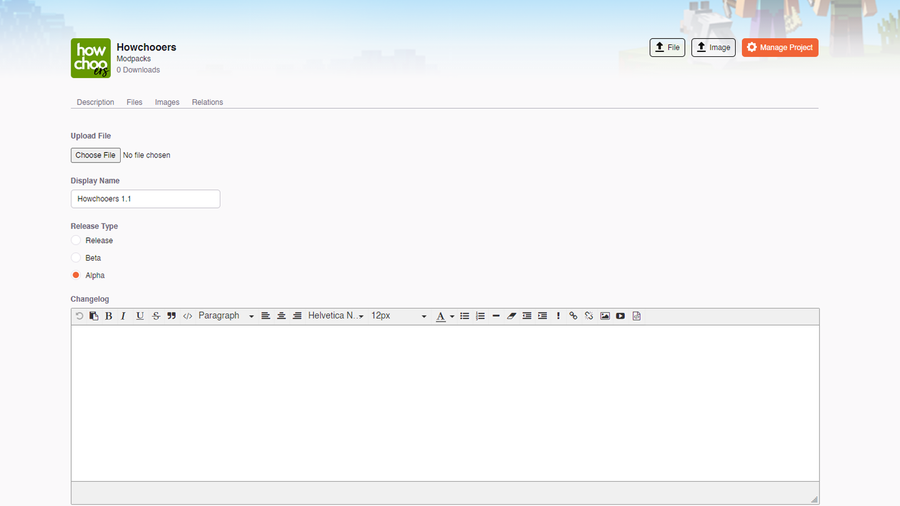
Updating a modpack is nearly identical to publishing for the first time.
- Repeat Step 4 of exporting the modpack from the original one you made in Step 3. Make sure to label the file you export with a version number, so you don’t get confused when uploading.
- While on your project page, repeat Step 8 to upload a new file.
- Within the Changelog box, add in anything players should know. For example, what mods were removed or added.
The updated file will go through the approval process once again. Usually it takes a couple of hours for the CurseForge app to recognize the modpack had an update, but don’t be surprised if it takes 24-48 hours either.

