How to Sculpt in Blender
Share
Interests
Posted in these interests:


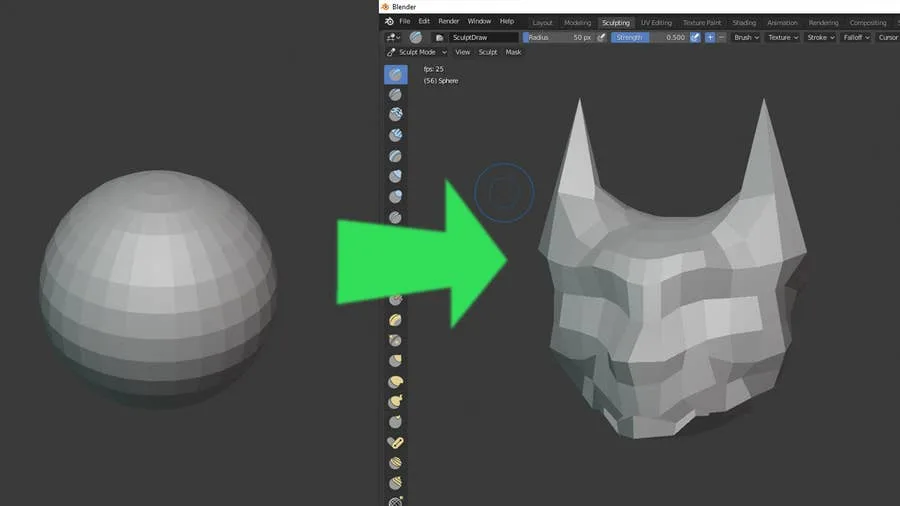
Blender has made a name for itself over the years as the go-to open source 3D modeling application. It’s free price tag and no limitation regarding commercial use makes it an ideal candidate for many developers, artists, and more. The latest edition has a selection of sculpting tools that make Blender a viable option that stands up to many commercial-grade competitors.
Sculpting makes it possible to work with 3D shapes in real time by manipulating them as you might an actual piece of clay. These digital creations have a range of use cases from video games to 3D printing and much more.
1 – Make sure Blender is up to date
Before you begin any new project in Blender, make sure you’re running the most recent version. Unless you’re using a specific version for a particular reason, it’s good practice to keep your software up to date.
Check out our guide on how to update Blender if you’ve never done this before.
2 – Start a new file
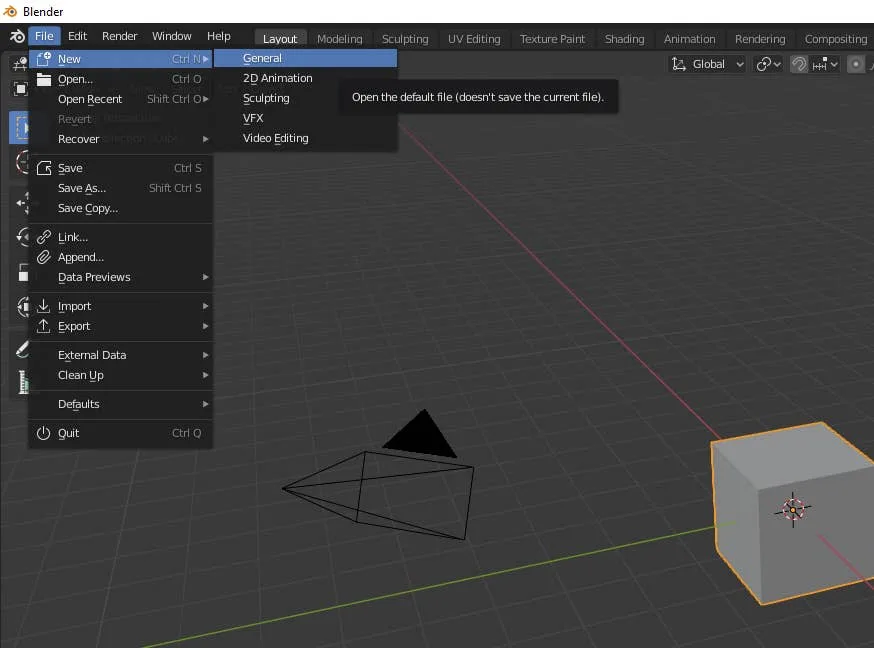
Open Blender and create a new project file. You can start with anything but choose ‘General’ if you aren’t sure. It’s important to understand how to access Sculpting mode. You can also choose to create a new Sculpting file which will take you directly into Sculpting mode.
3 – Choose the sculpting tab
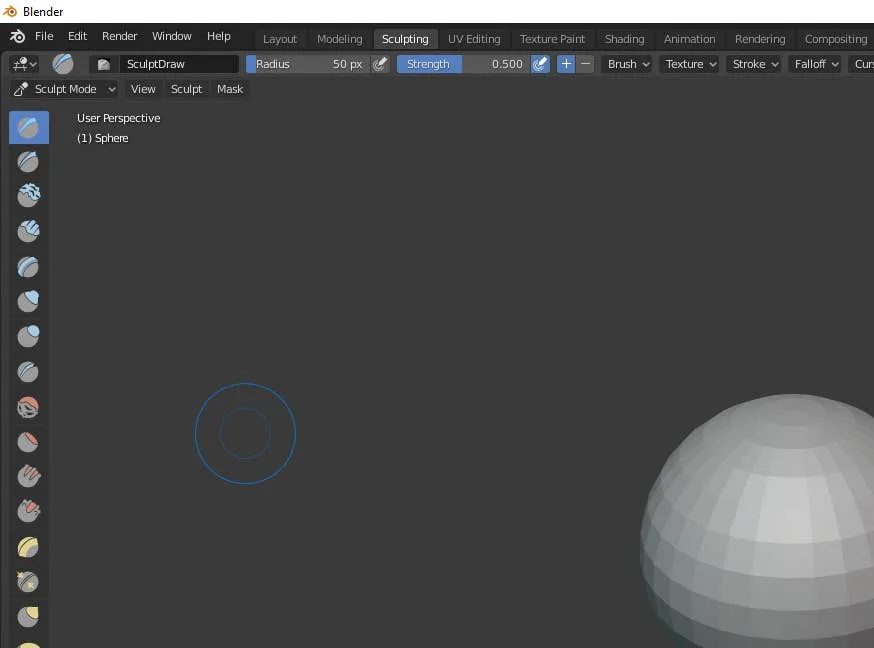
Along the top of the Blender window is a series of tabs that will take you into different types of editing modes. Select the Sculpting tab if it’s not already enabled.
4 – Familiarize with the sculpting tools
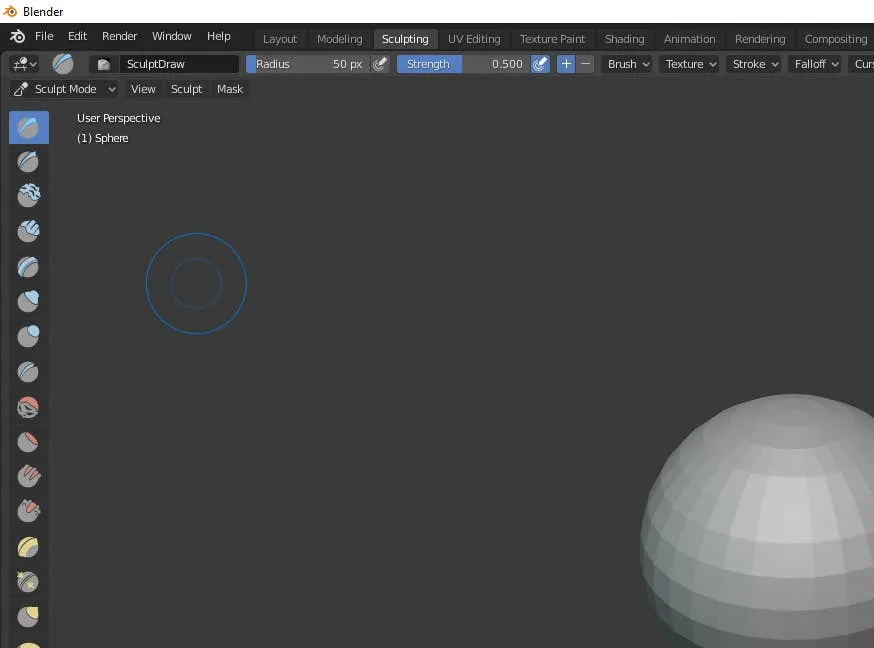
On the left hand panel is a list of Sculpting tools that let you draw freehand, inflate faces, add crease, make blobs, and more. The more faces your object has, the more detail you can add with Sculpting. Explore each tool individually to get a feel for what they do. We also have a complete list of Blender Sculpting tools below if you’re looking for something specific.
5 – Blender Sculpting Tools List
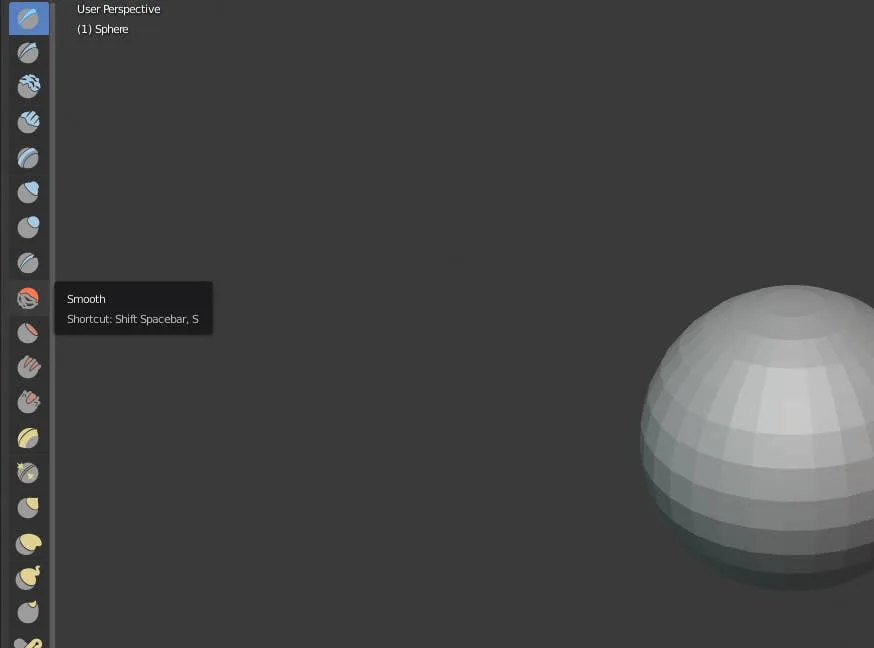
- Draw – This tool allows you to paint with a 3D brush, moving vertices either in or out.
- Clay – The clay tool paints inward or outward but only on a specific plane.
- Clay Strips – The Clay Strips tool works just like the Clay tool but uses a cube-shaped brush instead of a spherical one.
- Layer – With the layer tool, the height of each brush stroke is capped. Letting go of the button and starting a new stroke will reset the height cap.
- Inflate – This tool expands (or contracts when using Deflate mode) vertices based on the direction of their normals.
- Blob – Using this tool will round meshes outward or inward into a spherical shape.
- Crease – This tool makes sharp crevices.
- Smooth – The Smooth tool evens out vertices touched by the brush.
- Flatten – With Flatten, you can make solid, flat, planes on an otherwise bumpy surface.
- Fill – This tool pulls vertices up level with others to fill in gaps. The Deepen mode will push them down.
- Scrape – The Scrape tool is similar to both Flatten and Fill by moving vertices in relation to a plane. Its inverse is the Peak tool which pushes vertices upwards and away from a given plane.
- Pinch – Wherever the brush is placed when pressing the mouse button will attract vertices to the center of that point. The inverse of the tool is Magnify which moves them away from the brush center.
- Grab – The Grab tool allows you to pick and move vertices by clicking and dragging.
- Snake Hook – Vertices are pulled along each brush stroke to form a snake-like pattern.
- Thumb – When using the Thumb tool, vertices within the brush area are flattened towards the direction of the stroke.
- Nudge – The Nudge tool lets you push vertices with the stroke of a brush.
- Rotate – Clicking and dragging will rotate the vertices within the brush. Moving the brush will determine how far and which direction the rotation goes.
- Simplify – This tool will address any short edges by collapsing them but only if dynamic topology is enabled under the Brush > Sculpt Tool menu.
- Mask – Use this tool to select vertices that you don’t want to be affected by other brushes.
- Annotate – Annotate offers a selection of annotation tools including lines, free-hand, and polygonal options.
6 – Sculpt your object
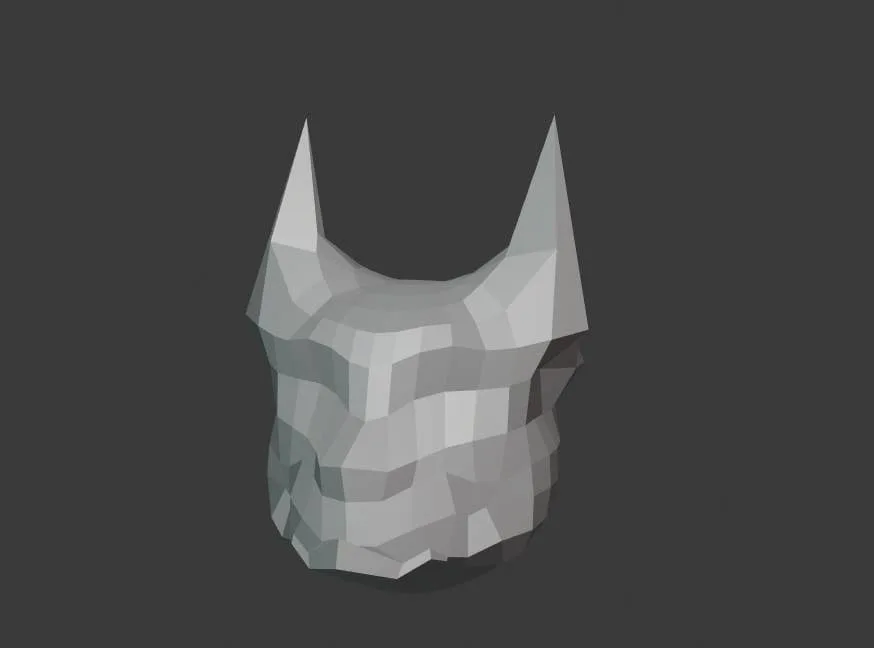
There’s no way to tell you exactly how to sculpt something without knowing what you want to sculpt. You can always learn through trial and error but I always recommend researching tutorials on how to create the objects you want to make. Without directly copying other makers, tutorials can provide insights on how to use these tools to create your own variations.
Take your time and be sure to pace yourself. Digital sculpting has a steep learning curve. A little patience and diligence will pay off faster than you might think.
Congratulations and welcome to the world of sculpting!

