Ender 3 V2: Cura Machine Settings and Cura Profile
Share
What you'll need
Interests
Series
Posted in these interests:


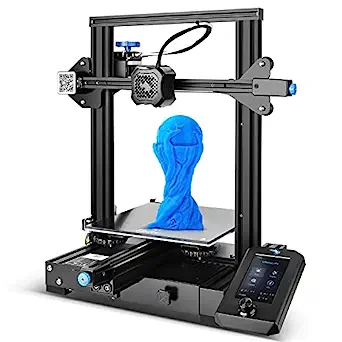
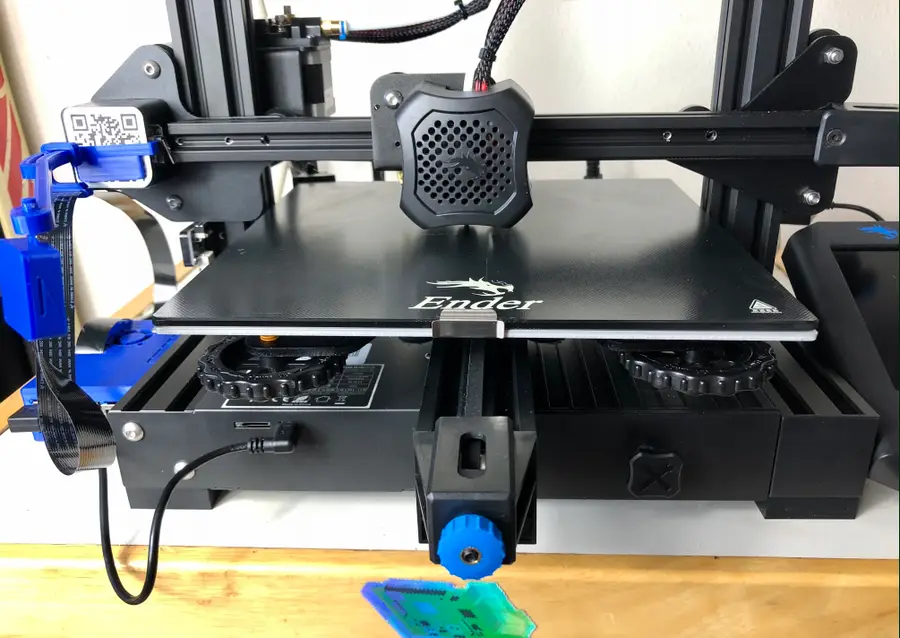
Here’s how to add the new Ender 3 V2 to Cura.
Cura has yet to update its preset for the newly released Creality Ender 3 V2. While you can leave many of the presets the same when you “Add a Printer” and choose the Ender 3, you do need to update some machine settings before you layout your design in Cura.
In this guide, we’ll show you how to easily update the Ender 3 preset in Cura to work for your Ender 3 V2.
1 – Add the “Ender 3” printer
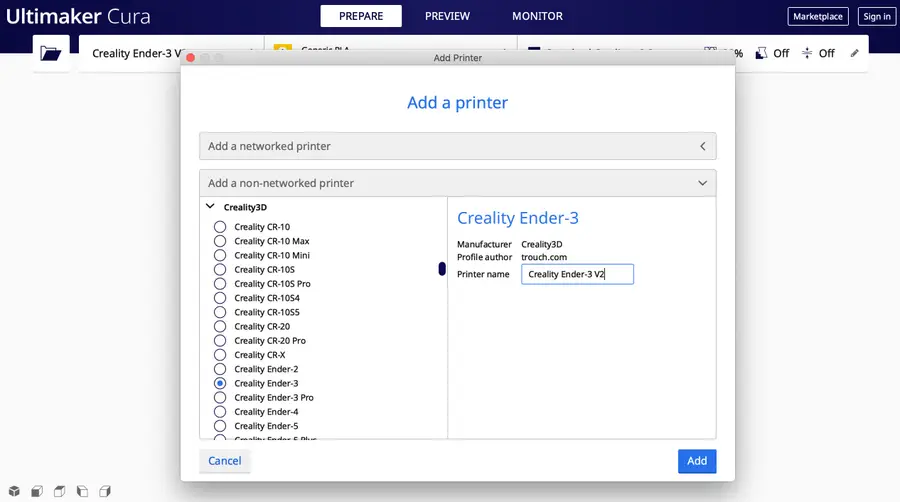
- Open Cura
- Navigate to Ultimaker Cura > Preferences > Printers > Add.
- Select Add a non-networked printer.
- Scroll down to click Creality3D.
- Select the Ender 3.
- Click Add.
- Change “Printer name” to Creality Ender-3 V2.
Most of the settings from the Ender 3 carry over to the Ender 3 V2, so it makes the most sense to use that preset in Cura.
| 🛈 If you see “Creality Ender-3 V2” as a selectable option, it means Cura has been updated to include the V2 natively. In this case, select it instead and proceed to the next step to double-check that the settings are correct. |
2 – Edit the placeholder machine settings
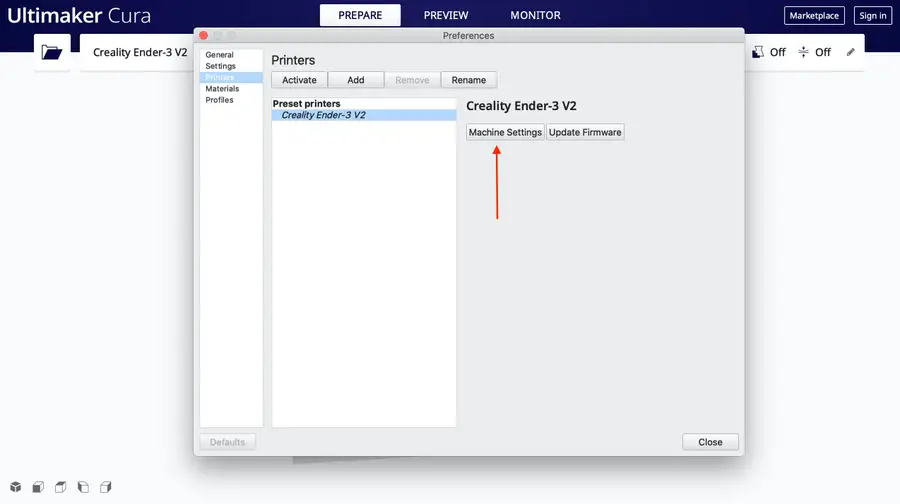
- Navigate to Ultimaker Cura > Preferences > Printers.
- Click Machine Settings to access the machine settings in Cura for your printer.
3 – Set the Ender 3 V2 Cura machine settings
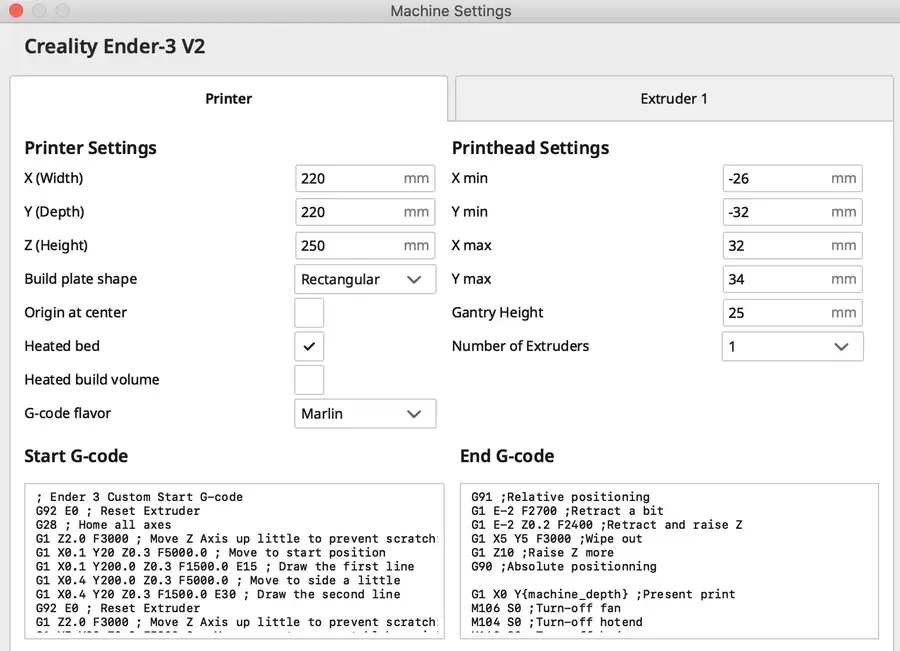
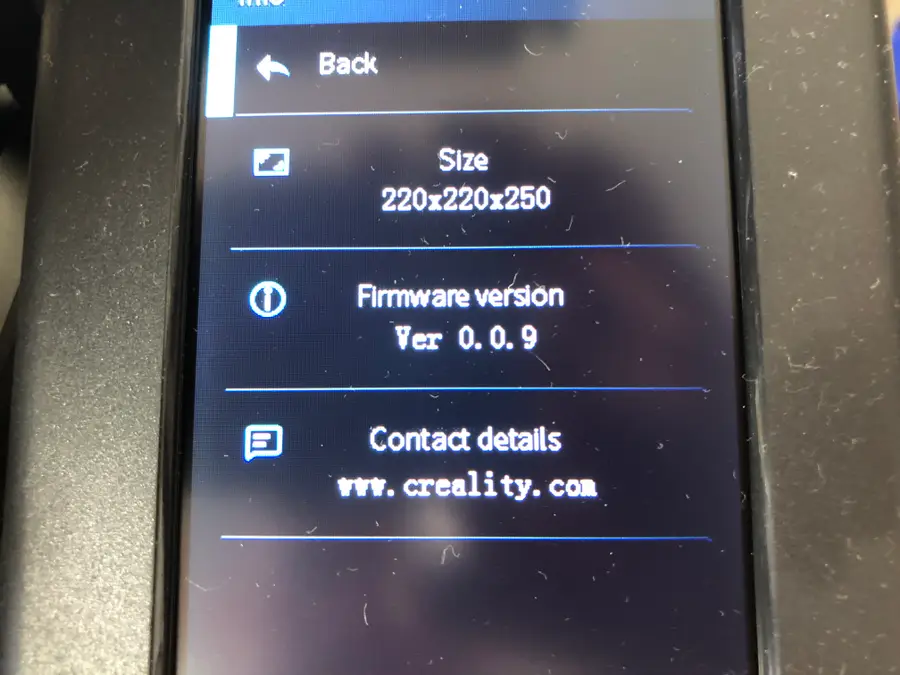
You’ll need to change the X and Y axis of your “Printer Settings” to 220mm. But just to make sure, your settings should match these:
Creality Ender 3 V2 Printer Settings
| Printer Settings | |
|---|---|
| X (Width) | 220mm |
| Y (Depth) | 220mm |
| Z (Height) | 250mm |
| Build plate shape | Rectangular |
| Origin at center | No (unchecked) |
| Heated bed | Yes (checked) |
| Heated bed volume | No (unchecked) |
| G-code flavor | Marlin |
Creality Ender 3 V2 Printhead Settings
| Printhead Settings | |
|---|---|
| X min | -26mm |
| Y min | -32mm |
| X max | 32mm |
| Y max | 34mm |
| Gantry Height | 25mm |
| Number of Extruders | 1 |
Ender 3 V2 Start G-code
; Ender 3 Custom Start G-code
G92 E0 ; Reset Extruder
G28 ; Home all axes
G1 Z2.0 F3000 ; Move Z Axis up little to prevent scratching of Heat Bed
G1 X0.1 Y20 Z0.3 F5000.0 ; Move to start position
G1 X0.1 Y200.0 Z0.3 F1500.0 E15 ; Draw the first line
G1 X0.4 Y200.0 Z0.3 F5000.0 ; Move to side a little
G1 X0.4 Y20 Z0.3 F1500.0 E30 ; Draw the second line
G92 E0 ; Reset Extruder
G1 Z2.0 F3000 ; Move Z Axis up little to prevent scratching of Heat Bed
G1 X5 Y20 Z0.3 F5000.0 ; Move over to prevent blob squish
Ender 3 V2 End G-code
G91 ;Relative positioning
G1 E-2 F2700 ;Retract a bit
G1 E-2 Z0.2 F2400 ;Retract and raise Z
G1 X5 Y5 F3000 ;Wipe out
G1 Z10 ;Raise Z more
G90 ;Absolute positionning

G1 X0 Y{machine_depth} ;Present print
M106 S0 ;Turn-off fan
M104 S0 ;Turn-off hotend
M140 S0 ;Turn-off bed

M84 X Y E ;Disable all steppers but Z
When you’re finished, click Close to save.
BLTouch code
If you’re using BLTouch with your Ender 3 V2, then you’ll need to add one more bit of G-code right after G28.
G29 ; Auto bed-level (BL-Touch)4 – Optional: Change recommended print settings
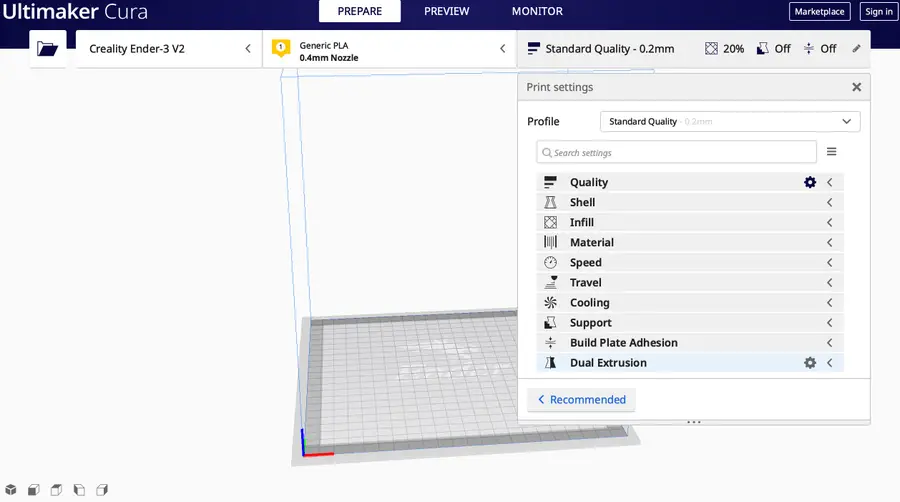
Cura’s built-in print settings will certainly work for the Ender 3 V2, but there are better settings that can allow you to print faster, for example, or use less filament. Here are the recommended settings that you should change for you change in your Cura print settings for the Ender 3 V2.
Download the Ender 3 V2 Cura profile
You can find the full profile mirrored on our GitHub repo. Download those profiles and import them in Preferences > Profiles.
Navigate to Print Settings
In the top right of your Cura window, you’ll find the print settings. You’ll see the print profile displayed—something like “Standard Quality.”
1. Click on the print settings to expand.
2. Click Custom > to access the full print settings list.
Recommended print settings changes
| Print Settings | |
|---|---|
| Printing Temperature | 200° |
| Build Plate Temperature | 60° |
| Layer Height | 0.12 mm |
| Retraction Distance | 6 mm |
| Retraction Speed | 25 mm/s |
For everything else, you should use the preset print settings for the Ender 3.

