

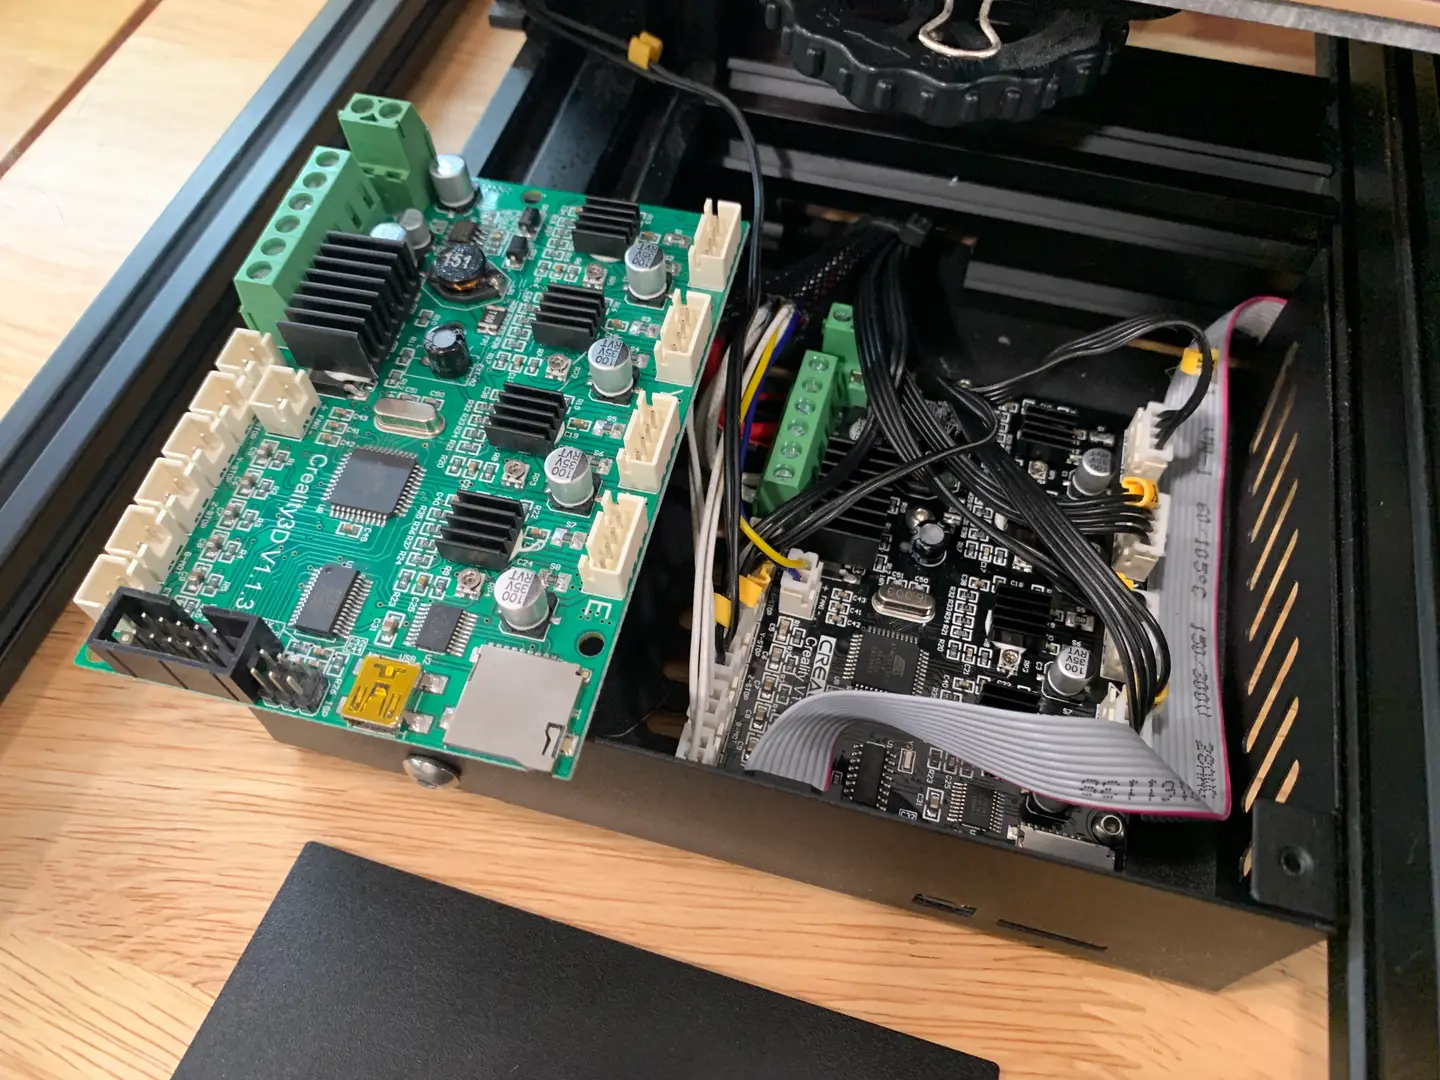
If you’re like me and are just starting out on your 3D printing journey, there’s little doubt in
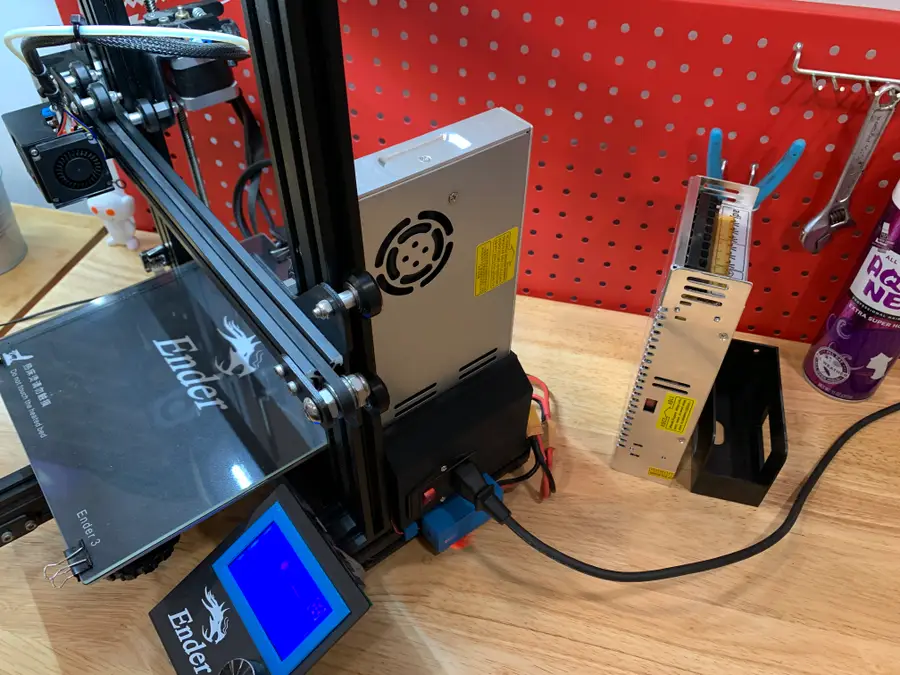
Aside from upgrading your Ender 3 board, upgrading your stock PSU to a Mean Well PSU is one of
The Creality Ender 3 is amazing. The only thing that could make it more amazing is modding it so tha
Remember the days when you found yourself hunkered down over your Ender 3, Ender 3 V2, or Ender 3 Pr
If your 3D printer is located in your room, office, or some other area where you like to spend your
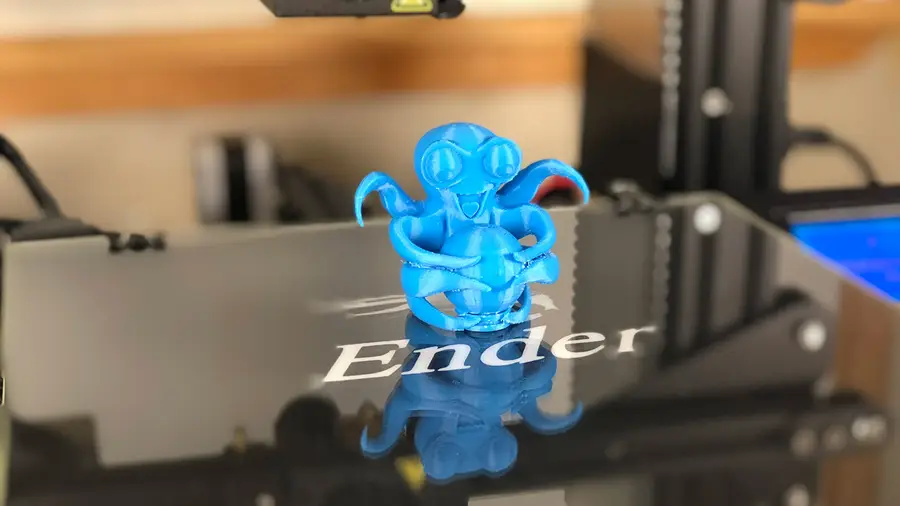
There are a lot of different 3D printing surfaces out there — metal, BuildTak, painter’s
With the release of the Creality Ender 3 V2, many of the Ender’s biggest fans who upgraded to
The Ender 3 is an amazing 3D printer. For the money, it’s hard to find one that will give
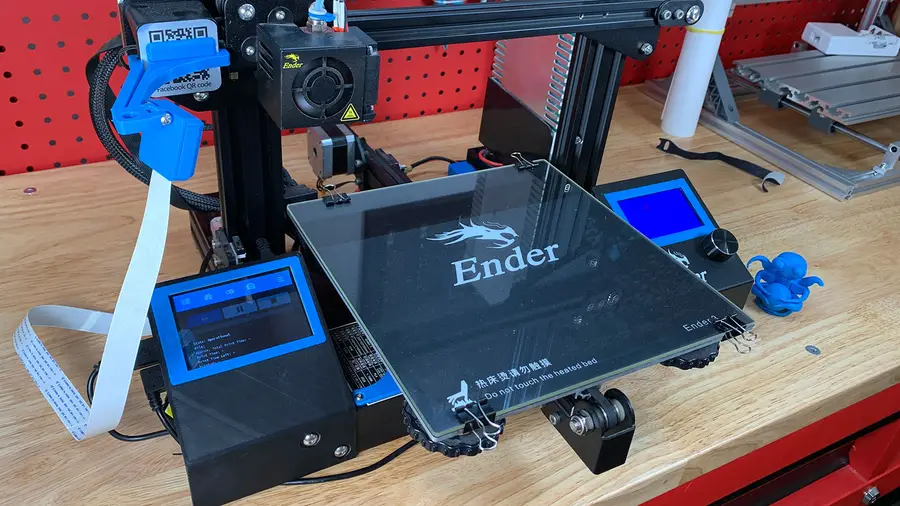
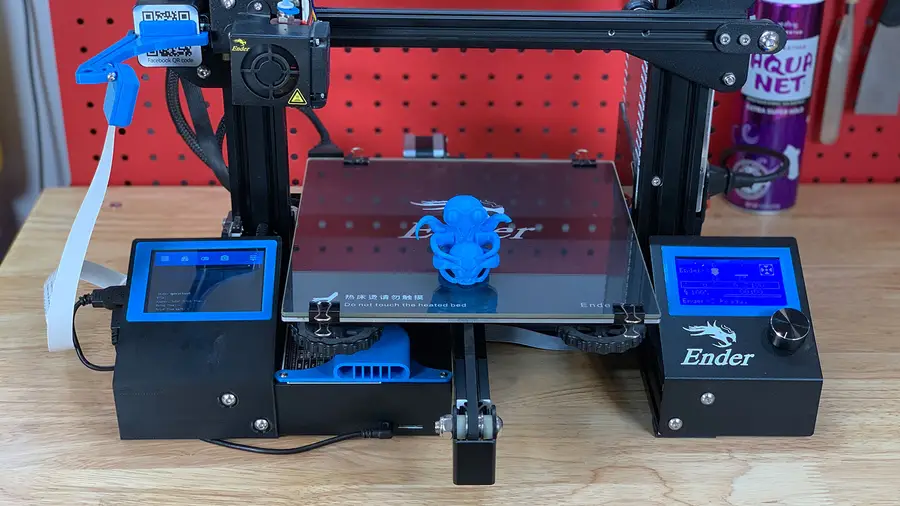
This guide will teach you how to add a touchscreen to your Creality Ender 3 or Ender 3 Pro for use w
When I first received Creality’s new Ender 3 V2, fellow Howchooer and author of the previous&n
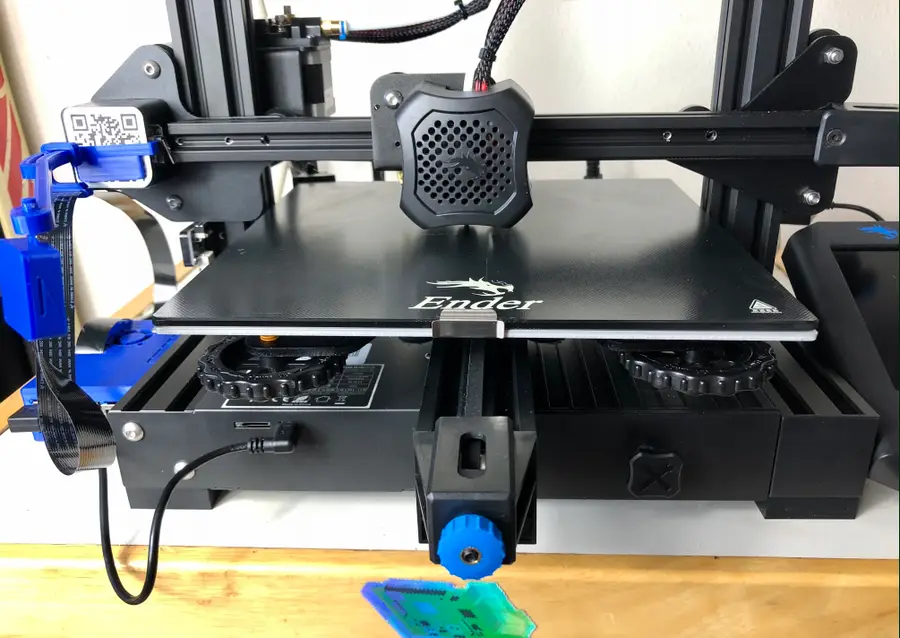
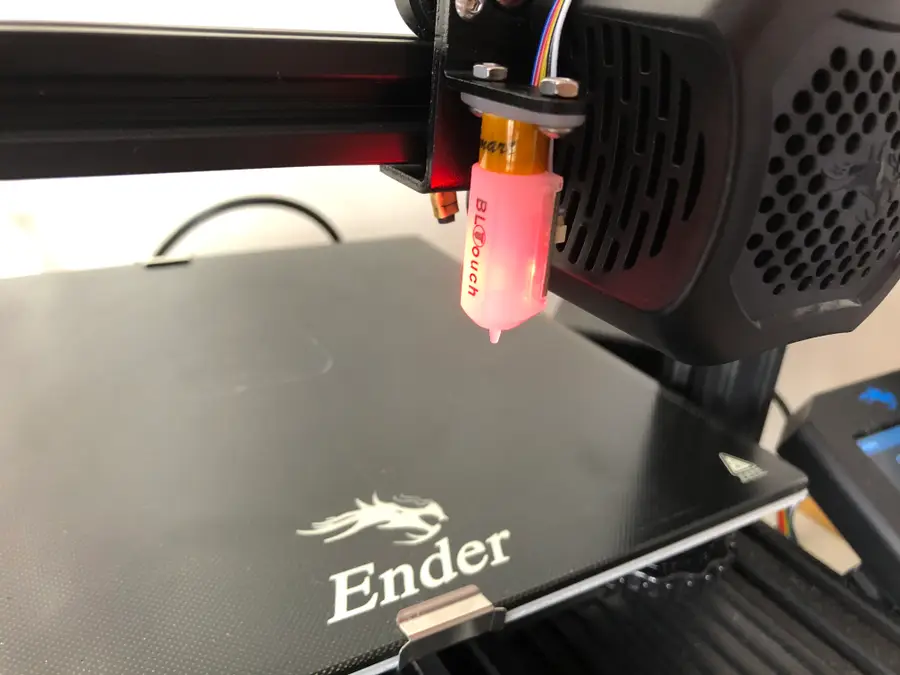
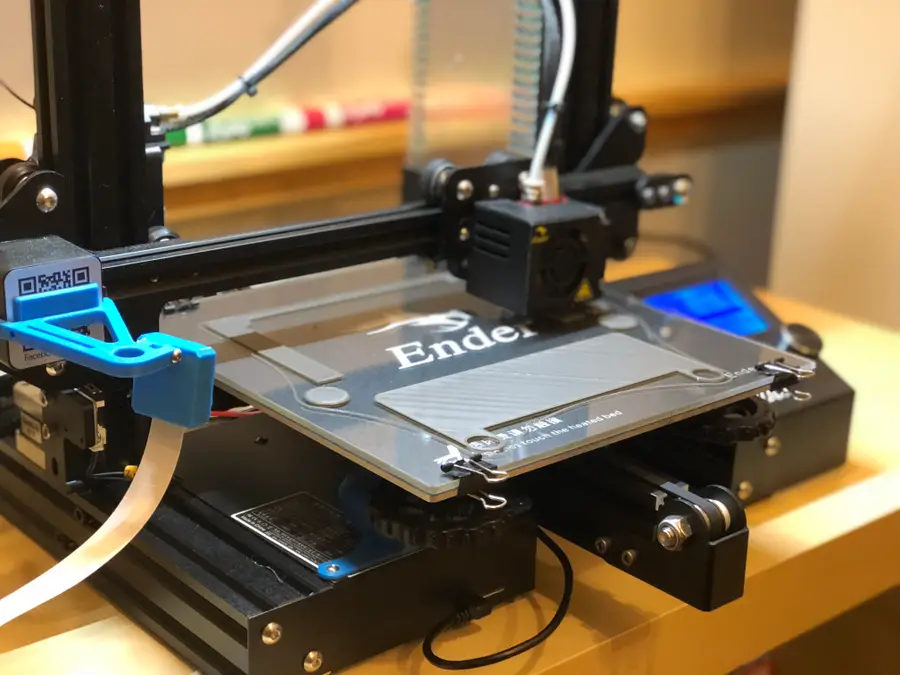
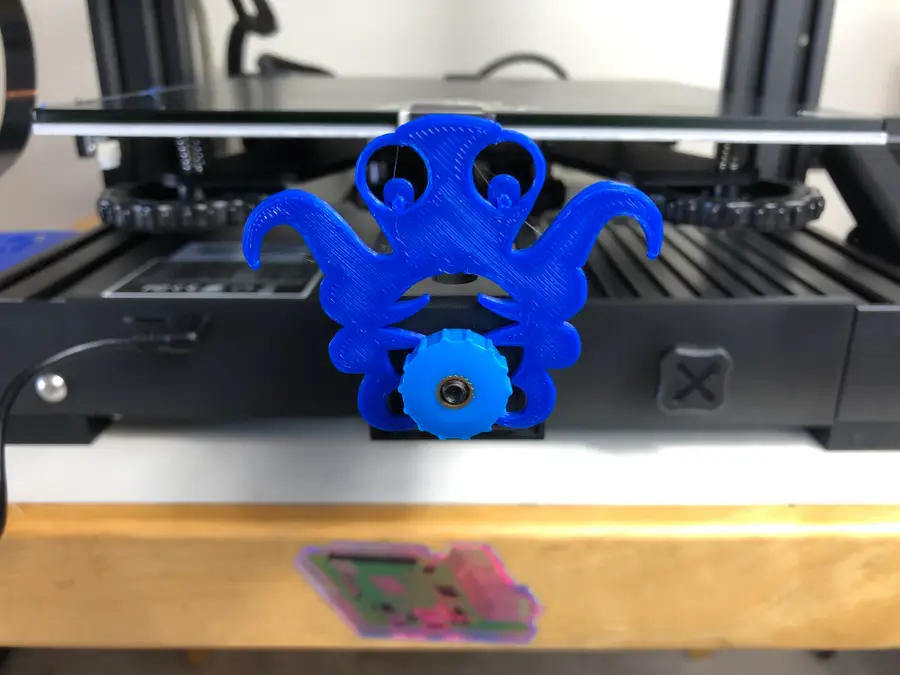
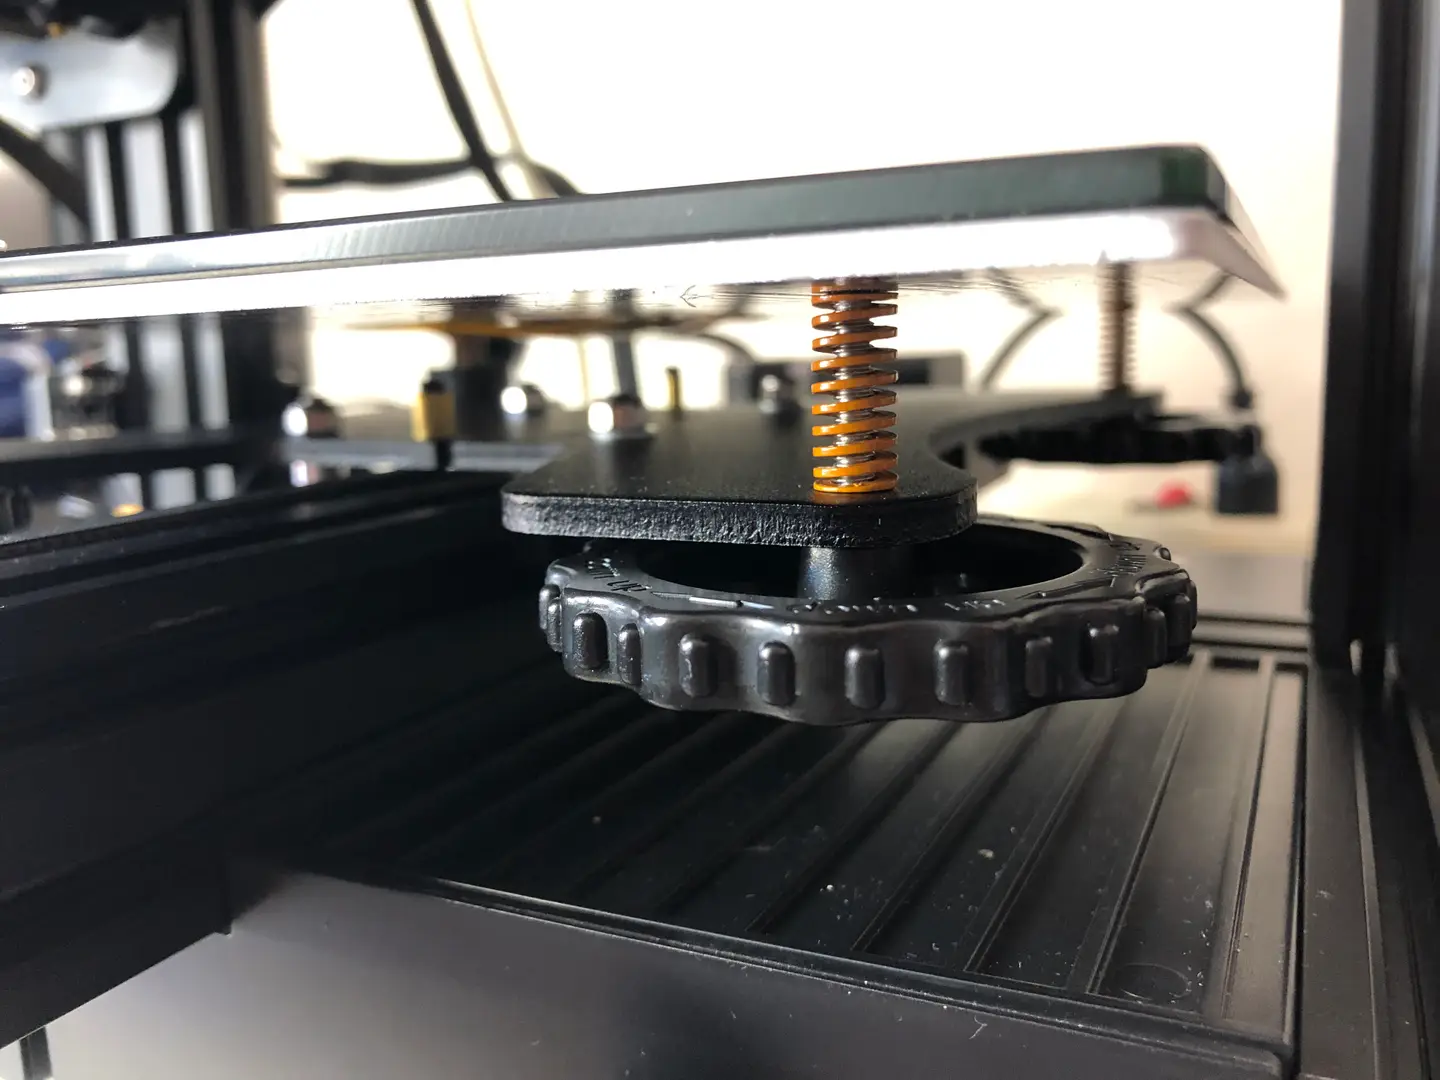
Ah…bed leveling. It’s the first thing you absolutely need to learn how to do with your E
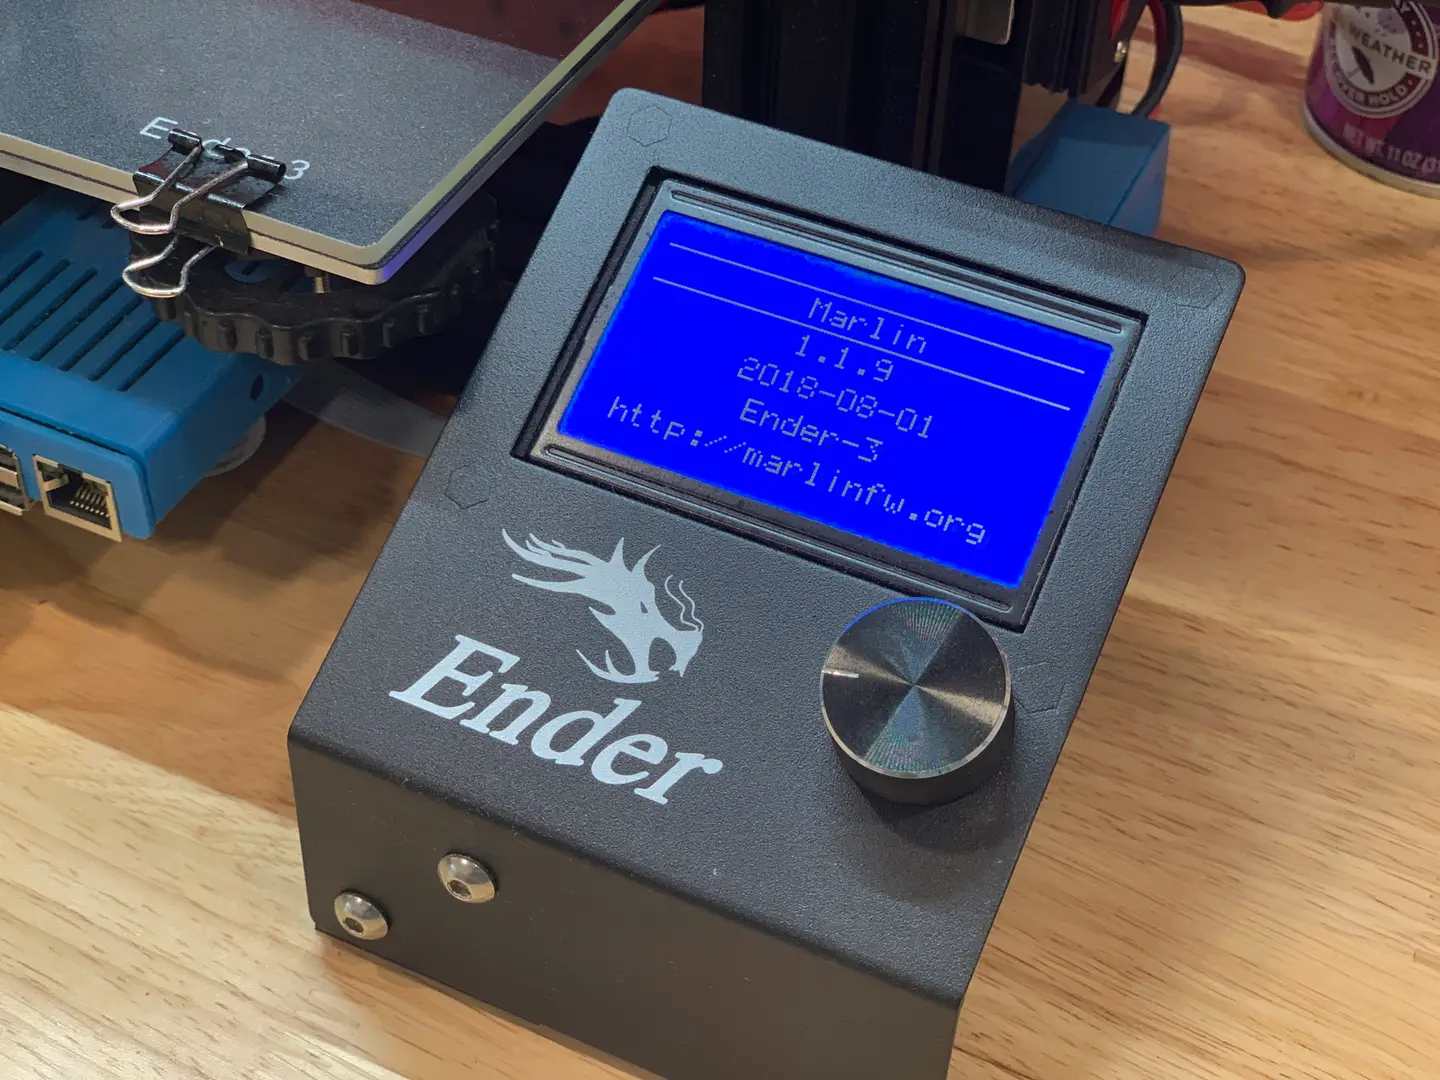
This guide will show you how to install a bootloader and update the Marlin firmware on your Ender 3
