
This guide will show you how to use your Anycubic Photon or Photon S. I’ll walk you through th
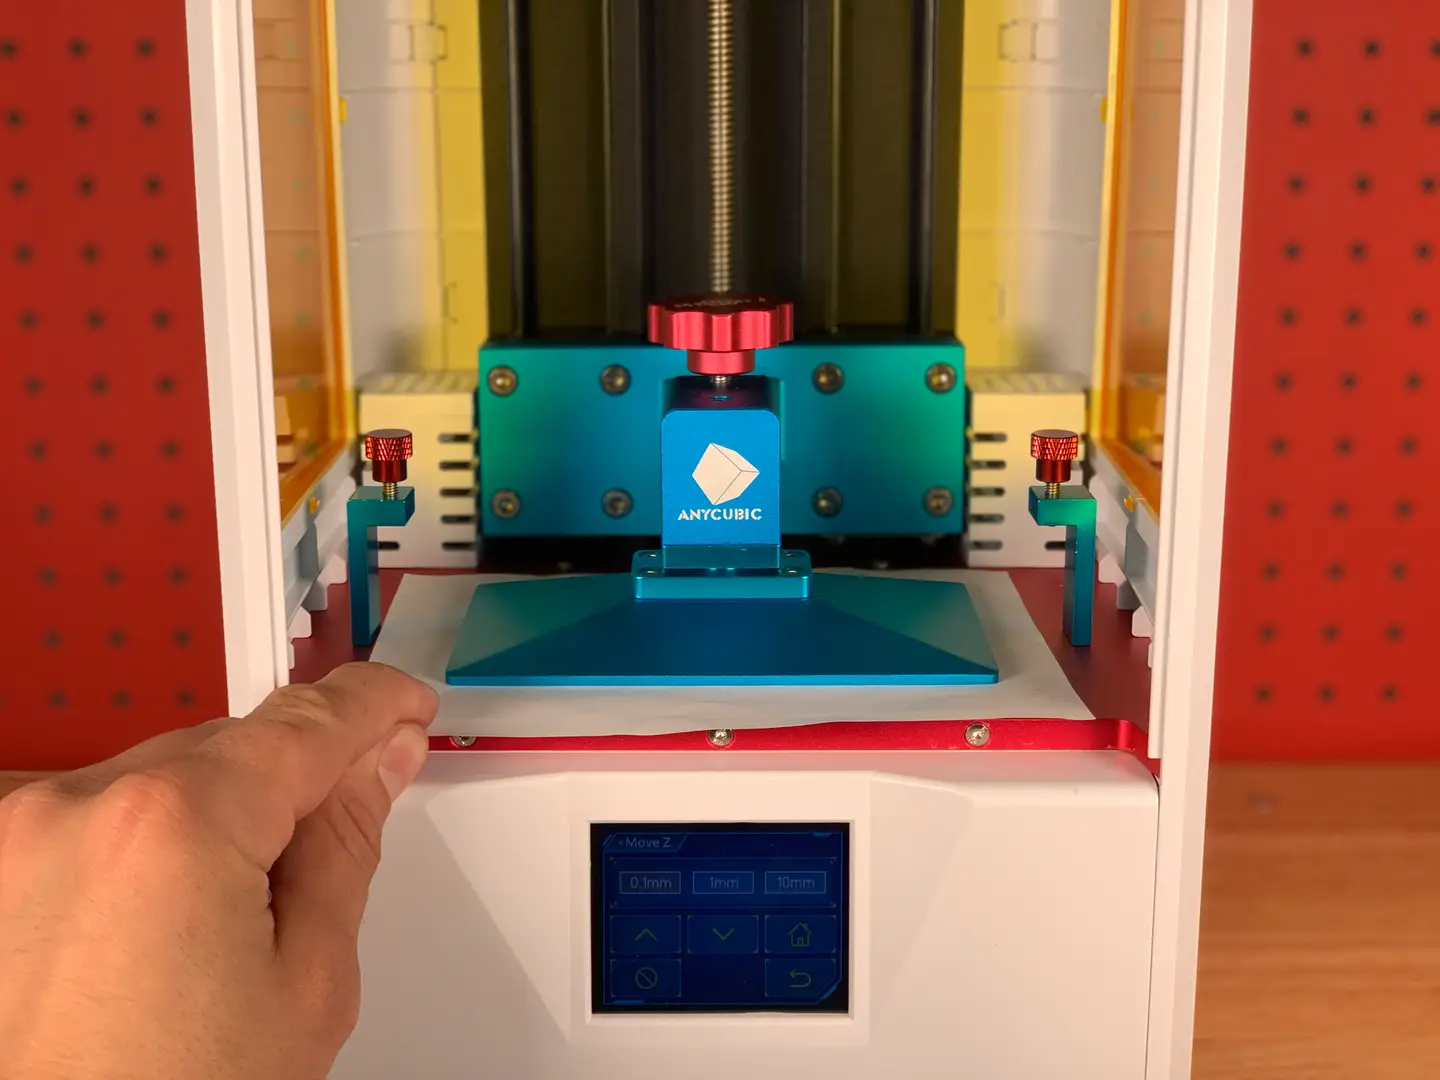
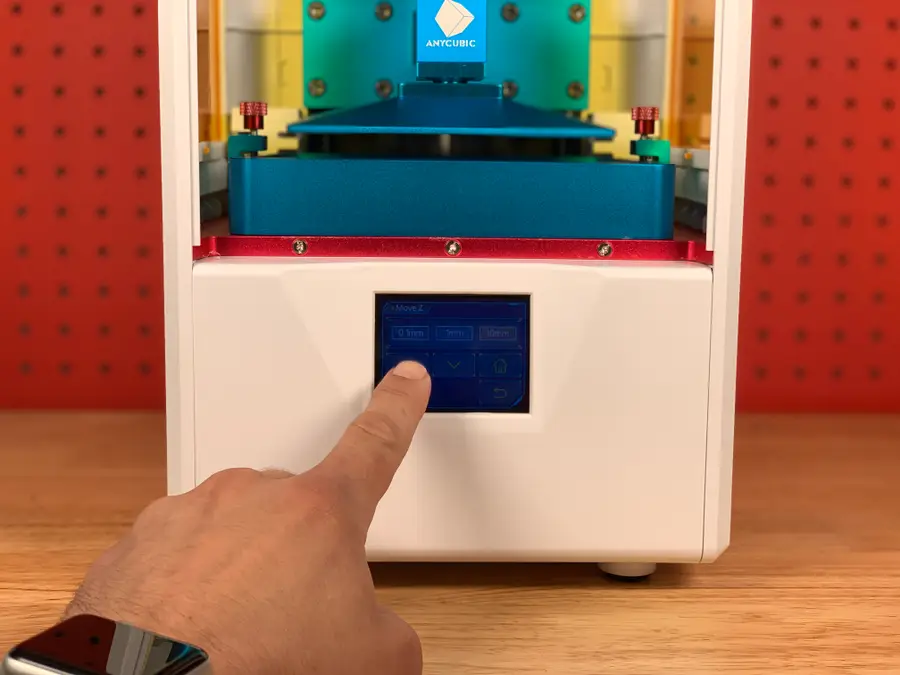
In this short guide, I’ll teach you how to level your Anycubic Photon or Photon
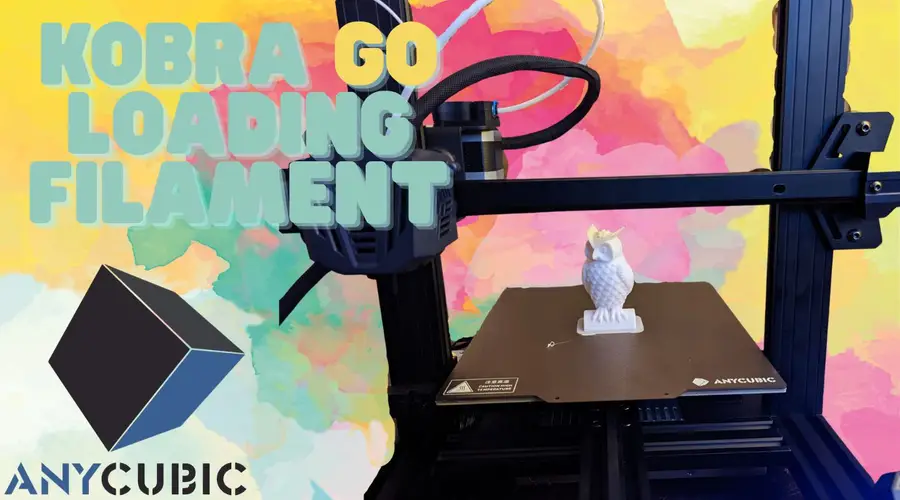
Anycubic’s Kobra Go is the latest in their Kobra series of FDM 3D printers. This is Anycubic&
I dig the Anycubic line of Kobra printers in large part because of how many ease-of-use fe
I’ve been a pretty die-hard fan of Anycubic’s Kobra series and the 25-point automat
The Anycubic Mega X is new enough that the machine doesn’t appear in Cura’s “
