How to Set up the Edimax EW-7811Un USB WiFi Adapter on Your Raspberry Pi
Share
What you'll need
Interests
Posted in these interests:


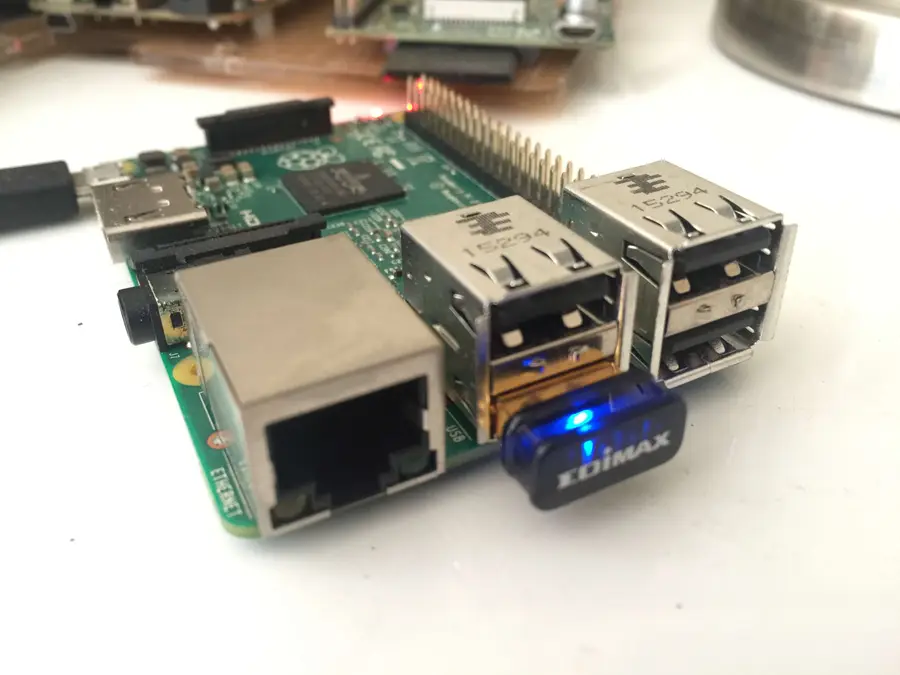
The Edimax WiFi adapter is popular because it’s small, cheap, and most common pi distros come with the drivers already installed. Setting this up via the command line is simple.
1 – Connect your Edimax WiFi adapter and ethernet cable
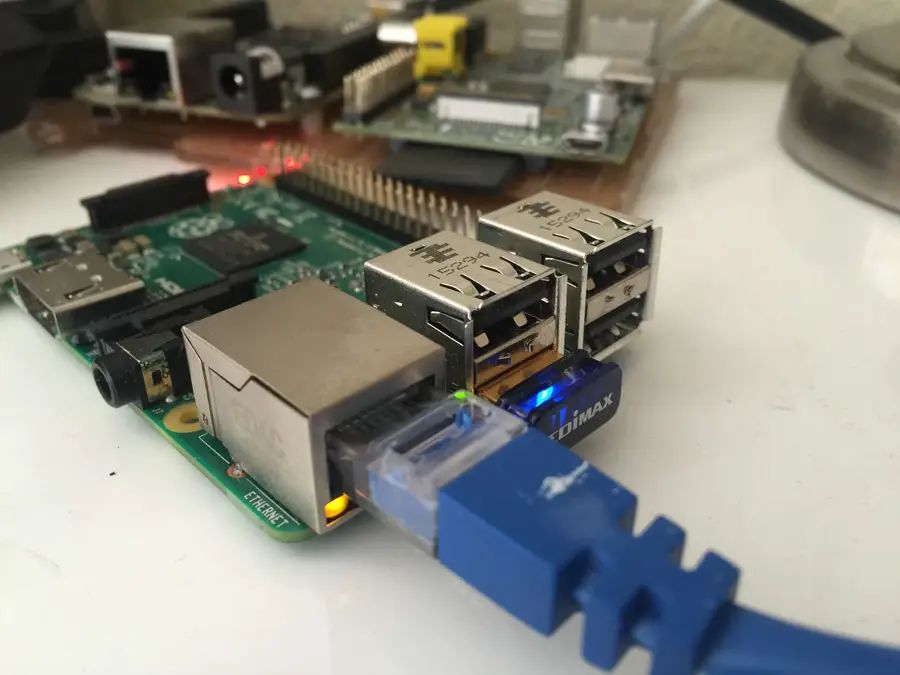
Before booting up the Pi, plug in the USB WiFi adapter as well as the ethernet cable.
2 – Boot up the Pi
To boot the Pi, simply plug in the power cable.
3 – SSH into the Pi
By default, the raspberry pi uses the hostname “raspberrypi”. So you can SSH using:
ssh pi@raspberrypiThe default username is pi, and the default password is raspberry. Refer to this guide for more information on the default username and password..
If you’re having trouble with the hostname, follow this guide to find the IP address of your Raspberry Pi.
4 – Make sure the Pi recognizes the device and the drivers are loaded
Once you’re logged in to the Pi, check to see if the Pi recognizes the USB device using the following command:
lsusbYou should see the following:
Bus 001 Device 004: ID 7392:7811 Edimax Technology Co., Ltd EW-7811Un 802.11n Wireless Adapter [Realtek RTL8188CUS]
Bus 001 Device 003: ID 0424:ec00 Standard Microsystems Corp. SMSC9512/9514 Fast Ethernet Adapter
Bus 001 Device 002: ID 0424:9514 Standard Microsystems Corp.
Bus 001 Device 001: ID 1d6b:0002 Linux Foundation 2.0 root hub
Notice the first line.
Now we’ll check to see if the device drivers are loaded. To list the kernal modules use:
lsmodYou should see something like:
Module                                   Size              Used by
cfg80211
rfkill
8192cu
bcm2835_gpiomem
...
8192cu is what we’re looking for, and it looks like it’s installed.
As a final check, run:
iwconfigAnd you should see the wireless adapter here:
wlan0     unassociated  Nickname:"<WIFI@REALTEK>"
          Mode:Managed  Frequency:2.462 GHz  Access Point: 20:3D:66:44:C6:70
          Bit Rate:72.2 Mb/s   Sensitivity:0/0
          Retry:off   RTS thr:off   Fragment thr:off
          Power Management:off
          Link Quality=100/100  Signal level=100/100  Noise level=0/100
          Rx invalid nwid:0  Rx invalid crypt:0  Rx invalid frag:0
          Tx excessive retries:0  Invalid misc:0   Missed beacon:0
5 – Configure the wpa_supplicant with your wifi credentials
Now, open the following file to add our network credentials.
sudo vim /etc/wpa_supplicant/wpa_supplicant.confAdd the following to the end of this file:
For Raspbian Jessie:
network={
ssid="SSID"
proto=RSN
key_mgmt=WPA-PSK
pairwise=CCMP TKIP
group=CCMP TKIP
psk="PASSWORD"
}
For Raspbian Stretch:
ctrl_interface=DIR=/var/run/wpa_supplicant GROUP=netdev
network={
    ssid="SSID"
    proto=RSN
    key_mgmt=WPA-PSK
    pairwise=CCMP TKIP
    group=CCMP TKIP
    psk="PASSWORD"
}
Of course, you’ll need to substitute your SSID and password.
6 – Reboot
Remove the ethernet cable, and reboot with the following command:
rebootNow you should be able to connect over WiFi.

