How to Run a Minecraft Server on the Raspberry Pi


Share
What you'll need
Interests
Posted in these interests:


There are several ways to go about running a Minecraft server on the Raspberry Pi. In this guide, I’ll cover how to install Nukkit—a cross-platform Minecraft server that’s super easy to set up on the Raspberry Pi. This server should work with PCs, consoles, and tablets running Minecraft 1.14.
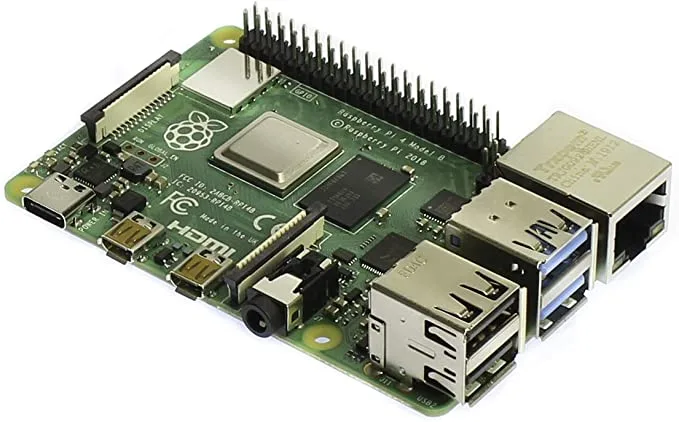
I’ll be using a Raspberry Pi 3 B+. You may be able to use a Raspberry Pi 1 or 2 for this project, but the performance will be much better with a Pi 3 or 4.
Looking to play Minecraft directly on your Raspberry Pi instead? Check out my guide on that!
1 – Install and set up Stretch
Raspberry Pi OS is the latest Raspberry Pi operating system. However, I recommend installing Raspbian Stretch for this project. I tested this release with Buster and ran into a few Java issues. By switching to Stretch, everything went buttery smooth.

How to Install Raspberry Pi OS on Your Raspberry Pi
Get the new official Raspberry Pi OS on your Pi.
Visit our guide on how to install Raspbian Stretch if you need it. When Stretch is installed, follow the setup wizard. Connect to the internet using either an ethernet cable or WiFi. Be sure not to update Stretch to Buster.

2 – Adjust Raspbian settings
Once the OS has been installed, you should prepare your Raspberry Pi with a few settings in the raspi-config menu. If you don’t have a screen to connect to the Pi, visit our guide on how to enable SSH without a monitor.

How to Enable SSH on Raspberry Pi OS Without a Screen
The SSH protocol is disabled by default.
- Open a Terminal on the Raspberry Pi.
- Enter
sudo raspi-config. - Enable SSH under Interfacing Options > SSH.
- Open Advanced Options and go to Memory Split. Set this to 16MB to free memory resources for our Minecraft server.
- Under Boot Options look for Desktop/CLI and set it to Console.
- Go to Advanced and choose Expand Filesystem.
- Select Finish.
3 – Install Java
Install Java on the Raspberry Pi by running the following command.
sudo apt install oracle-java8-jdk4 – Create a Nukkit folder
Create a folder just for Nukkit using the following command.
mkdir nukkitGo into the Nukkit folder.
cd nukkit5 – Install Nukkit
Install Nukkit using the following command.
wget -O nukkit.jar https://ci.nukkitx.com/job/NukkitX/job/Nukkit/job/master/lastSuccessfulBuild/artifact/target/nukkit-1.0-SNAPSHOT.jar6 – Set Nukkit language
When Nukkit is installed, run it with this command.
sudo java -jar nukkit.jarYou will be prompted to choose a language. Go ahead and set the language for your server.
7 – Managing your Minecraft server
Once the server is installed and running, you can apply custom settings. Managing your Minecraft server is as easy as editing a file. Make sure you’re in the Nukkit folder and run the following.
sudo nano server.propertiesEdit this file to adjust things like player count, difficulty, game mode, white lists, and more. Save your changes with Ctrl + X and close out of the file.
8 – Connect to the server
Restart the Raspberry Pi and run your server with the following command.
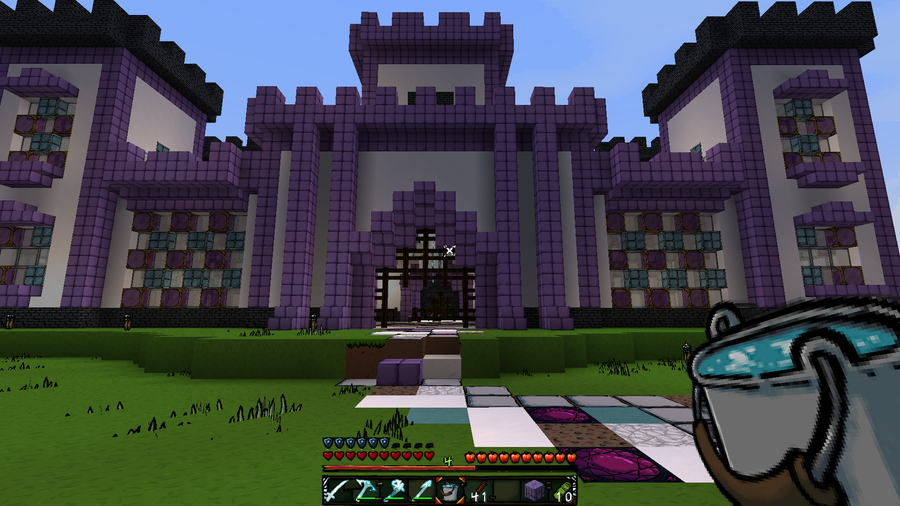
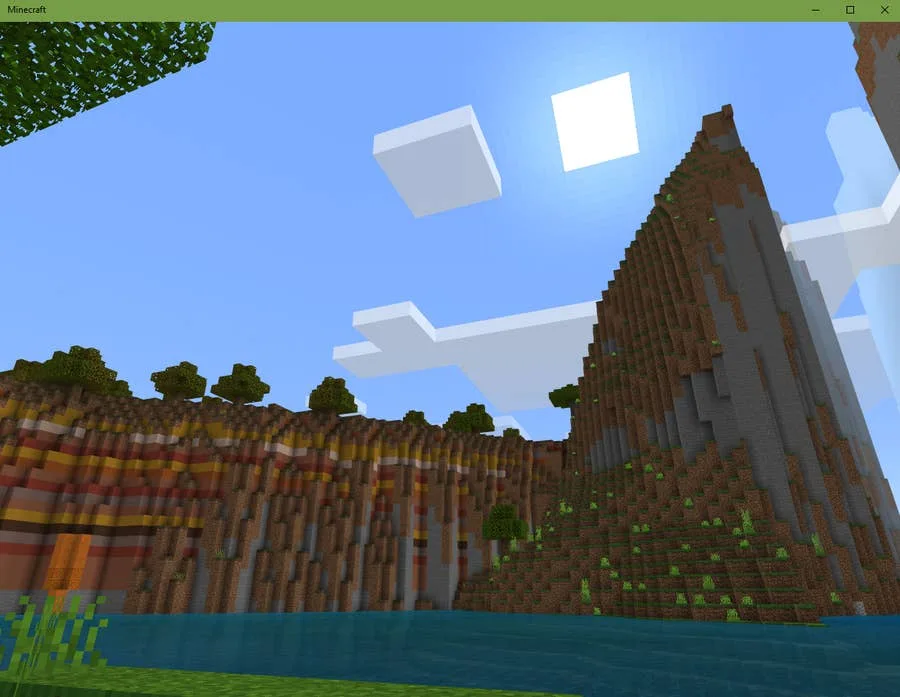
sudo java -jar nukkit.jarThis server runs version 1.14. Connect to the server with a client that’s running the same version of Minecraft. Nukkit should work with PC, console, and tablet users (but not Minecraft Pi Edition).
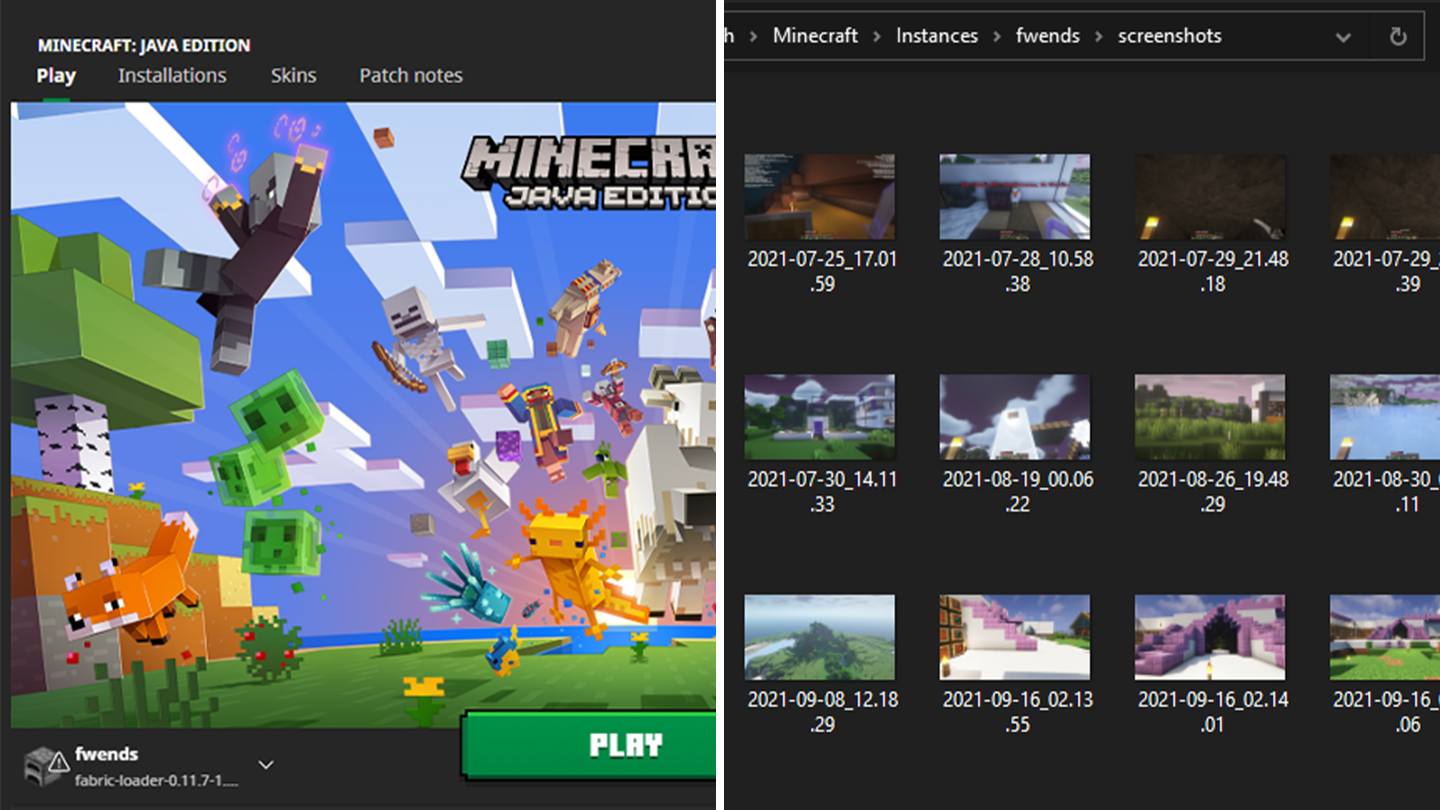
Note: The Java version of Minecraft on PC will not connect to the Nukkit server. You must use the Windows version. The screenshot on this step was taken using the Windows edition.
The server IP address and port number will be visible in the Nukkit terminal window. The server IP will be the same as the Raspberry Pi by default.
Congratulations! You should have a private Minecraft server running on the Raspberry Pi.