Build your Own 3D-Printed Nintendo Switch Arcade Cabinet


Share
You'll Need 10
What you'll need
Interests


Posted in these interests:

Today I’m going to show you how to build your own 3D-printed Nintendo Switch arcade cabinet!
Simply print all the parts, glue them together, and then install the optional electronics. These electrical bits will charge your Switch while you play, as well as provide additional cooling to help keep your Switch nice and chill.
You can even connect USB controllers to the front of the cabinet since all of these electronics connect directly to a powered USB hub. If you don’t want to install the electronics, that’s okay — this thing is still really great as a non-electronic device.
In either case, just remove the top of the cabinet, insert your Switch, and play!
Don’t have a 3D printer? No problem! Read on and I’ll show you some options for getting your parts printed.
Here’s a special shoutout to concavechest who designed this amazing arcade cabinet and uploaded it to Thingiverse. Thanks concavechest!
Watch the video:
I created a step-by-step video that will show you how to assemble your arcade cabinet and install all the electronics inside. The video does a bit more justice to the project than this written guide can. 🙂
The rest of this guide will focus on specific features of the build, so be sure to check it out too when you’re done with the video.
Obligatory disclaimer: As with anything DIY, certain risks are inherent. I’m not responsible if you damage or brick your Switch. 🙂 Since I wrote this guide in April 2019 (firmware 7.0.1), the arcade cabinet is still going strong! However, Nintendo updates their firmware all the time so anything can happen. If you’re concerned about this, you can also build the non-electronic version of the cabinet.
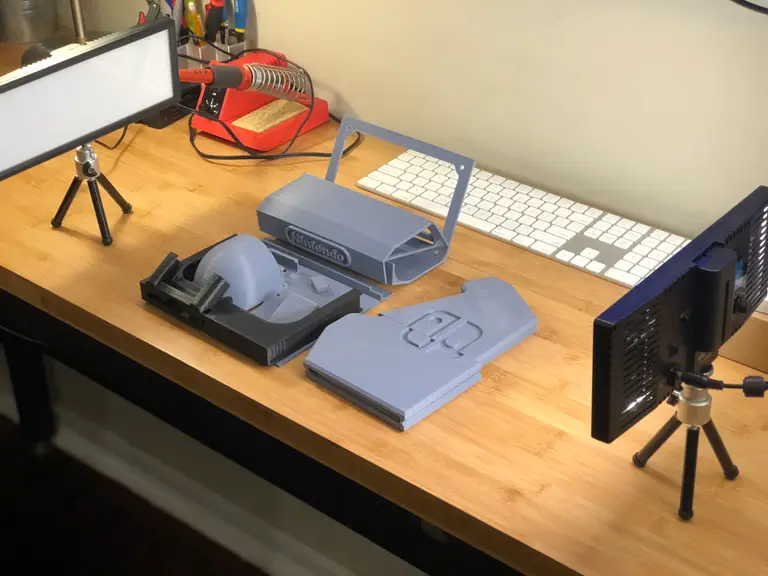
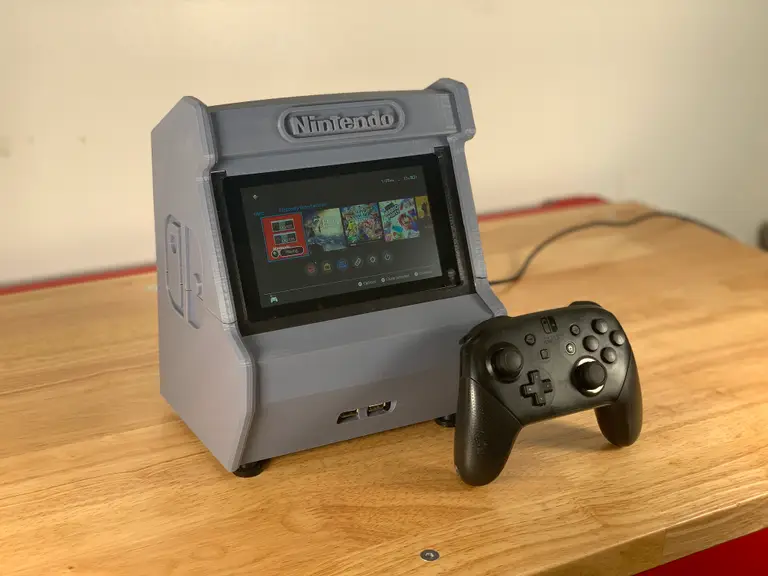
1 – The completed project
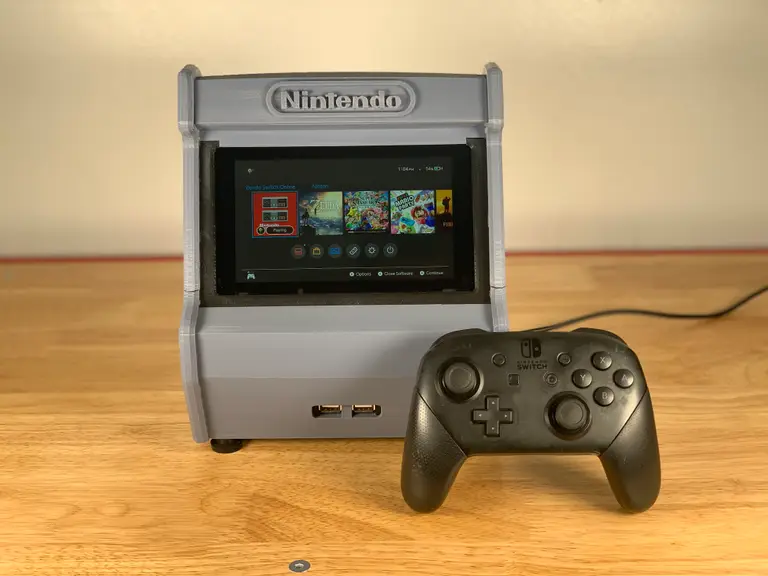
Just as the prophecy prophesied, first a final photo!
2 – And the back
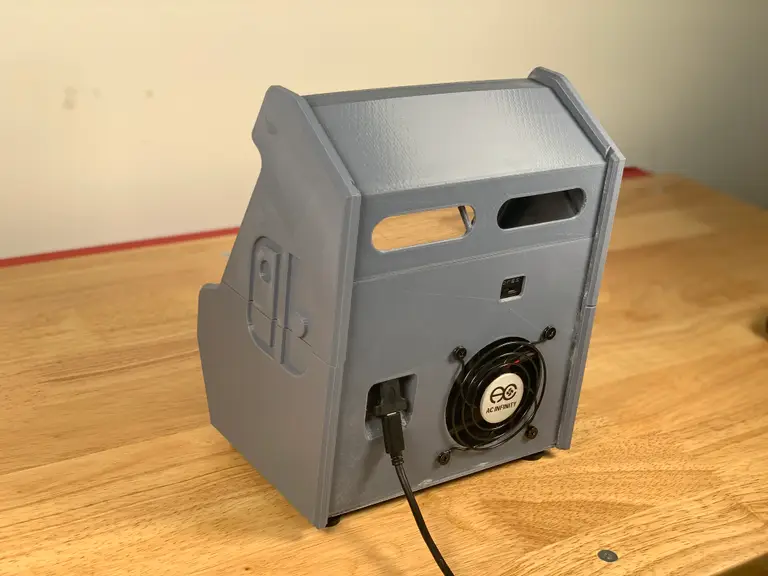
Here’s a photo of the back of the arcade cabinet, showing the optional USB fan, fan speed controller, and power input.
3 – The completed electronics
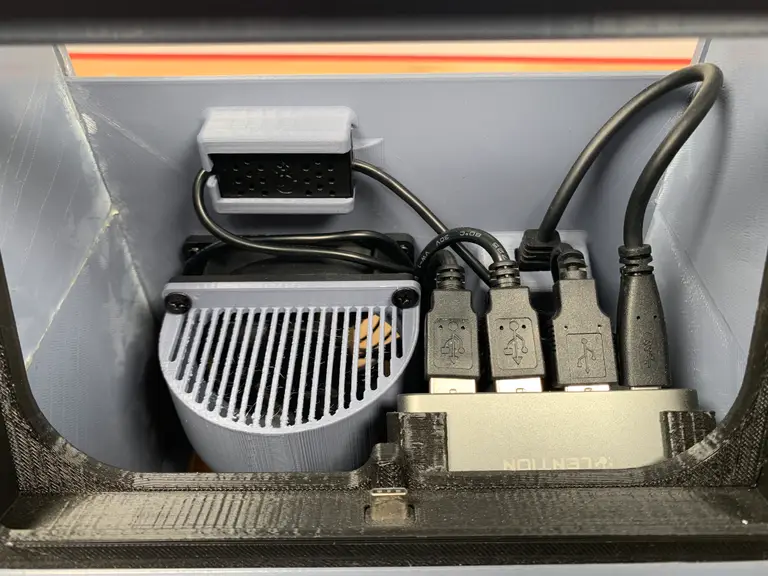
These electronics are optional. 🙂 There are two ways to build the arcade cabinet:
- Just 3D print it and drop your Switch in place.
- Add some electronics that will charge your Switch while you play and allow you to connect USB controllers.
Because I love building things and this entire project can be done for about $50, I decided to go with option #2.
4 – Inserting the switch
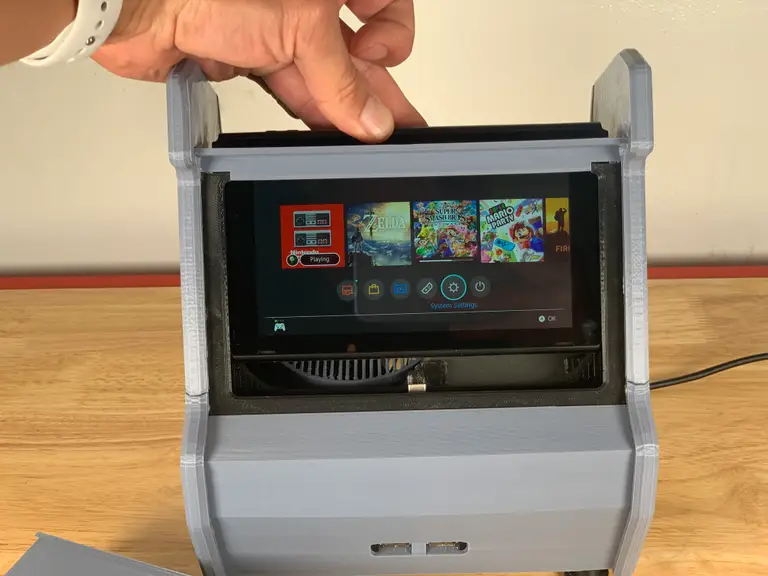
After removing the Joy-Con controllers from your Switch, slide off the top of the arcade cabinet and slide your Switch into place. If you install the charging/data electronics into the cabinet, as I did, your Switch will also charge while in the cabinet — and you can even connect a USB controller!
5 – Printing the parts
First you’ll need to print all the parts. This will take a while. I think it took 18 hours of total printing on my old ANET A8, but I think this would be much faster on my new Creality Ender 3. This time can be reduced further by adjusting the print quality.
The models
There are two versions of the models available on Thingiverse: the “simple” version, which contains no openings/ports for the electronics, and the “electronic” version, which is what we’re building here.
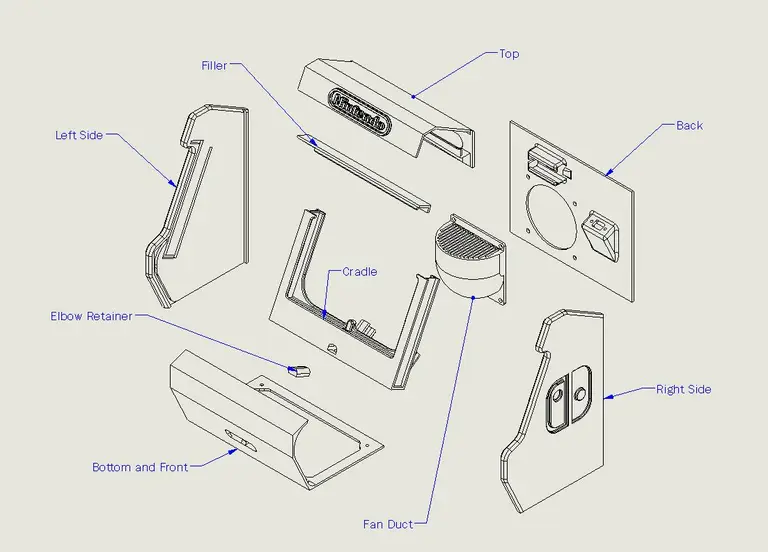
For the electronic version, there are 8 parts to print:
- Top
- Simple Bottom and Front
- Simple Cradle
- Simple Back
- Left Side
- Right Side
- Filler
- The fan shroud
If your print bed is too small to print the sides, there’s also a “cut” version included so that you can print the sides as halves.
| 🛈 I printed all the parts without supports. If you orient things properly, they aren’t necessary. |
6 – Don’t have a 3D printer?
No problem. A lot of people don’t know there are tons of ways to get a 3D model printed without having a printer. Here are a few of the ways:
Use an online 3D printing service
Online services like Sculpteo will print your model and ship it to you for a fee.
Find your local hackerspace/makerspace
There’s a good chance you have a nearby Hackerspace, and most of them have some sort of “Open Make Night” where you can come in and use the equipment without needing a membership. You can find your local hackerspace using this tool, which lists over 2,000 hackerspaces.
Ask a friend
Post on Facebook; you might be surprised that someone you know has a 3D printer. And in true maker fashion, they’ll probably be happy to help you out while teaching you a bit about 3D printing.
Check your local library
Tons of libraries now have 3D printers available for their patrons to use. Additionally, if you’re a student your university can likely provide you with access to one. Call your university library’s information desk and they can direct you to the college/department that can give you access.
Check Craigslist
Many people advertise 3D printing services on Craigslist for a fee.
Buy a 3D printer
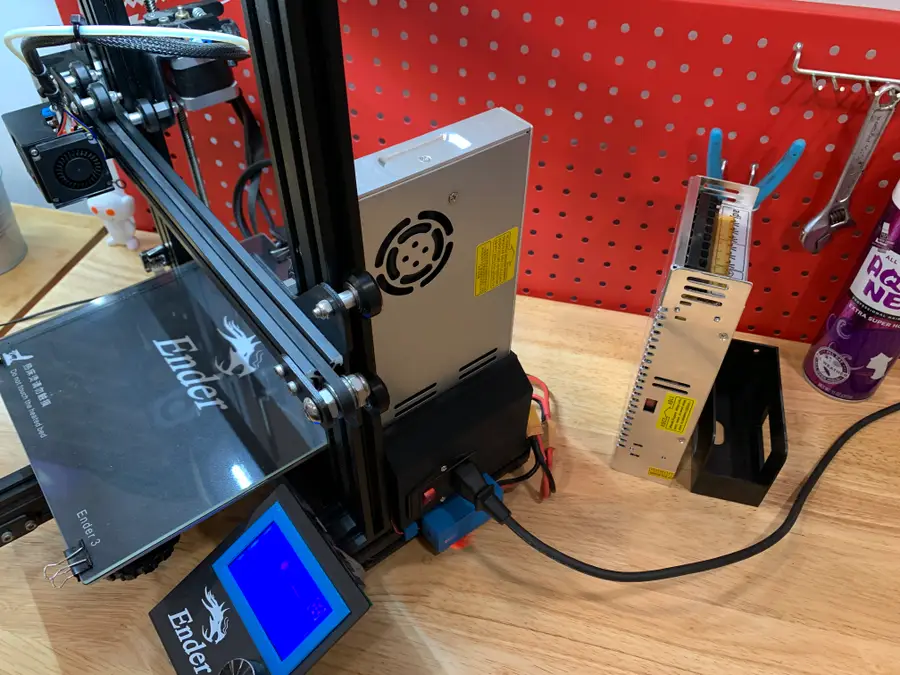
In the last few years, 3D printers have become extremely affordable. I picked up my Creality Ender 3 around $200 on GearBest. I also wrote a full Ender 3 review if you want to check it out!

Creality Ender 3 Review: The Best 3D Printer Under $200
Behold the Anet A8 slayer.
7 – Assembling the cabinet
The cabinet assembly itself is pretty self-explanatory: just use super glue or 2-part epoxy to put everything together. I used a few books to add weight to the parts while they set.
Do not glue the top into place! This is supposed to slide off so you can insert your Switch.
| 🛈 As mentioned in the video, I recommend connecting the hub before gluing the cradle in place. |
8 – Powering everything
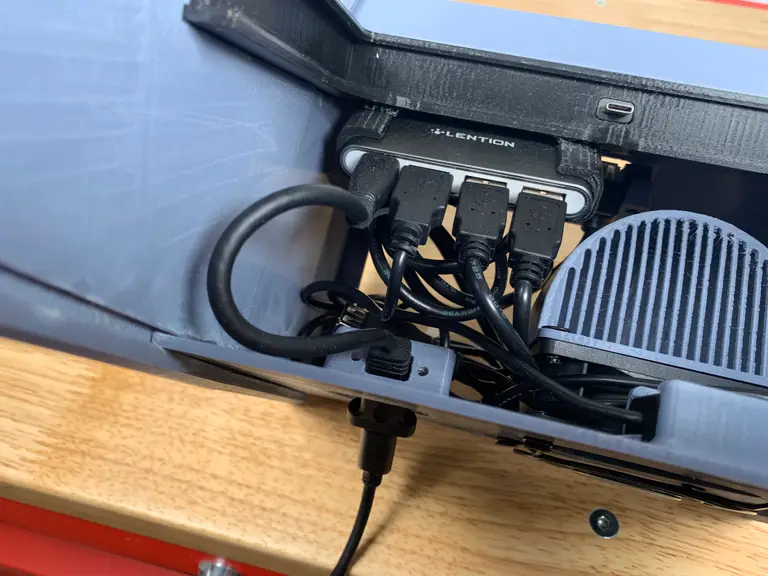
Power and data for the Switch and cooling fan are provided by a powered USB-C hub. This small USB-C extension lives in the back of the unit, where a power adapter is plugged in. The hub I used connects to a 90-degree USB-C adapter which lives at the bottom of the cradle — so when you slide your Switch into place, it connects to the hub automatically.
The default Nintendo Switch AC adapter won’t work — when you use it, the Switch thinks it’s in its charging dock and the screen turns off. This is because Nintendo added an extra data pin/signal. Thus, you’ll need to use a separate AC adapter. I recommend one that provides at least 3A.
9 – Adding a fan for cooling
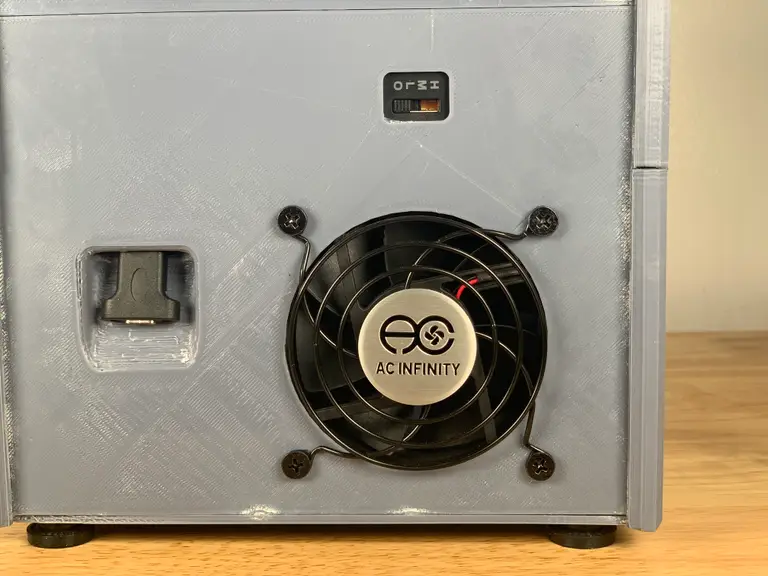
I added this 5V USB fan that draws power from the hub. The fan’s speed controls are accessible from the back of the cabinet. To be honest, I question whether the fan is necessary… It’s extremely inexpensive so I added it, but I don’t think the Switch will get that hot — especially considering all the natural ventilation that the case provides.
10 – Ready player two!
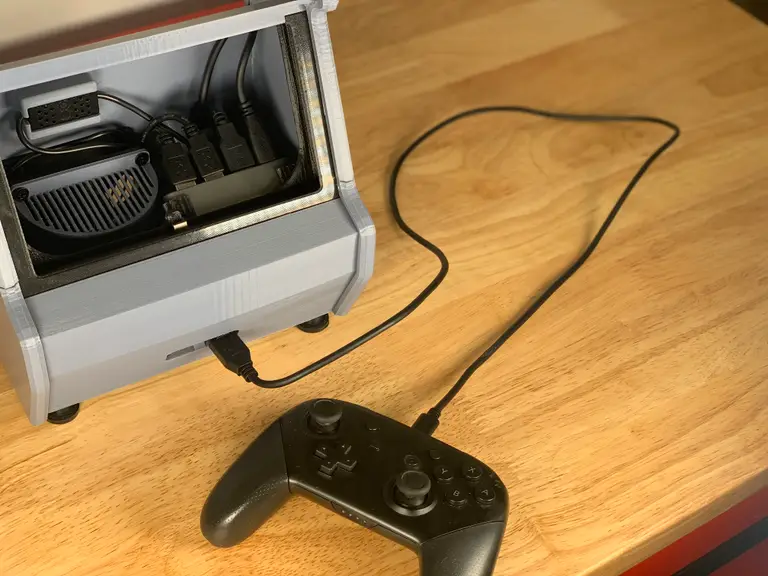
Because this project uses a powered data hub, you can connect any USB device that you’d normally connect to your Switch dock. This dual USB extension cable makes the power ports accessible on the front of the cabinet, which is super handy!
11 – All done
This has been a super fun, super easy project. I love having this thing on my desk so I can pop in to play a game or two when I need a break.
This cabinet is a testament to the spirit of the maker community, blending mainstream gaming with 3D printing and hobby electronics, and I’m very happy that it exists.
If you haven’t already, be sure to check out the build video for this project.
Questions? Comments?
Post in the comments section below, I’d love to hear from you!