Gamepad Zero: A Raspberry Pi Retro Gaming Rig Inside an Original NES Controller

Share
You'll Need 17
What you'll need
Interests
Posted in these interests:

What’s cooler than running all your favorite emulated games on a $10 computer? Putting that computer into an original NES controller, of course. Introducing: the Gamepad Zero.
I decided to install a Raspberry Pi Zero W (wireless) into an original Nintendo controller, solder the original controller’s circuit board to the Pi’s GPIO (general-purpose input/output) pins, and 3D print a new bottom half of the controller housing to store it all neatly. This allows us to play games using the original controller. Pretty neat. 🙂
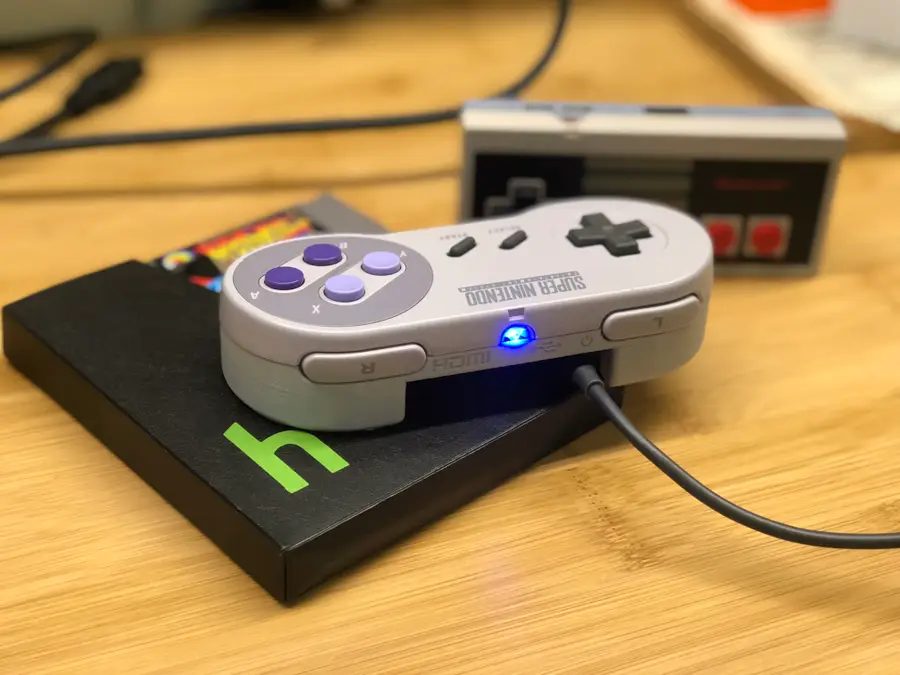
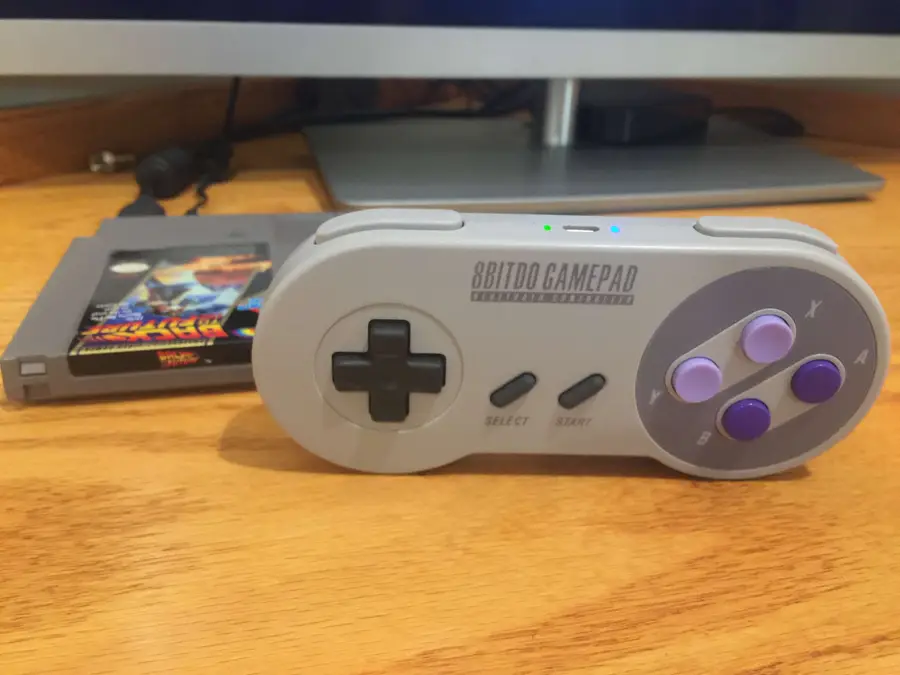
| New: Be sure to check out my followup to this guide — the Super Gamepad Zero — a Raspberry Pi retro gaming rig in an original Super Nintendo controller! |
Don’t have a 3D printer? No worries! Read on, and I’ll explain several options for getting your model printed.
The Gamepad Zero connects directly to your TV or monitor using an HDMI cable and is powered using a normal Micro USB power supply. You can also connect a secondary bluetooth or wired USB controller. With ultimate portability in mind, you can now fit 5000+ retro games in your pocket, bring them over to a buddy’s house, and plug right in.
This is a super simple, super fun build. If you’re familiar with my PiCart build where I built a similar rig inside an NES cartridge, this might interest you! This build is even easier.
Today I’m going to show you how to make your own. I also created a full video for this build. Check it out below!
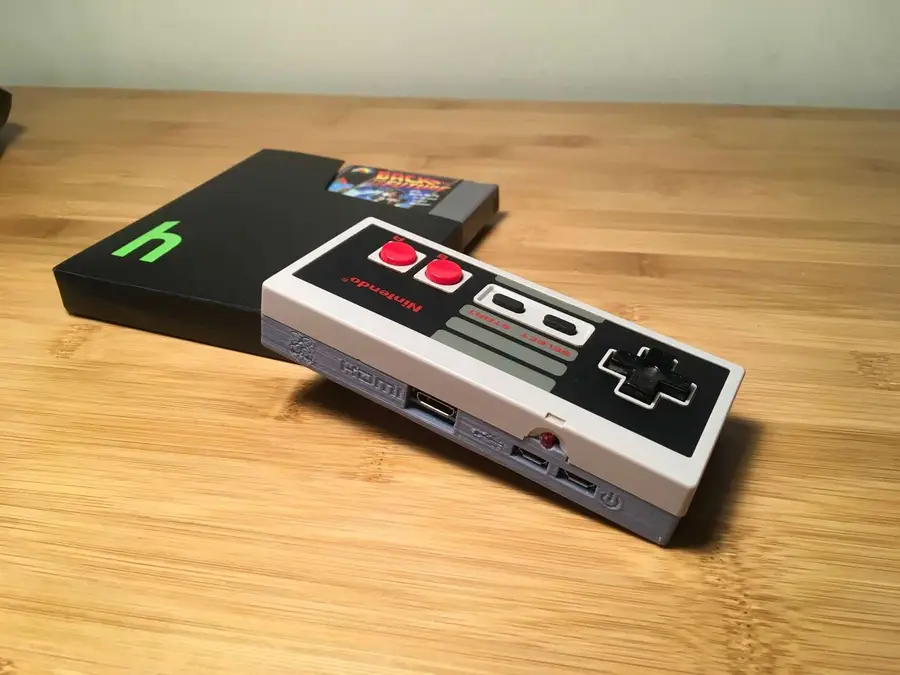
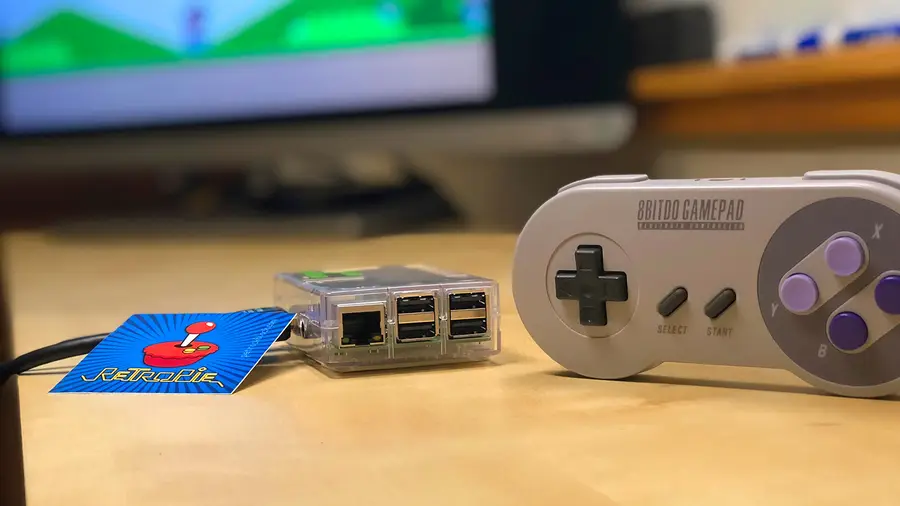
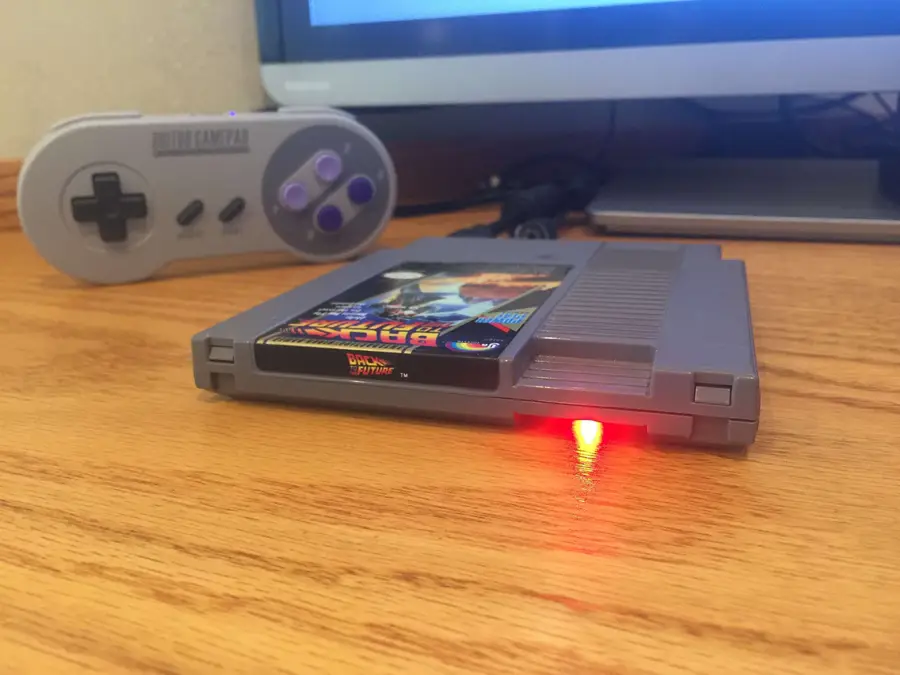
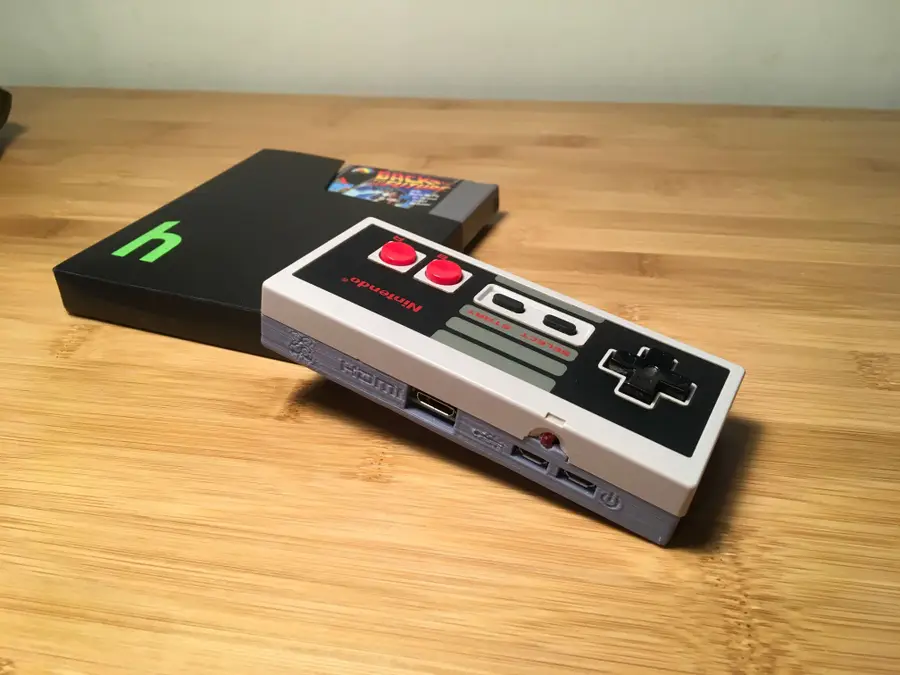
1 – The completed project
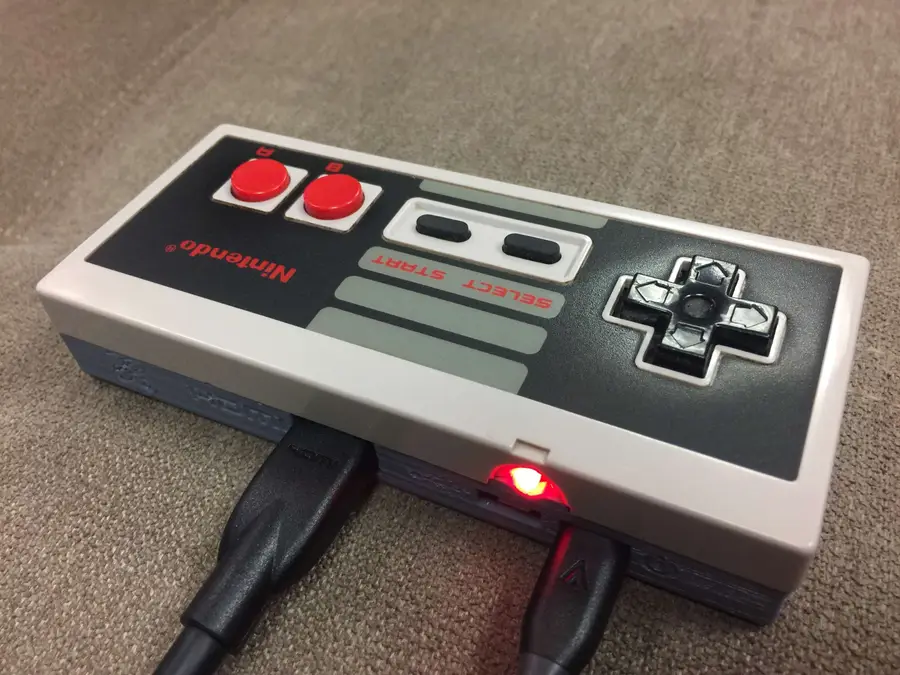
Once again, the prophecy prophesizes that I include a final photo of the completed Gamepad Zero.
2 – Overview
For this project, we’re going to build a Raspberry Pi retro gaming rig inside of an original NES controller. The top half of the controller will be reused, along with the original printed circuit board and button. Of course, we’ll be installing RetroPie.
We’re going to print a new bottom half to hold our Raspberry Pi using a model by bfesser from Thingiverse, and then solder the existing NES controller circuit board to the Raspberry Pi so that it can be used to play games. Don’t have access to a 3D printer? Read on!
Finally, we’ll install RetroPie, and the Gamepad Zero will connect directly to your television or computer monitor using a power and HDMI cable. I chose to use a 10′ version of each so I can sit way back on my TV, but you could also use a shorter one.
You can even plug an additional USB controller into your Gamepad Zero to let a buddy play (or if you require more buttons than the NES controller contains — remember, some games require many buttons). 🙂
You can also use a bluetooth controller to connect to the Gamepad Zero (more on this later!).
Project cost
The total materials for this project cost me about $50. I already had most of the tools needed.
Project time
The actual time to assemble this project was only about 30 minutes — the print took about 4 hours, and I just ran it while I was doing things around the house (and napping).
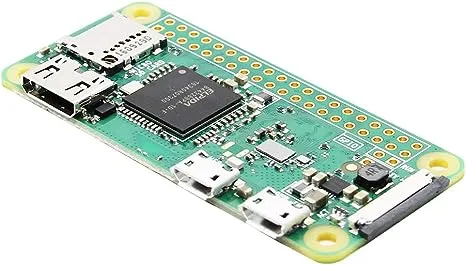
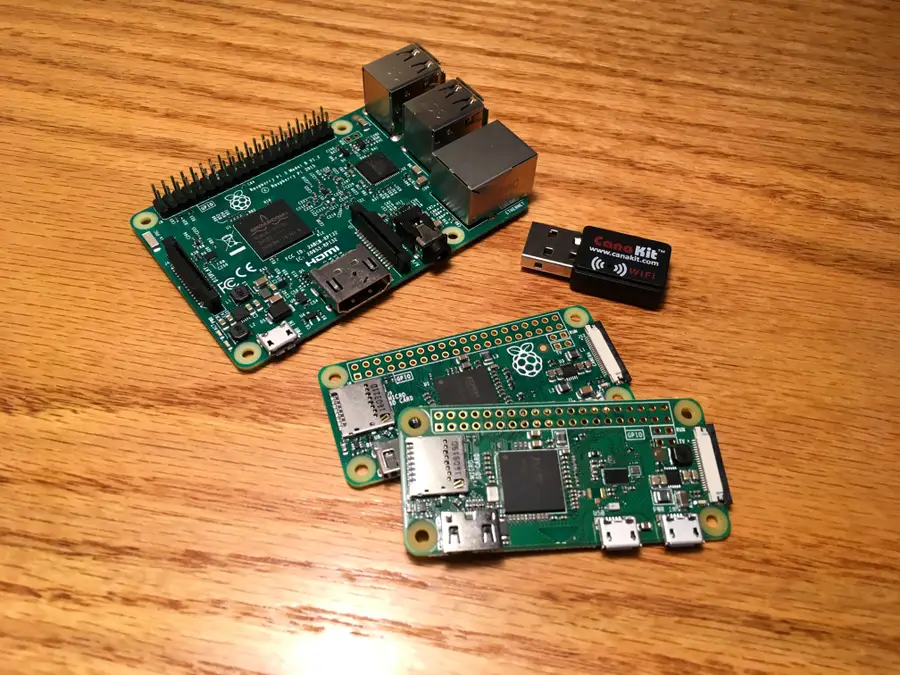
3 – Choose your Zero
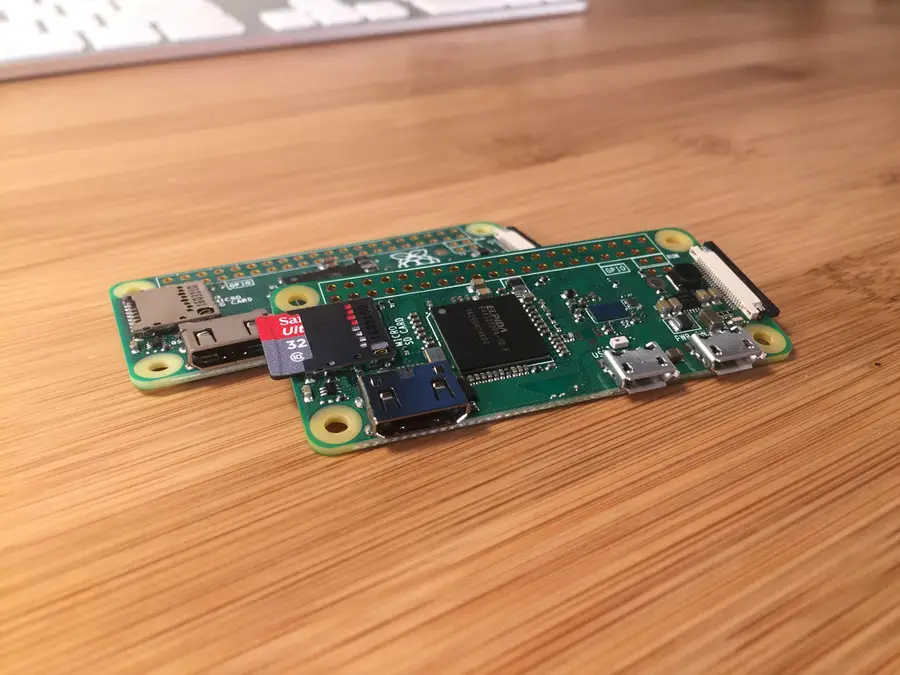
You can use either a normal Raspberry Pi Zero or the Raspberry Pi Zero W for this project. The Pi Zero W adds WiFi and bluetooth into the mix. However, since you don’t technically need wireless connectivity to run RetroPie or play any games, a Raspberry Pi Zero will do just fine.
I decided to use the Raspberry Pi Zero W because it has bulit-in WiFi/bluetooth and I wanted to have the option of using my wireless bluetooth controller as a primary or secondary controller. Even without bluetooth, your buddy can still join you by plugging his or her controller directly into yours.
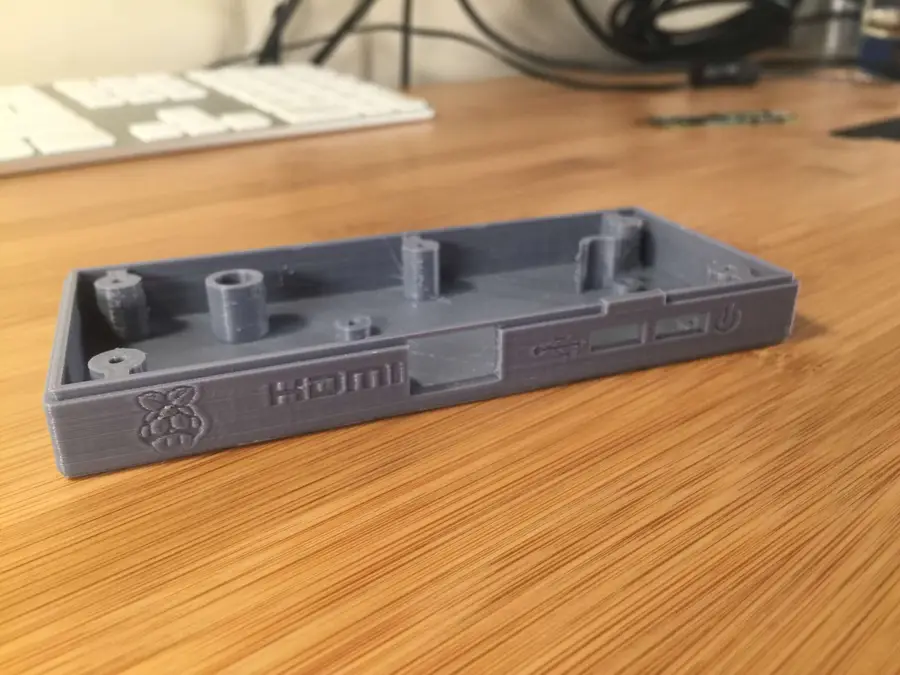
4 – Print the model
For this project, we’re going to 3D print a model that designer bfesser created and uploaded to Thingiverse. bfesser did an amazing job on this model and was the inspiration for this project. This model will serve as the housing for the bottom half of the controller and will securely store our Raspberry Pi.
Download the model and print it using your filament of choice (I used PLA+, which is a slightly stronger variant of PLA).
| 🛈 Thanks bfesser! |
5 – Don’t have a 3D printer?
Until very recently, neither did I. But that’s okay — there are tons of other ways to get the model printed. Here are a few:
Use an online 3D printing service
Many online services exist that will print your model and ship it to you. However, make sure the model you use has a license that allows a service to print it commercially. You can order this model 3D printed on Shapeways.
Find your local hackerspace/makerspace
Chances are, there’s one near you. Most have “Open Make Nights” where you can pop in and use the equipment without needing a membership. You can find your local hackerspace using this tool.
Check your local library
You may be surprised to find that many libraries now have 3D printers available for your use. If you’re a student, your university can provide you with access to one.
Check Craigslist
Many people advertise their printing services on Craigslist.
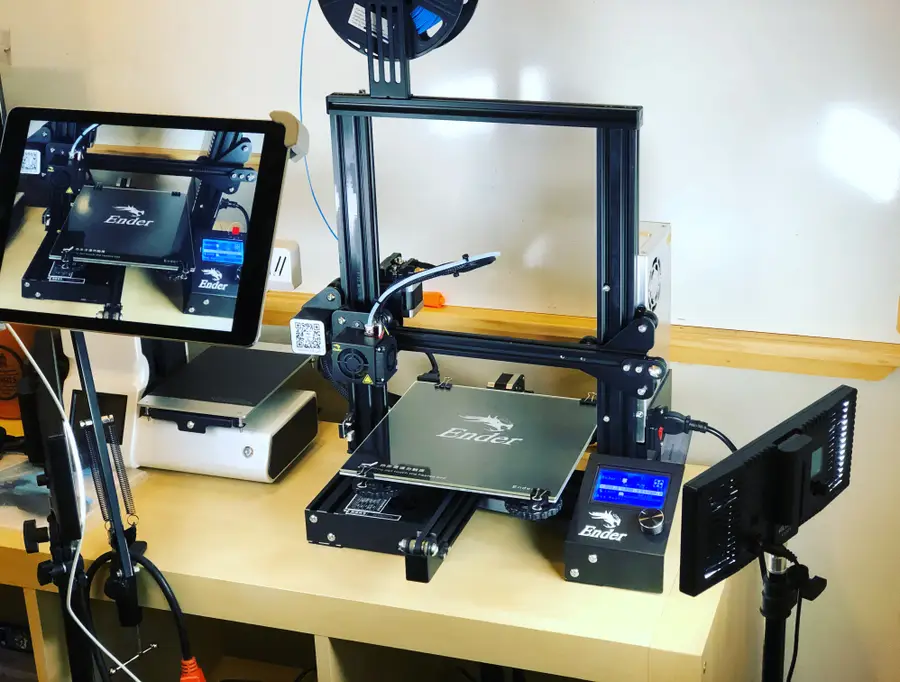
Buy a 3D printer
3D printers have never been cheaper. I picked up my Creality Ender 3 for under $200 here and I couldn’t be happier. For more information on the Ender 3 budget 3D printer, be sure to check out my full Ender 3 review — I highly recommend it for any 3D printing beginner or professional.
Creality Ender 3 Review: The Best 3D Printer Under $200
Behold the Anet A8 slayer.
If you’re looking for a smaller budget 3D printer, also check out my recent Geeetech E180 review.

Geeetech E180 3D Printer Review: A Mini Budget 3D Printer
This tiny printer packs a lot of punch.
6 – Install RetroPie
Now is a good time to install RetroPie. RetroPie will allow us to play emulated retro video games. I wrote a separate guide on how to install RetroPie — it’s a super simple process.
RetroPie: Build Your Own Raspberry Pi Retro Gaming Rig
How to install (and use) RetroPie!
7 – Disassemble your NES controller
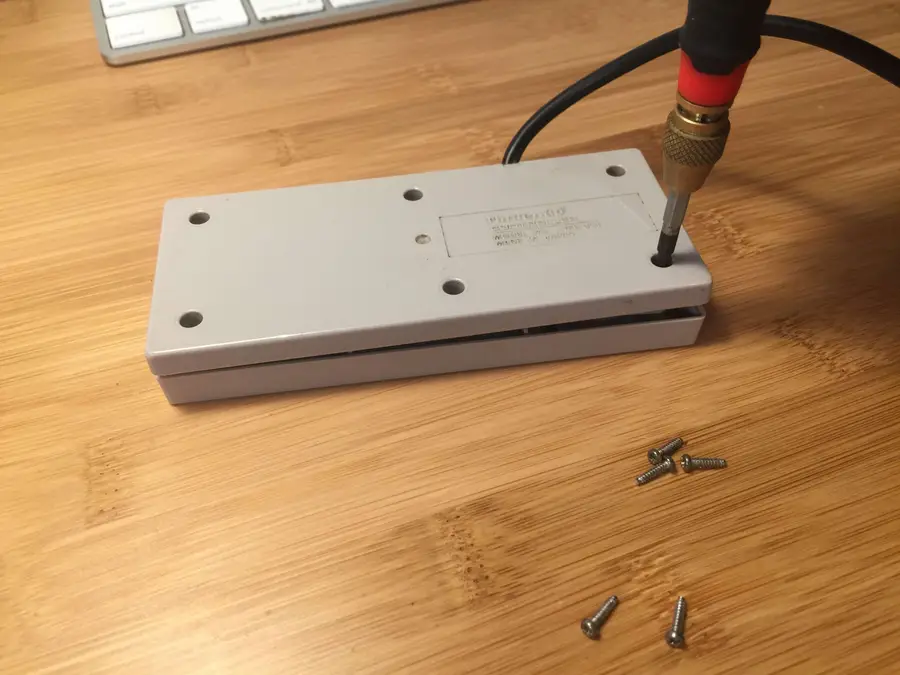
I used an original NES controller made by Nintendo, as that’s what the model calls for. It’s possible that aftermarket NES controllers will also work, but I can’t guarantee that. You can pick up an original NES controller on eBay for about 10 bucks.
To disassemble the controller, use a small Phillips screwdriver to remove the six small screws from the back of the controller. You can either toss these screws or reuse them — I decided to toss and replace them with some stainless steel Torx screws (linked at the top of this guide) to prevent them from stripping in case I need to open my controller a few times.
| 🛈 Once inside, you may want to give your controller a good cleaning with some rubbing alcohol and Q-tips. There’s going to be a lot of strange build-up in there after 30+ years. |
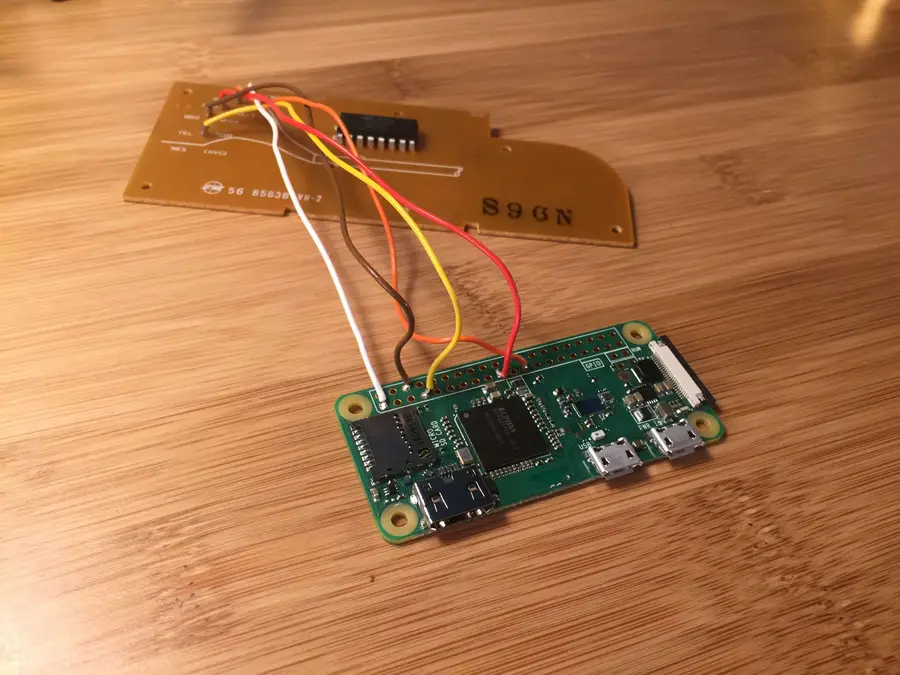
8 – Solder your connections
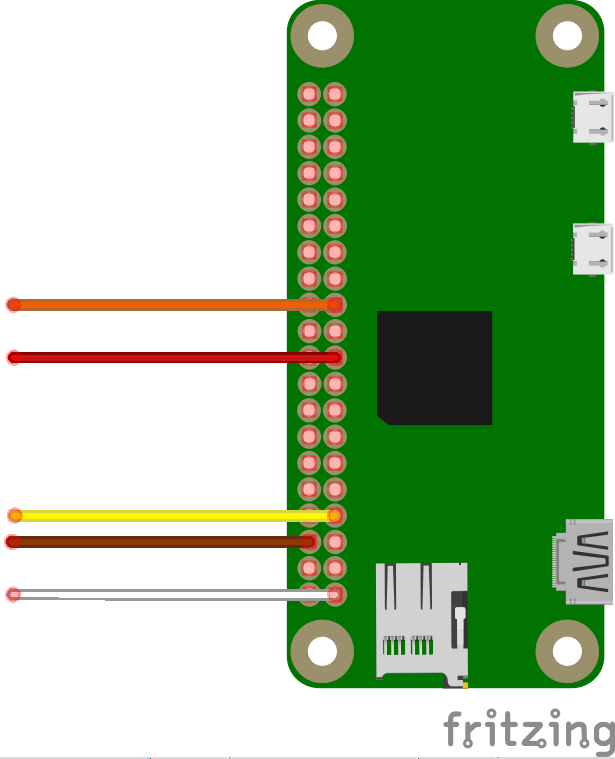
Cut the cord off your NES controller, leaving about 6″ of excess wire. We’re going to reuse the old wires and solder them directly to the Pi Zero.
Using the attached wiring diagram, solder the 5 wires from your original NES controller onto the Pi Zero’s GPIO header. I also uploaded the Fritzing file I created for this, in case you’re into that sort of thing. 🙂
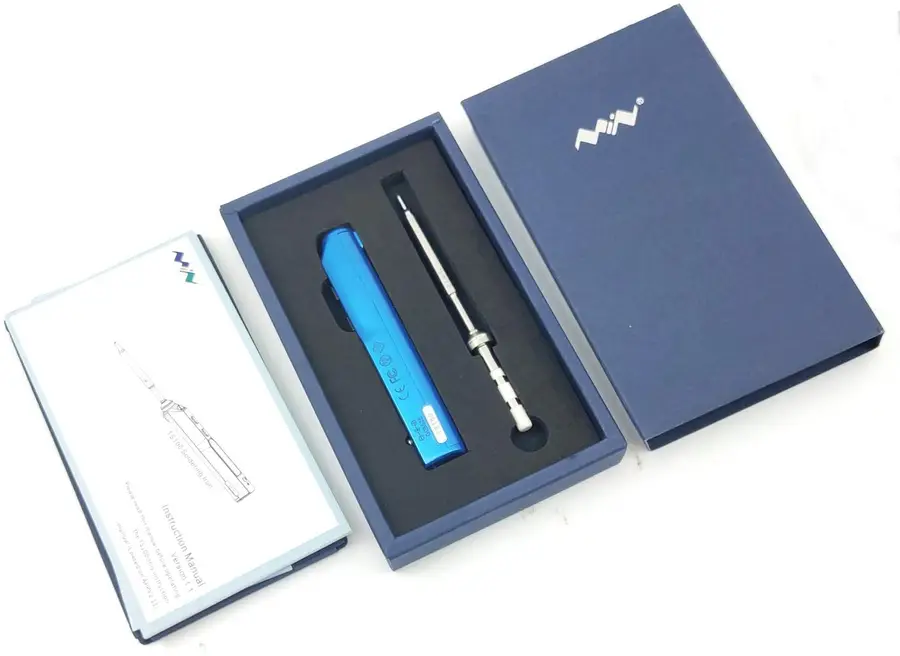
Need a good soldering iron?
We got you. Check out our guide on the best soldering irons for different tasks.
The Best Soldering Irons: Read This Before You Invest (2022)
We’ve put together a guide to help you find the best soldering iron for your next project.
Don’t know how to solder?
No worries, it’s easy and this is a great opportunity to learn! This video will get you started.
9 – All soldered up!
Looking good.
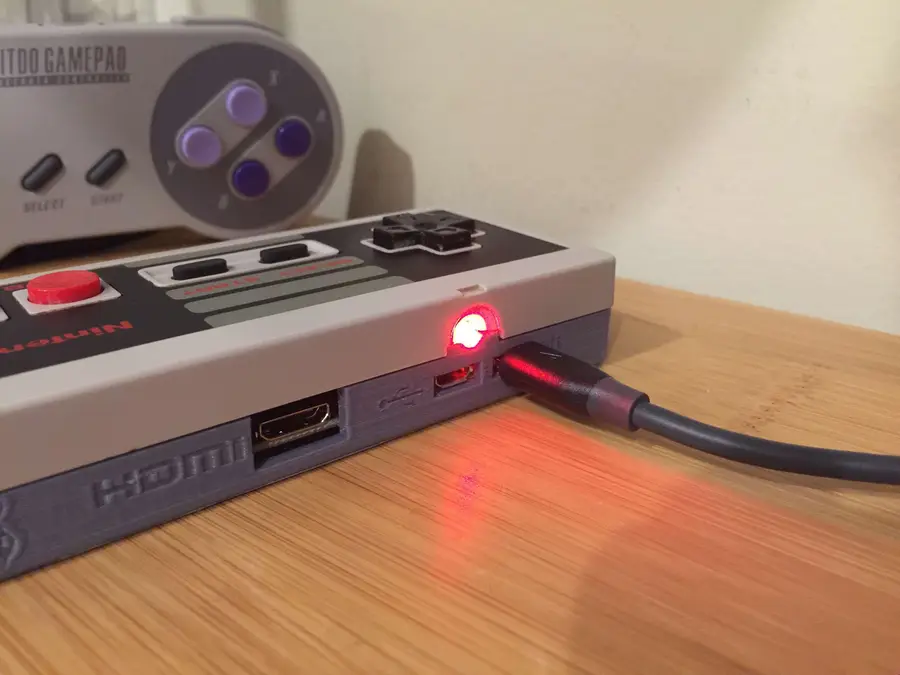
10 – Add a power LED (Optional)
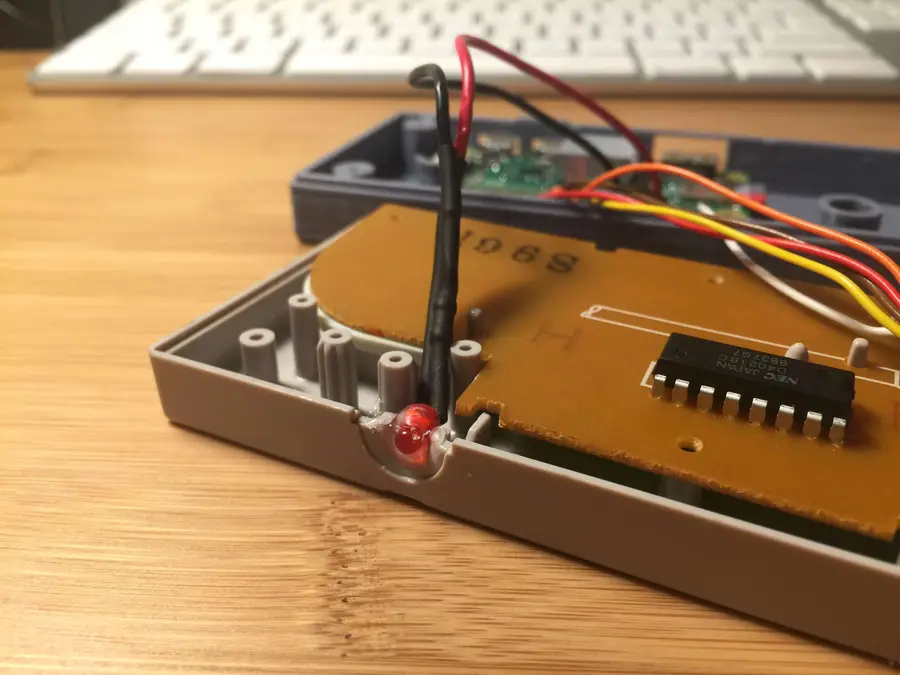
I decided to add a small LED that will tell me when the Pi is powered on. I wrote a separate guide for adding a Raspberry Pi power LED in case this interests you!
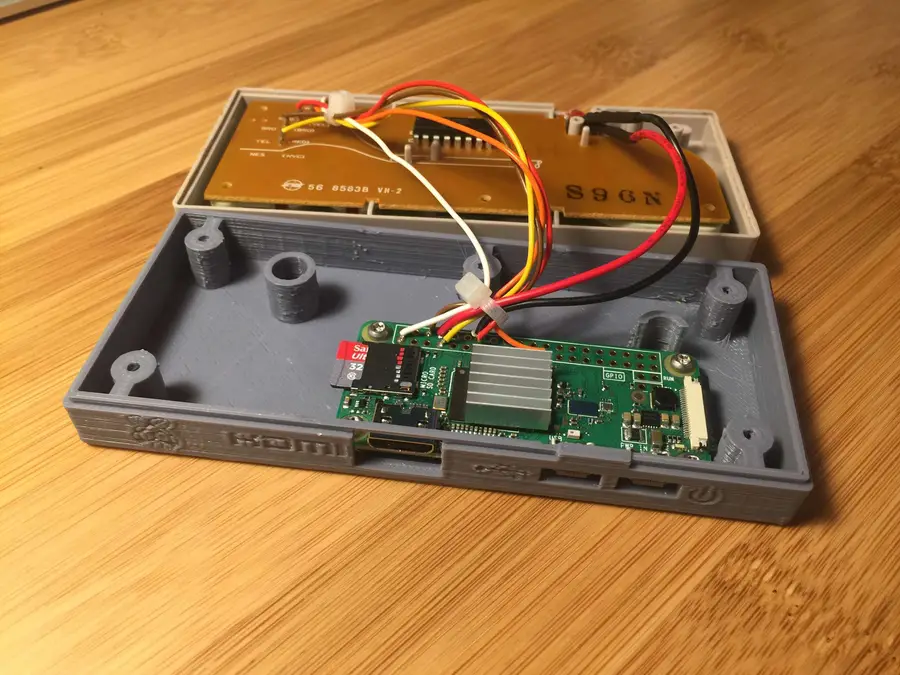
11 – Add a heatsink (Optional)
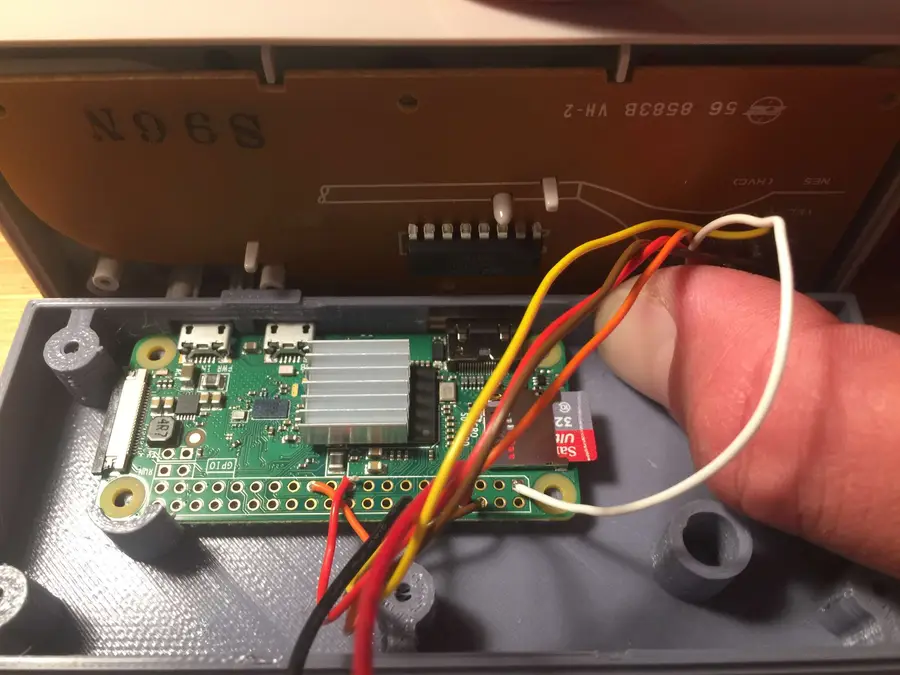
This is optional, but will keep your Pi cool during GPU-intensive games. You’ll need to offset it slightly to avoid it hitting the controller board chip when the case is closed (see photo). It only costs a few bucks so I think it’s completely worth it.
12 – Mount your Pi
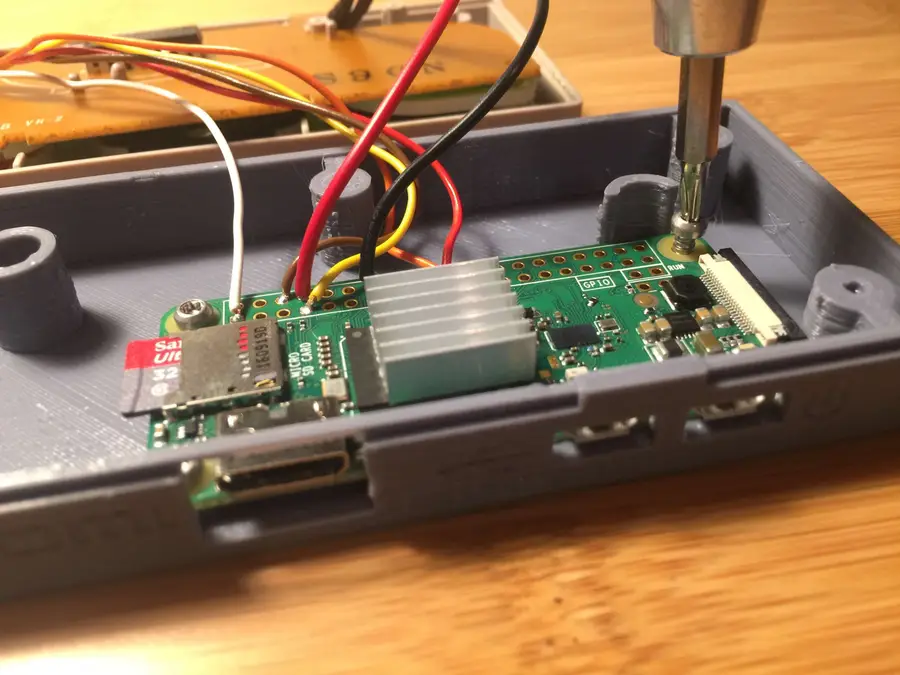
Use four 5mm screws (linked above) to secure your Pi Zero into the controller housing.
13 – Reassemble the housing
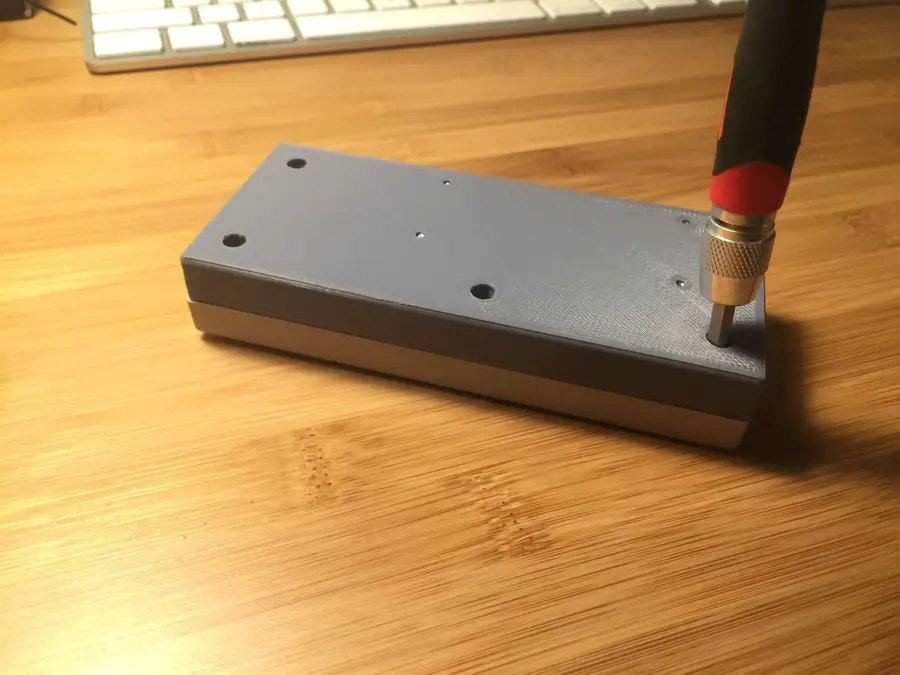
Finally, reassemble the controller using five 8mm screws.
| 🛈 You can also use the controller’s original screws here if you want to save a few bucks. |
14 – Size comparison
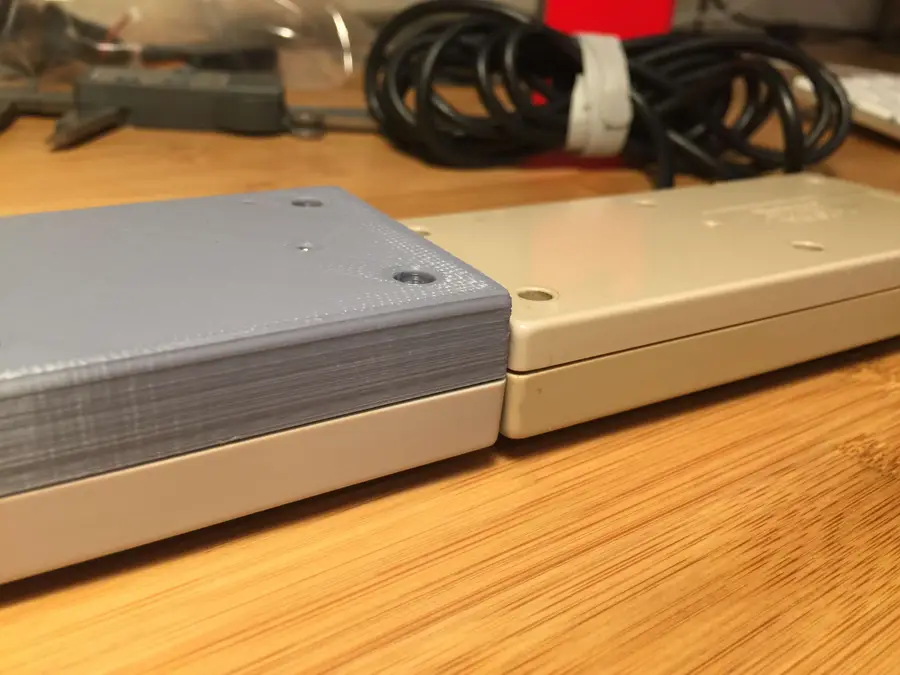
The original NES controller is 17mm thick and the Gamepad Zero is 22mm thick. The difference is nominal, which leads to a nice, comfortable gaming experience.
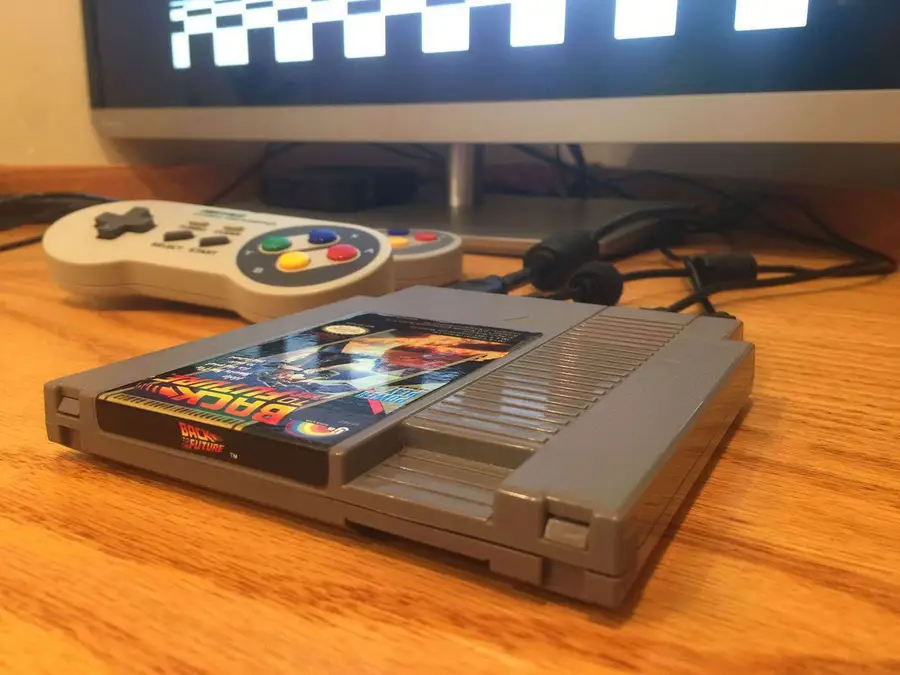
15 – Configure your NES controller for RetroPie
You’ll need to add a bit of configuration to let RetroPie recognize your original NES controller. You will need to use a USB keyboard or separate USB gamepad to do this.
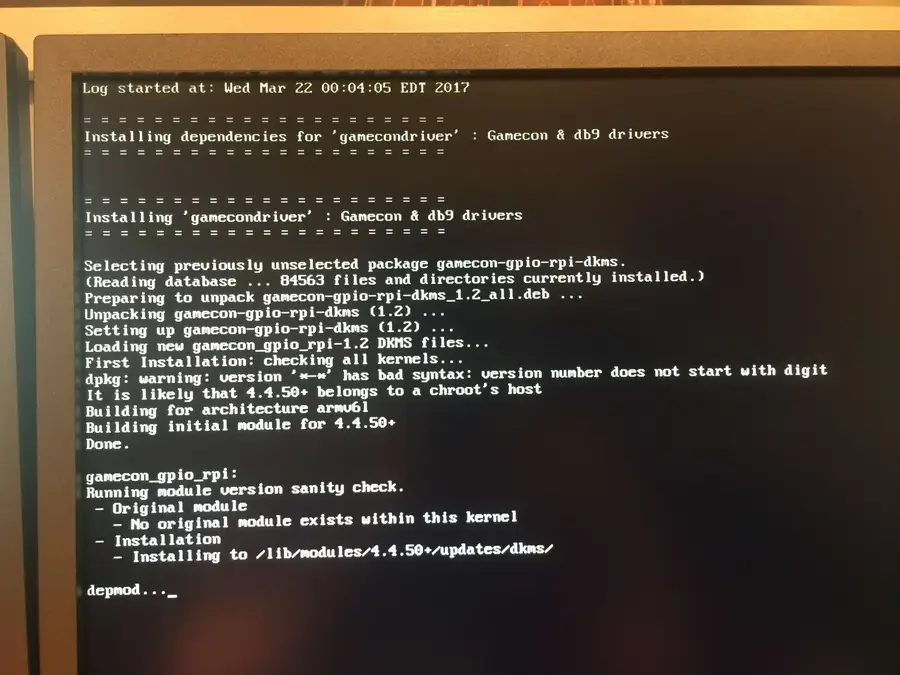
Navigate to RetroPie Setup > Manage Packages > Manage Driver Packages and select Option 809: gamecondriver.
Note: Different versions of RetroPie might list gamecondriver as a different index (e.g. 813: gamecondriver). Just select whichever gamecondriver listing you have.
Install from binary, accept the firmware warning, wait for everything to install, and select “no” if prompted to install SNES configs. Exit the setup menu.
Next, you’ll need internet access to connect to your Pi — you can connect to your wireless network using either the RetroPie settings menu or by dropping a file on your SD card.
How to Set up WiFi on Your Raspberry Pi Without a Monitor (Headless)
No monitor, keyboard, or mouse? No problem.
Finally, connect to your Raspberry Pi and run the following command:
sudo sh -c 'echo "gamecon_gpio_rpi" >> /etc/modules && echo "options gamecon_gpio_rpi map=0,0,2,0,0,0" > /etc/modprobe.d/gamecon.conf && reboot'Finally, while your PI is rebooting unplug your keyboard or USB controller and you will see the configuration menu for your NES controller! Woot woot
Note: If you don’t see the configuration menu, don’t panic. Connect a keyboard or different controller and use it to navigate to Start > Configure Input, and then use your GamePad Zero to fill out the confirmation options.
| 🛈 If you’re using the non-wireless version of the Raspberry Pi Zero, you’ll need to connect a USB WiFi or ethernet adapter before you can connect to your Pi. |
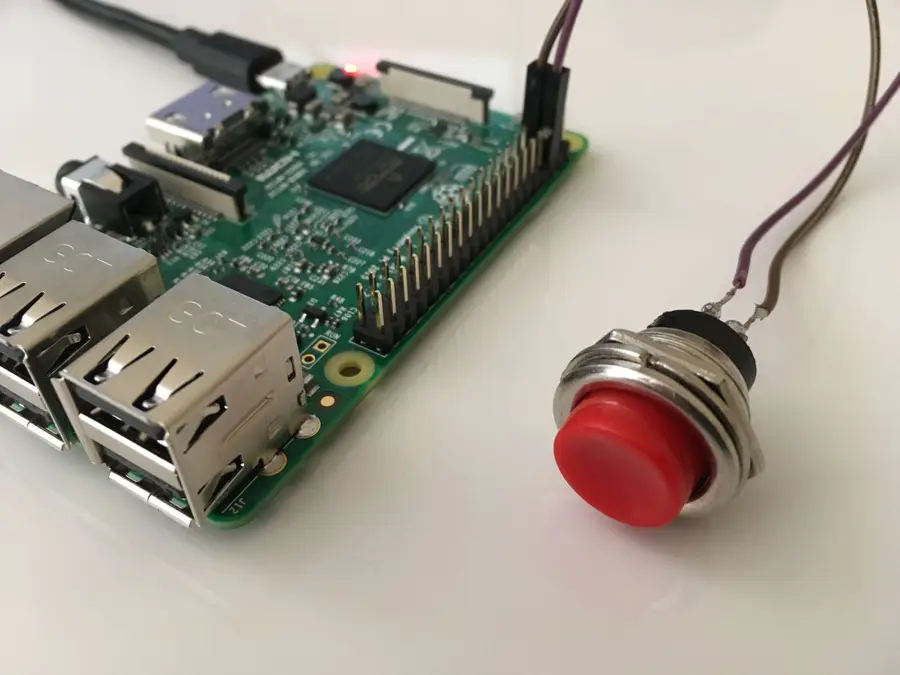
16 – Add a power button (Optional)
I decided not to do this since I was afraid I’d hit the button by mistake, but if you’re daring enough, howchooer Tyler wrote a guide on adding a Raspberry Pi power button (be sure to use a tiny one).
How to Add a Power Button to Your Raspberry Pi
Because you should always safely shut down your Pi.
17 – Ready Player Two!
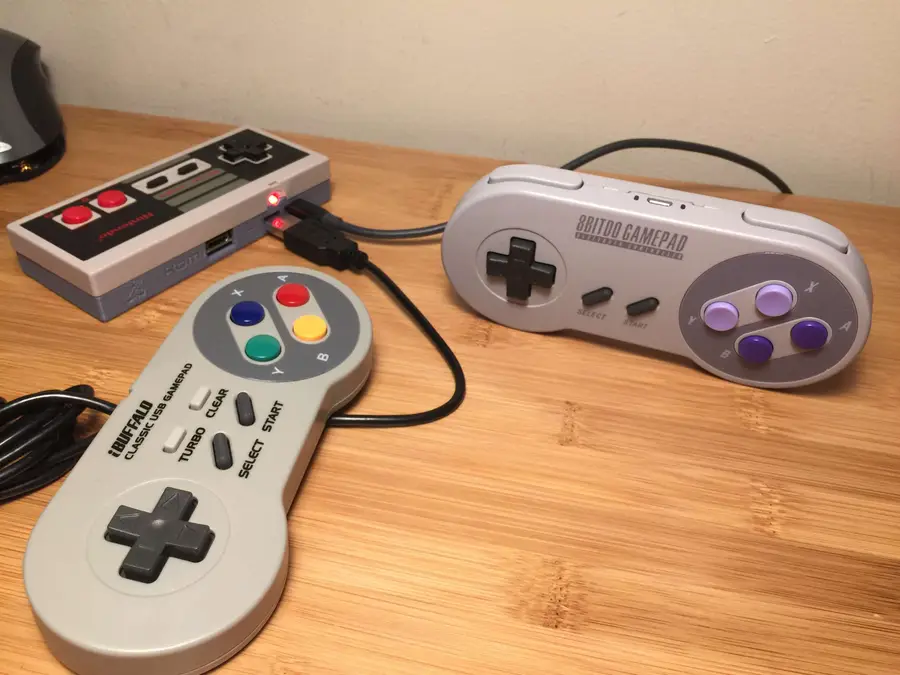
To play with a buddy or to play games that require more buttons than the NES controller offers, you have two options:
1. Connect a USB gamepad:
You can connect a second USB controller directly into your Gamepad Zero. You’ll need a small USB to Micro USB adapter to make the connection.
2. Use a bluetooth controller:
I wrote yet another guide on configuring RetroPie bluetooth controllers that will get you started.
How to Use a Wireless Bluetooth Controller with RetroPie
No more wires!
| 🛈 To use a bluetooth controller, you’ll need to use the Raspberry Pi Zero W or a USB bluetooth dongle. |
18 – All done!
This was a super easy but fun project — especially in comparison to my original Pi Cart project — and I hope you enjoyed reading it. If you have any comments or questions, post in the comments section below and I’ll do my best to help you out! 🙂